When it comes to LEGO I’ve been collecting since the age of 4 or 5. But I have never really got into building my own creations. And for those like me who are new to this, that is what MOC stands for: My Own Creation.
A previous rescue attempt
When I was watching the finale of The Mandalorian Season 2, I was very keen to recreate, reproduce and safe to say was very inspired by, *SPOILERS*, Luke Skywalker’s introduction. As you can see from my previous effort below, coming to this now was not my first attempt at this.
I do have to be brutally honest though. The bit when Luke turns up, or when he performs his own rendition of Vader’s corridor scene, neither really did it for me. The bit where I got excited and all emotional was when R2 turned up, I just love that droid.

Bringing it back to today
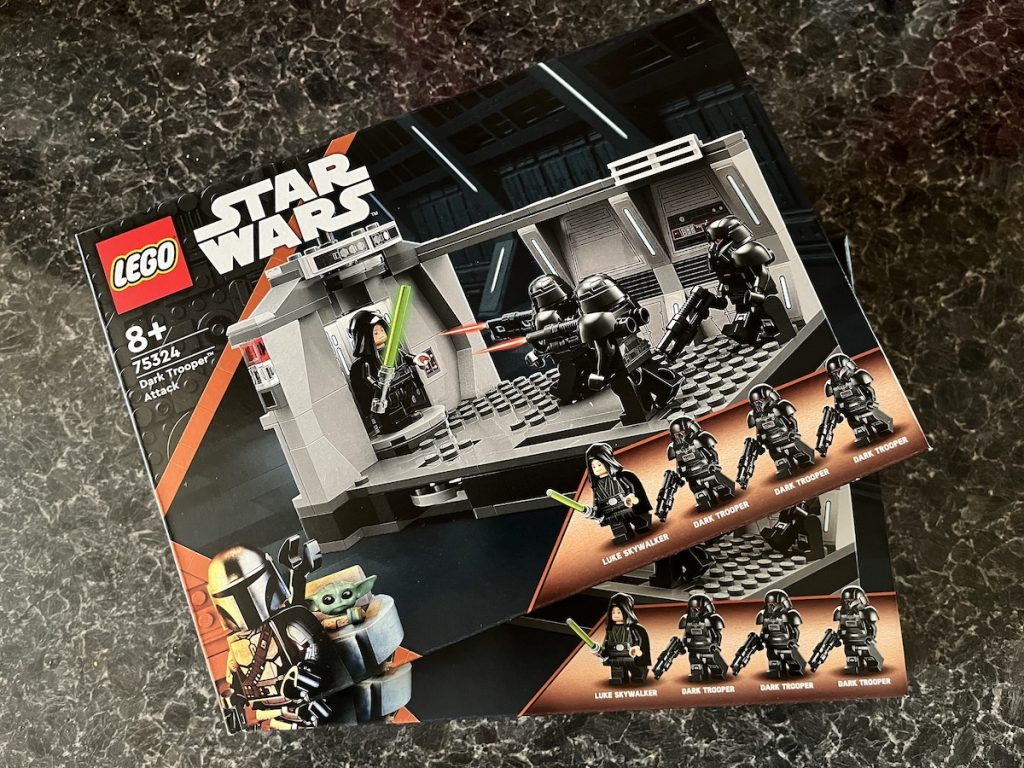
With the recent release of LEGO set 75324: Dark Trooper Attack I was keen to head back to this moment, trying to recreate some Luke Skywalker action again with the new set. I’ve recently enjoyed the diorama-based sets LEGO has been producing over the past few years. But I’ve also had a problem with some of these sets — they are just too small. As many of you may know, my particular camera and lens setup is somewhat different. Because I use an anamorphic lens, my photographs end up at a pretty wide angle, somewhere around 35mm.
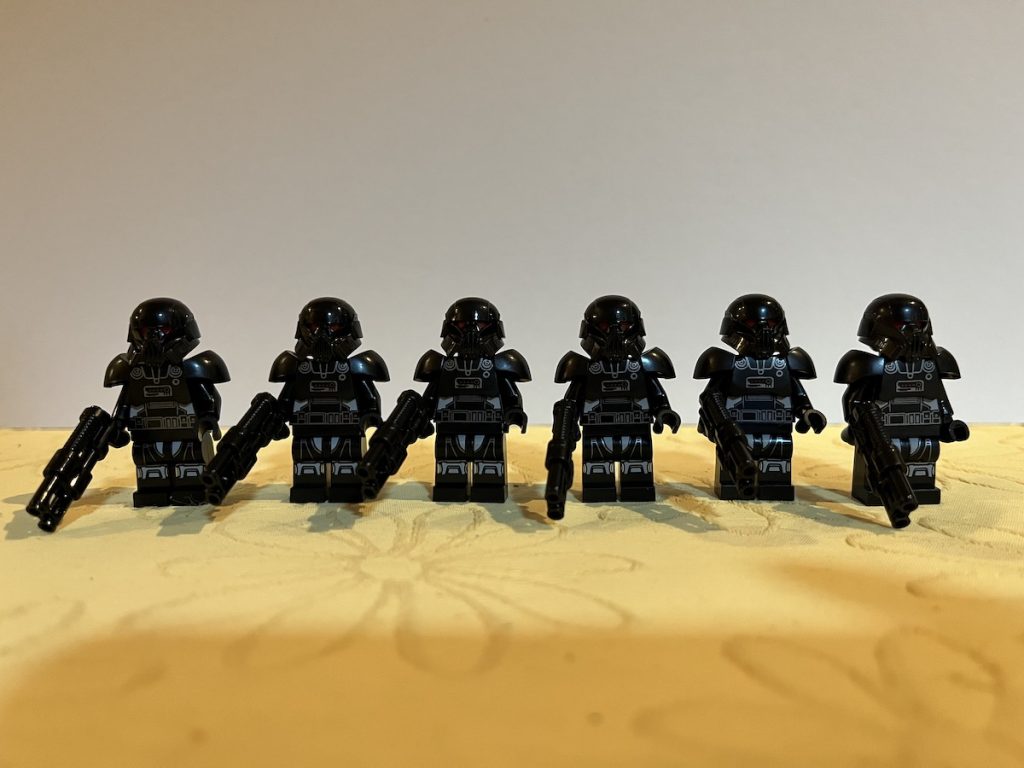
I’ve realised recently, not sure why it took me so long, that my photos are about subjects. By which I mean I tend to shoot action figures or minifigures but less so sets or scenes. I have also realised that more complicated sets and scenes are needed to hold the subjects I like to photograph. So what is the solution? Buy two, I guess. That should both allow for more scenery and gives me a much bigger Dark Trooper army.
This isn’t going to be so much a review of the set(s). More of how I excessively bought two of them and my little building and photography journey with them.
As designed by LEGO
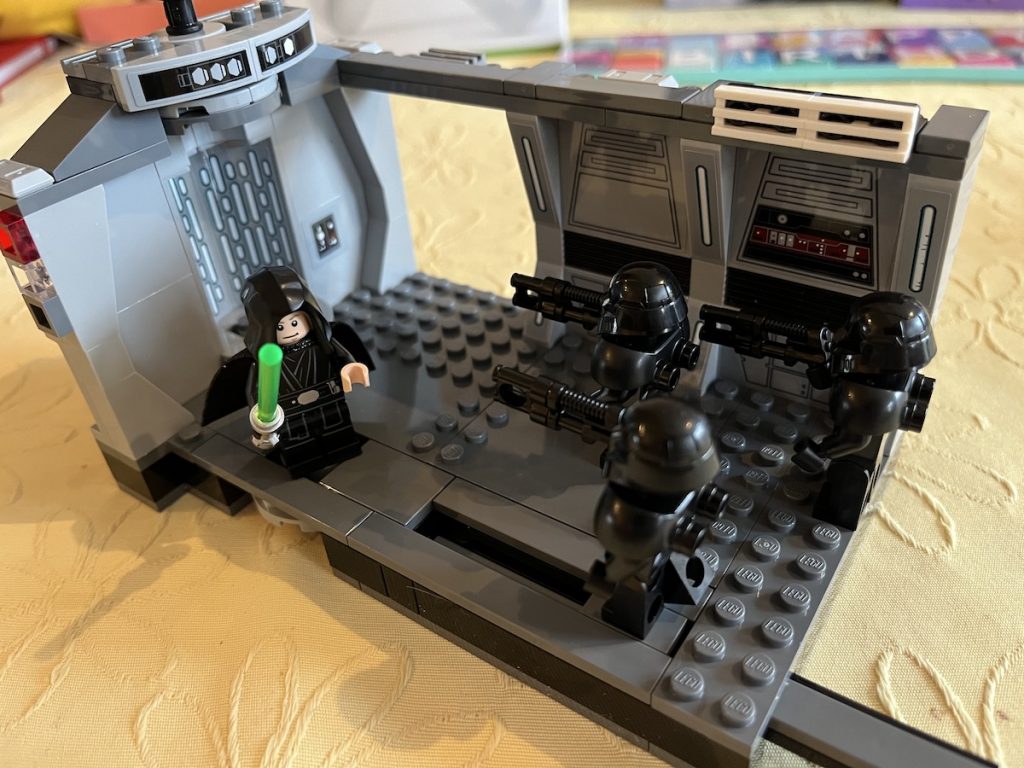
So with the fact that I’ve just said this isn’t a review. Here are my thoughts on the set as LEGO designed it. By building the first set before attempting my MOC, I got a good feel for how to build my own version afterwards. It gave me a lot of ideas and structures to base my ideas upon.
Now I think LEGO’s designers have done a pretty good job of representing this moment in brick form. Luke is in full Jedi mode taking on hoards of robotic Dark Troopers so he can rescue the Mandalorian and his #family. There are a few shortcomings, but at the price of £24.99 / $29.99 / €29.99 this is not one of the new display dioramas that LEGO is introducing. This is definitely built for play more that anything else.
Pros:
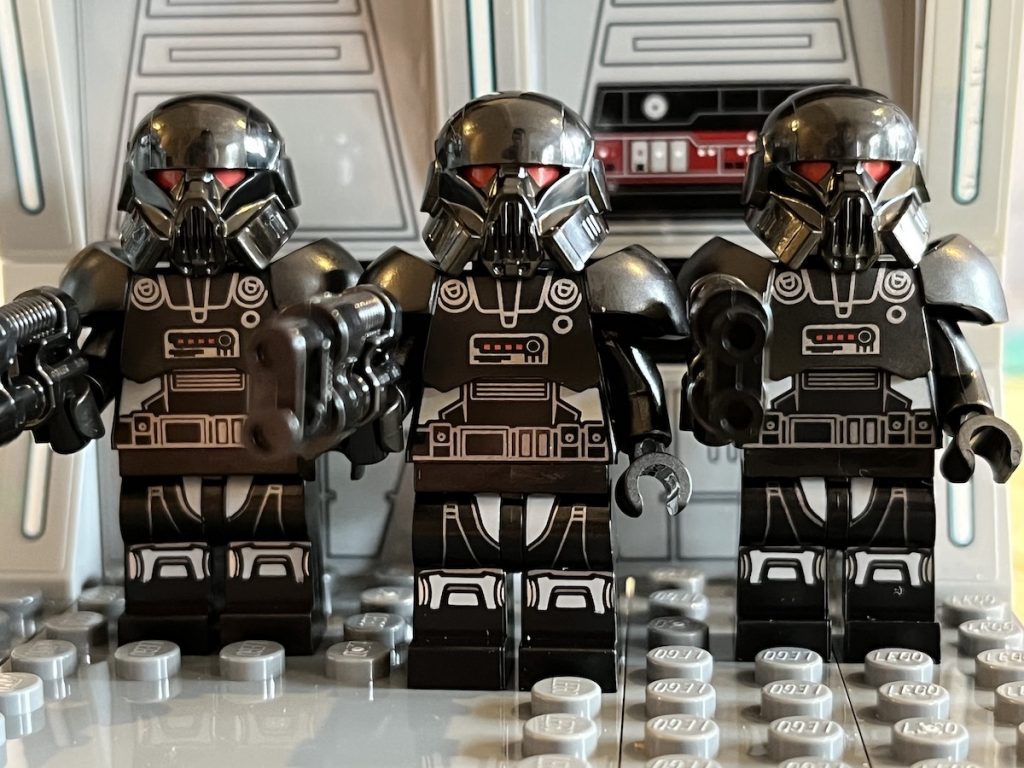
- For the price there is a good selection on minifigs, and all with a lot of detailed printing. Some of these details you can’t even see.
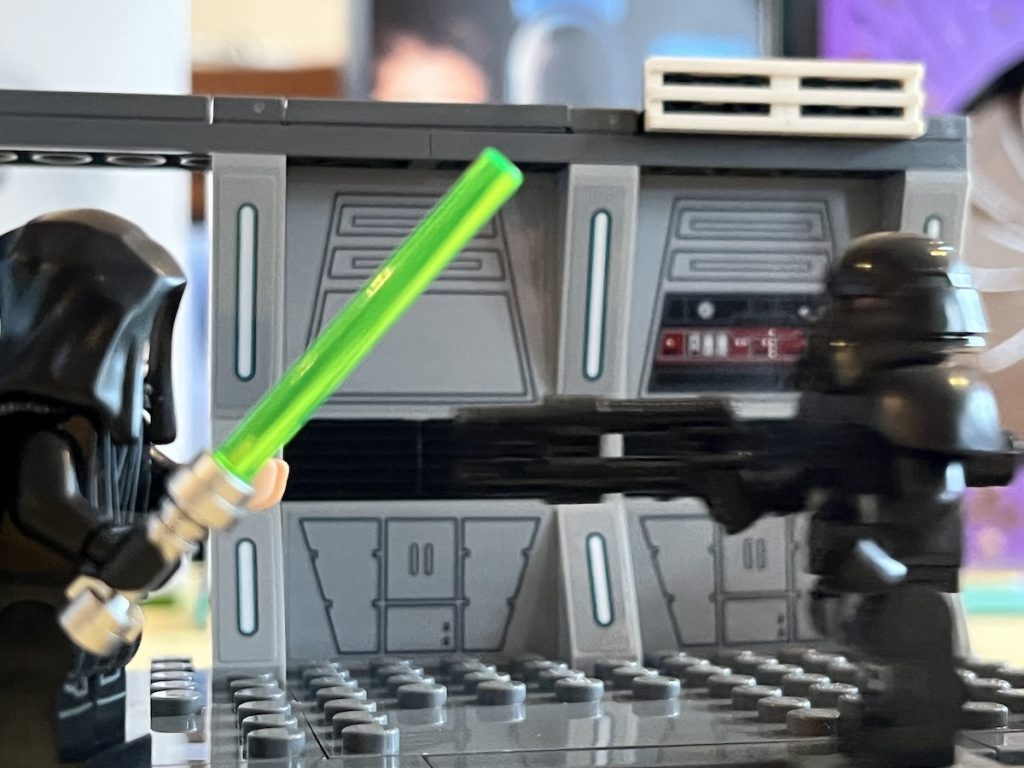
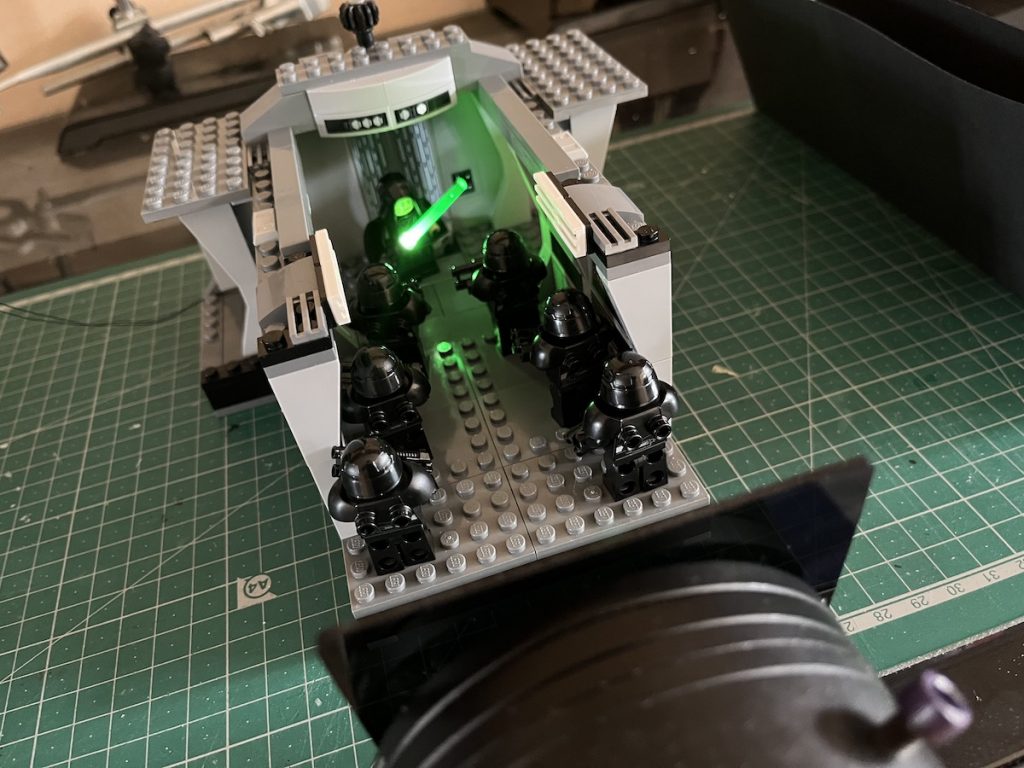
- The play features, while not really photogenic, are pretty cool. Especially the Force push/pull slider you can see in the picture above. Use the slider and the trooper can fly towards or away from Luke.
Cons:
- The big hole in the wall next to the lift/elevator is a bit of an eyesore. Having watched the episode again, there is an offshoot to the corridor. But this bit does feel like a hole in the wall.
- There are too many stickers. I know it keeps the price down, but I always prefer printing on my LEGO. Still, lots of the details are very cool.
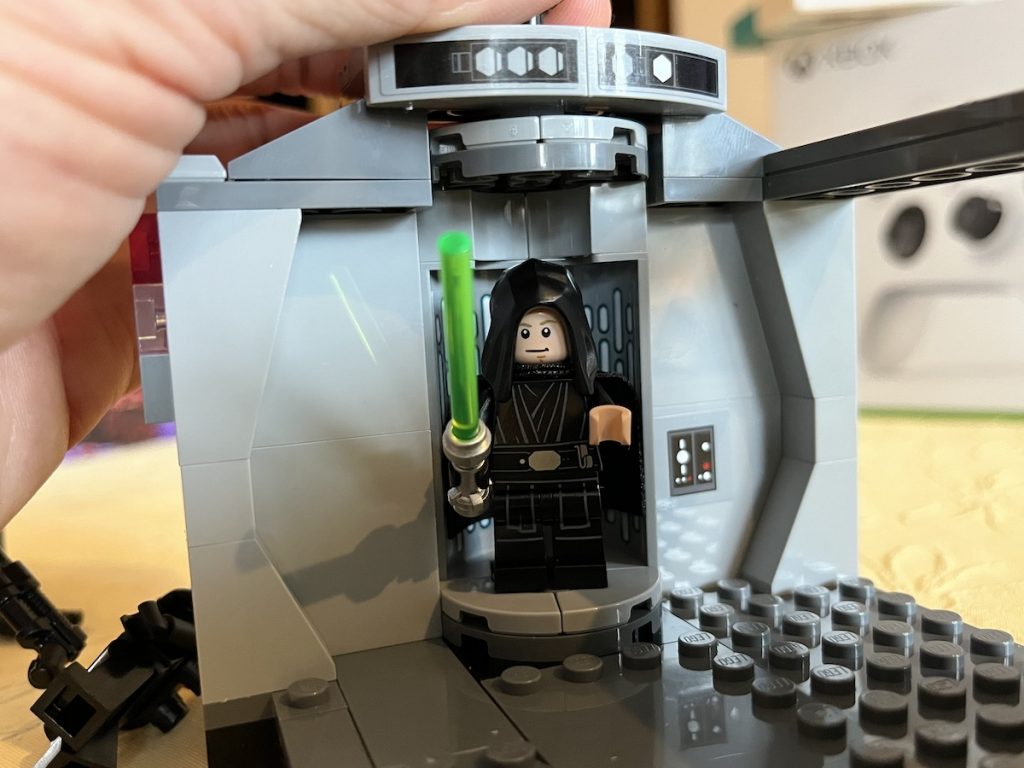
- Luke doesn’t fit in the lift with his lightsaber.
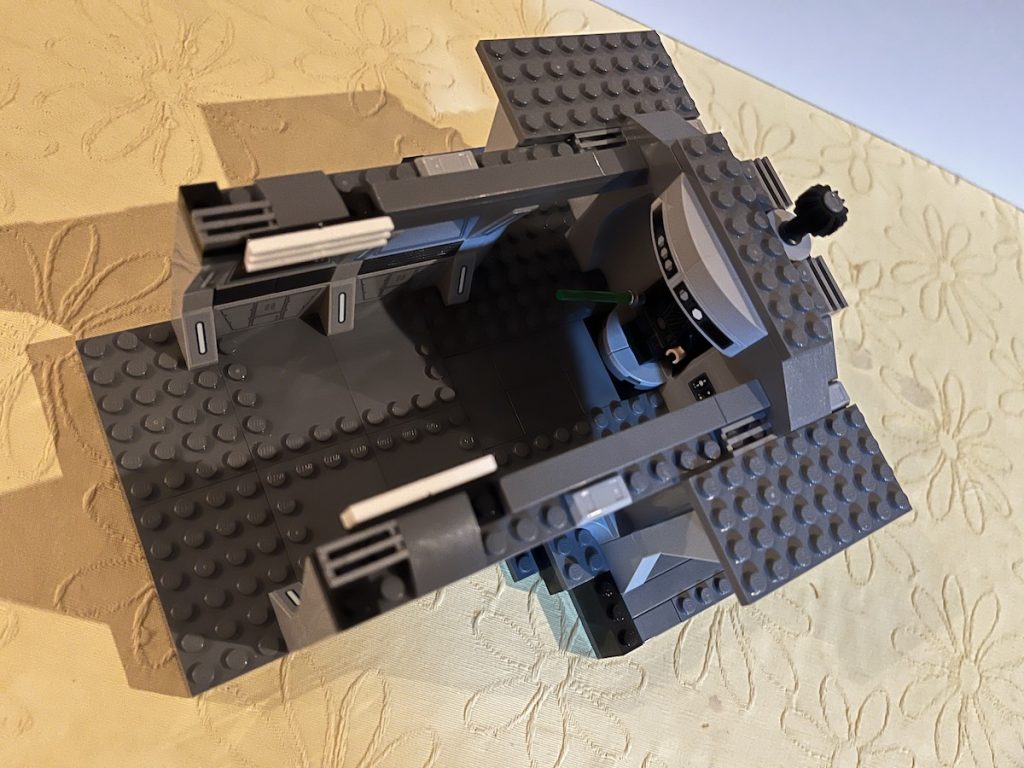
Build number 2
Once I’d built the official model, it was time to take it apart and start again. I actually kept some key parts in the same configuration and build in my new version. In particular, the corridor walls and the lift structure.
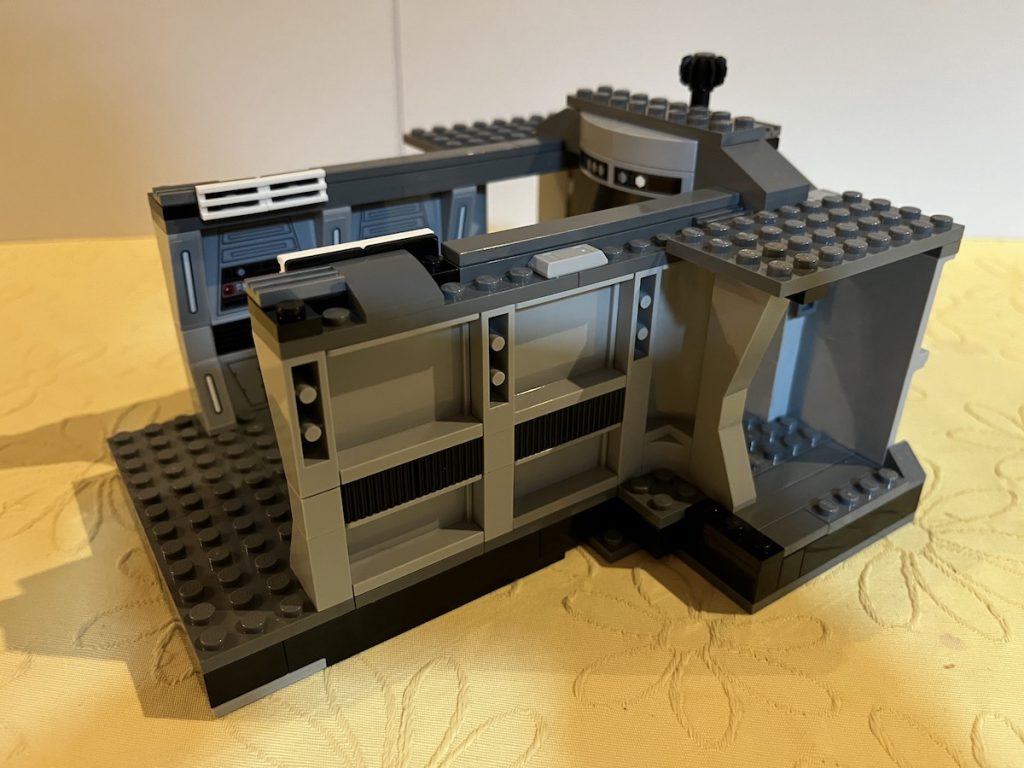
The biggest changes that you’ll see are:
- The second wall on the other side, completing the corridor. The walls were somewhat modular, too.
- As mentioned, the side corridors are accurate to the original show’s set. But here I beefed them up making them recess further.
- The back wall is now wider again making the gaps in the side less prominent.
- I raised above the lift light sticker so it fit into the scene a bit more rather than being an afterthought stuck on top.
- I also removed the play features, such as the slider from the floor, but was able to make the corridor longer as a result. I was particular about not making it wider.

All the bricks used came from the two sets combined together. I did have a few leftovers, but they are now in the spares box. I’m pretty happy with the result. And while this was a new experience for me, and considering the 30+ years I’ve been playing with LEGO, it was a fun one. Trying to MOC while using an official build as the basis was certainly helpful. But I guess the question is, will it help when it comes to photography?
Let’s look at the results
When I started taking pictures with this build, unsurprisingly I stuck very close to the source material. And while I didn’t get too wacky as I went, I can definitely say I loosened up and tried a few things.
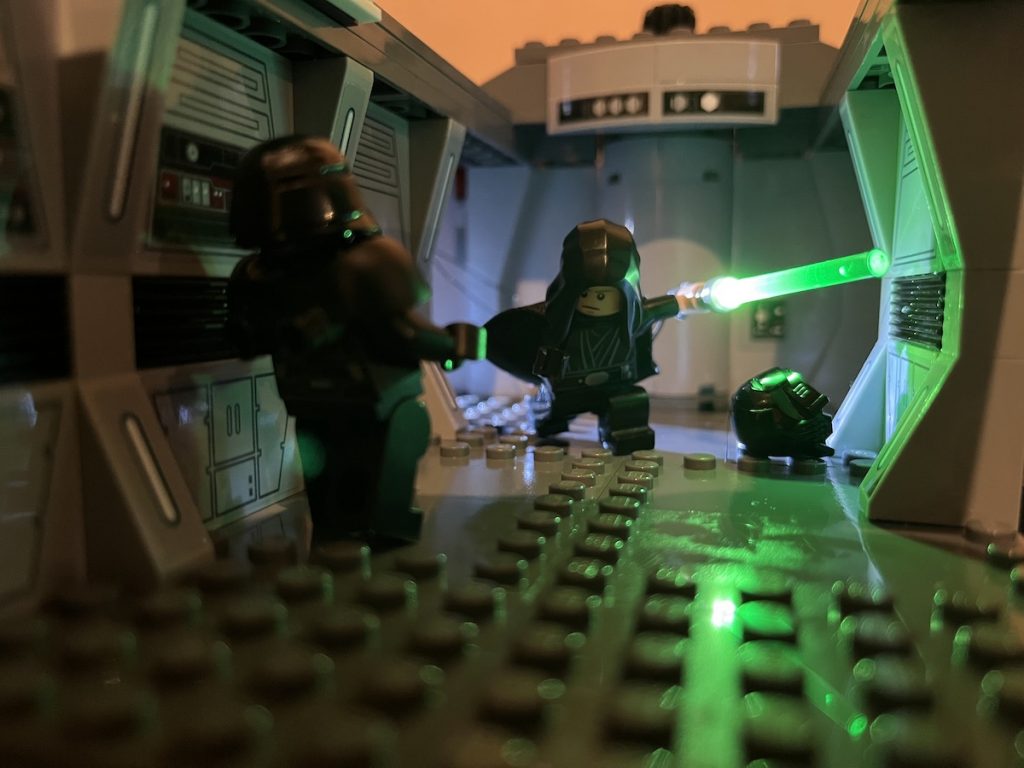
The Rescue
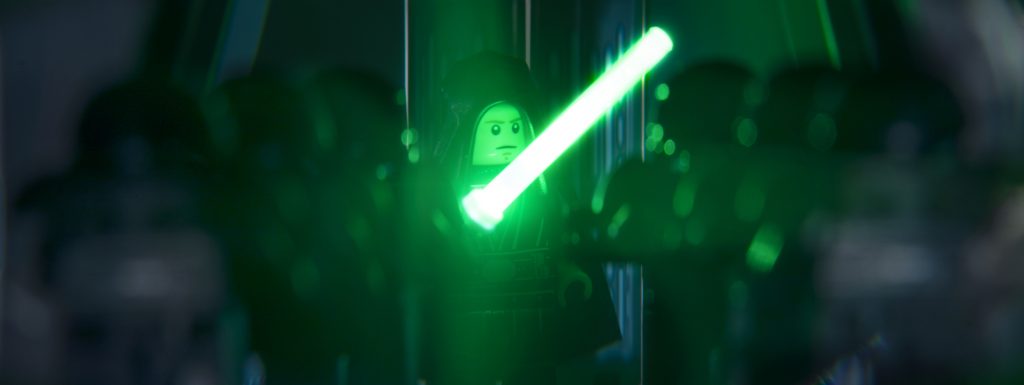
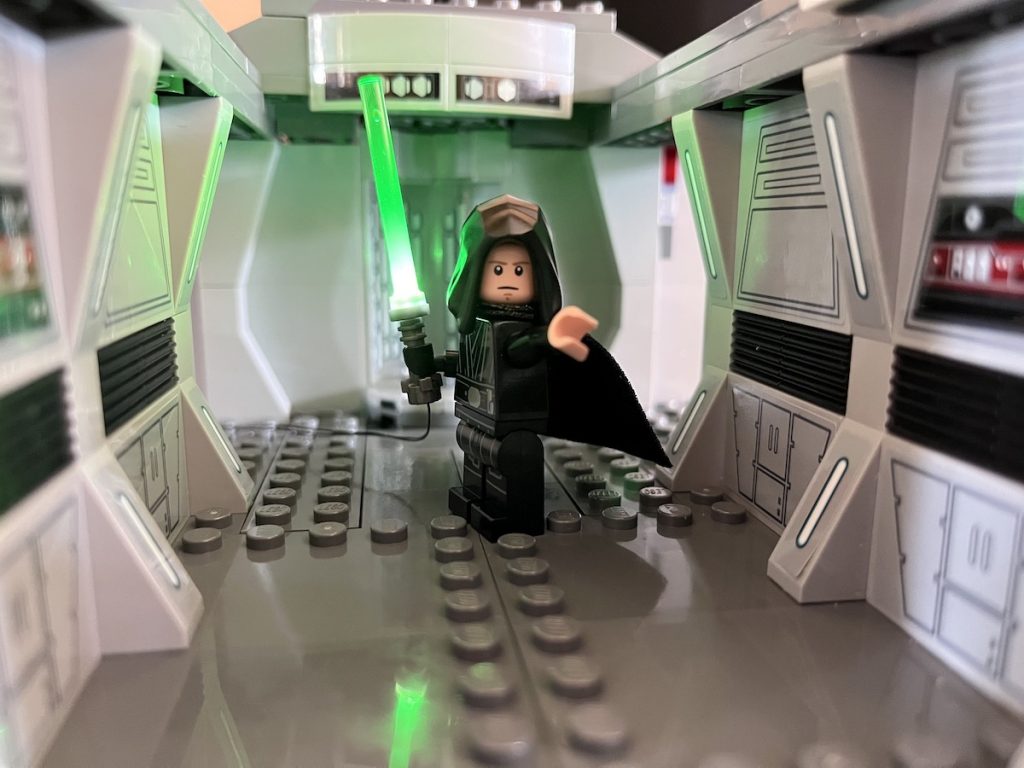
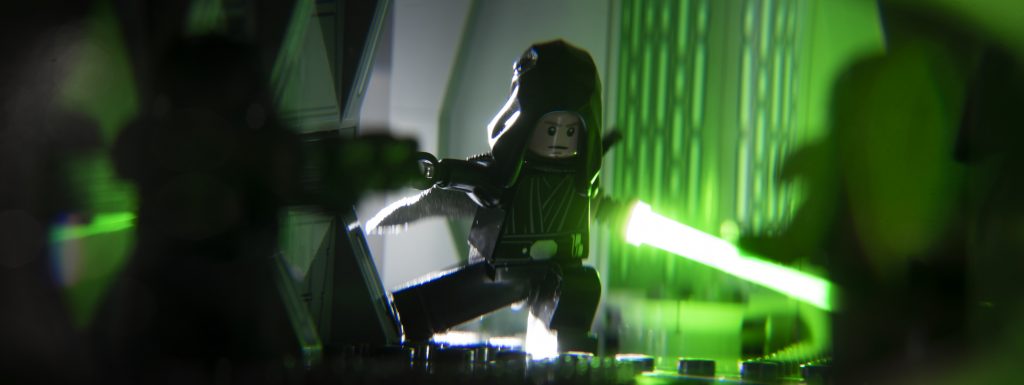
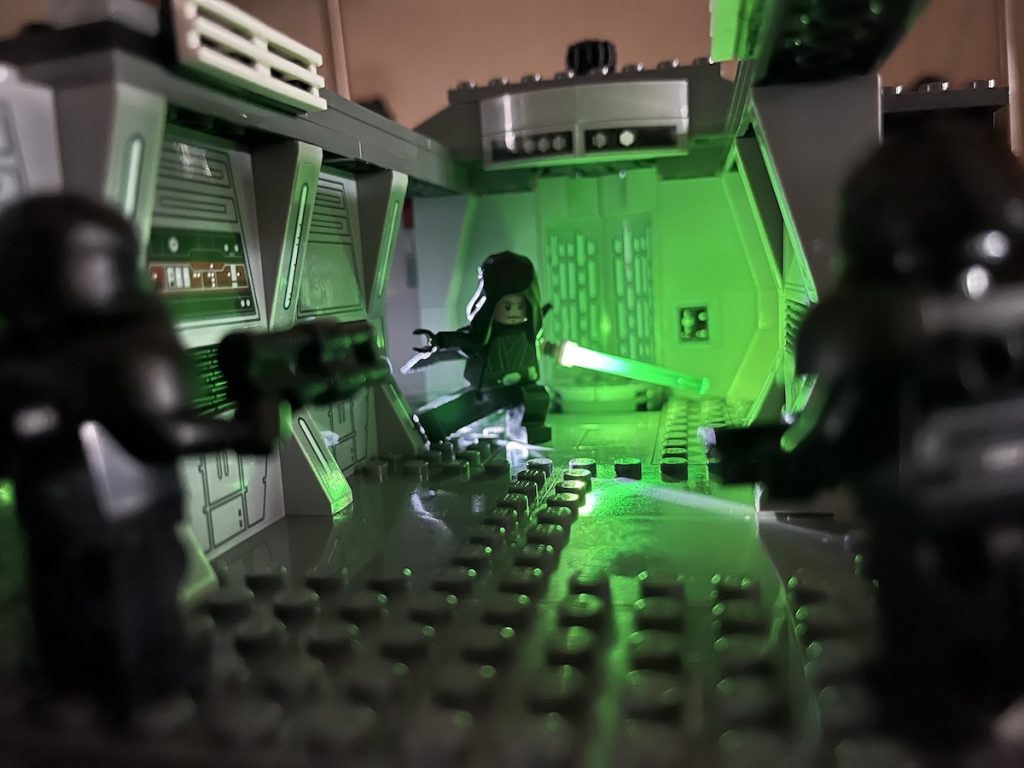
With this photograph, I placed the camera square on, looking down the corridor. I tried to capture that moment when Luke, confronted by all the Dark Troopers, ignites his lightsaber. I mostly used the lightsaber as the main source of light. With the green casting light across the set up and bringing out the details of the troopers.
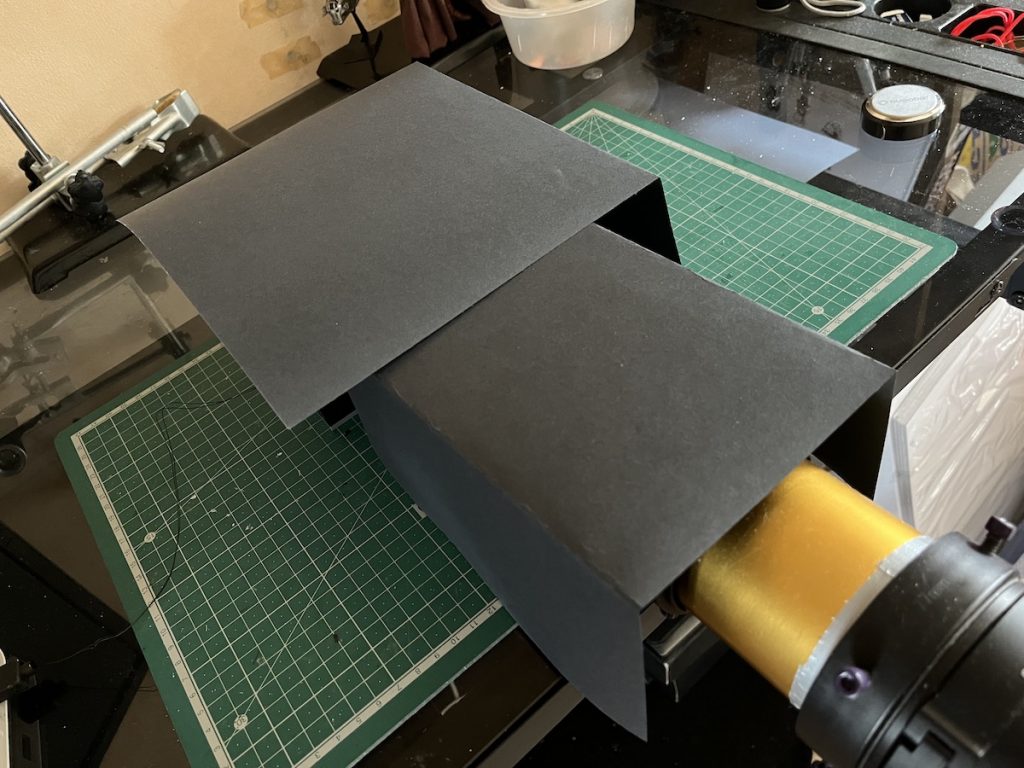
To keep the lighting like this I made very simple covers out of black card. These allowed me to shoot in the day while still keeping the photo very dark.
I kept the aperture quite narrow to keep as much depth of field as possible. I did need to extend the exposure and use an ND filter as a result. For anyone who doesn’t use them, ND filters are like sunglasses for your camera. And in this scenario means I can get the glow of the lightsaber while not blowing out the highlights.
Use the Force, Luke
Feeling a little more confident and warmed up, it was time to try something a little different. And for me, at the moment when it comes to a little different, it usually means busting out the Crazy Arms. Inspired by the play features, I wanted to recreate a bit of that Force pulling action. And the Crazy Arms were perfect for it. By reaching out with one arm and tucking the other bent arm closer into the body it really feels like Luke is reaching out with the force.
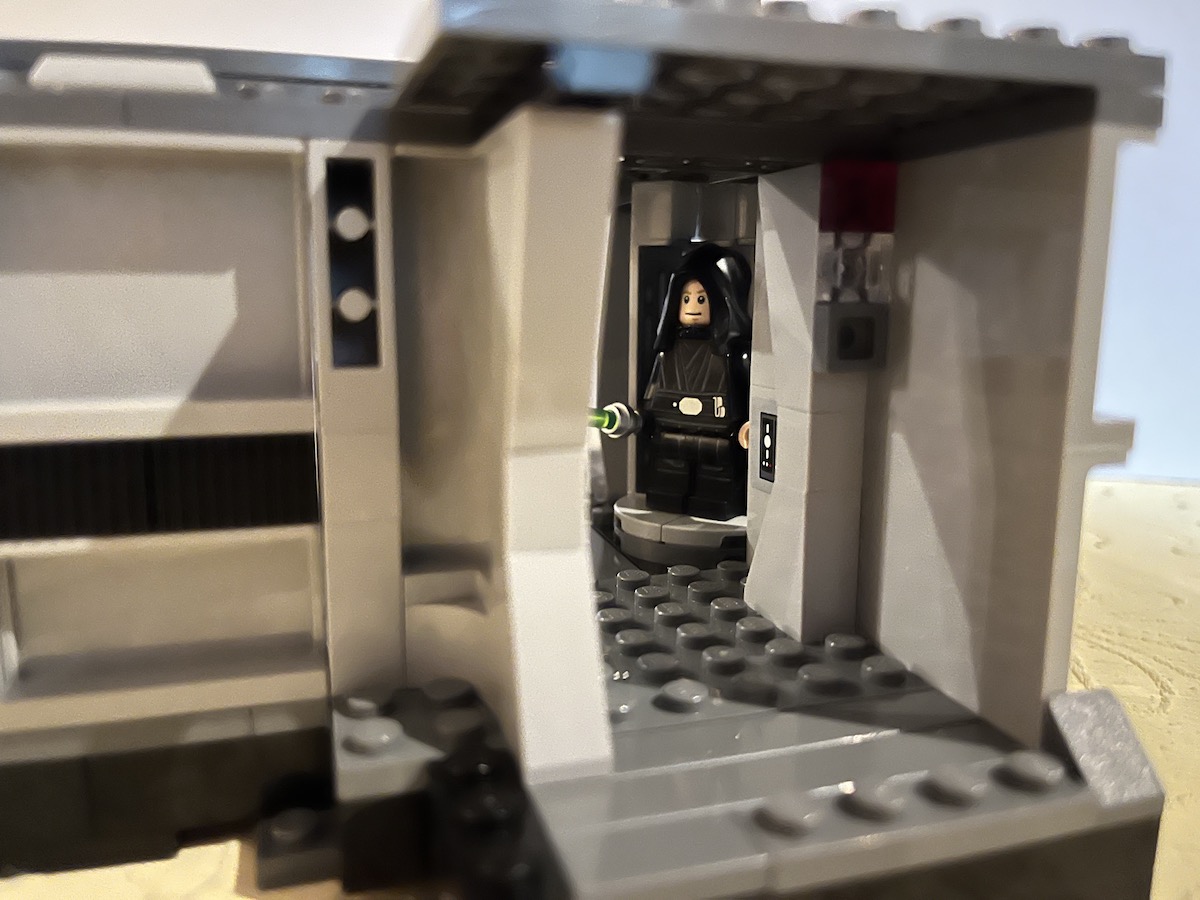
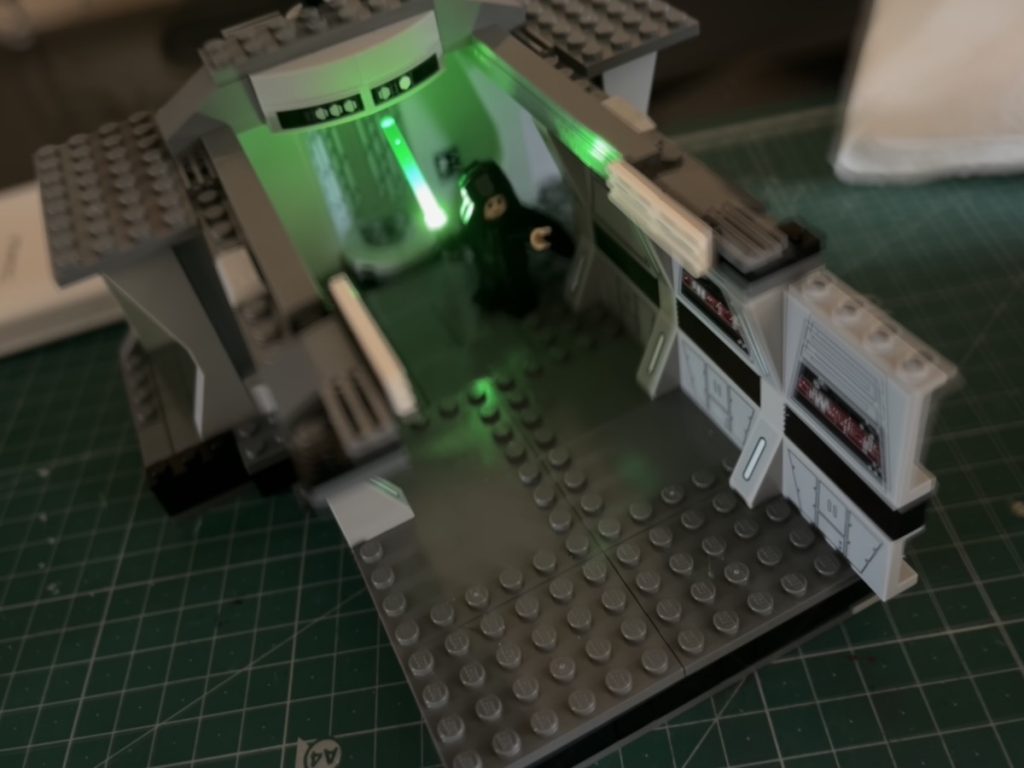
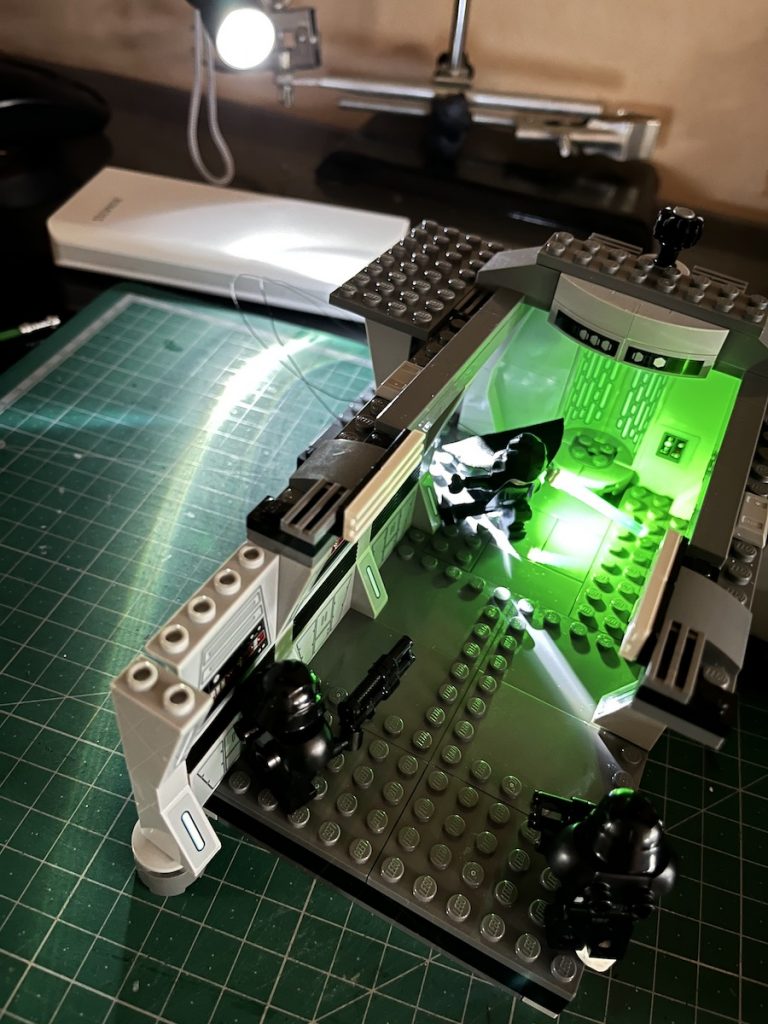
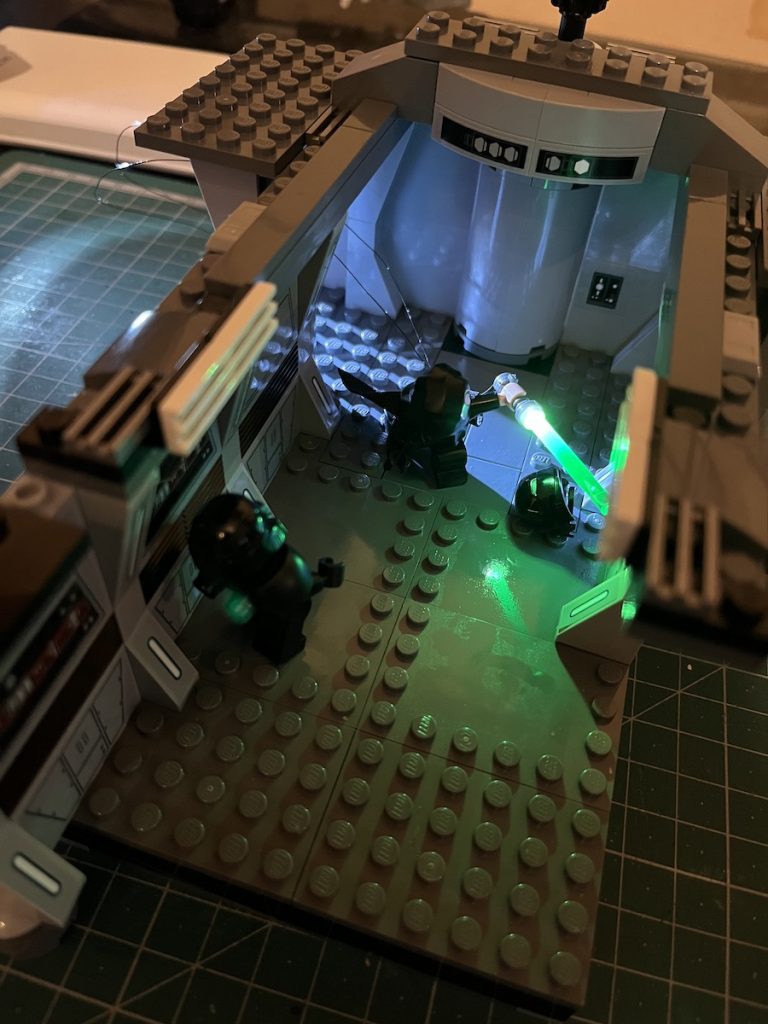
As you can see from the below BTS, the wire for the LED-powered lightsaber can conveniently come out of the side entrance. The new Jedi hoods that drop down over the torso can make it a little awkward to position the head at an angle. But I found one I was happy with in the end.
As mentioned, I did end up using the walls in a modular fashion switching one panel from the left to the right. This allowed the wall to extend and the camera to be placed on an angle. Extending the back wall meant there was no gap to the scene behind Luke. And by lighting from behind, it created something of a silhouette of Luke.
I did create this image with two captures: one with and one without the lightsaber on. This meant I could darken the reflection to the right on the wall. It was very distracting in the original photograph. But with a simple mask in Photoshop, problem solved.
Strike a pose
Why stop at Crazy Arms. The next obvious addition is Crazy Legs, right? Combining both dynamic arms and legs I felt I was able to get a really striking pose for Luke. I will be honest and say it feels a little more prequel-ish, and not quite how Luke fights. But it’s still pretty cool.
As you can see from the BTS, I set up a spotlight to shine in through the side entrance. Creating a background with some Atmosphere Aerosol. As always, a very simple setup.
The walls were reversed to cater for the angle of the camera. The Dark Troopers are in the foreground, though I will be honest, they are a little lost through the shadows and lens flares.
The galaxy is a dangerous place
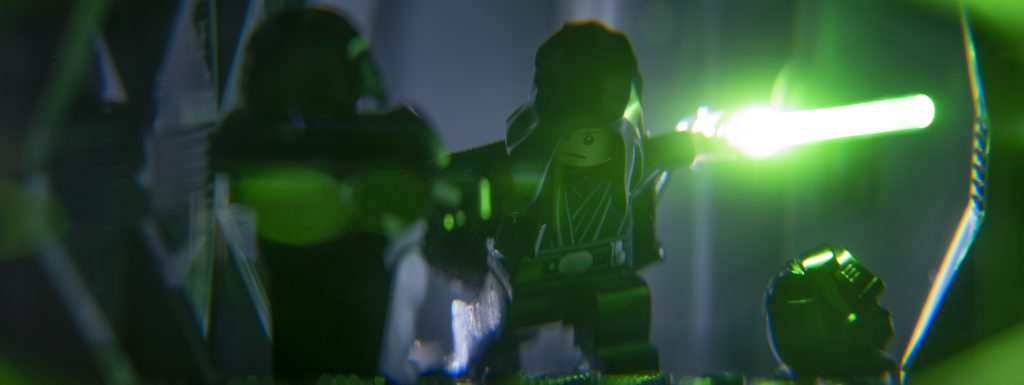
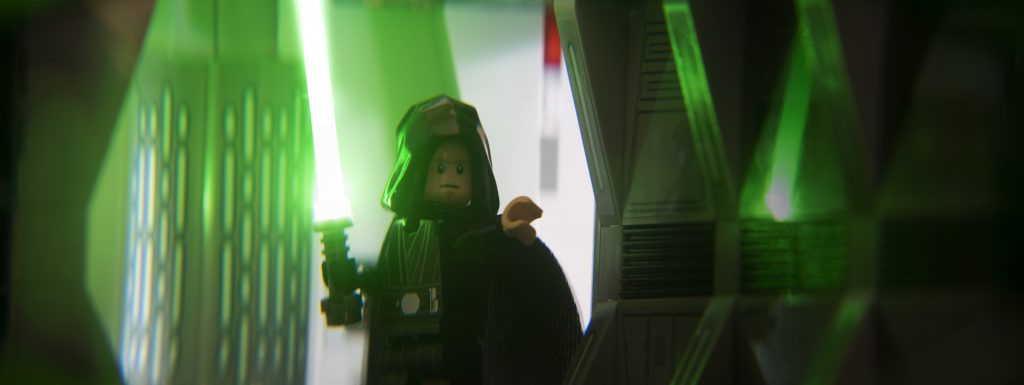
Again with the Crazy Limbs, but in a different configuration. With this combination, it really feels like we’re catching Luke mid-strike. The robot head on the flood adds to the effect of the lightsaber being at the end of a striking blow swing.
As you can probably see, this is very much an evolution on the last photo. The lighting is almost identical with the side light and the atmosphere. The silhouette is not as pronounced and the tones of the image are a touch cooler. The lens flares are also more prominent, from the stronger glow of the lightsaber pointing forward, to the flares themselves stretching to the left of the image. But also, the glow of the lightsaber shining off of the lens casing on the right. While I appreciate some might find this distracting, I actually enjoy the reality of light. For me it “proves” the practical nature of the setup and the act of the photography.
I also made the simple decision to turn the lift around in the background to hide the Imperial lights on the sticker. Hopefully this removed any other distractions from behind Luke as the subject.
Is that a Cylon?
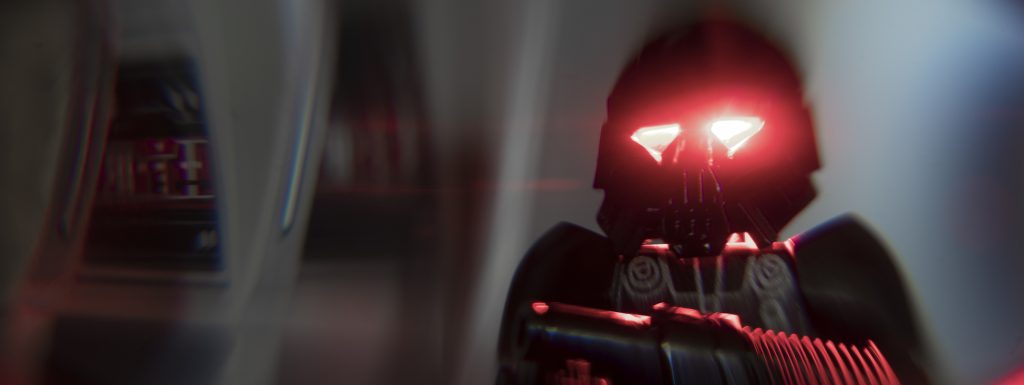
It was also important to get a photo with the Dark Troopers after I mentioned all of those cool details.
This was a simple setup with a 10x diopter to get so close. for those who are new to diopters, they are magnifying filters you can attach to your lens to increase the macro ability. The payoff, especially at that magnification, is a very shallow depth of field and some serious distortion around the edge of the image. In this case I was not too worried as the focus of the image was the head, and specifically the eyes of the trooper.
The eyes are lit from inside, after I removed the head inside the helmet. I then replaced it with LED lit red studs. It takes two of them to replace a minifigs head. I then placed a little white tack around the bottom, inside the helmet. This reduced the light bleeding from around the neck, not to detract from the glow of the eyes. Again, a cooler background works well as a contrast while the red details on the walls bring the colour through the photo.
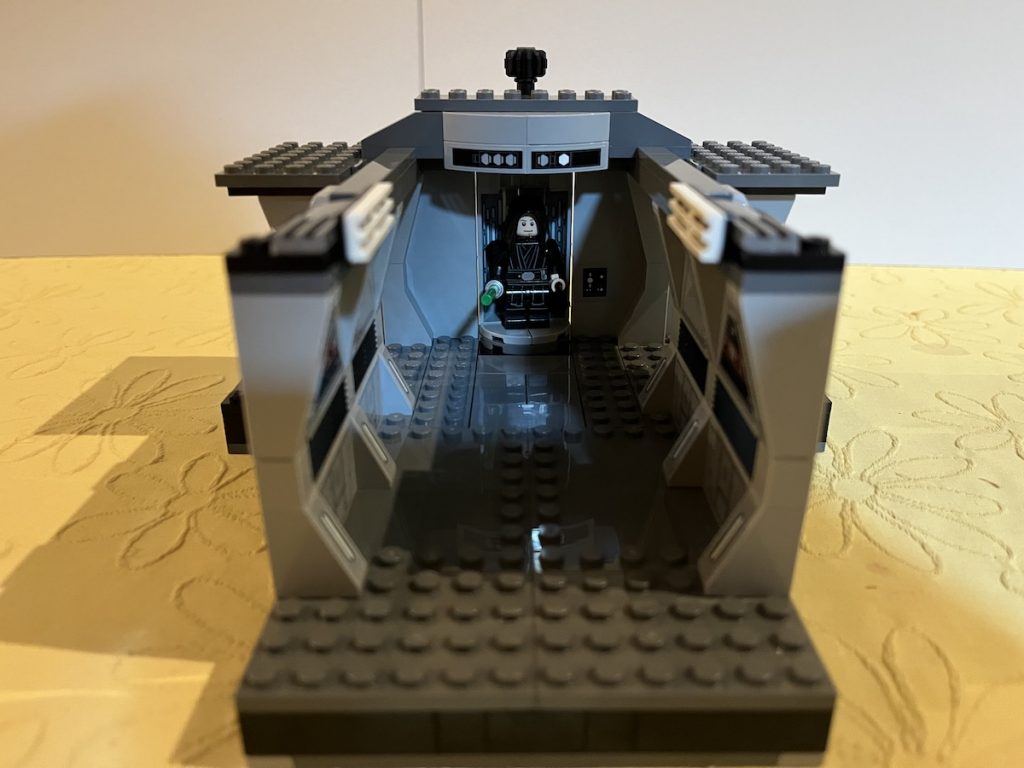
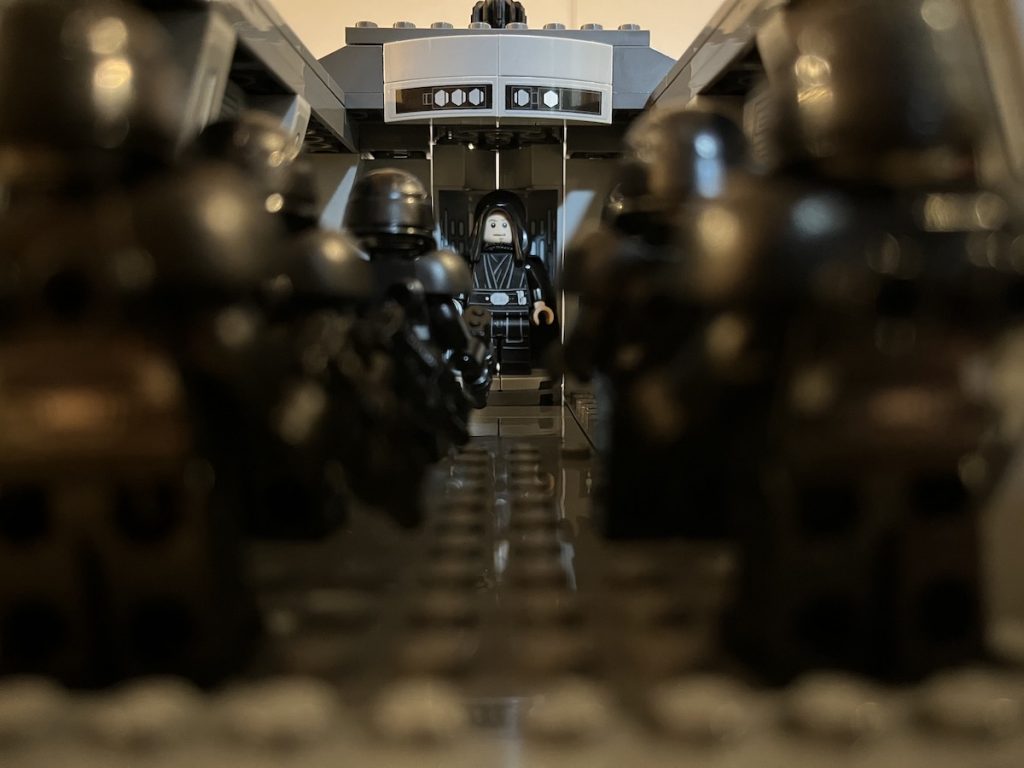
Silhouette
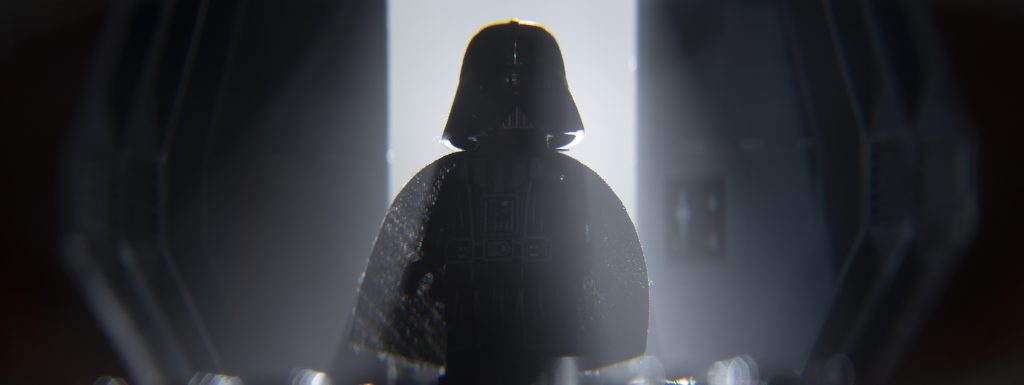
What it took me way too long way to realise, was that this could be any Imperial corridor. It didn’t need to be the one from Mando. I just needed to get some other minifigs. And who else but Darth Vader should be the appropriate subject?
I’ve talked a bit about silhouettes in this post, but this time I went all out, dark figure, backlight and lots of contrast.
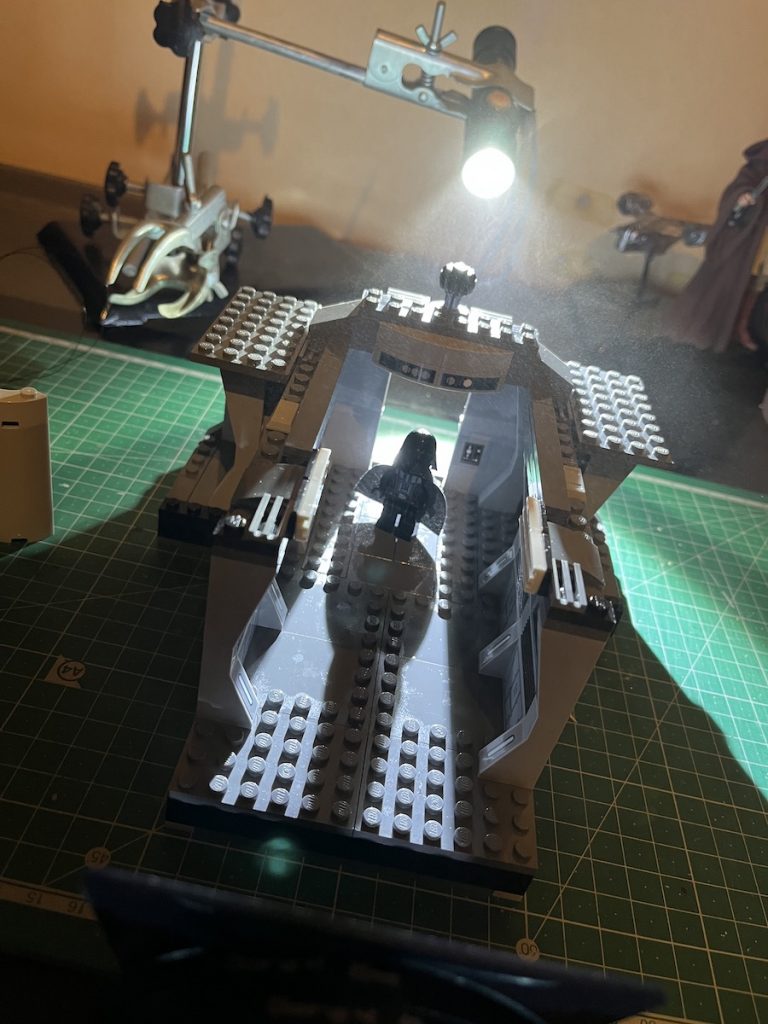
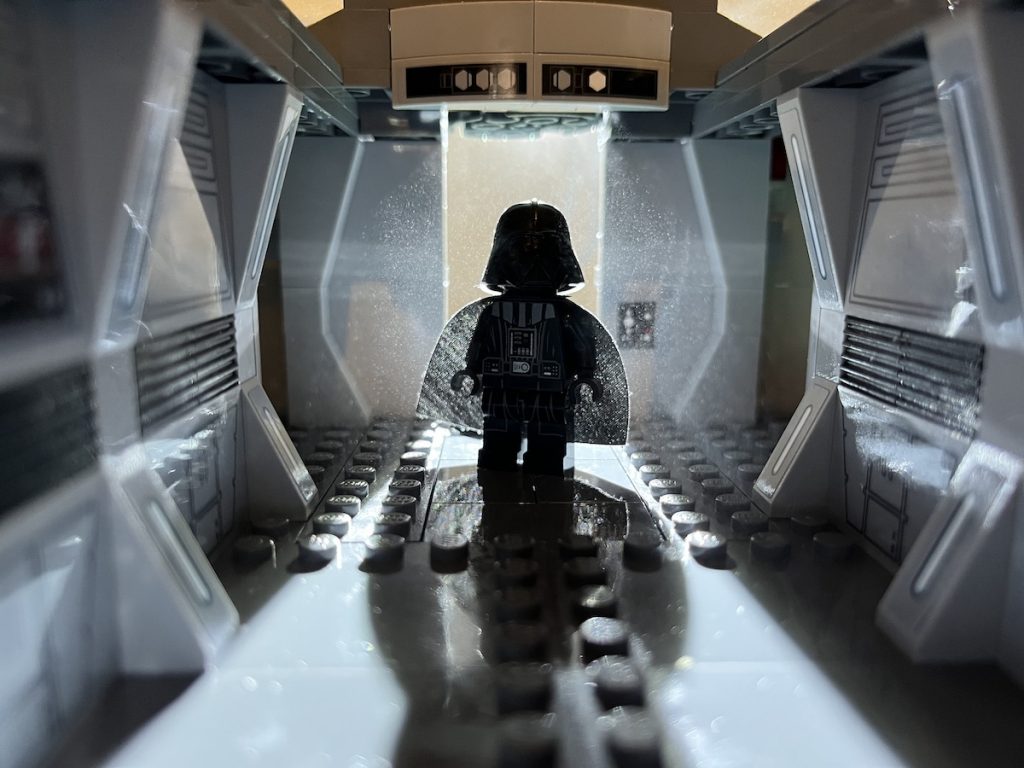
For this one I went back to a head-on shot, straight down the corridor. I removed the lift mechanism, creating a doorway for the backlight to shine through. As you’ll see in the BTS below, this light was through a reasonable amount of atmosphere to disperse the illumination. A very faint front spotlight was also required to bring out some of the details of Vader’s suit. Otherwise he was just too dark for the photo. I prefer that there is the tiniest amounts of highlight on his face and torso.
What I also love about this photo is the how the sides of the corridor seem to blend into the edge of the frame. But then they also give a frame within a frame. And when the doorway creates another frame, it’s a frame within a frame within a frame.


Leave A Comment