Cinematic lighting is a term often heard when looking and talking about toy photographs. It’s a shorthand term that indicates that the image has a cinematic feel or is using cinematic lighting techniques. But what exactly is cinematic lighting? To help you understand this term, I want to break down four techniques that help define cinematic lighting.
Photographers and directors alike, approach a ‘shot’ with intention. What is the ‘look’ they’re trying to achieve? How can color and lighting style support this look? And how lighting and color help to sell the ‘story’ and make an emotional connection? If you’ve taken one of my workshops, these questions will sound familiar. By approaching lighting with intention we have another tool in our toolbox to create photos that are believable, dimensionality and added depth.
Four components of cinematic lighting
Cinematic lighting has four basic components that can be used to create added depth and realism to any scene. Let’s take a look at each on in more detail. I’m sure that you’re already creating images using one or more of these techniques. Even before I learned these concepts I noticed that I had accidentally used them in some of my favorite images. Pure magic happens when you start using them together. And don’t worry, all of these methods can be used both outdoors or in a studio situation.
Hard vs diffused light
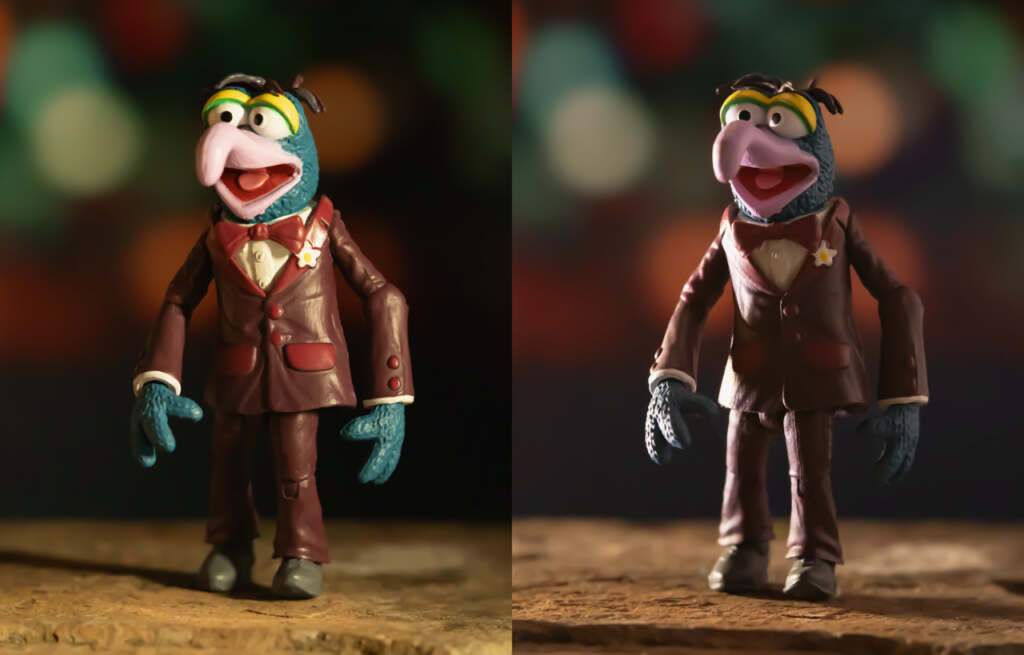
Hard light comes from a direct source [think the sun or bare light bulb] that creates defined shadows and high contrast. Diffused light has been softened or scattered [think opaque material or clouds] and creates soft shadows and low contrast. How hard and soft a light is determined by the type of light, the material in front of the bulb, as well as the distance from the subject.
Because hard light is defined by a sharp line between the light and shadows, it’s useful for increasing the drama or capturing texture in a toys sculpt. While soft light is useful for working with highly reflective toys or softening the mood of your photo.
Using bounce cards, soft boxes and other reflectors can turn a hard light into a soft light. Using a small light far away, will sharpen the light and give you more retails (hard light). While the same light close up, with be softer. Understanding how to modify the type of light by using distance between subject and light, as well as how to diffuse the intensity of a light through the use of a softbox, umbrella, bounce card etc is a foundation skill of photography.
Long vs short lighting
Long vs short lighting refers to where your camera lens sits in relation to your main or key light. Consider a portrait session with the subject in the middle of the space. If the camera and light are on the same side of the figure, more of the subjects face will be lit [long lighting]. If the camera and light are placed on opposite sides of the subject the light will only illuminate the side of the face farthest away from the camera [short side]. With ‘short’ lighting the side of the subject facing the camera will fall mostly in shadow.
Within this broad definition of long and short lighting there are several modifications that can be employed. By controlling the quality of the light (see hard vs soft), how much light reaches the subject as well as how much of the shadow is softened with the use of reflectors, will determine the final look.
Understanding long and short lighting is a useful technique to creating a dimensional subject.Not only does this technique help to create a believable world , it will help you show off the amazing figures that are often being photographed!
Motivated lighting
Motivated lighting is defined as lighting within a scene that has a purpose. If there is a practical light in a photo such as a lamp, window or door how does that light affect the subject? If the door is open, does daylight stream through? When there’s a lamp in a room, is it consistent with the light falling on the subject? Motivated and practical lighting is all about consistency and world building.

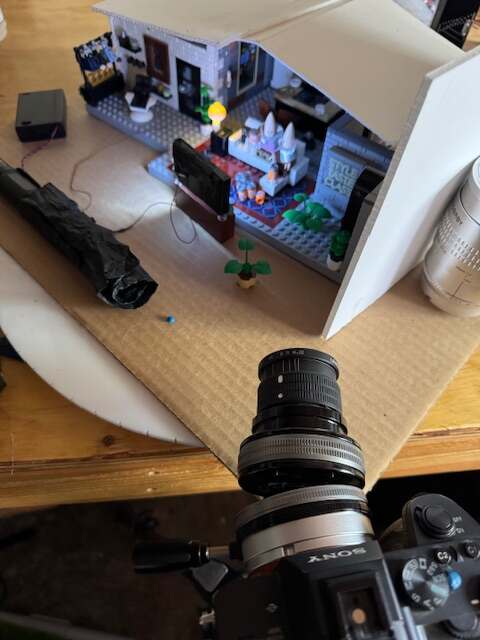
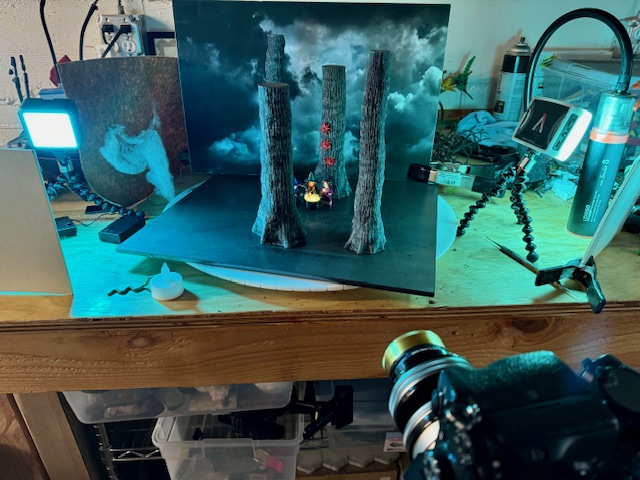
As a primarily LEGO minifigure photographer I have access to a variety of pre-light accessories for a scene. While they look good, they don’t offer enough light to light a scene accurately. Generally I set my camera to manual, expose for the light and add additional lighting to properly illuminate the scene. I have several small RGB lights, ultra small LED lights and flashlights in my studio that I use for additional lighting. In addition I have a variety of bounce cards and flags (opaque material to block light) I can use to reflect and and remove light in the scene.
Complimentary colors
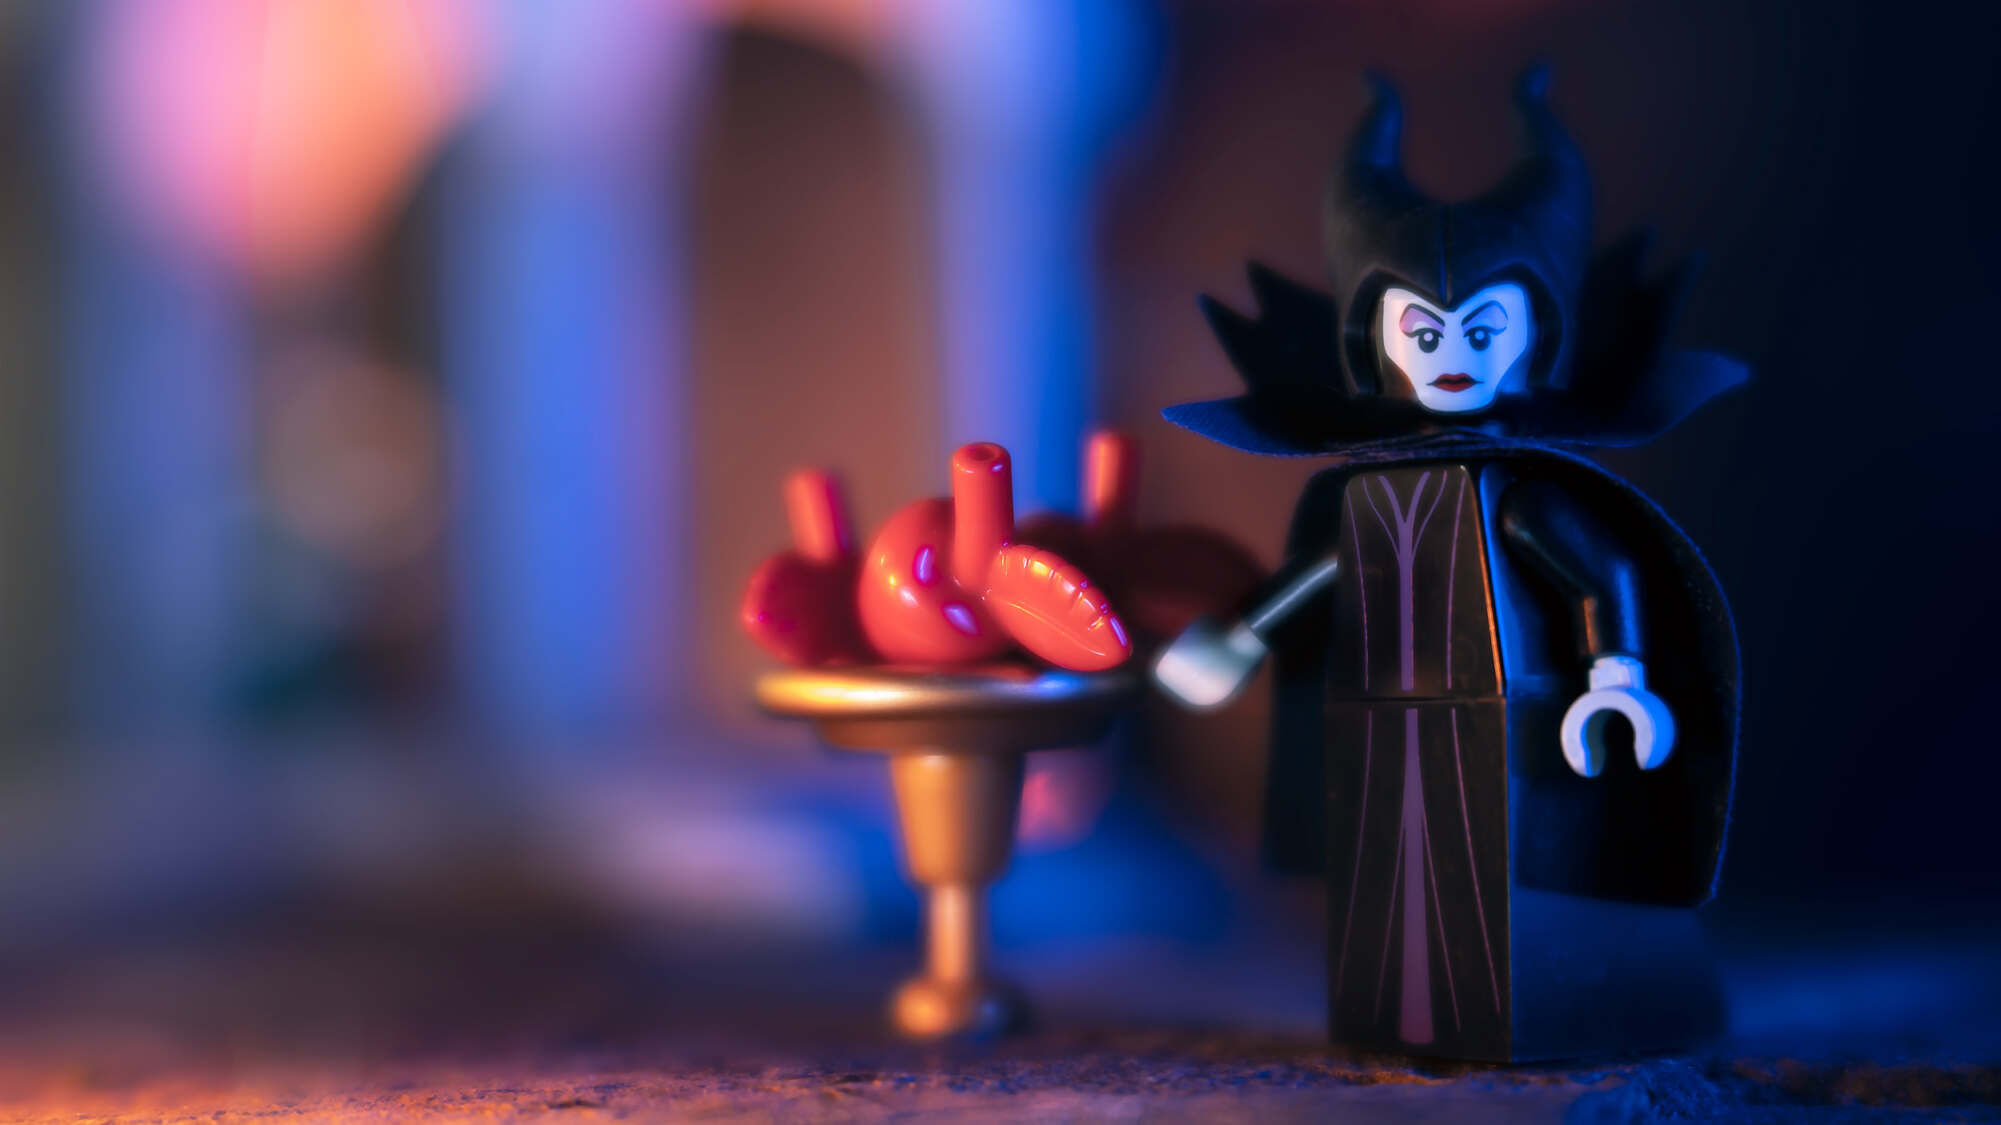
Light is rarely neutral. It can be warm or cool depending on its kelvin temperature. But with the availability of inexpensive RGB lights, a whole world of color is opened up to the toy photographer. Using complimentary colors (colors on the opposite side of the color wheel) brings dimension to a scene as well as a layer of storytelling.
Using color combinations like orange / teal or yellow / purple brings both energy and a sense of emotion to an image. Color is also an important tool to separate a figure from the ground thereby creating depth and adding interest to a scene.
Understanding color theory brings both a stylistic and emotional element to an image. Cinematographers have been choosing specific color palettes to support storytelling for years. Because toy photography is aligned with cinema and portraiture, it’s a wonderful cinematic skill we can use to bring extra dimension and a layer of storytelling to images.
In summary
Cinematic lighting is a skill that deserves more than this simple post can convey. I hope that this simplistic introduction will peak your interest. Not only will you have fun creating your own cinematic images, but you will appreciate your favorite tv shows and movies even more!
In fact, I challenge you to watch your next movie or tv show and look for examples of any of these techniques. How is color being used for world building? How are the actors being lit? Can you spot long or short lighting of the main actor? Do you see examples of practical or motivated lighting?
Now that you have insight into cinematic lighting, I challenge you to look at other toy photographers images to find examples of these techniques in use. How can you bring any of these ideas into your own work? Can you use these ideas outdoors as well as in the studio?
Feel free to add your own comments, ideas and suggestions on how to create believable cinematic lighting below. I love to learn from other toy photographers on how they approach their toy photos.


A great introduction, Shelly! I need to play more with my lighting so this is a good way for me to dip my toe into the water. Thanks you!
Mary – Im so glad that you found this helpful. There are lots of resources on youtube. And remember, this is a journey, not a destination! Have fun. 😀
Really interesting and helpful information presented clearly and concisely. Thank you for sharing your expertise, Shelly!
Mary – Thank you for your kind words. This is a huge topic and Im glad I was able to present it in a way that isnt overwhelming. Each of these elements is its own blog post (or more!). Have fun with your own exploration. 😀