Recently I have been having a lot of issues coming up with motivation for doing toy photography. This is for all the obvious reasons (*cough*pandemic*cough*). I have been watching a lot of Adam Savage on tested.com, and I decided to take a page out of his playbook: If you come to the shop and don’t have a project to work on, make a project by improving the shop. So if you’ll permit me a little deviation from the normal toy photography talk, I’d like to share a recent improvement I made to my studio.
The problem: paint storage
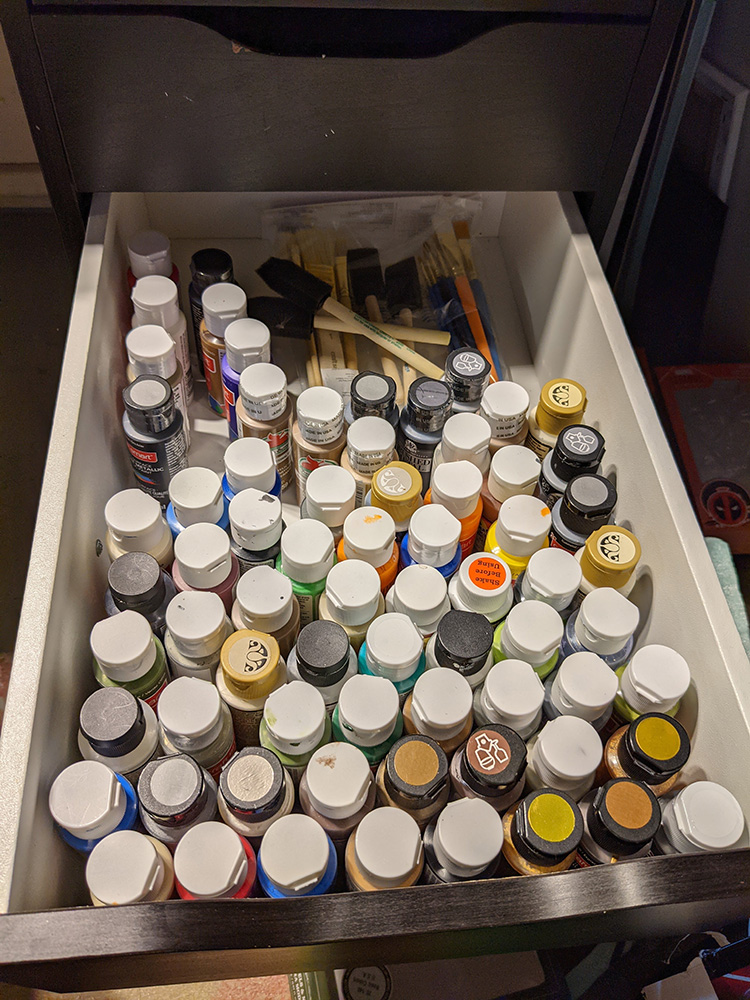
My creative pursuits in the last year or so have expanded into creating my own props and dioramas. As you can imagine, this requires painting things, and I have a decent sized collection of paints. I keep them in this drawer:
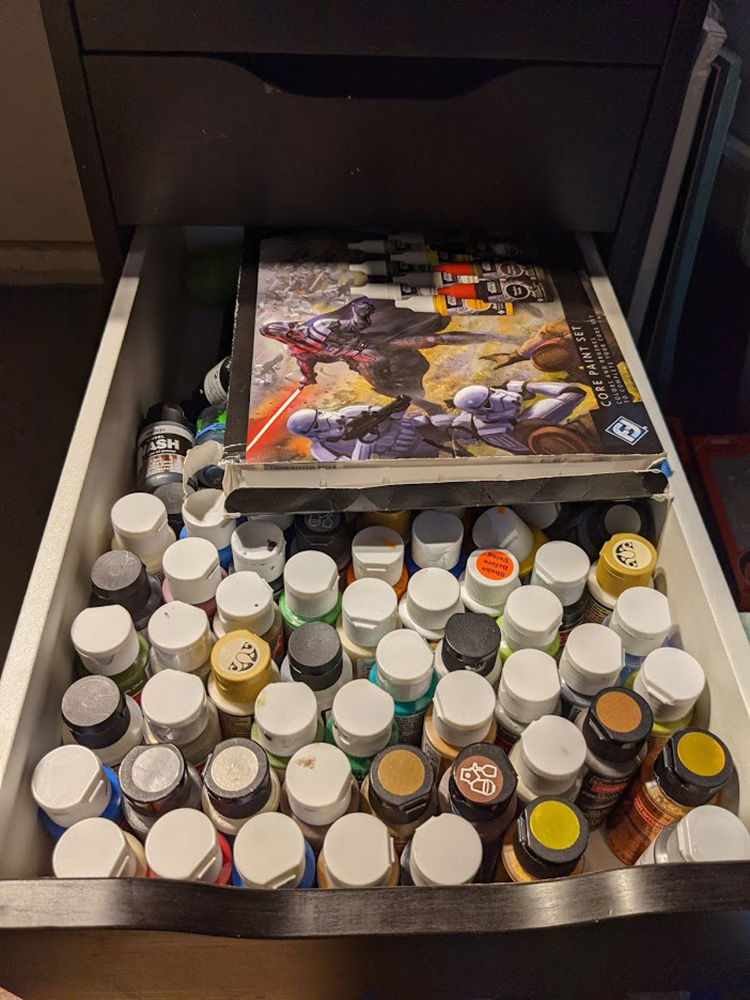
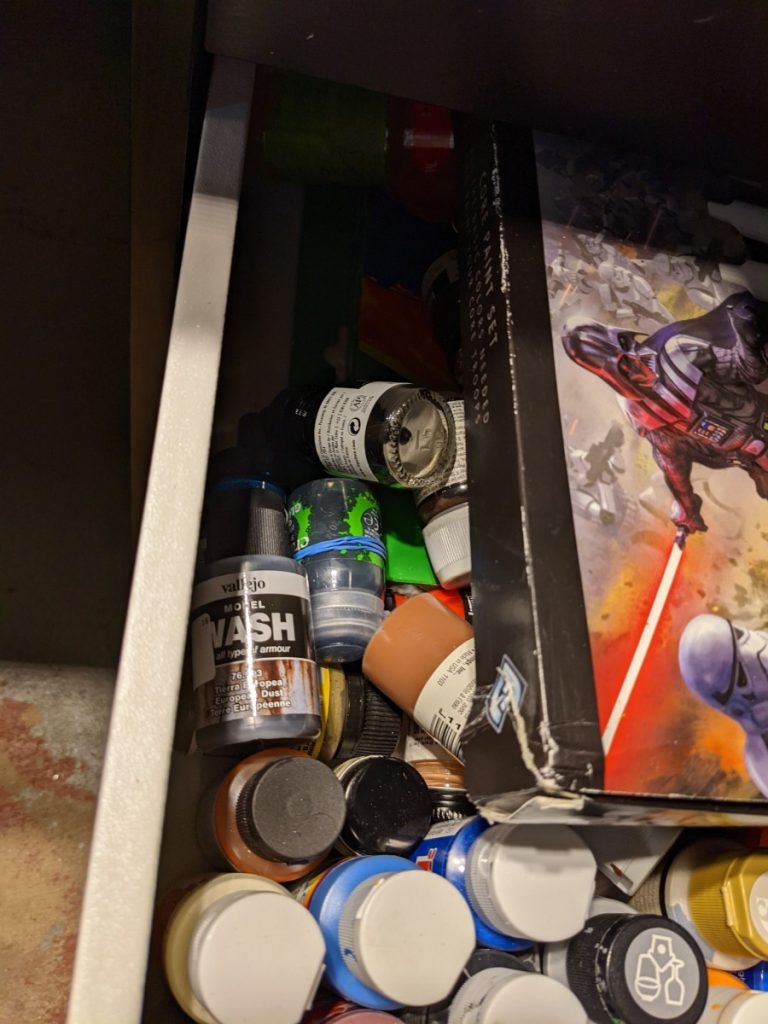
I mostly have basic craft paints (in the foreground), but I have a small number of specialized model paints, washes, pigments, inks and other things useful for fine detail work on figures. As I have gotten more and more paint, these specialized pigments have been pushed to the back of the drawer. They constantly fall over, and end up in one big pile, which is annoying to sift through when I need to find something.
When looking for an improvement project, it’s best to scratch the thing that itches you. This was my biggest itch, so it was perfect to spend a few hours scratching it.
The solution: a paint shelf
One can buy shelves specifically designed to store this sort of paint. Some are quite sturdy and functional. Others are more decorative and aesthetically pleasing. All are expensive, like custom storage solutions tend to be. So I decided to make my own.
Besides, making something to stay active was pretty much the point of this exercise.
Looking at pre-made solutions got me thinking of what I actually needed, and where in my studio I wanted the storage to be. It had to be conveniently located, so I can reach it when I need to paint something, but not get in the way, either physically or visually.
I noticed my crafting bench had this gap between two shelving units. I kept my brushes there, but nothing else. Behind it was nothing special to look at (well, the Falcon is cool, but it’s only partially visible. The water tank is not exactly winning any beauty contests).
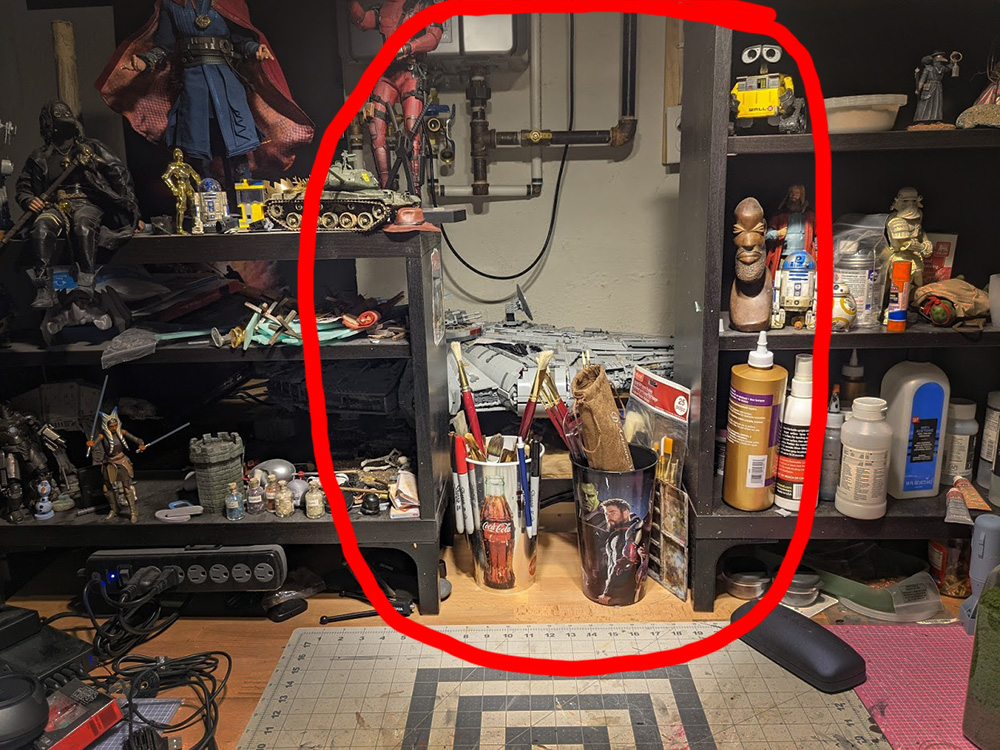
Filling that spot with a custom paint storage shelf would be my goal.
Making a paint shelf
I wanted something simple and lightweight. I also wanted something I didn’t mind ruining. This is a paint shelf, and I despise having anything in my work spaces that I would feel bad getting paint on it. While I am often precious about my stuff in other places, and take steps to keep them nice, my tools don’t need to be pretty. Tools are meant to be used and abused. Their beauty comes from the scars of their use, not the factory shine.
With this in mind, I decided to go with my old standby: XPS foam. It’s super cheap, and I already had plenty on hand since it’s the same stuff I use to make dioramas.
I measured the space and came up with a design. I ensured the tops shelves fit the model paints, and created a built-in storage for the paint brushes I had to move in order to make room. Once I had a plan, I cut out all the pieces, glued it together, and let it dry overnight.
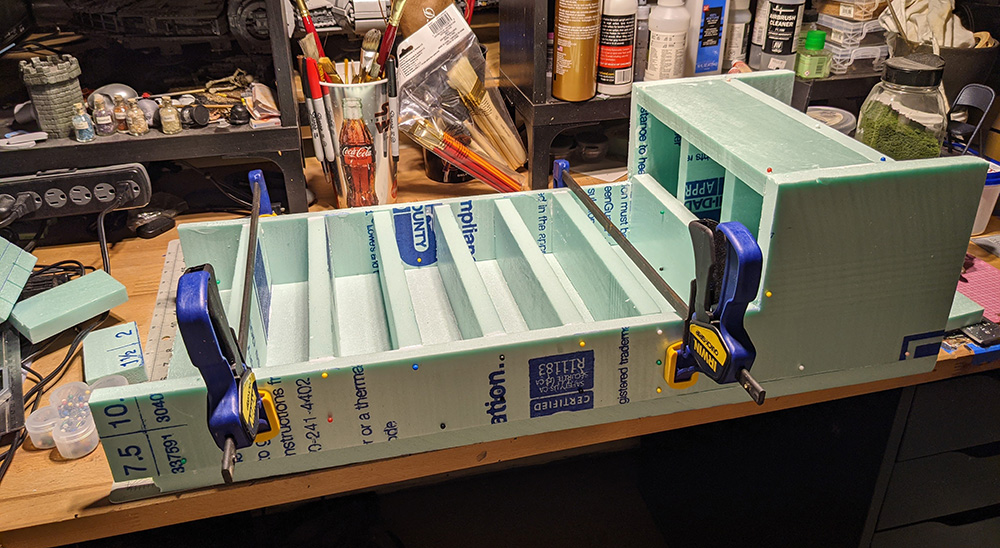
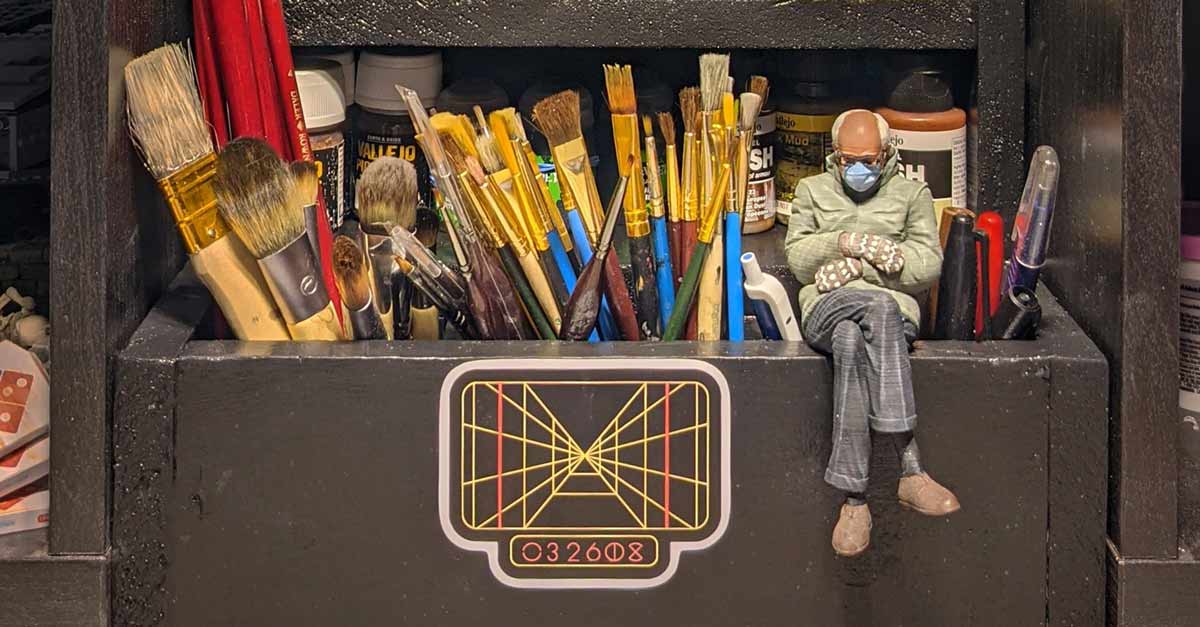
The next morning I had a perfectly serviceable shelf:
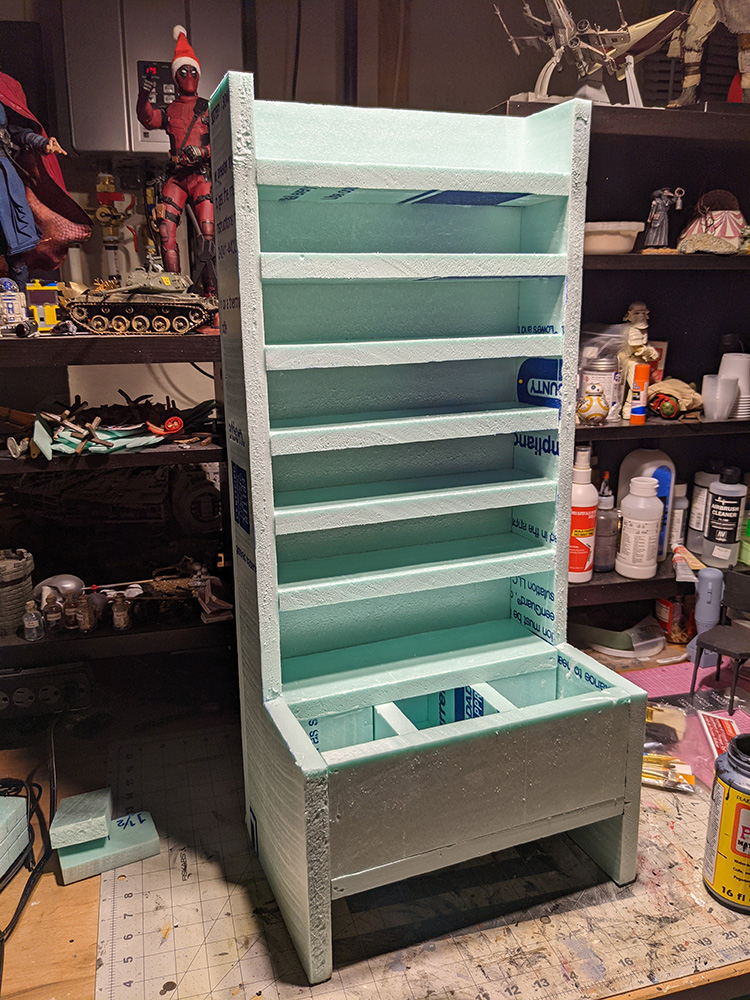
If you look closely, you will soon see that it is not the most elegant bit of foam-based carpentry. I’m torn between two explanations for it. One is that I am a horrible carpenter at the best of times. The other is that not having it perfect makes me less likely to care when it inevitably gets dinged up and painted. Pick whichever explanation works for you. Also, given it comprises about $4 worth of foam, I wasn’t worried about wasting material if I completed botched the job.
I was pleased to note that the shelf is actually quite stable. I was afraid it would get top heavy, but some tilt tests indicated it had a natural tendency to stand upright. Accidental win there.
I painted it with a mix of Mod Podge and black paint. The Mod Podge was to seal the foam and give it a bit of strength. The black was for aesthetics—it matches the other shelves. Then I sprayed it with some acrylic sealer, and I had a very functional paint shelf.
The shelf in-situ
All that was left was to put the shelf in place on my desk, transfer over the model paints, et al, and see how it actually worked.
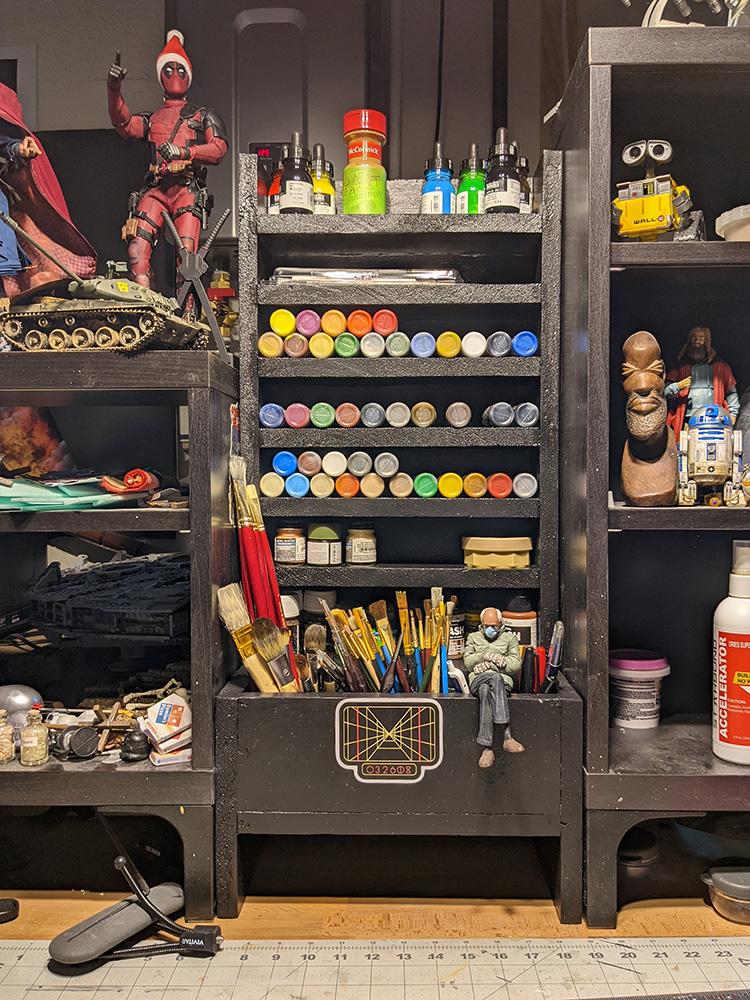
Looks good. The paint drawer is now a lot tidier:
So the only question that remains: Is the shelf functional?
I’m happy to report that it is indeed doing the job I envisioned. It holds the paints well, and they are accessible. Over the weekend, my son and his best friend hung out in my studio to make their own dioramas. They held up to the wear and tear of two 11-year-old boys just fine. Gonna call that a win.
Final thoughts
As creative types we all have moments when our inspiration and energy are low. During times like the pandemic, it is especially true. However, even in the before-times, and in the hopeful after-times, it will happen again. Ups and downs of creative energy are just the nature of being a creative type.
When the energy is in a lull, it is important to stay mentally active. My friend Glyn Dewis, an accomplished portrait photographer from the UK, recently put it like this (paraphrasing), “I can’t do portraits right now due to lockdown, so I am doing what I can [landscape photography]. This way I can stay sharp and jump right back into it when I’m able to do portraits again.” Wise words.
For those of us who make our own dioramas, this is the same thing—keeping our workspaces ready to go, so when the inspiration does strike, we can jump right in. Even if you’re not a diorama maker or a toy customizer, you can still stay sharp and be prepared for the pending after-times. Practicing a new technique, or even just cleaning your gear, repacking your camera bag or organizing your toy collection, will keep you engaged in the hobby. It’s not always about taking photos. The creative process is more than that, and those non-camera bits are also important. And those other bits don’t require a lot of creative energy.
Now is a good time to scratch the itches in our creative processes and make them a bit better. Future-you will thank you for it.
[dave]
Want more toy photography goodness? Subscribe to our weekly email round up so that you never miss a post. You can also listen to episodes of the podcast! You can follow my work at @therealstudiodave.


Great, quick solution.
I’ve been slowly organizing my office space and also hoping I’ll be able to be more creative once it is complete.
Have to keep busy.
Cheers,
Wade
How did you get that Bernie Sanders Figure?
I 3D printed him then painted him up.