
On a recent episode of the Toy Photographers Podcast, I joined a roundtable discussion about lighting preferences in our toy photos. I was asked to share my number one tip for those starting to use light. This post is a deeper dive into my advice for the beginner.
Artificial or studio lights can be a daunting subject for those not used to them. I know I certainly had many reservations. My goal here is to demystify light a little bit and give a good starting point to embark upon your own path toward using studio lights in your work.
The best advice I can give someone just starting to play around with adding lights to photography is to learn the mechanics of how light affects the look of a photograph. There are several properties that can be adjusted by studio lights, including intensity of the light, the size and shape of the light source, the distance of the light source to the subject, and the position of the lights in relation to the subject.
Over the next two posts I am going to cover an introduction to all of those things, but I first want to cover the question most people start with:
What lights should I use?
If you go to a camera store, one of the largest sections is going to be studio lights. There are so many options—strobes, flashes, constant lights, mini lights, light bars, etc. That doesn’t even start to cover the plethora of light modifiers. All of this from dozens of manufacturers. The options can be daunting.
There are definitely some great reasons to buy some quality lighting gear. Lume Cubes are a favourite of many on the Toy Photographers team. The reasons are varied. They are super bright but the intensity can be controlled. They work as both constant lights and flashes. The kits come with a ton of modifiers to shape that light Lume Cubes are incredibly rugged and small enough to fit into any pocket or bag.
If you don’t have any lights, I recommend picking up their kit of two cubes with all the modifiers for the low, low price of $300 USD.
I am sure you just muttered “What the fork?” under your breath as you read that last sentence. $300 is a lot to shell out for a first-timer! And you know what, you are absolutely right. It is actually decently cheap for quality lights and all the accessories in the grand scheme of things. However it is a lot to put out when you are not sure yet what you are doing. Which is why I don’t think buying gear is the first thing you should do as a lighting first-timer.
You already have lights
It’s very likely you already have lights. Many of us started out using flashlights or desk lamps to provide light. I used a set of tactical flashlights (pack of 4 for $20), and a set of LED gooseneck desk lamps for years before buying professional lighting gear. You almost surely own a flashlight or desk lamp already that you can use. If not, you have access to the big ball of fusion in the sky known as the sun. So don’t fret about gear. Not yet anyway.
Concentrate on using the lights you have, and learning how they can be used in different ways to affect the look of your photographs.
The mechanics of light and mood
The rest of this post covers the first aspect of light, which is this: The angle of the light in respect to the subject affects the mood of the photo.
Instinctively you know this. The classic example most kids know is holding a flashlight underneath their chin, shining up on their face. It is spooky and the only appropriate way to tell scary stories around campfires.
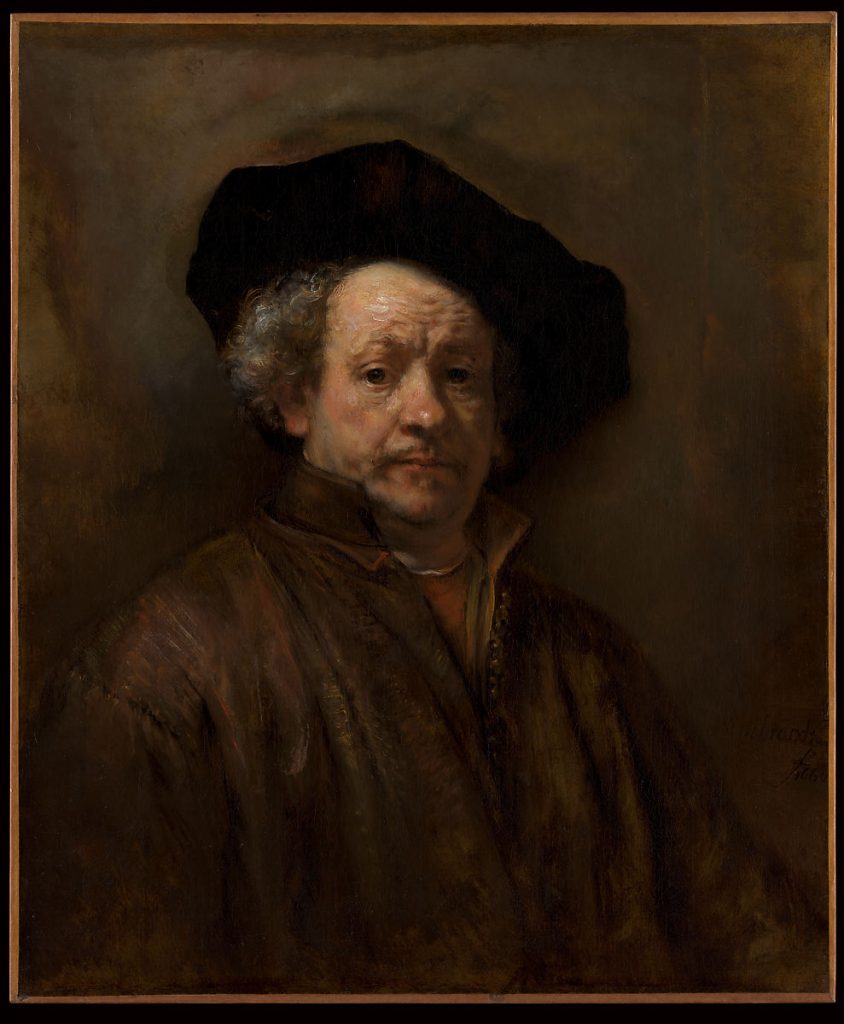
The famous portrait painter Rembrandt has a light scheme named after him. This is where one light comes from one side, and a triangle of light appears on the face on the opposite side, creating a moody portrait.
Silhouettes, where the light is entirely behind the subject, can either be mysterious or creepy, depending on how it’s used. Other lighting schemes are used on models because they accentuate beauty.
My advice: play with light
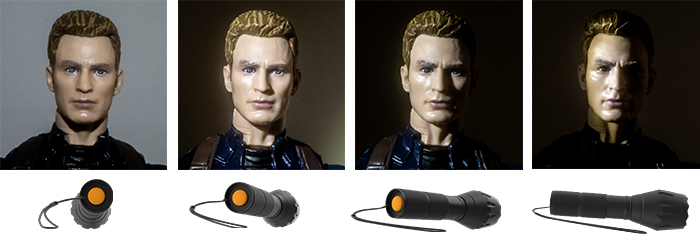
So this brings me back to my advice. I advise lighting newcomers to try a simple exercise. Take a figure, preferably one with interesting features that will catch light, and simply take your existing light source (flashlight, etc.) and move it around the subject. Just study how the shadows fall on it, and how that affects the mood.
Don’t worry about creating art here. This is not about your next social. media share. This is simply about getting familiar with the light, developing an understanding of how the light falls on a subject, and how it affects the look and/or mood.
So move the light all around. All of the 360 degrees you can get: up, down, left, right. How does holding the light at 90 degrees up and to the left look? How does 45 degrees up and 45 degrees to the right look? Does 46 degrees look much different? How about 60?
I think you get the idea.
If you have a table lamp or are using the sun, which you can’t move, then simply rotate the toy in space and look at the differences.
Until next time…
This will get you started understanding the mechanics of light. Next time we’re going to cover the topic of modifiers, how the most common ones (soft boxes) work, and how you can make your own for a flashlight on the cheap.
If you have questions, please feel free to drop them in the comments.
[dave]
Want more toy photography goodness? Subscribe to our weekly email round up so that you never miss a post. You can also listen to episodes of the podcast! You can follow my work at @therealstudiodave


This is really informative, Dave. I’ll be following the series. Thanks!
Its just a short series, 2 parts, but I am glad its informative 🙂