
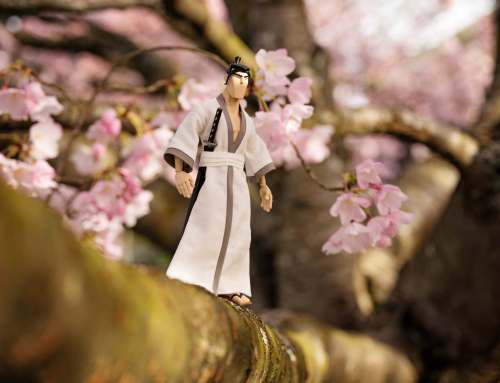
Photographing outdoors is a lot of fun. Photographing toys outdoors requires a streamlined version of the studio pack list. I thought I would share with you a pack list of items to have with you as well as a mind set you will want to adopt for maximum fun and results. When your photographing your toys outdoors you have to move fast, expect the unexpected and take advantage of your existing surroundings. If you like to control your photo scenes, I’m sure this sounds stressful. But take it from me, a veteran of many diverse outdoor adventures, the unpredictability of photographing toys outdoors is worth the results.
Prepare in advance
When you photograph your toys outdoors you have to prepare in advance. There is no running to the next room to grab a forgotten accessory or camera gear. In fact it’s a good idea to have backups of important items like SD cards and batteries. Trust me, even the most experienced photographer will make this mistake…once. And the last thing you want to be is far from home facing a setting sun and realize you forgot your SD card.
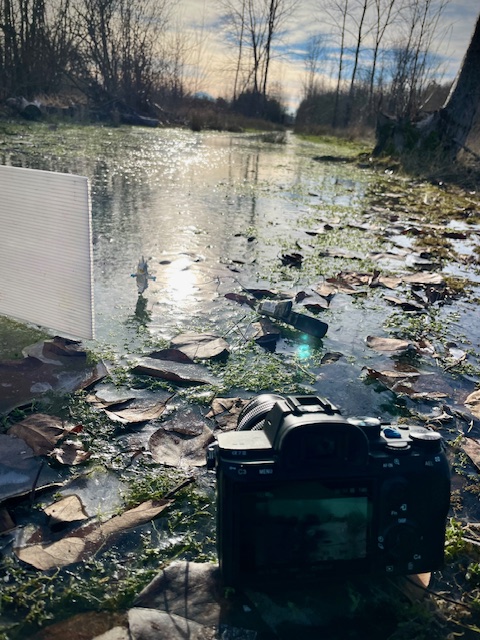
It doesn’t matter what time of the day your photographing, when working at the macro level you realize how quickly the sun moves. It’s frustrating to set up in the shade and realize that 15 minutes later my perfect location is flooded in sunlight. To help minimize this situation I look for large patches of shade, set up in an area i think will hold the shade the longest and I work quickly. I can set up a photo relatively quickly because I always prep all my scenes in advance.
I group my toys together with the accessories I want to pair them with. If they need to be in a complicated pose or situation, I arrange this before I pack them. If it’s a delicate pose I tack everything together with hot glue (please don’t try this on a toy unless you’ve tested it in an inconspicuous location). The goal is to be able to concentrate on the light and location and to not be fiddling with complicated posing.
My goal is to all the heavy creative thinking when I have the leisure of playing in my studio. When Im in the field and working against the clock, I want to minimize what I have to think about. Fussing with toys always makes me stressed out. Being able to minimize what I’m juggling helps me stay calm and focused on the task at hand.
Outdoor basics
Before I leave the house I’ve usually spent at least two hours prepping the toys. But that is just the beginning. Now it’s time to run down the checklist of tools and camera gear I need to have charged, assembled and packed.
Must haves
These are the items I always have in my kit:
- Camera
- 2-4 Lensbaby lenses
- One rechargeable light on small tripod
- SD card plus extra
- Batteries (fully charged and at least one extra)
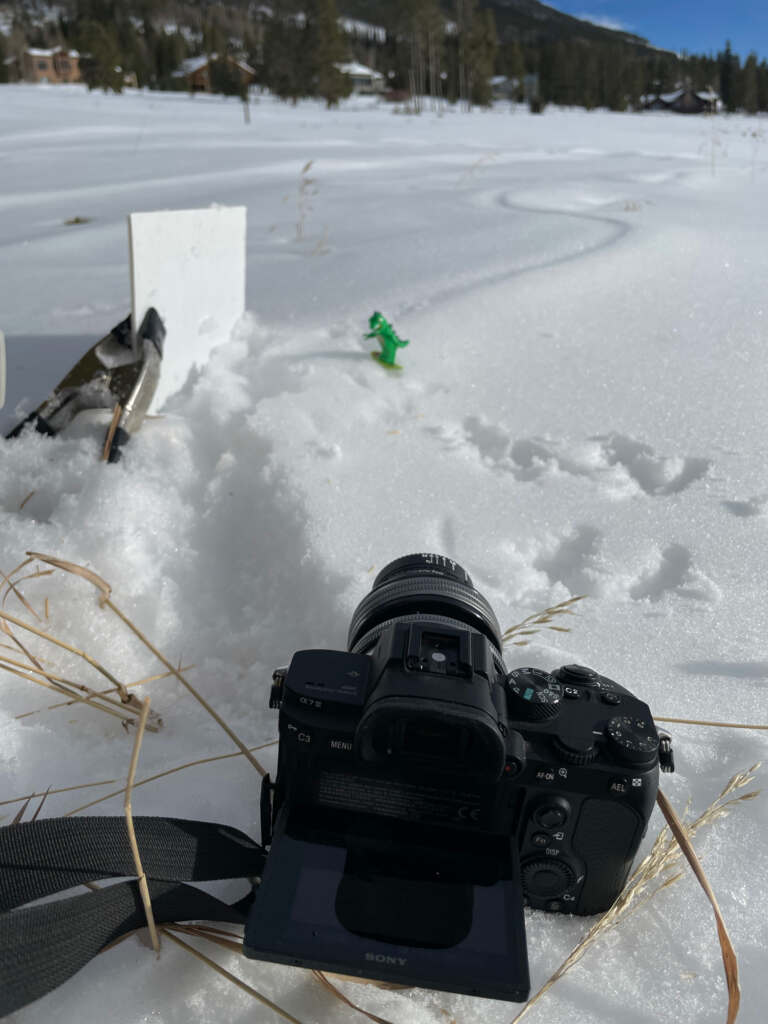
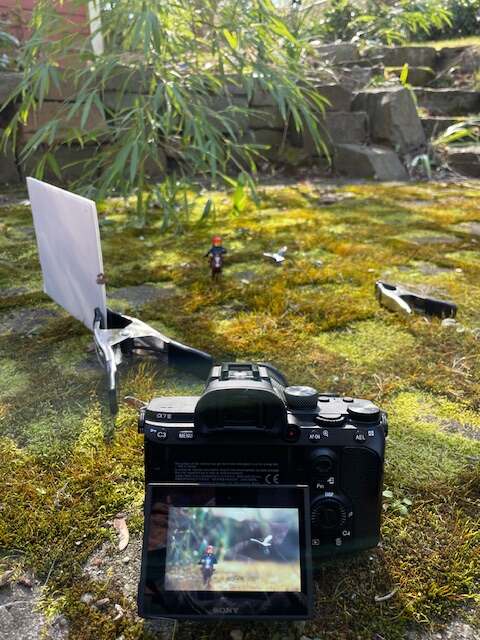
- Two bounce cards (white board used to amplify sunlight to fill in shadows on the toys)
- Extra tack
- Three spring clamps in two sizes to hold bounce cards and toys
- A low to the ground tripod (especially if you plan on creating in special effects in camera).
- Gardening knee pad to kneel on or create a place to safely place my camera
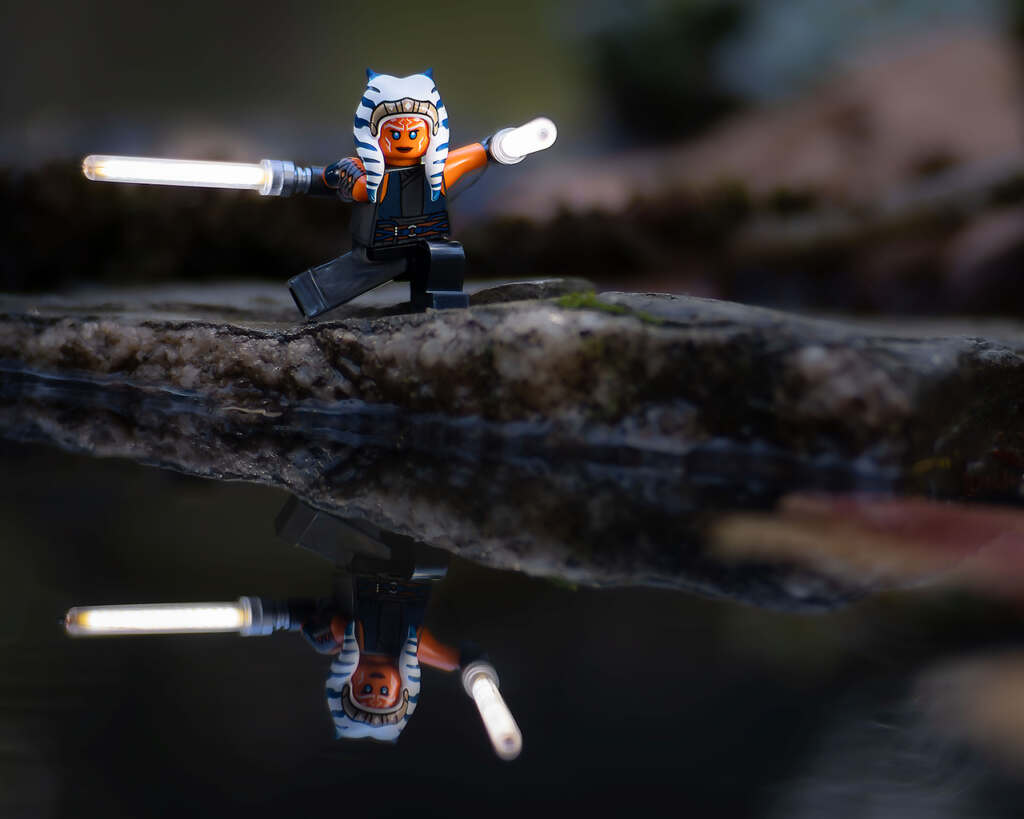
- Extra wire, plastic supports and clear LEGO bricks that can be used while placing toys in mid air or in water
- Towel (for both my hands and to wipe off toys if they get wet or muddy)
Nice to have items
While these next items I rarely take with me into the field. I can see that for certain situations and toys they would be important to have along. Depending on the photographs you want to create, you may want to consider including these additional items.
- Additional bailing wire (18-22ga)
- Multi tool for cutting and bending wire
- Brush for cleaning dust and debris from your toys
- Small garden clippers to clean up your photo location (pruning branches, cutting grass etc)
- Tweezers for removing small debris without knocking over your toys or placing accessories
- Micro fogger, mister, canned air, BAAM drain blaster to move dirt or water

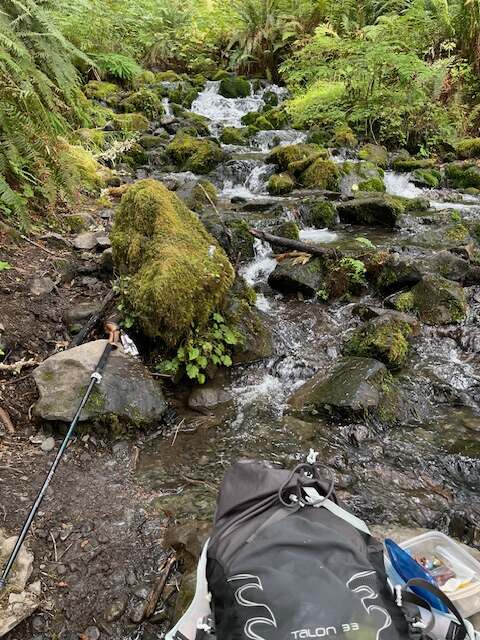
Pack light
This section is for those of us who like to explore nature with our toys. If you’re photographing in your yard, this section won’t apply to you.
I can’t tell you how many times I’ve over packed my camera bag with toys. I have to resist the urge to treat my camera bag like I’m at an all-you-can-eat buffet. Who wants to be caught off guard in the perfect location without the right toys? Not me!! But I’ve learned that with fewer toys and the right gear I can still create toy magic just about anywhere. In fact, the limitations that come from NOT having the right toy often leads to interesting outcomes.
My advice is to save your back and only pack a few toys. Then when you’re on location in some beautiful spot, you can concentrate on the toys you have. In my experience using toys as an excuse to enjoy the great outdoors is enough of a win. The photos are only the icing on the cake. Relax and enjoy your environment.
Final thoughts
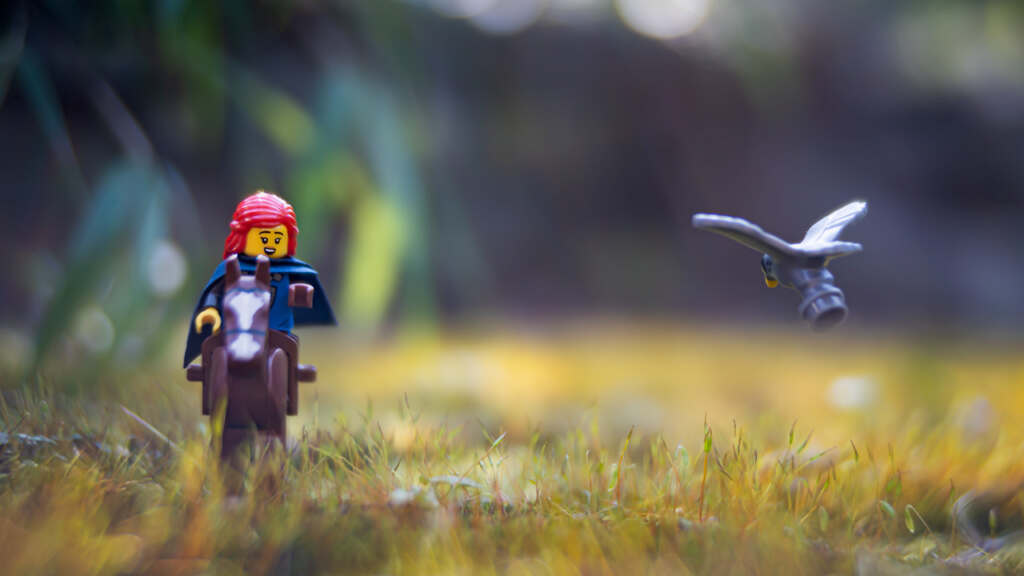
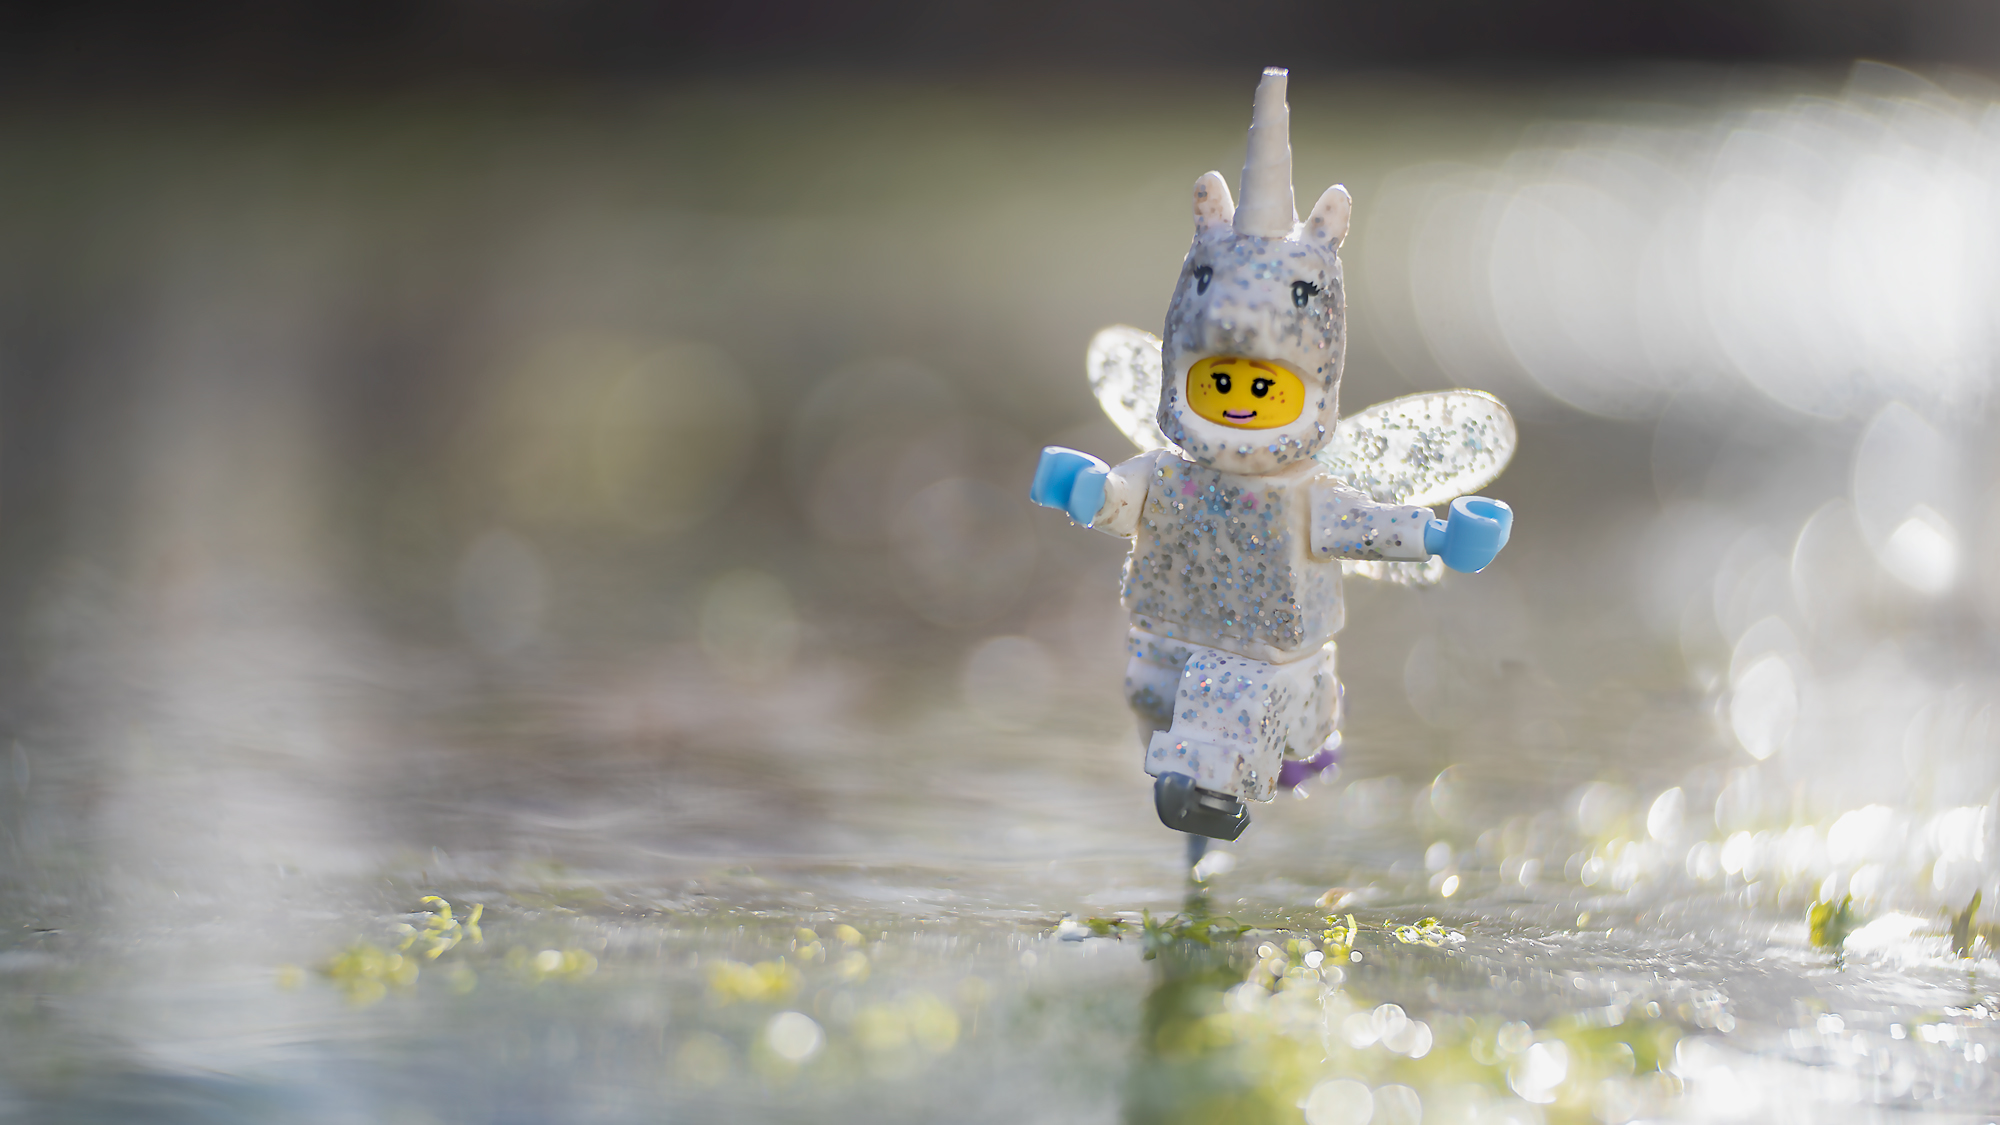
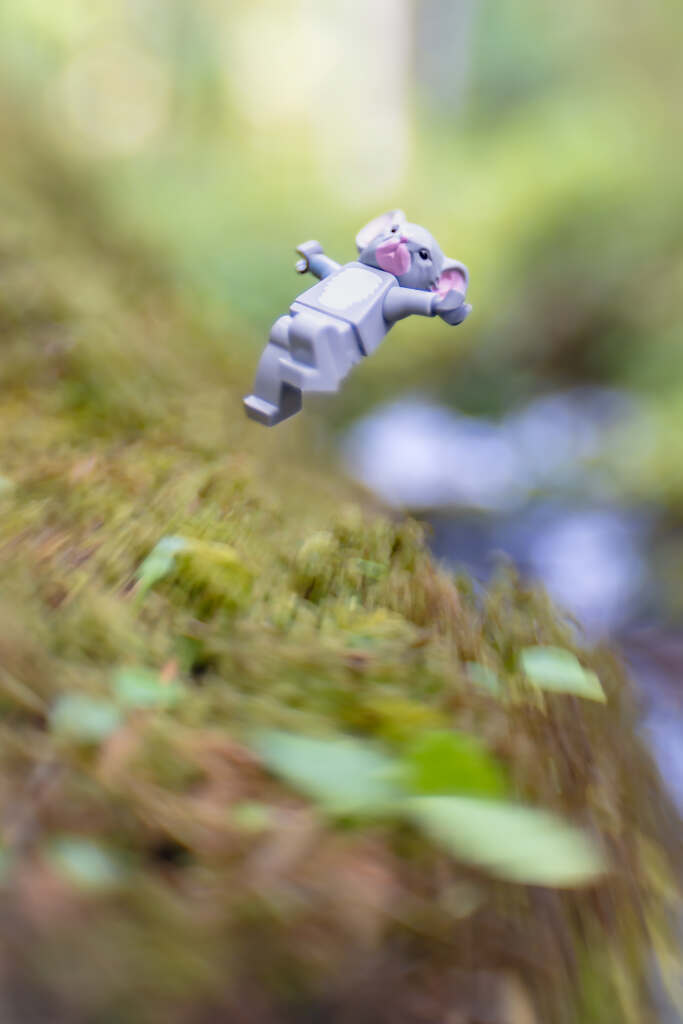
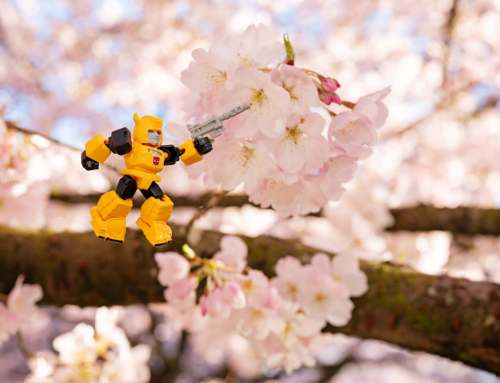
Take your toys outside. They want to go on adventures! When you explore nature from ground level you will be introduced to a magical world you didn’t know existed. Embrace the unexpected images that can only come from light filtering through a tree canopy. And keep on the lookout for interesting backgrounds. Mud on the far side of a puddle can be a mountain range, houses become tall cliffs and moss becomes a grassy field to be traversed.
Photographing toys outdoors is an invitation to discover the magic that surrounds us. I hope that this list of tools will help you make the most of your own adventures.


As always concise and practical tips.
Thanks Luis! I’m trying not to bore people with a lot of extra information. Just the basics 😀
Love the viewpoint you gave with your quiet observer (that beautiful husky in the background). Really makes me want to dig out some toys and start photographing them.
Thanks Tee Jaye – she is my shadow! And yes, bring out the toys and see what happens. They make the most delightful motive!