
What tools do I need to have when I set up my toy photography studio? This is probably the most asked question I get from beginning toy photographers. And while I’m not primarily a studio photographer, I do know most of the common tools needed. This is not meant to be an exhaustive list, but a place for the beginning toy photographer to start. The goal is for you to take this list and put your own spin on it. Your toys and stories may need a slightly different approach. I’m sure I’ve missed something, so feel free to add your favorite (or unusual) tool in the comments below.
Sprinkled throughout this piece are examples from other photographers from our community. I hope you enjoy seeing how these experienced photographers create their photos. Everyone has their own approach. And if I’ve learned anything from my decade plus time as a photographer of toys, there are no right answers…only ingenious solutions.
Tools to have on hand while photographing toys indoors.
Lights
You will want to have 2-3 small rechargeable RGB lights such as Lume Cube, Ulanzi or Aperture. If you can swing it, a larger light panel is great to have on hand for your base light. If you are photographing near a window, treat this as an additional light source to be modified and shaped to suit your needs. These lights will set the overall mood of your image.
I find that having additional lights that I can use for spotlighting, dark corner, accents are excellent to have on hand. These can range from balloon lights, micro LED’s, telescoping flashlights (torches) or even a colored penlight lasers. Companies like BrickStuff and LightMyBricks are just two companies that make LED lights and lighted accessories for the LEGO universe. I find the light panel useful to add light in unusual ways.
Don’t forget to have stands for your lights. To minimize reflections, like on shiny LEGO, you will want to be able to adjust the height and distance of your lights to the subject. Also having a variety of light modifiers on hand will be important. A light modifier is anything that can bounce, stop or redirect light where you want it.
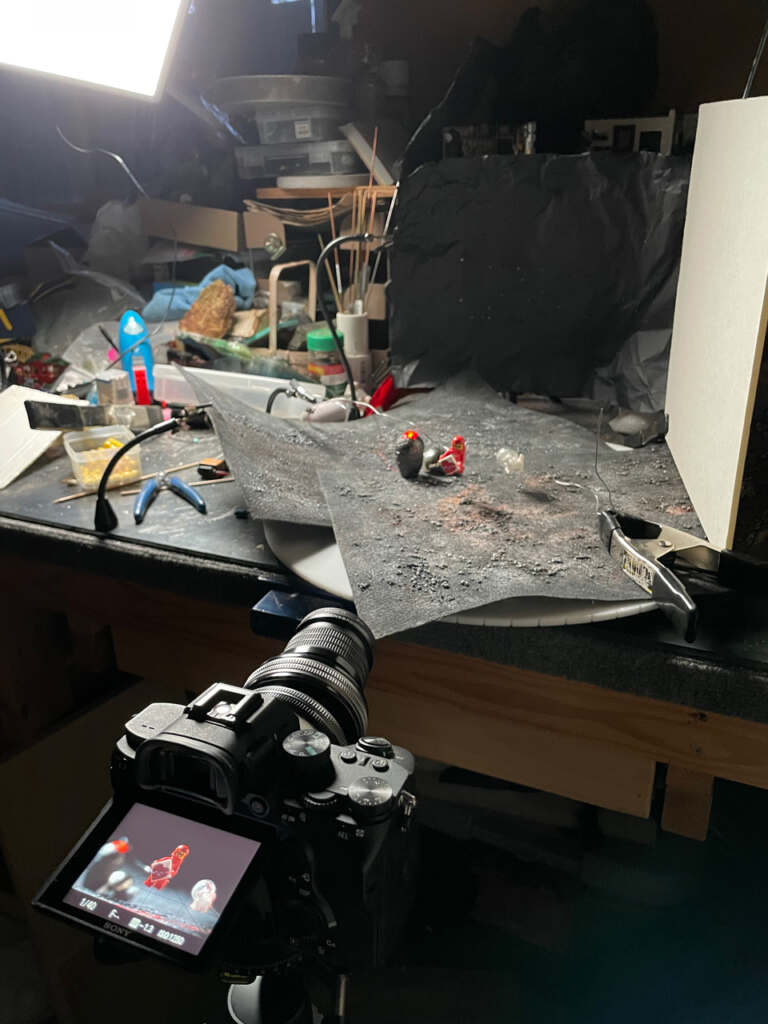
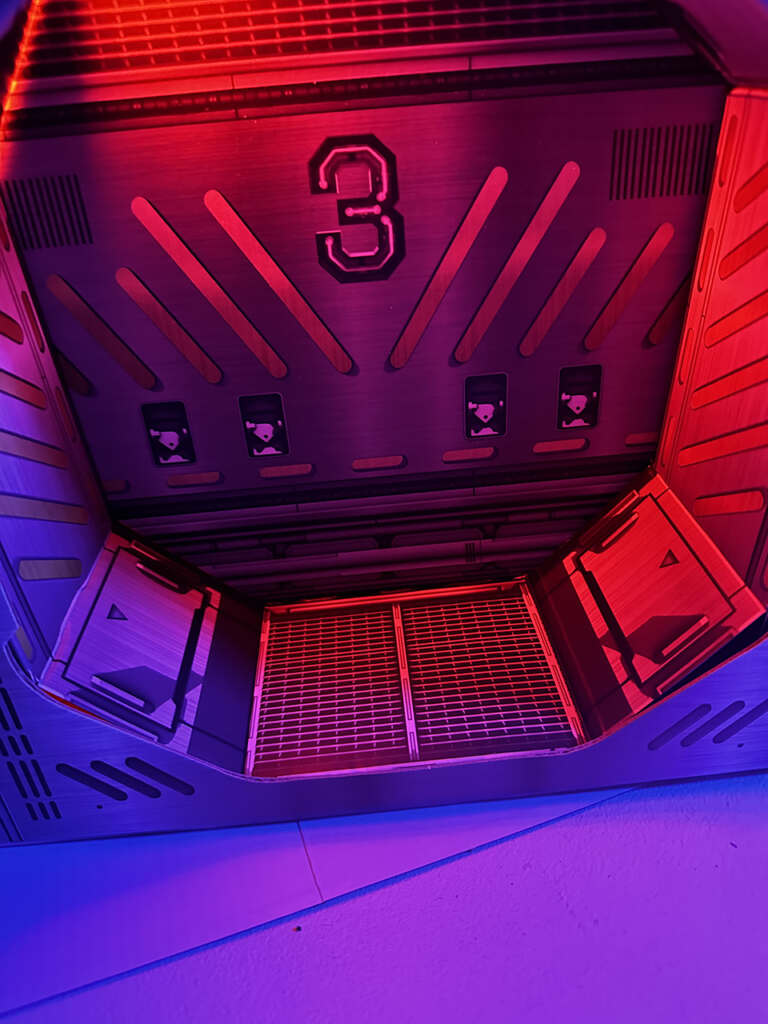
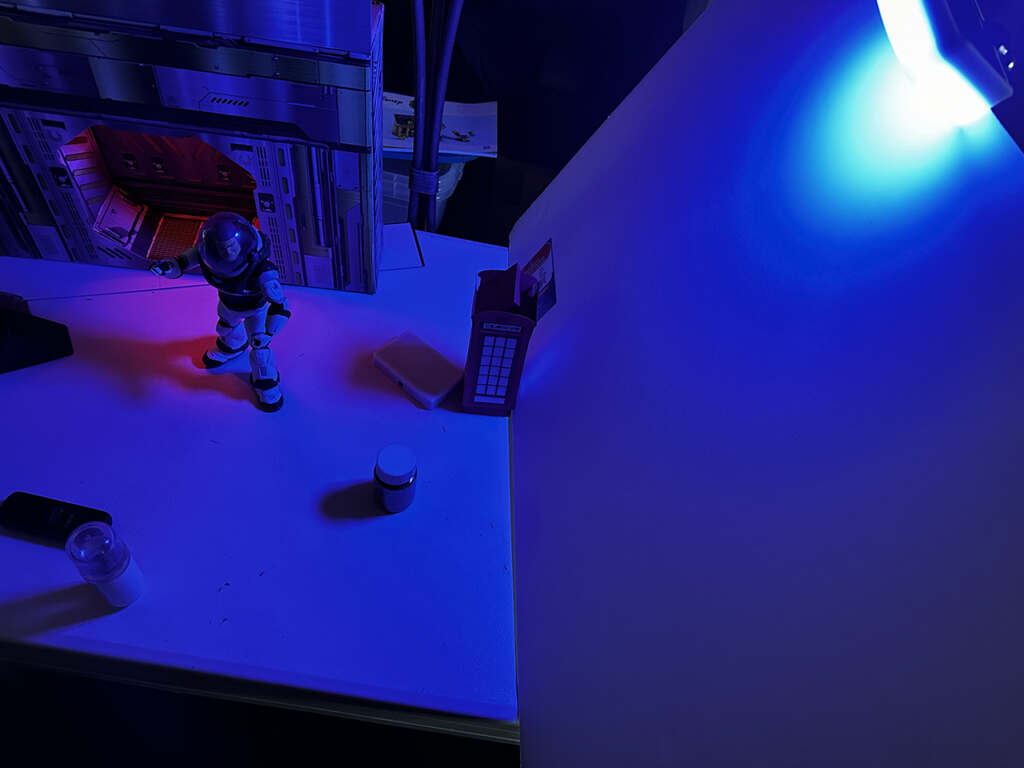
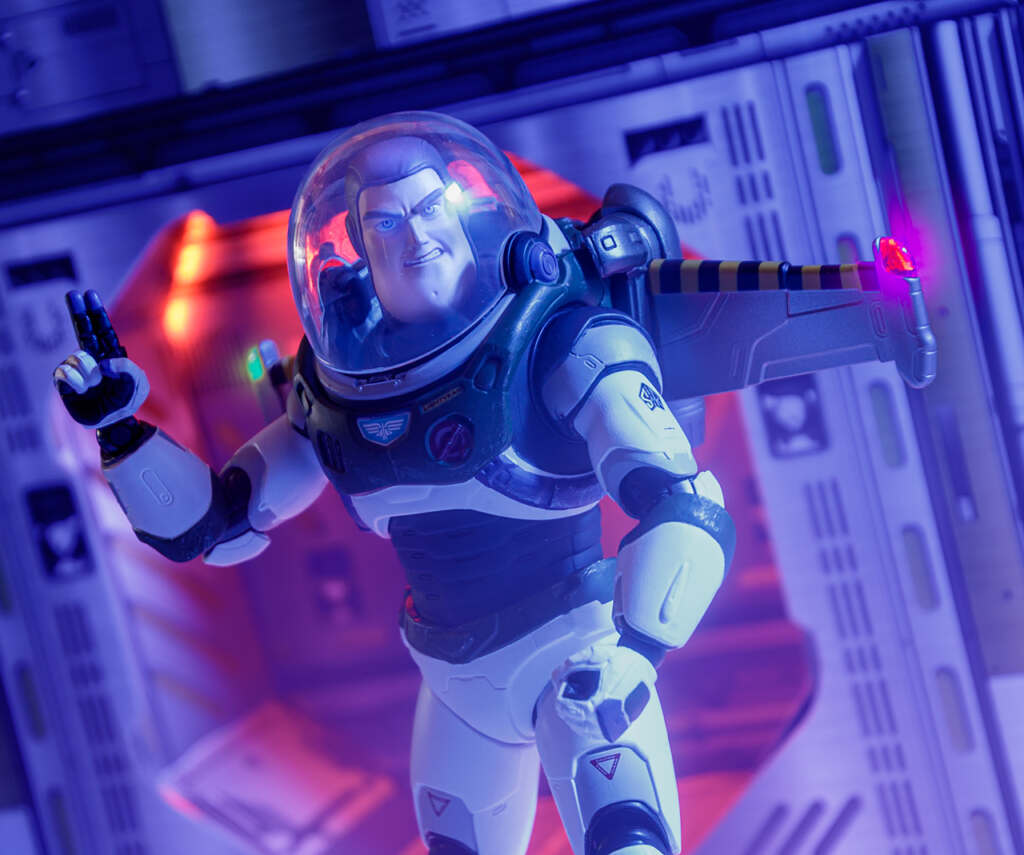
I’m using a single LED panel in combination with a bounce card to approximate the light on a atmosphere free planet. For a small accent light Ive placed a micro LED light inside the grey space pod. Then placed the entire set up on a moving base so that I can make micro adjustments in composition and framing.
Backdrops
Backdrops can be any background that sets the mood or scene. What you choose for a backdrop will depend on how simple or complex you want to get. I tend to stick with paper backdrops I print from images I purchase from Shutterstock. If you’re a landscape / city photographer consider looking through your images for suitable scenes that can double as backdrops for your toy images.
Other ideas:
- Wall paper or wrapping paper
- Video monitor or Ipad
- Commercial paper backdrops
- Scrap book paper
- Professional dioramas (look for generic scenes that can do double duty)
Think about turning your background images upside down for a different look. A sunset reads very differently upside down as do the shadows on a diorama. Play with reality because you can create whatever you want!
Surfaces
Like backgrounds, your surface can be anything you want it to be. But having a variety of textures and surfaces on hand to create a variety of ‘moods’ is helpful. Here is a very incomplete list of possible surfaces that can help you set your toys in interesting locations:
- Sand – both regular and kinetic
- Plexiglass or other reflective surface (black, white, marble)
- A well worn cookie / baking sheet
- Grass scaled to your favorite toys
- Sandpaper
- Felt
- Glass (tempered if you can get it for safety) or clear plexi glass
- Mirror
Your surface sets the scene so you are going to want a variety of textures on hand. But you also dont have to over do it. Sometimes a simple set up is the best way to get a concept across.
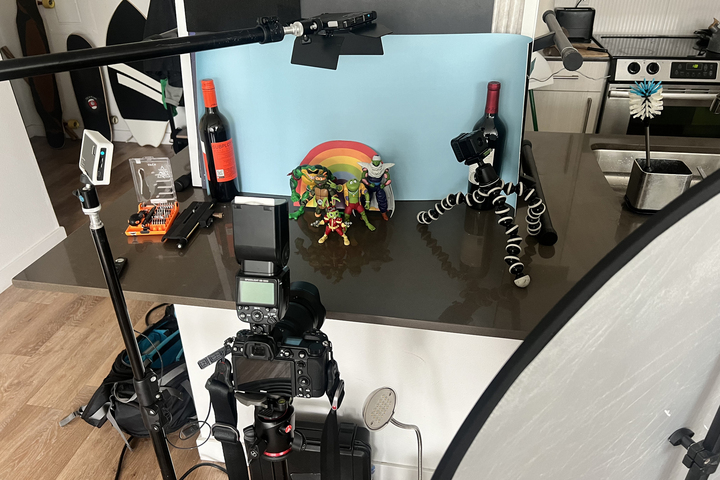
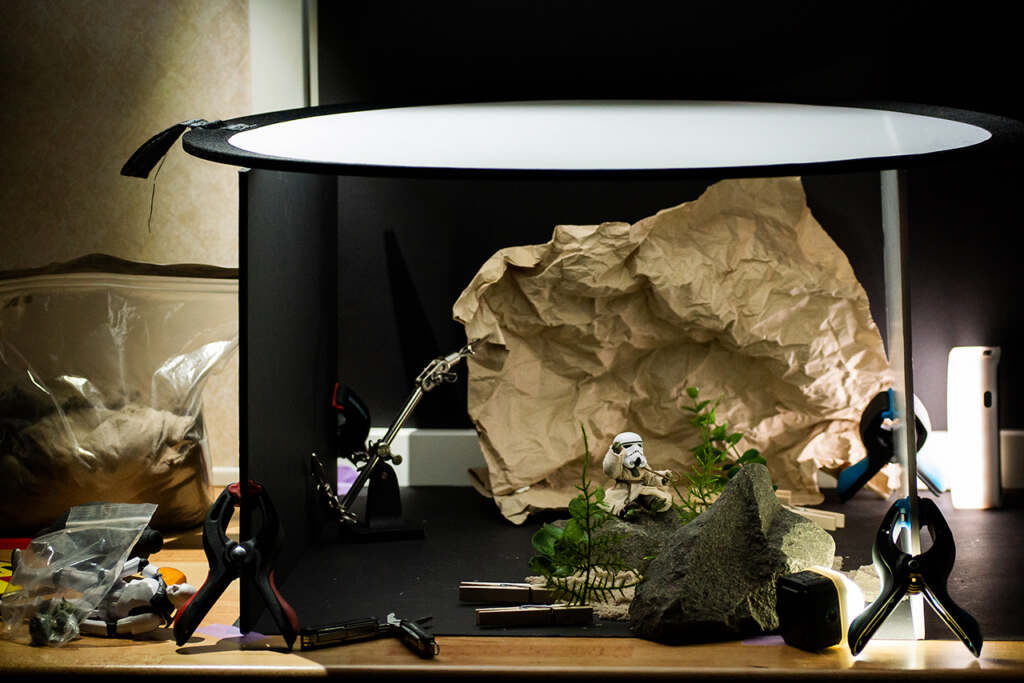
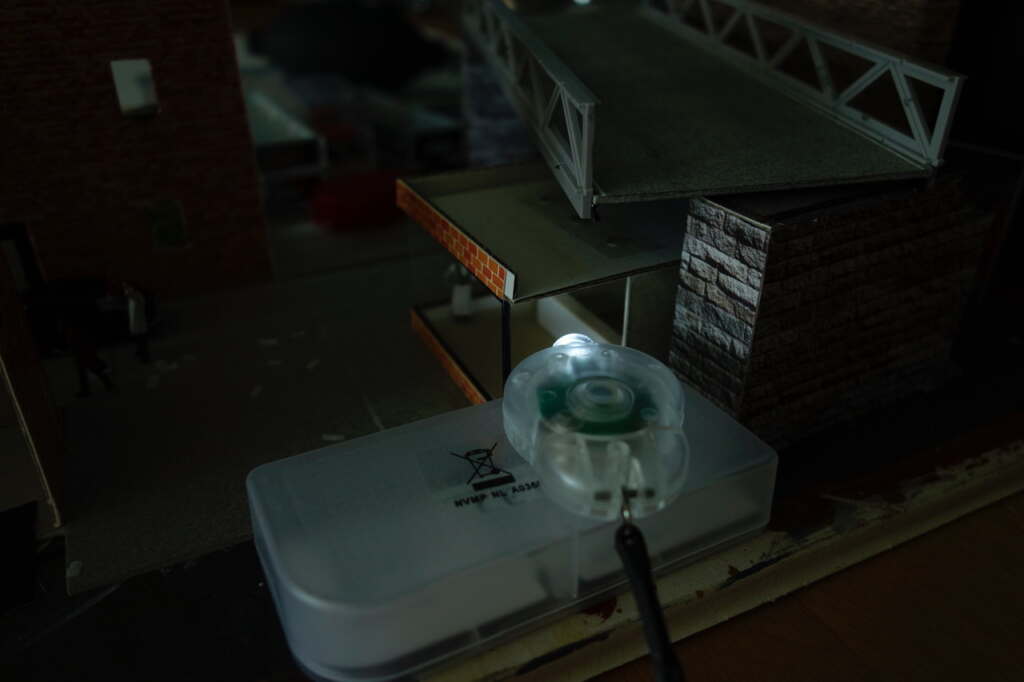
Lastly, I used the Ulanzi Compact Magnetic RGB LED Tube as my one light source. It is held up by a gooseneck mobile phone holder which clamps onto my desk. It’s important to tilt the light so its reflection does not appear on the backdrop. I also held a white bounce card to the right of the diorama (not shown in the BTS.)
Light Modifiers
While I mention light modifiers above, I want to give give you a few ideas and options. Because when you’re photographing without the benefit of the sun, you will want to think about light as a subject. How does it fall across your figures, does it set a mood, does your scene feel three dimensional or flat, and also does the light create hot spots that are distracting. Light modifiers will help you bend and mold the light to help you set the mood, define your figures from the background and guide the viewer through the story.
Here are a few ideas to help you modify the color intensity and feel of your lights:
- Diffuser created from tissue paper, shower curtain, parchment paper or even a shower curtain
- Cinefoil, mat or craft board, or any opaque paper product (playing cards?) to direct your light where you want it.
- Commercially made snoots, barn doors and honeycomb diffusers
- Colored gels for your DIY or flashlights
- Bounce cards made from white, reflective (think gold and silver) or even matte surfaces. Sometimes you want to bounce a cool or warm light. Or maybe you want to stop the light from reflecting back at all?
- Cinefoil. While a single role is expensive it can play a role in creating props as well as modifying your lights.


Supporting your toys
Who hasn’t had there toys fall over at the most unfortunate times? There are few things more frustrating than being nearly finished setting up a complicated multi figure scene when one figure topples over and takes the whole bunch down! [om….] This is why having a variety of sticky stuff around is vital to keeping everything in place while you work. Many of these items I use on the toys as well as the accessories. The more I can tack into place securely the more I can focus on lighting and composition.
Here is list of items to include in your tool box. Pick and choose the ones that make the most sense for your toys scale. And remember many of these don’t work on textures, nature or wet surfaces.
- Tack (blu tac, museum putty, poster putty, etc.)
- Museum wax
- Glue dots or other heavy duty crafting tape
- Floral putty
- Hot glue (please test this on your toys first!
- Gaffer’s tape
Besides the sticky stuff you will want to have wires or other stiff material to support your toys in both dynamic poses or to pose them off the ground. These can include:
- Bailing wire (18g-22g)
- Plastic coated wire (needs to be able to stay in position)
- Bonsai wire (dark and flexible, does not harden as fast with repeated use)
- Plastic bars from LEGO (part 99784)
- Clear bricks, studs and stands from LEGO
- Plastic stands that might come with your toys
You may have to use tack or wrap the wire around the toys to support them. If you are feeling adventurous, drill holes into your toys (especially larger scale toys) that the wire can stick into. This will minimize your editing in post. If you’re not a Photoshop whiz, take two photos of the scene using a tripod: one with the subject and one without, Then combine the two photos using one of the many apps available that can blend two photos.
A very incomplete list of tools to have on hand in your studio
Here is a list of other handy items Ive discovered that come in useful while setting up a photo in my DIY home studio:
- Hand claps in 2-3 different sizes
- A ‘third’ or ‘helping’ hand, lab stand or equivalent is great to hold toys, props or lighting in place
- Tweezers for placing small parts without disturbing the scene
- Make-up brush or small paint brush to dust subjects
- Wooden skewers are shockingly useful in so many ways
- Microfiber cloth for water, dust, and general cleanup
- Multi tool for cutting and bending wire
- Hot glue gun – a stronger solution to tacking toys and accessories into place. Test this on your toys first!
- Turntable or lazy susan. A great way to make micro adjustments in your composition without moving the toys.
What tools do you use that are unusual or helpful in your own studio? Add your own recommendations in the comments below.
Continue for more tips!
Additional Props
It’s hard for me to recommend the props that you will want to add to your studio tool box. This area is very toy and story specific. Whatever direction you pursue with your toys you will want to have a variety of flexible textures to fill in gaps or harsh lines of your setup.
Of course it’s so easy to crossover to a texture and accessory hoarder. So when you think about props that can lend a little realism to your scenes, think of props that can be used in multiple ways. Trees can be placed on their sides and are suddenly shrubs. Fiber fill can interpreted as snow or mist. To keep your space from become so cluttered you cant think (a real situation!) add slowly and think about alternative uses for each item.
And if you dont want to spend a ton of money on custom accessories, check out YouTube. There are many artists offering lots of step by step videos to help you create backdrops and accessories for every idea.
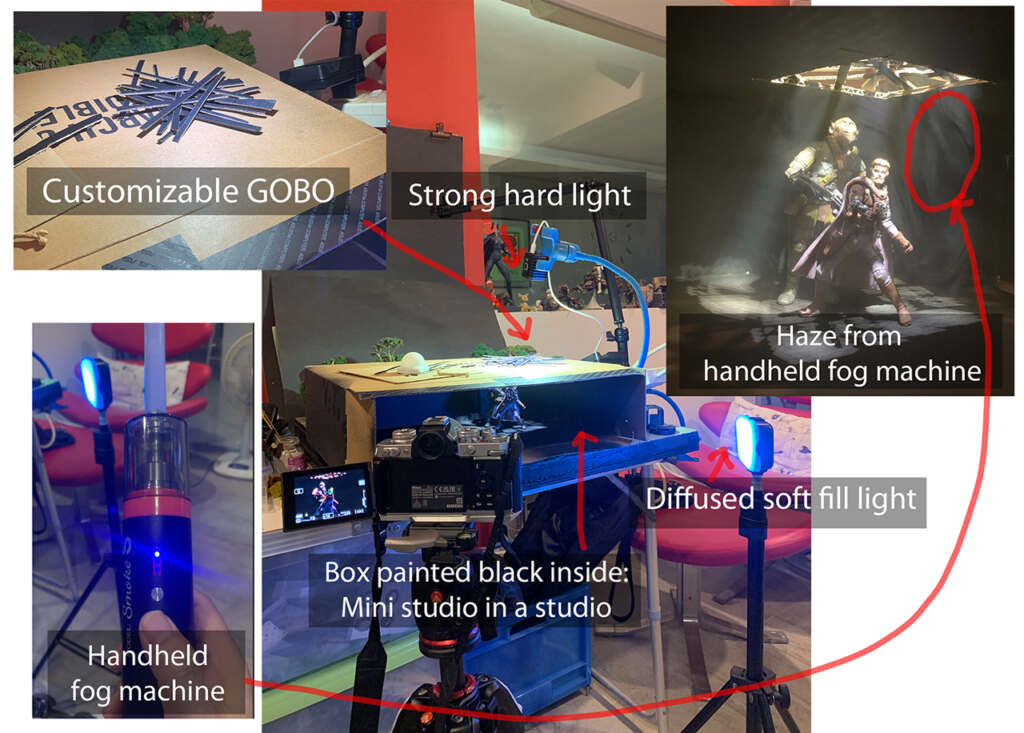
Special effects
I would be remiss if I didn’t take a moment to include a note about special effects. Hopefully I don’t need to tell you to please dont use real fire in your indoor studio. You can read about creative alternatives to real flames here.
Using a fogger indoors you will run the risk of setting off a smoke detector. But if you’re interested in using a fogger to bring dimension to your light you can read about some options here. Other options include:
- Micro fogger (lots of options on the market from Costronica, Vosentek, Ulanzi and Lensgo)
- Vape (without the flavor cartridge)
- Facial mister
For moving light the surface around like baking powder, fake snow, or dirt you can use these items. While an air propelled device used to unblock drains is great outside, using anything more powerful than these items has the potential of making a mess you will never recover from.
- Canned air
- Rocket air blower for your camera
- Small pump used for blowing up balloon animals
In conclusion
I hope you’ve enjoyed this handy list of tools to have on hand while photographing toys indoors. This is not a complete list, only a place to start. If you ideas on what is a necessity in your studio set-up, I invite you to leave a comment below. Tools will change depending on the photos you want to take. Just like in toy photography itself, there are no right answers only problems to be solved.
Shelly
A big thank you to Janan, Matt, Stellan, Sunny, Tobias and Todd for inviting us into their studios and artistic process. What a fabulous opportunity to see look behind the curtain to see how they create their individual photos. Im grateful to my friends for sharing their process. I hope you will take a moment and visit their profiles and give their images a little love.
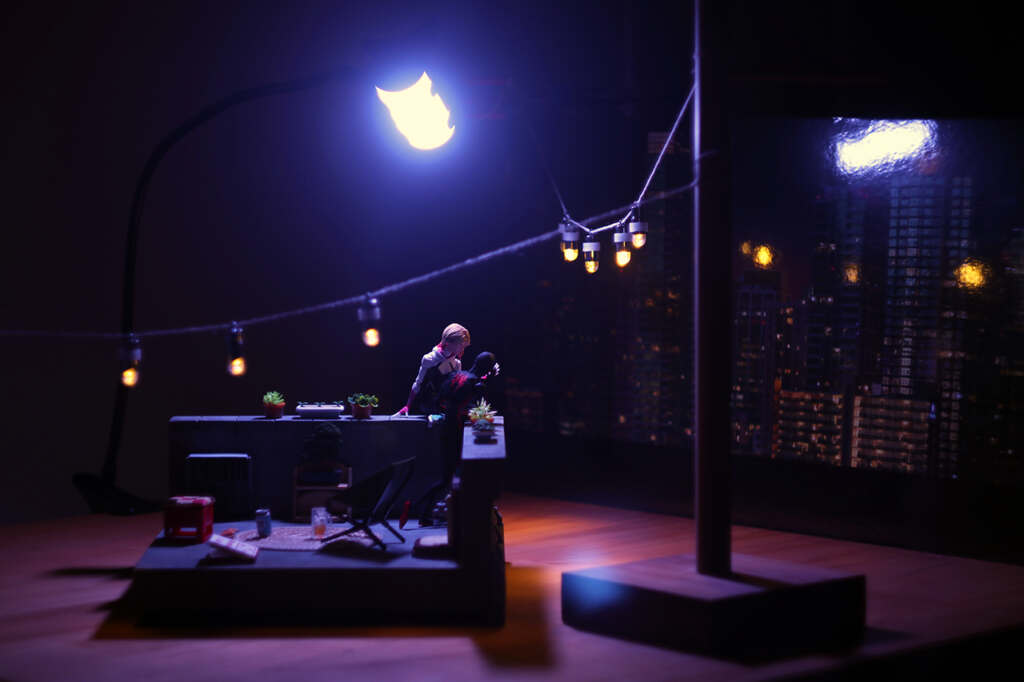
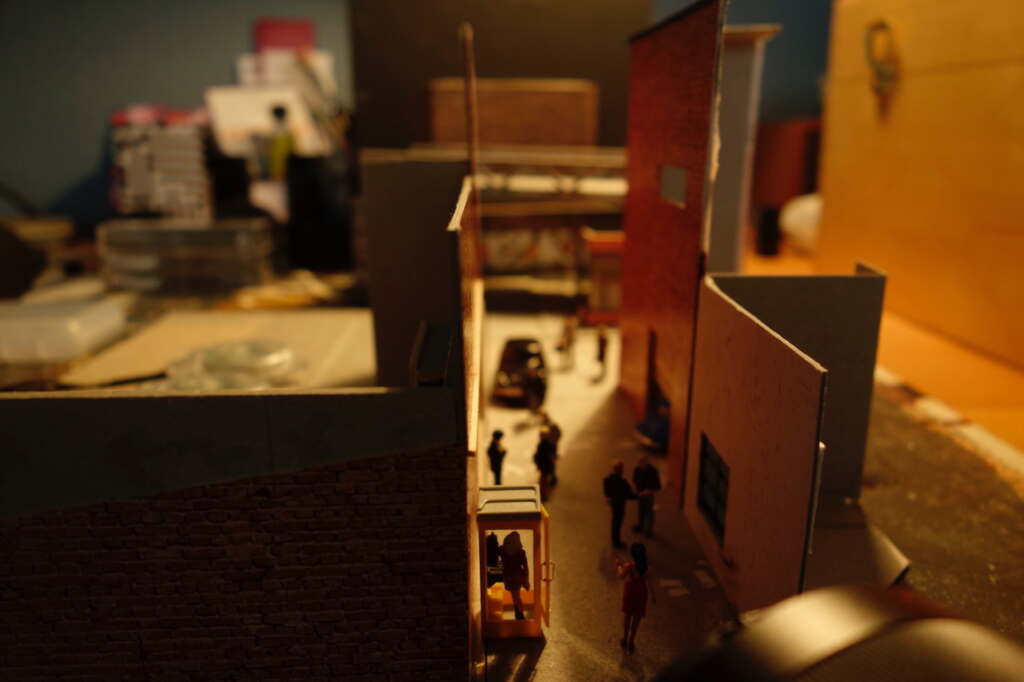
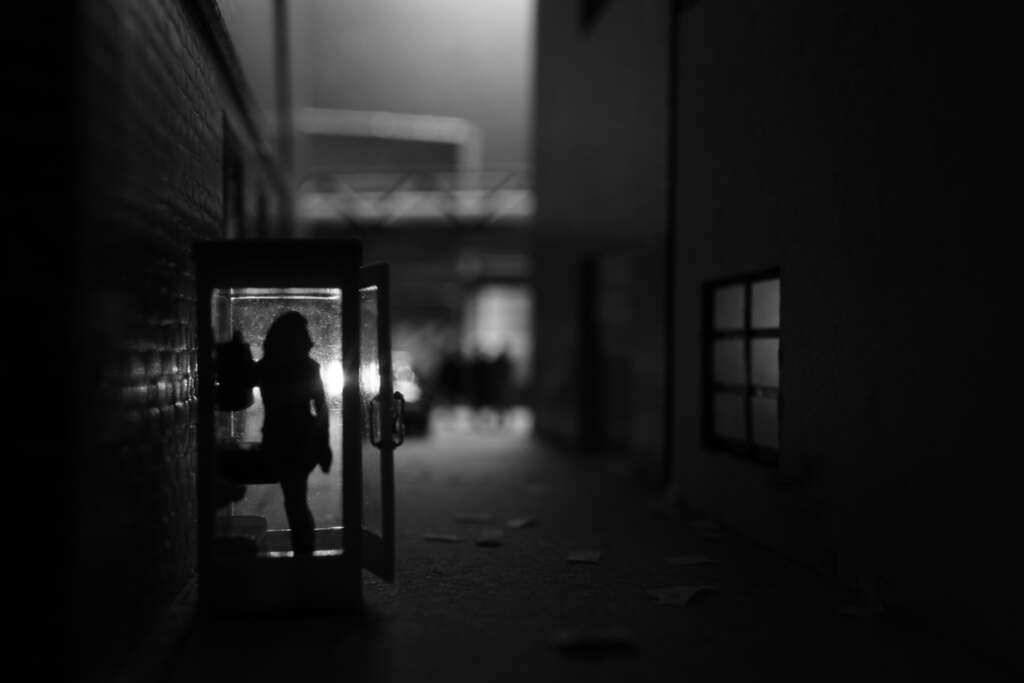
This last glimpse behind the scenes is from Tobias.


Awesome article, Shelly! Thanks so much!
Jennie Im glad you find this helpful! Thanks for reading. 😀
Excellent article, Shelly and a good reminder for the experienced toy photographer as well as the new ones!
Mary Im so glad you found it useful. Im always learning new solutions to problems from my fellow toy photographers. We are never too old (or experienced) to learn. 😀
We often hear how it’s about the journey and not the destination, and indeed having a glimpse into the process each person has in creating their final images is so interesting. As you’d aptly put Shelly, there are ingenious solutions to the many problem solving moments requirement in a photoshoot.
Here are some of my favourite tools indoors:
– Book ends. I have flat metal ones which hold up bounce cards and diorama walls
– Multi-tool. Other than bending wire and removing stuck ball pegs, it has a good heft and I had use it as a counterbalance on my display stand to hold up figures. A multitool indeed! 😊
Great idea on the book ends. Alos “L” brackets from the hardware store are great for this as well. So many different ways to solve these pesky problems. Thanks for adding another reason to add a solid multi tool into the photo kit. Tools that can solve multiple problems are the best ones to have!