
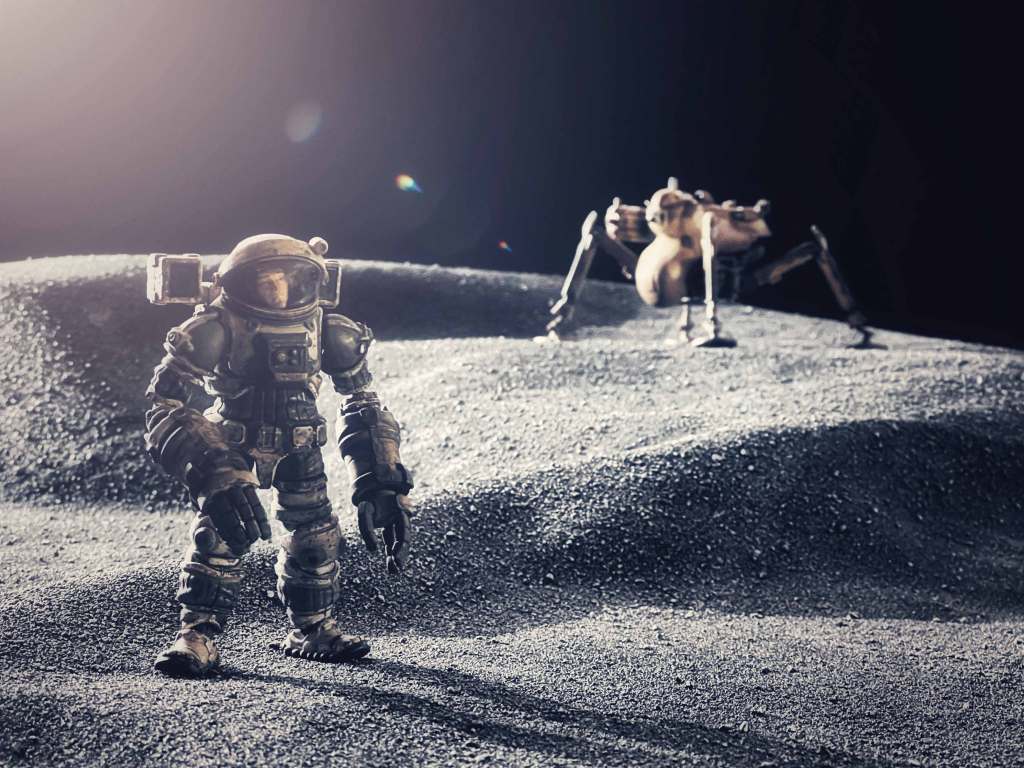
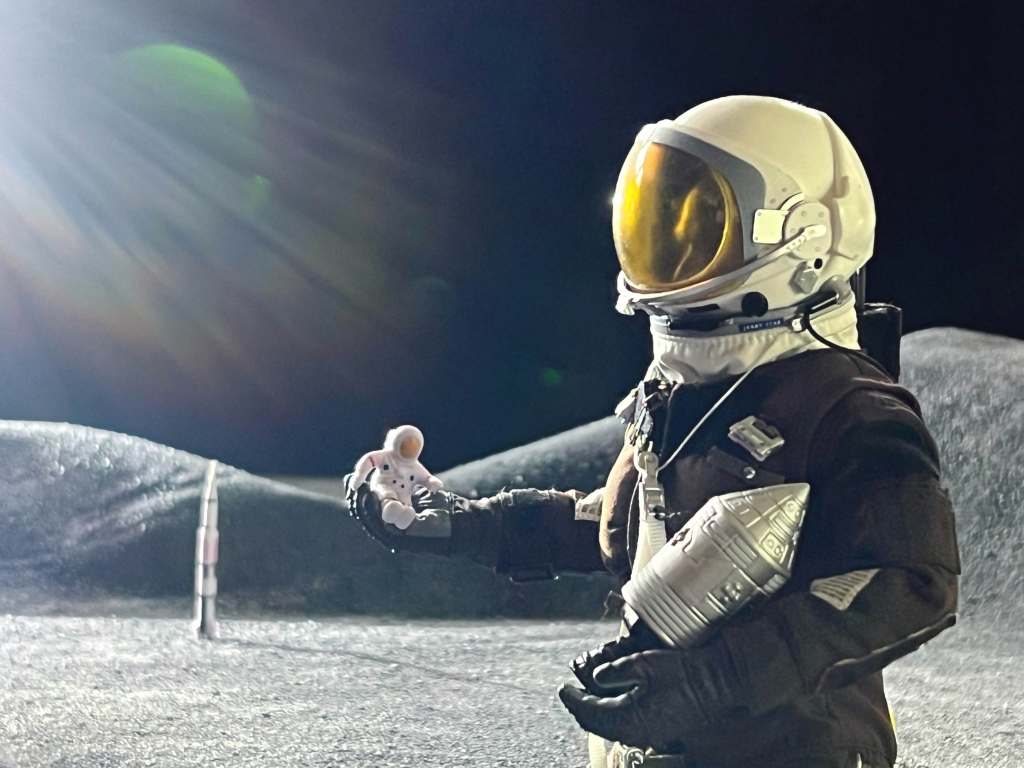
It has been just over fifty years since Gene Cernan made the last human footprints on the surface of the moon. It’s a shame, really, that no one has been back in all these years. You would think by now I’d be able to find bargain basement flights to the moon for a getaway weekend filled with toy photography adventures. Tripadvisor should be giving me lunar hotel recommendations right this minute. Maybe a small room near the spaceport with a Sea of Tranquility view. I’d pack my camera bag with some toys and be on the next flight. Sadly, 239,000 miles of cold, empty space stands in the way of this dream vacation. If I want to shoot toys on the lunar surface I’ll need to come up with my own solution here on earth.
I’ve wanted to make a moon diorama for quite some time, but was uncertain how to pull it off. Old moon landing photos show the terrain drifting back to a low horizon line with gentle rolling hills. The ground is a dusty gray and the sky jet black. How could I get that same look without pouring bags of grout all over the kitchen table? I wanted a less messy alternative that was portable and easy to set up, but could still make hills that can take on a variety of shapes and sizes. The diorama would need to be flexible, like a blanket. Fabric seemed to be the answer.
I had moderate success experimenting on small pieces of felt, using the same techniques and materials that I would use on a solid surface. I was able to fold the felt into hills and valleys and it looked pretty good in photos. However, it was a bit too small and the glue I used stiffened the fabric up in ways I didn’t like. I decided to try again, this time documenting my process for this post.
I feel the need to put in a disclaimer here. This step-by-step tutorial is still largely experimental. At times I found myself saying, “Oh boy, what have I done?”, certain that I’d made a huge error. I pushed through and in the end, I’m pretty happy with my results. Feel free to adjust accordingly and let me know your results.
What you will need
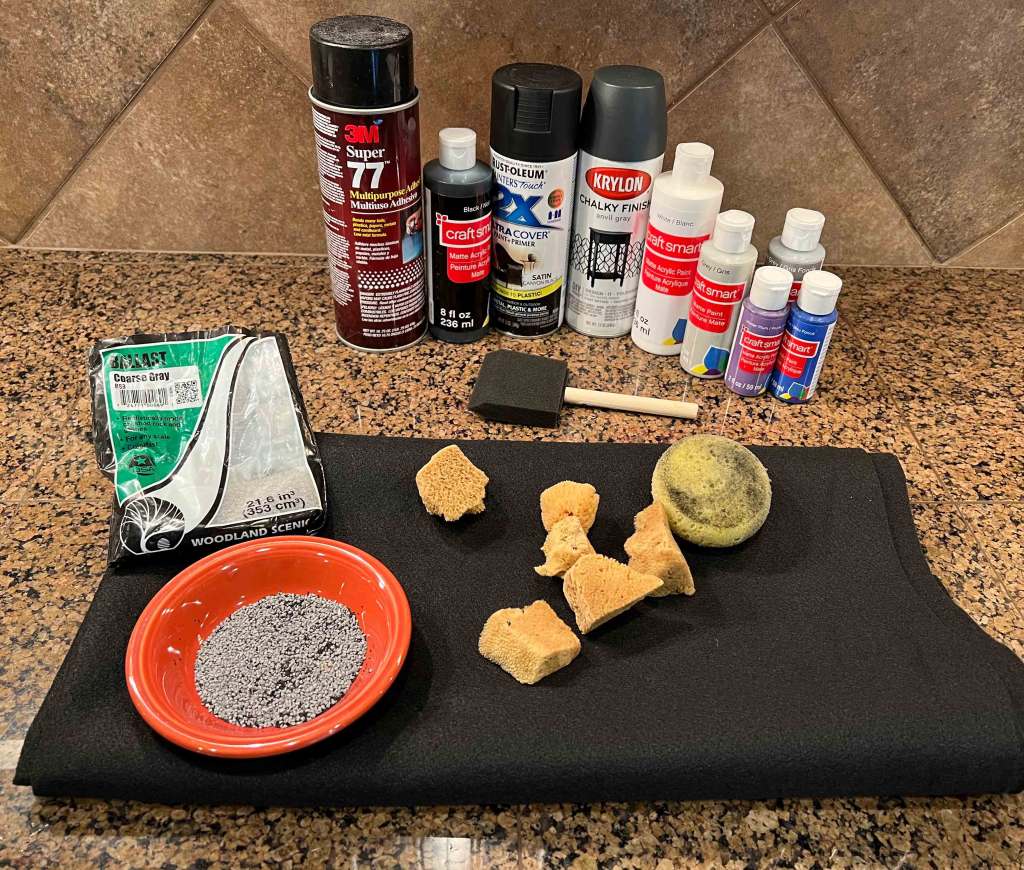
Felt
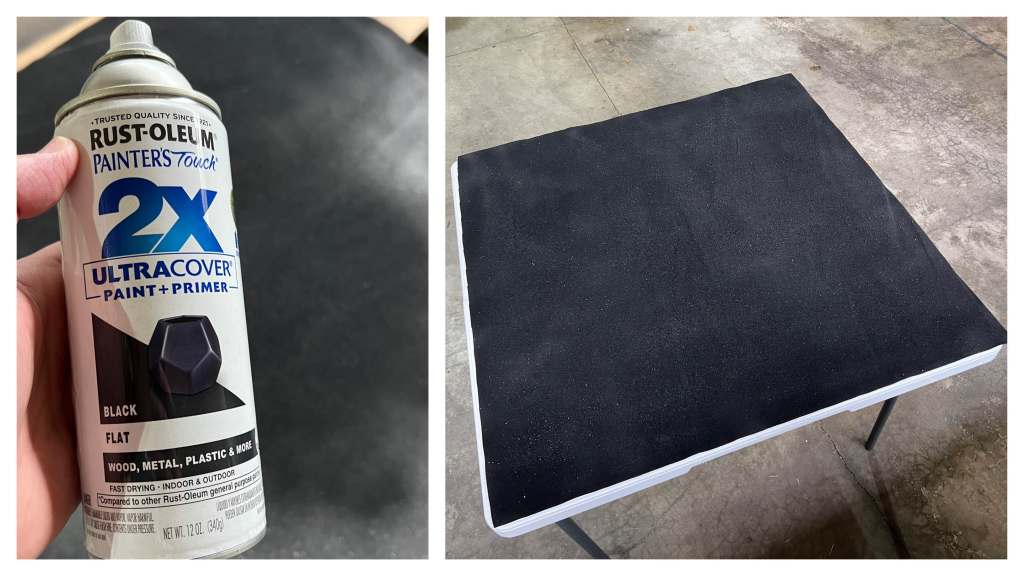
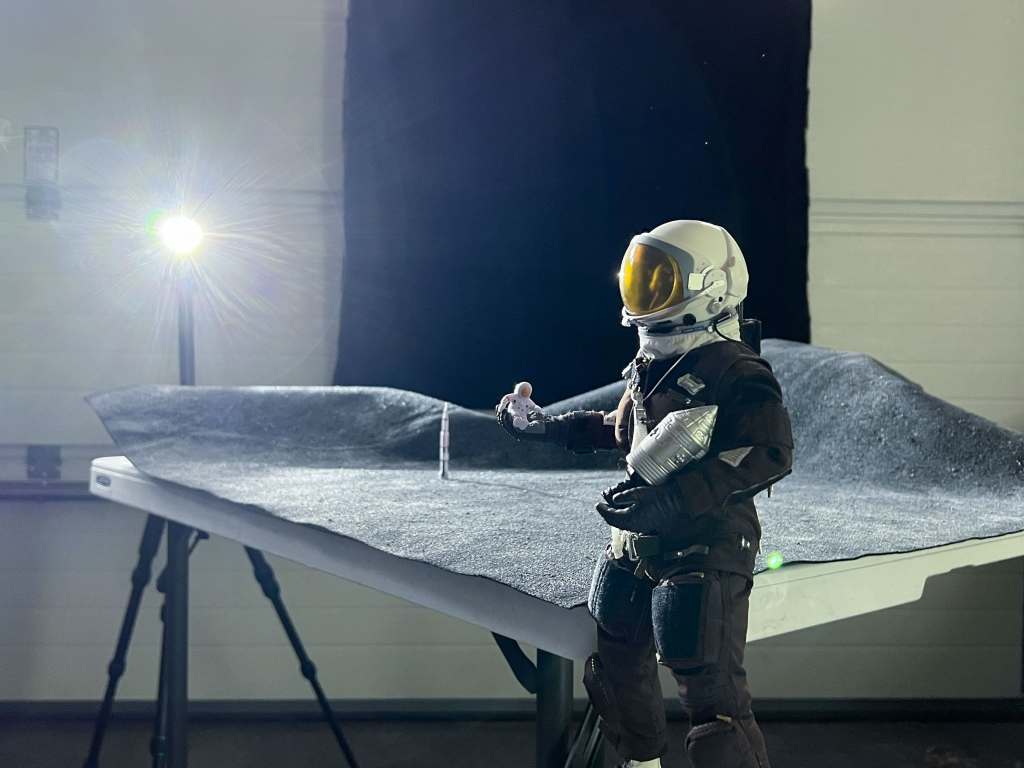
I went with a square yard of black felt. That may sound like a large diorama, but remember, the resulting diorama will be three dimensional. You’ll need extra fabric for tall hills and mountains in the background and still have a flat surface in the foreground. Even if you don’t make yours as large, I’d still recommend a bigger piece than you think you’ll need. I chose black because it is a good base color for a lunar surface.
Model Railroading Ballast
The moon needs moon rocks. I used a variety of different sizes of model railroad ballast to sprinkle over the lunar surface. Depending on the scale you plan to use, you may want to increase the size of gravel accordingly. Don’t worry about color, it will eventually be painted over.
Glue
I went with 3M Spray Adhesive because liquid glue goes right through the fabric. The ballast won’t adhere to the felt, but the felt will certainly adhere to the table. Spray glue rests on top of the felt without soaking through. I’m still looking into better alternatives. Even as I write this, I’m wondering if a spray-on rubber sealant like Flex Seal might be a better option or even rubber cement. Whatever glue you decide on, it should be flexible when it dries. In my first attempt, I soaked the fabric in PVA glue and it stiffened the fabric up making it less pliable.
Paints
In photos, the surface of the moon looks mostly gray. Don’t let that stifle your creativity. Feel free to use whatever colors you wish. Your moon doesn’t need to be THE moon. Maybe it’s a green moon orbiting some other planet. I primarily used craft acrylic paints, but also a couple cans of spray paint. I chose some blue, purple and orange for base colors along with shades of gray for the top layers.
Sponges
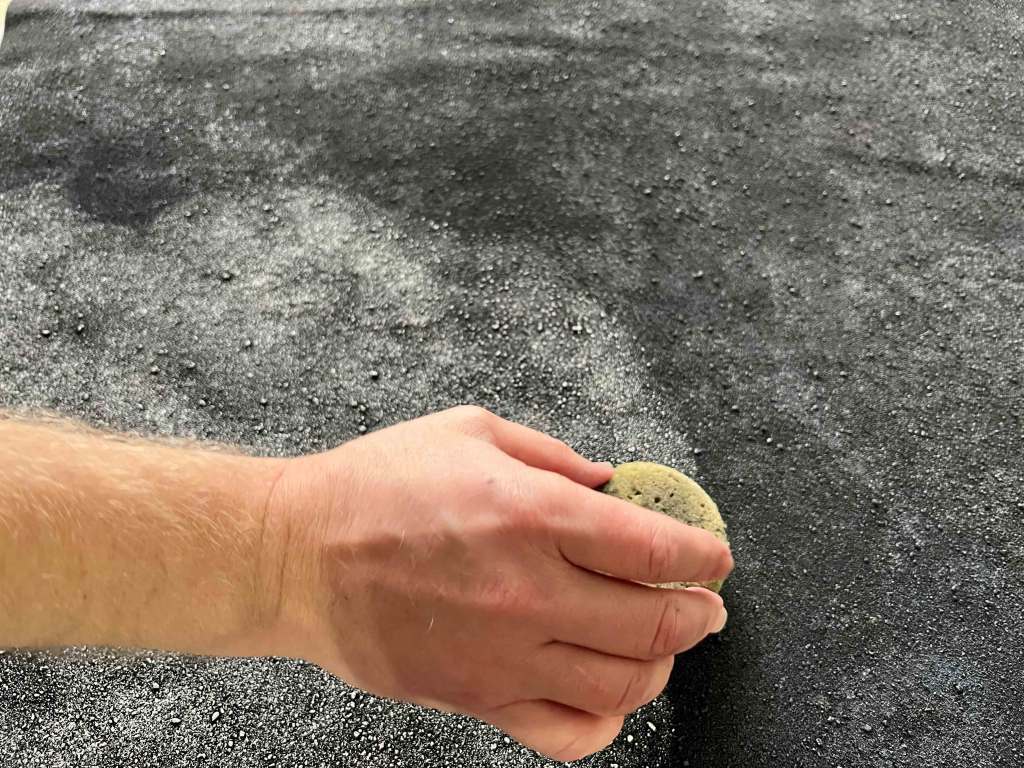
When it comes to painting on the surface of the moon, you’ll want to break up the colors using a sponge to get a more natural, mottled look. To do that, you’ll be lightly stippling paint onto the fabric with sponges.
The Process
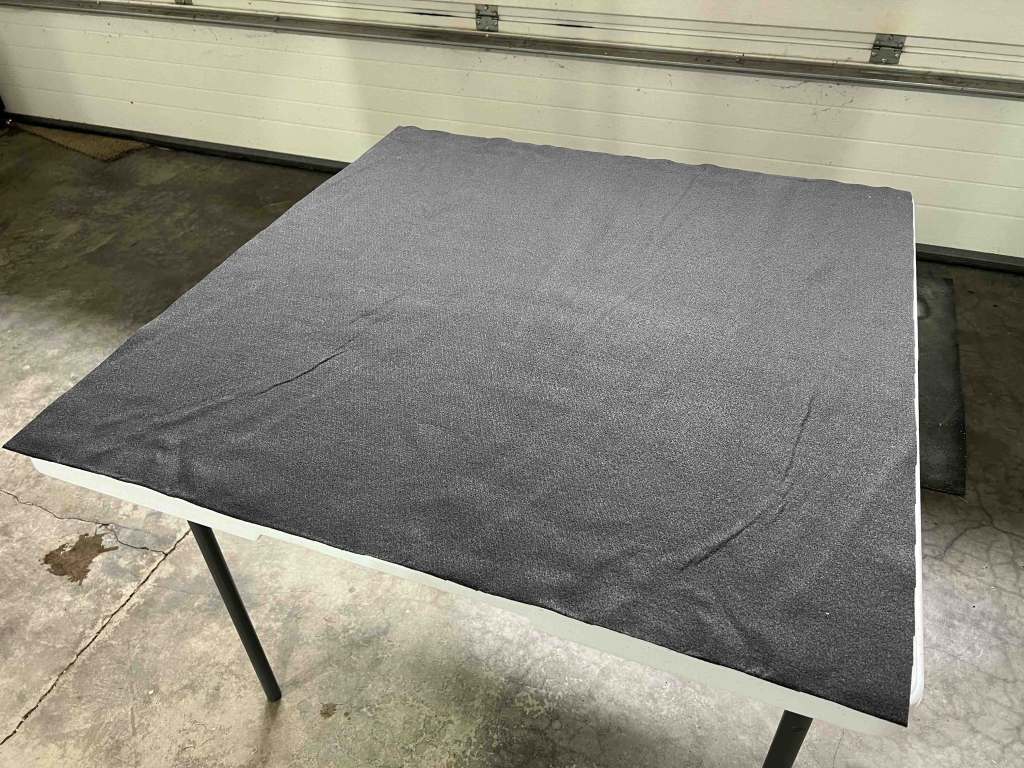
The first step is to lay out the felt on a flat surface in a well-ventilated area. I recommend taking parts of this project outside because the spray adhesive goes everywhere. The floor of my garage is still quite sticky in places. If you want to iron out any wrinkles in the fabric, now would be the time to do so.
Next, I sprinkled the ballast over the fabric, letting the pieces bounce randomly to get a nice even scatter. I didn’t put any adhesive down at this point, but that may be an option.
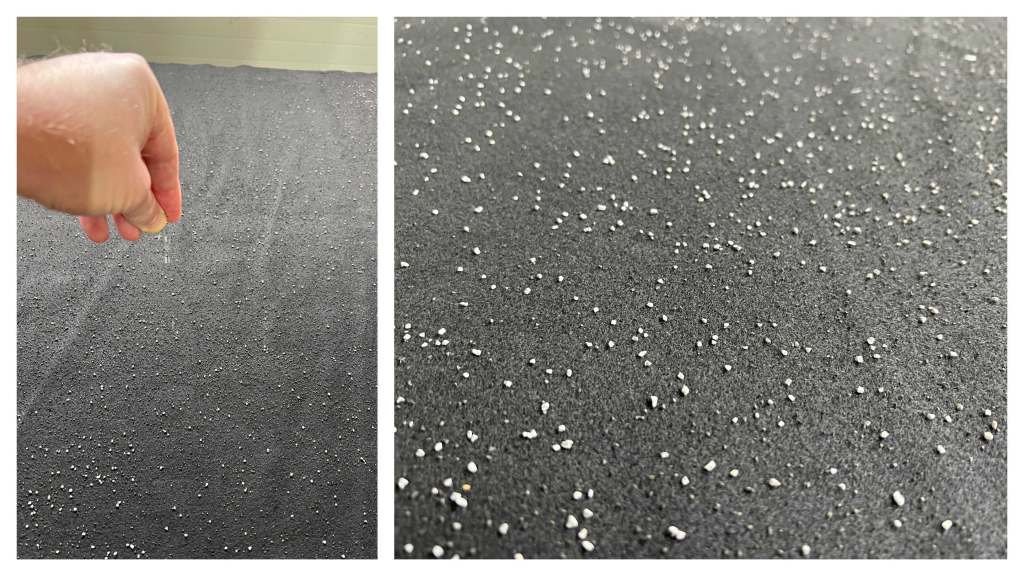
Once I had a good scatter of varying size pebbles, I hit the entire surface with the spray adhesive. I made several passes with the glue. Not only did I want to make sure the rocks were secure, I also wanted a thick enough layer to hide the texture of the felt.
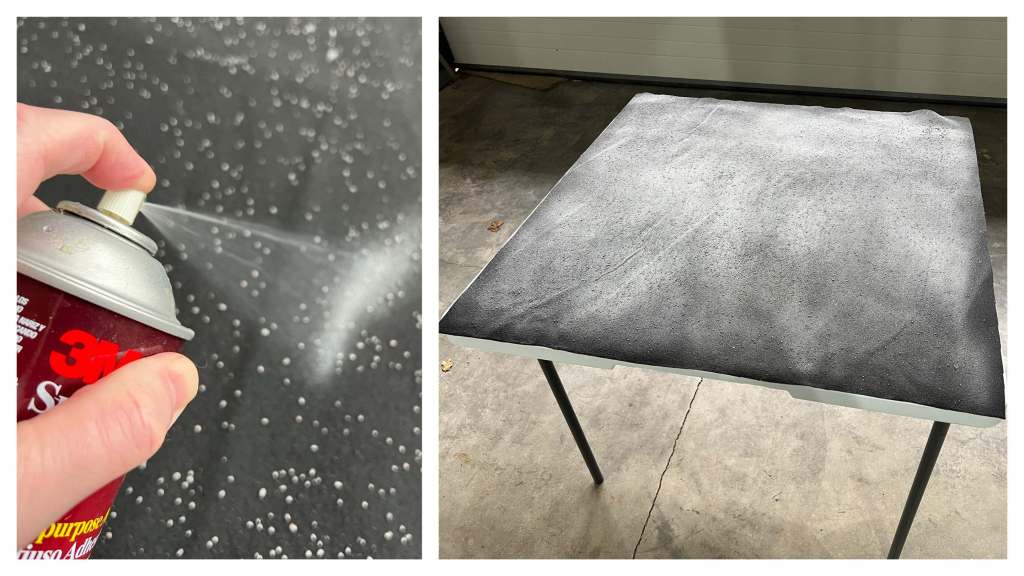
Let that dry for several hours or even overnight. Even then, it will still feel tacky to the touch. Don’t worry, the stickiness will diminish with each layer of paint that will be added to it.
Next, I painted the surface with black spray paint to bring back a dark surface to build all the subsequent layers of color upon. The spray paint took a long time to dry and did almost nothing to ease the tackiness of the glue layer. With just a slight bit of panic that I may have screwed up the whole process, I decided to carry on with sponge painting.
Here I chose purples, blues and oranges mixed with some gray. In the end, I don’t think these colors really came through to the surface but you’re always free to keep adding until you get the hues that you want. I don’t think there’s any danger of having too many layers of paint.
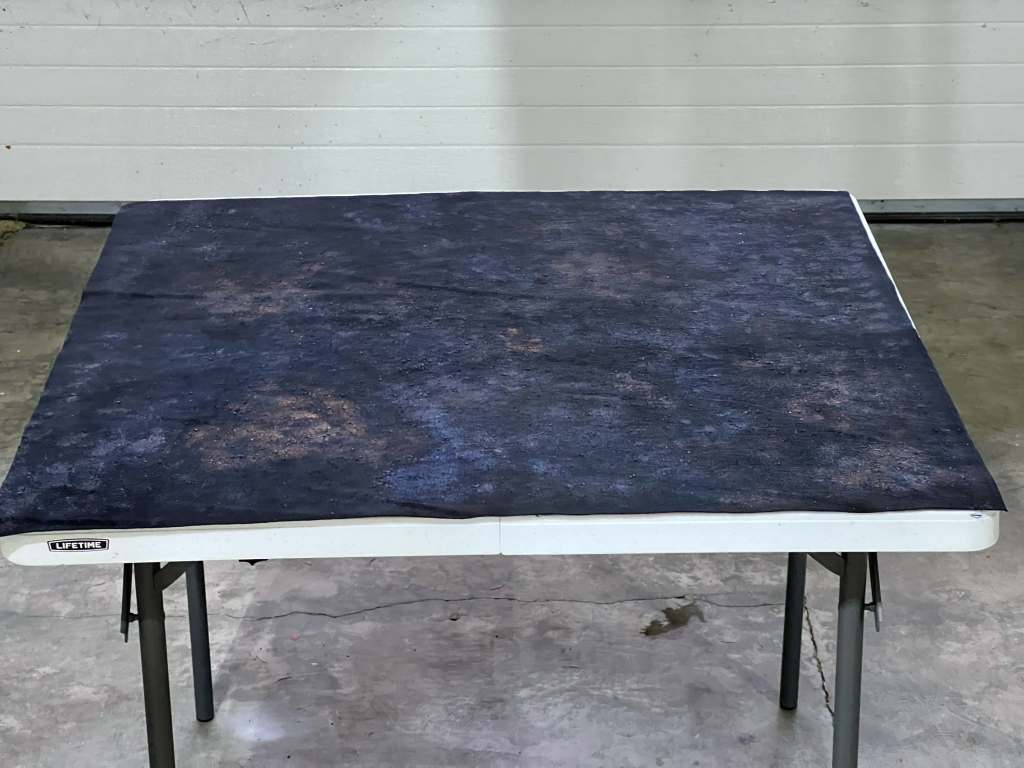
The trick to sponge painting is to not overly wet the sponge with paint before applying. Dab it several times on a palette or paper towel before you start stippling the paint in light layers. It is also a good idea to use sponges of various shapes and sizes to avoid patterns that are too uniform.
After laying down the base colors, I repeated the process with dark gray, then a lighter gray, finally ending on white.
In the end I thought the surface looked too bright and too regular, so I lightly sprayed an anvil gray spray paint in areas to break up the surface into lights and darks.
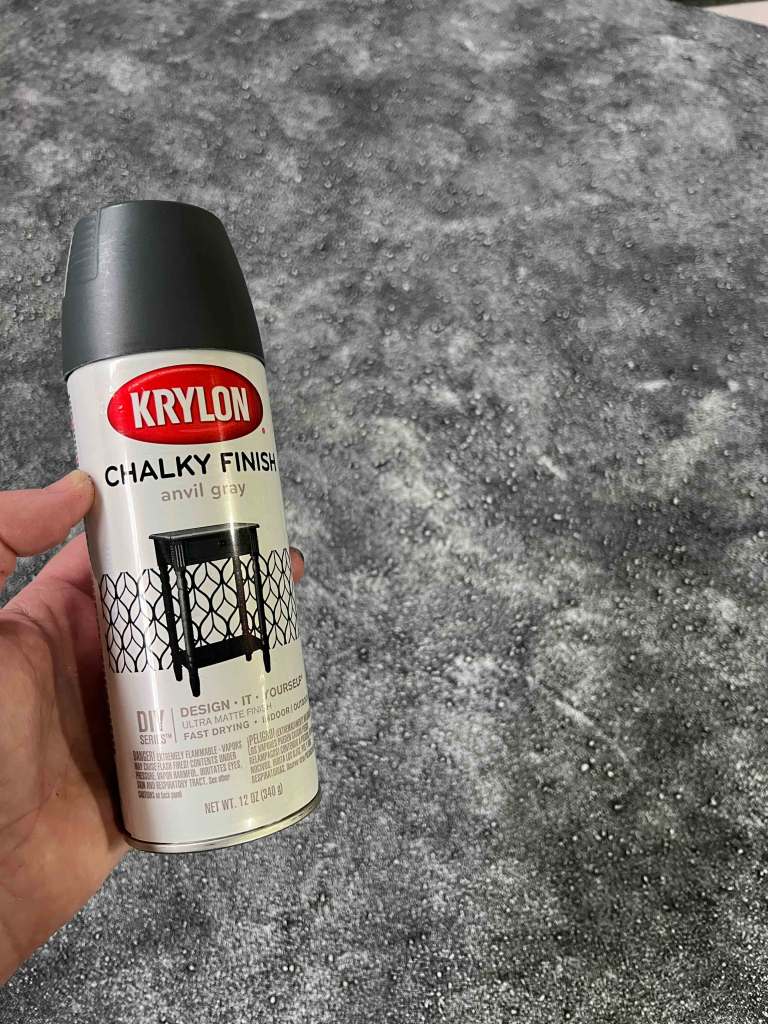
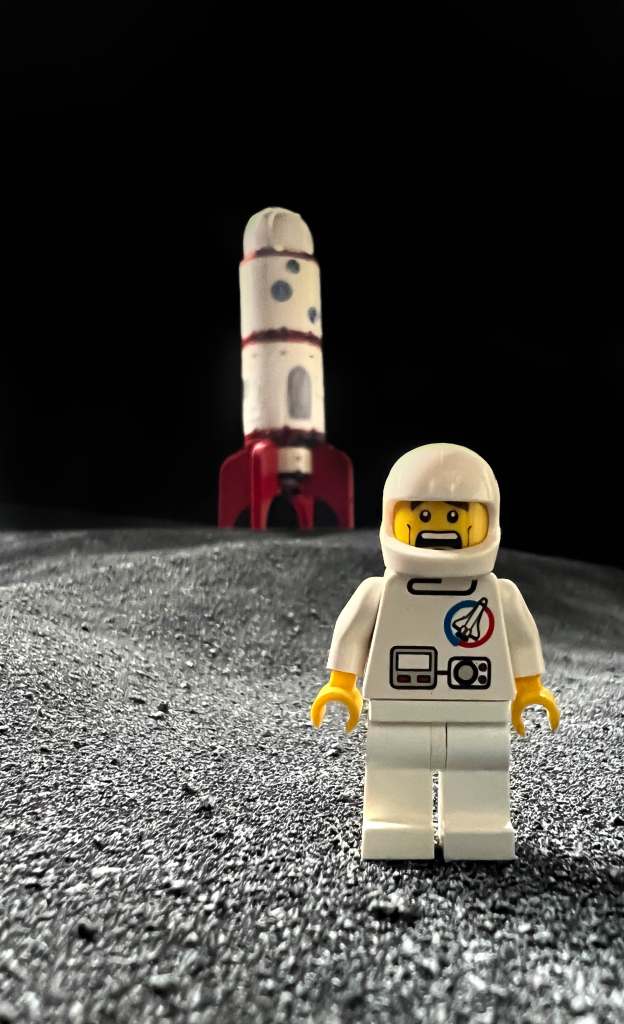
And that’s it. While it looks mostly dark gray to the naked eye, it reflects a surprising amount of light when photographing it. The good news is that you can keep re-working the layers of color using the sponge technique, spray paints or even air-brushing until you achieve your desired look.
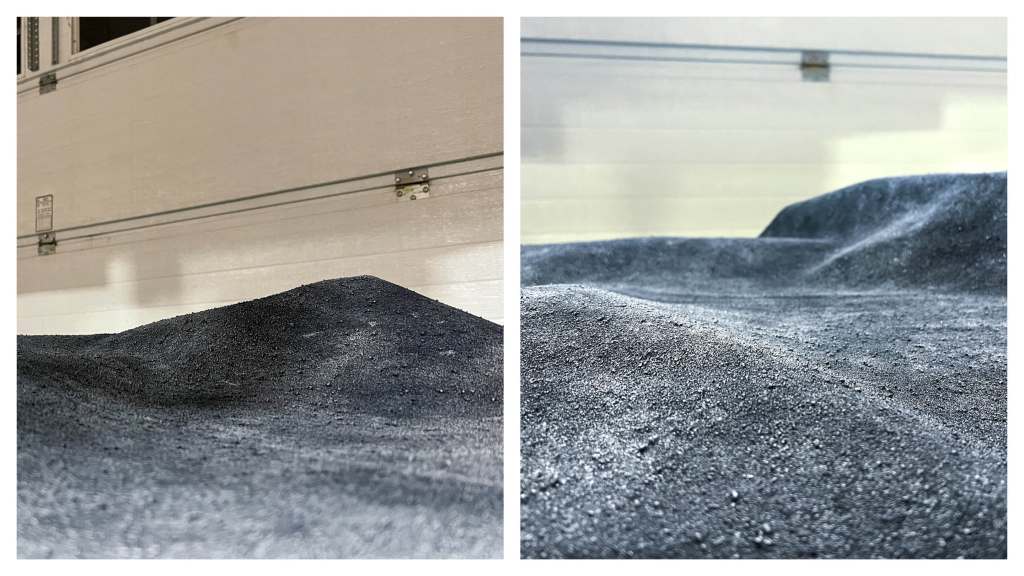
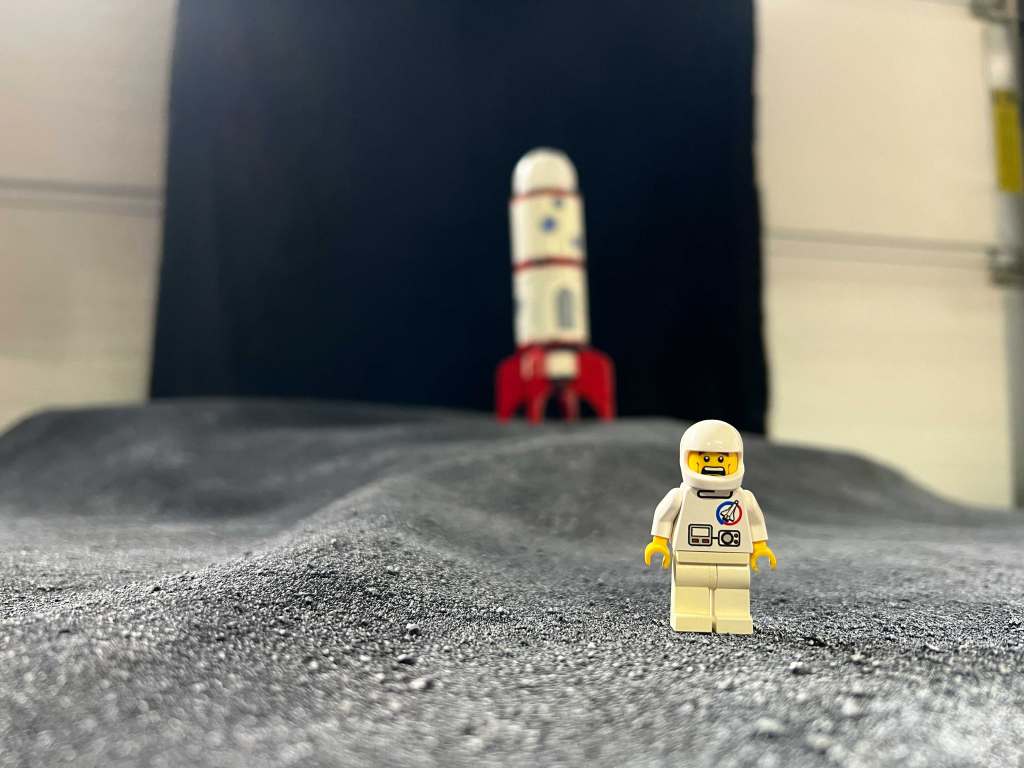
Once the paint is dry, go ahead and drape the fabric over various objects like books, bowls, containers, etc to get those rolling hills or steep slopes. Below are a few photos showing the versatility of the fabric to get completely different backgrounds.
If you do decide to tackle this project and find something that improves upon this process, drop a line in the comments.
Chris Whitlow
We hope you’ve enjoyed this tutorial How to: Make a Moon Diorama by Chris. You can check out more of Chris’s work on his Instagram page: @cawhitlow
Do you have a technique you want to share? Drop us a line and let’s talk!


Thanks for showing us how it can be done! ?
Thank you Mary! I have another piece of felt that I plan on trying a more terrestrial diorama with.
Fantastic. I really want to try this. Question…how do you store it when not in use?
Thank you Barbara! It rolls up nicely.
Some very helpful information Chris…..showing the products used and your techniques….impressive results….well done on the photography as well…keep up the good work…
Regards Richard Dixon / TPD STUDIOS UK .
Looks pretty realistic!
This looks very nice but it won’t work well for stop motion unless there is a final stiffening/hardening process, because every pose or bump causes fabric to ‘boil.’ So I prefer to use gray paver (polymeric) sand sprayed with enough water to activate it. The minerals will naturally interlock to form a crust, and the tiny quartz crystals in it will reflect and/or refract photons just like the powdered glass surface of the moon. Especially if your ‘sun’ or your camera tracks through the scene.