One of the consistent concepts in toy photography is bringing the toys to life. Incredible effort, time and money are spent on equipment and techniques to produce ever more lifelike images of our toys. However, there is one very simple but spectacular technique that is almost completely absent from the toy photography community: 3-D stereo imaging.
Stereoscopic photography is hardly new. It has been employed practically since the dawn of the camera itself. A set of 3-D stereo photos and a stereo viewer were staples of Victorian era drawing rooms. You may also remember the bright red View-Master and photo reels of the 1970s and ’80s. And today, 3-D imaging is ubiquitous in movies and VR sets. That being so, the technique is rarely used by modern photographers because it is so easy to put out a 2-D image for casual public viewing.
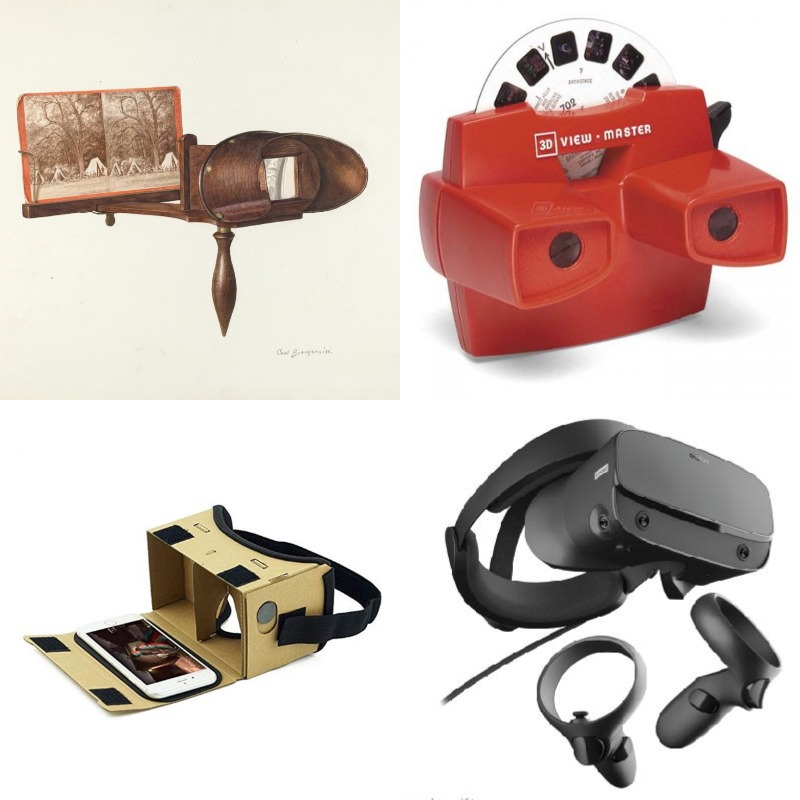
As with all great things, a little work is required to reap the benefits of 3-D photography. 3-D photo viewing requires either a VR set (or Lite Owl glasses), or a little practice with your eyes alone (instructions for free viewing are at the bottom of the article). VR sets for your phone are cheap and easily available. The Lite Owl glasses are more convenient and even cheaper (about $12 US) and are available at londonstereo.com.
It’s easy to start taking stereoscopic photographs
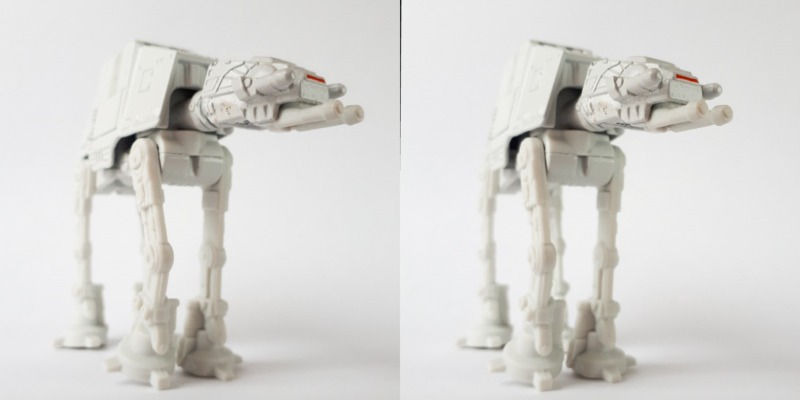
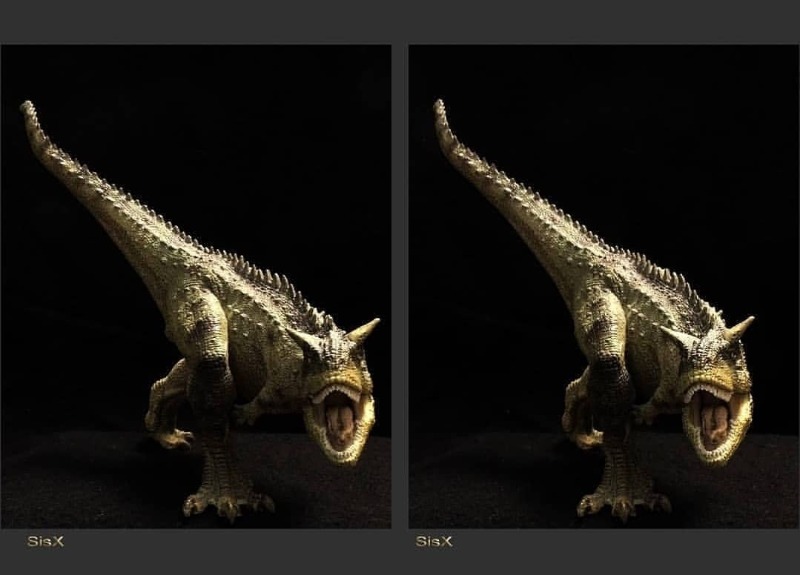
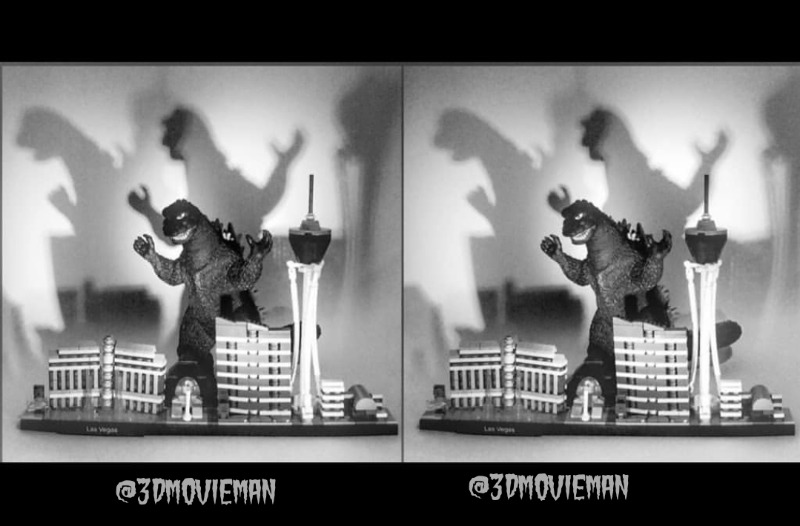
The other thing that keeps people from discovering 3-D photography is the belief that you need special and potentially expensive camera gear to shoot in 3-D. This is completely false. The only time you need a special 3-D camera setup is when you are shooting moving objects. Still scenes can easily be shot in 3-D with any camera you want, be it camera phone, DSLR, 35mm, mirrorless, Polaroid, pinhole, etc.
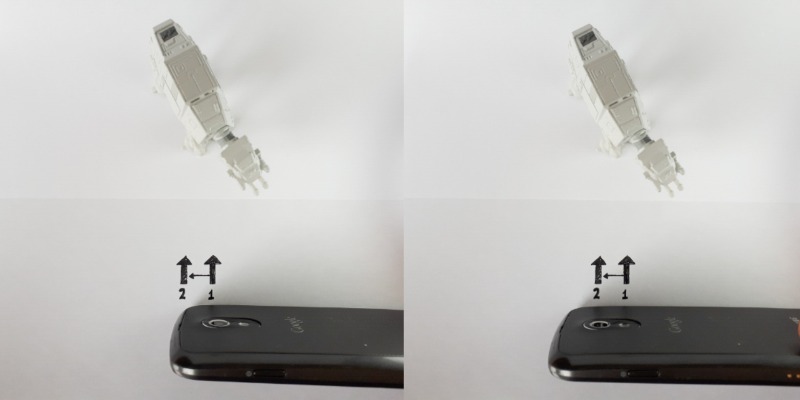
It’s as easy as taking one photo, then shifting sideways a little and taking a second photo of the same scene (1/4 inch for close-up macros, 1 inch shooting from 12 inches away, and 2 inches or more when shooting more distant subjects). Then put the photos side by side and view them. There you have it—photos with better quality 3-D than a Marvel movie (Marvel movies are digitally converted to 3-D rather than being shot that way). I shoot 95% of my 3-D photos with a three-year-old Samsung A5 phone.
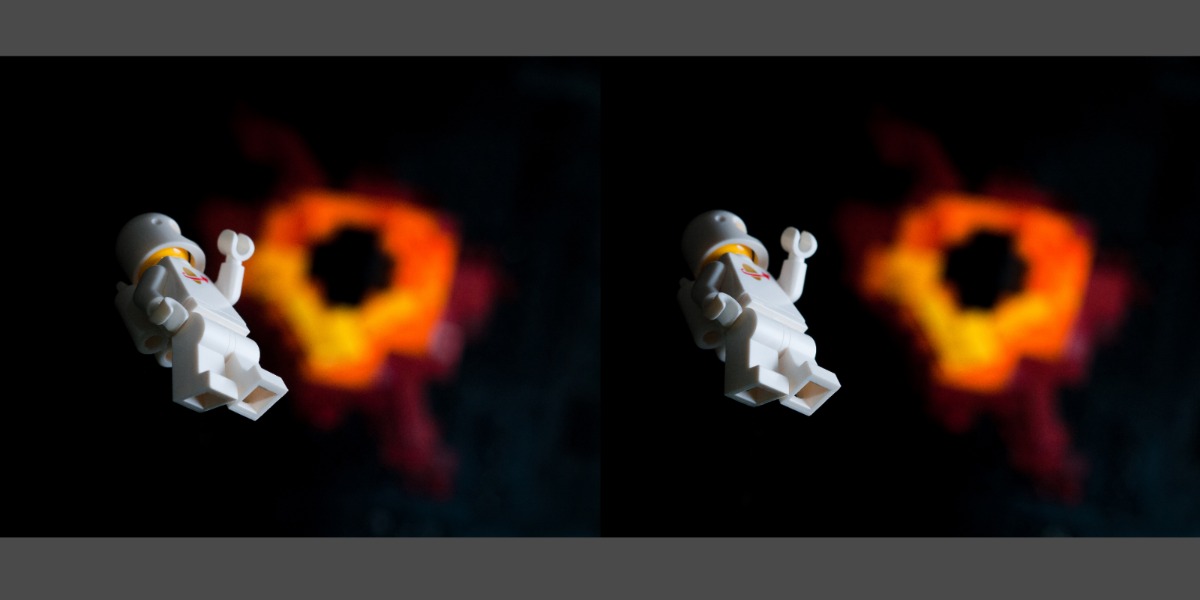
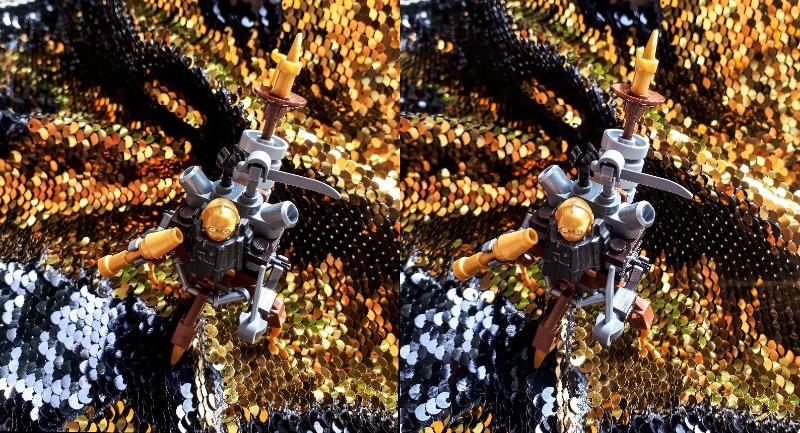
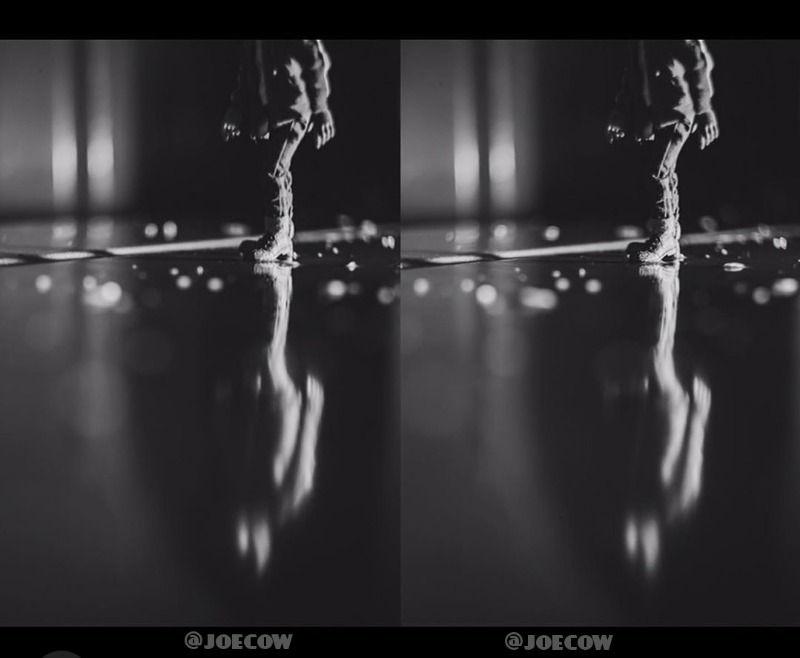
The advantages of stereoscopic photography run deeper than visual depth perception. There are certain visual qualities that can only be expressed in stereo, one of which is the quality of sparkle or shine. What you perceive as sparkly or shiny is one eye catching the light from one angle, and the other eye catching it, or missing it, from another angle. Your brain gets two signals with light spots in different locations in the image and gets slightly confused. You sense this as “sparkle.”
Viewing a 2-D image, each eye sees the same bright spot in the same place on the photo. Your brain says, That’s supposed to be sparkly, but I’m not actually feeling it. In stereo photography, sparkly, shiny and wet things look really, really, sparkly, shiny and wet.
Find others doing stereoscopic toy photography
There is a vibrant stereoscopic photography community on Instagram, led largely by Brian May of the band Queen. There is however only, I’d say, four people I know (including myself) who regularly shoot 3-D toy photography (though I think more than a dozen people tried it last year).
If you can’t learn to freeview, go pick up a pair of Lite Owl glasses or a VR set for your phone, or even a cheap pair of reading glasses from the dollar store (as powerful as you can find—VR sets and viewing glasses are all basically just extra powerful reading glasses).
A gallery of 3-D toy photography is also available at @stereotoyphotography on IG. There are also detailed instructions there on best practices for shooting 3-D images in the story highlights.
Conclusion
Is it worth the effort? Imagine going to the Grand Canyon and taping one eye shut for the whole trip. Now imagine how good it feels to pull that tape off and see the view with both eyes. My favourite part of teaching stereo photography is seeing the look on someone’s face the first time they view or freeview a photo. It’s a smile that can’t be hidden.
If you are interested in adding depth to your work by learning 3-D stereo photography, come join the toyphotographers.com MeWe group and look me up, or drop a message at @therearefourlegos on IG.
~ Matthew Wyjad
Freeviewing instructions
Parallel view
Viewed on a small screen no bigger than a phone. (All photos in this article are parallel view. To view them on a larger screen, zoom out on your web browser till the images are smaller than the length of a phone screen)
1. In portrait mode hold your phone up to your nose while viewing a stereo pair.
2. Try hard to focus on the image, crossing your eyes a bit. You should be able to get one single blurry image in view.
3. When you have the blurry image locked in, slowly pull the phone away from your face till the central image comes sharply into focus.
Cross view
Larger images viewed on tablets or computers use a different freeviewing technique called cross view.
1. From a natural viewing distance, look at the image and slowly cross your eyes.
2. The two images will overlap and form a third image in the center.
3. If you cross your eyes and see four images, let your eyes relax a bit till the four images blend back together. The central image will be in 3-D.


Thanks for the great write up and including my image Matthew. Ever since I found your account on IG I have been taking stereo toy shots. I end up kicking myself if I forget to take that extra shot for a scene. I think it’s just a bit more work in processing but the results are worth that effort. Thanks for pointing folks in the right direction!
No problem Joe. I’m glad you’ve found the same satisfaction in 3D photography as i have!