
When Dave DeBaeremaeker brought up the idea of a friendly, Photoshop vs Practical Effects post I jumped at the opportunity to join him.
First, because I love practical effect challenges, and second, because I’m always floored seeing what skilled photographers can accomplish via Photoshop.
The challenge
The terms of the challenge were simple—we agree on a theme, create our images, and then reconvene to discuss our approach. Dave was to wield his Photoshop sorcery, while I was to rely on a practical magic approach. After all was said and done, we’d also provide a gentleman’s critique of each other’s work.
Practical approach

50mm (FE 50mm F2.8 Macro)
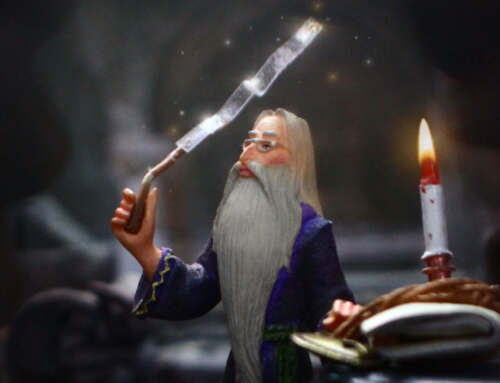
For my part of the challenge, I envisioned a scene of a wizard surrounding himself with a spell to fend off evil forces. As is typical for me when I set out to create an image, I had several failed attempts before finding the look I wanted.
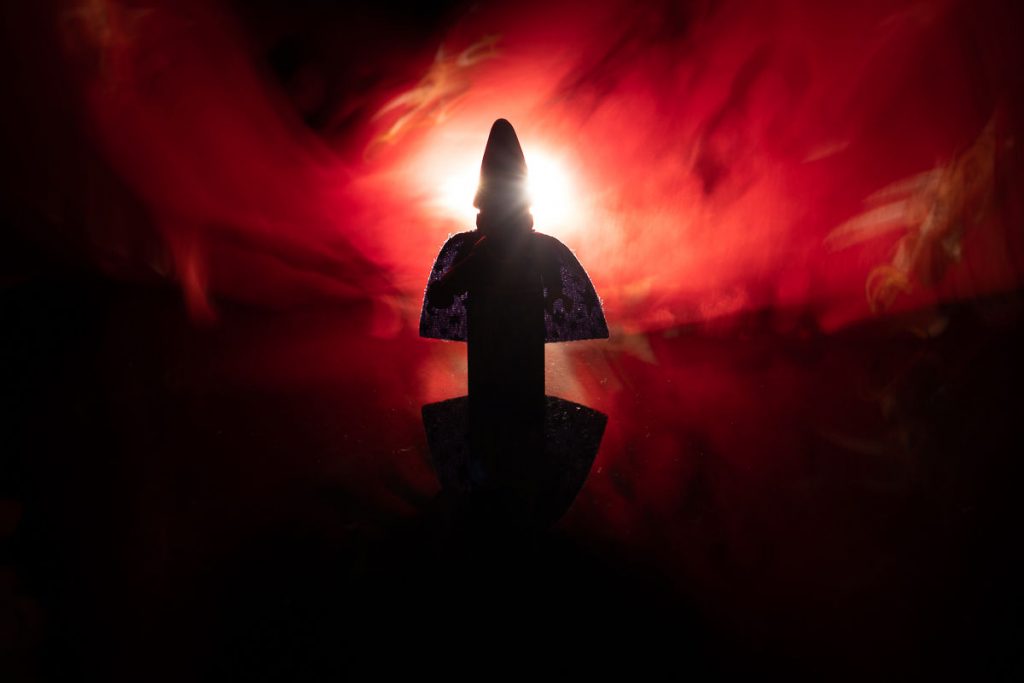

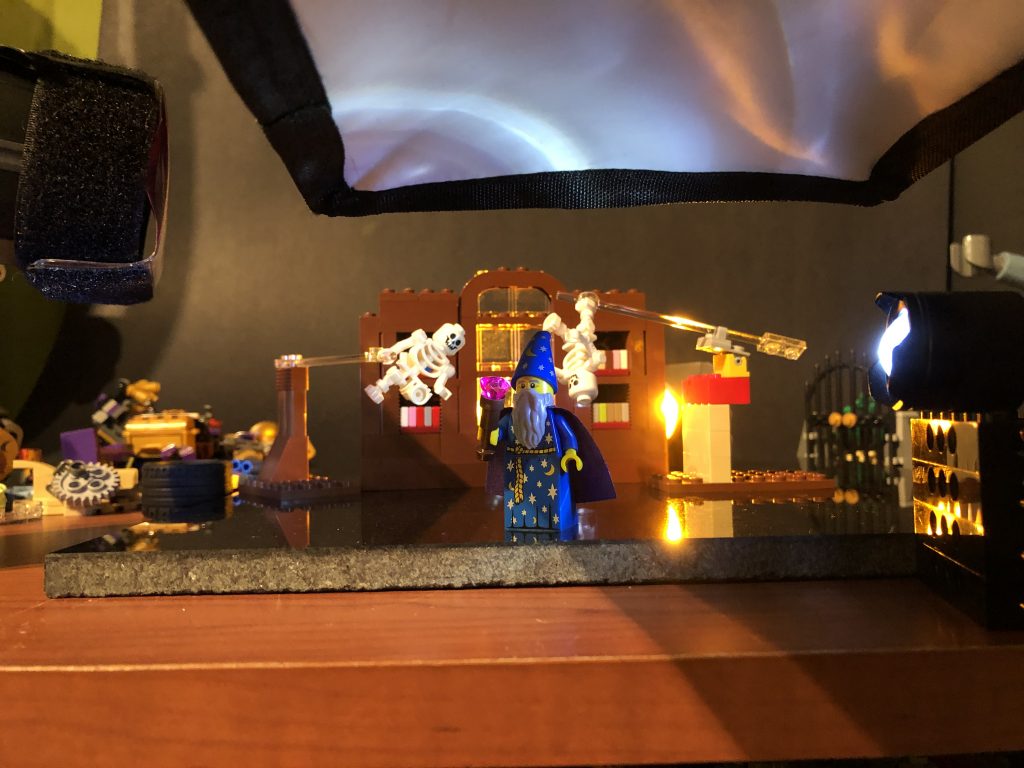
Through trial and error, I ultimately arrived at the scene above. My wizard, a few flying skeletons and a simple, brick-built background.
I added four light sources to the scene: A flash with a softbox to light the wizard, a flash with a purple gel to light the skeletons, a Manfrotto Lumimuse with an orange gel to light the window, and a LED flashlight to light the wizard’s staff. Once these were all in place, it was time to cast a spell.

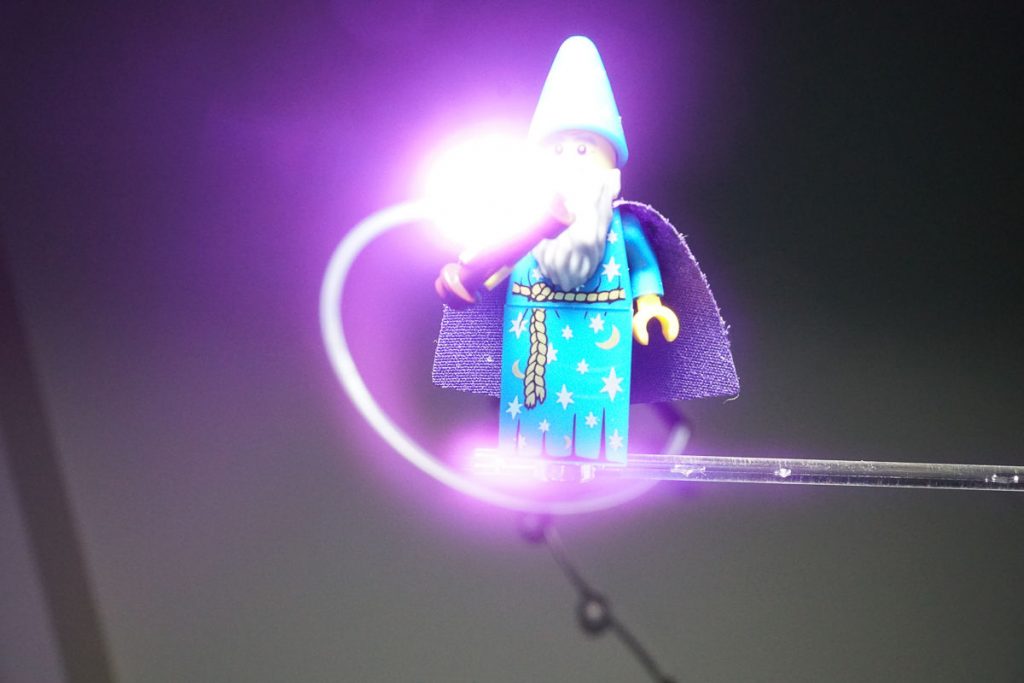
To add ‘magic’ to my photo, I rolled up a string of lights until I had a single blue light dangling at the end. My intent was to wave this light around the frame during a long exposure to create a spell-like effect.
First results were promising, but needed refinement. The issue I was having was that the effect was overpowering my wizard, not to mention the entire scene.
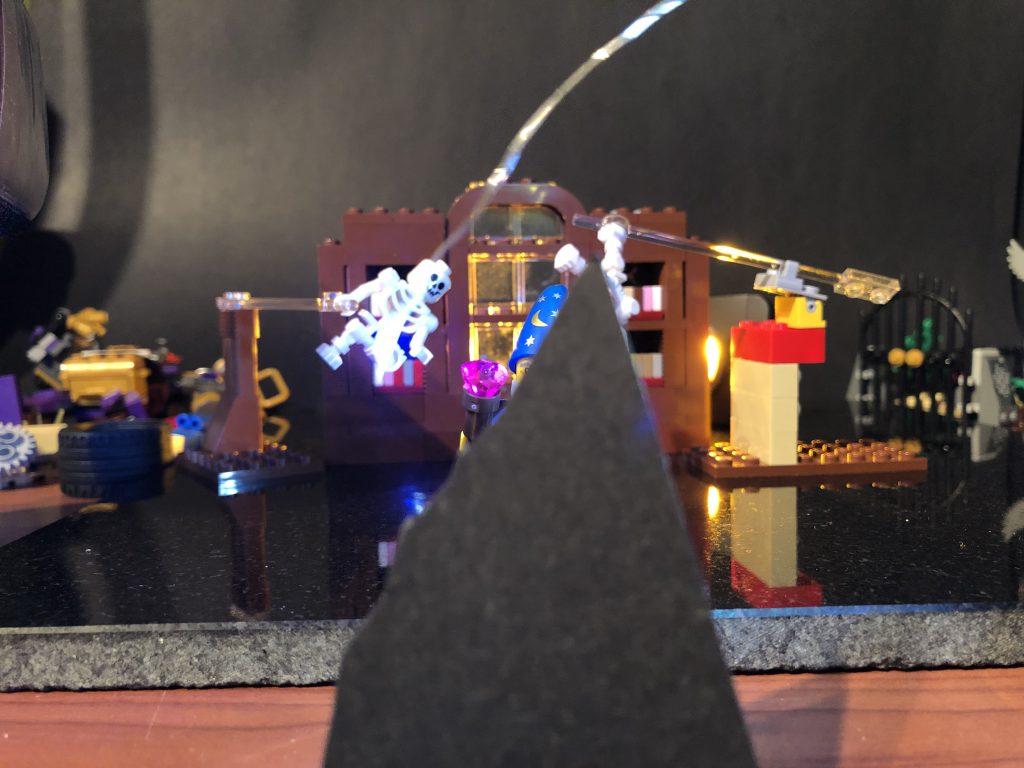
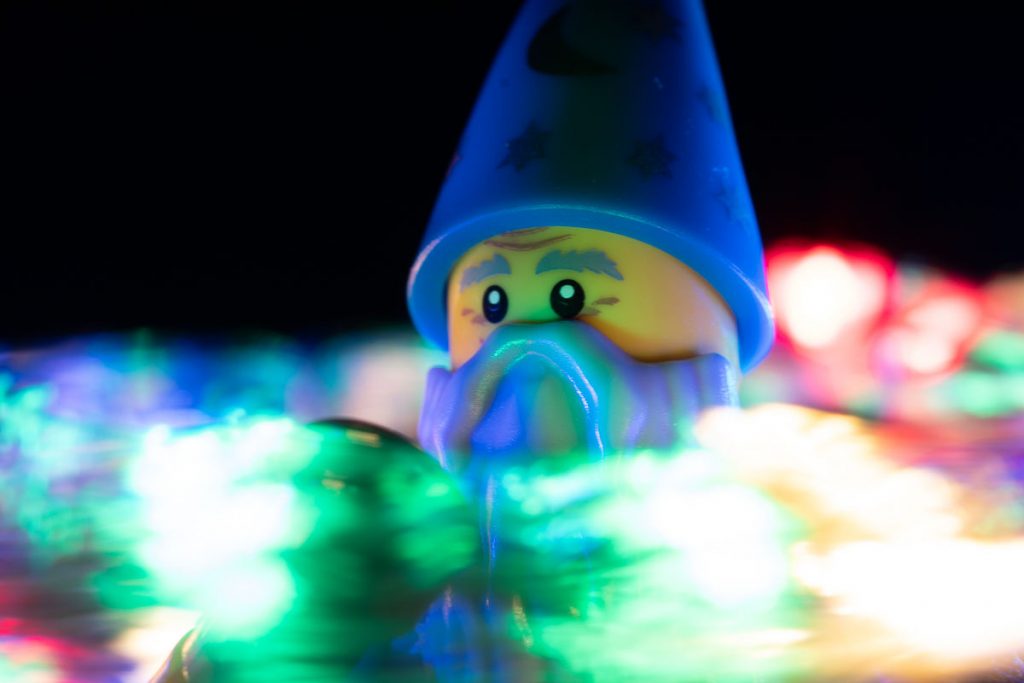
To combat that issue, I relied on some sleight of hand. During my exposure, after my primary flash fired, I held a piece of black paper in front of my lens, being careful to only obscure the wizard from the exposure. This allowed my ambient light to continue to be exposed, while I used my string lights to paint the scene.
Blocking out the wizard made sure the light trails from the string lights did not affect the figure. It’s sort of a manual way of creating Photoshop layers. 🙂
Confession time
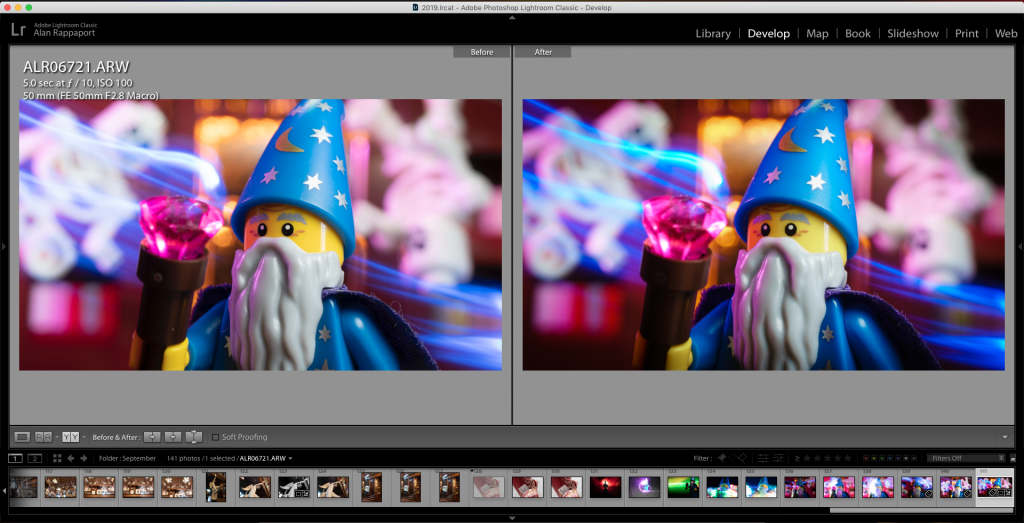
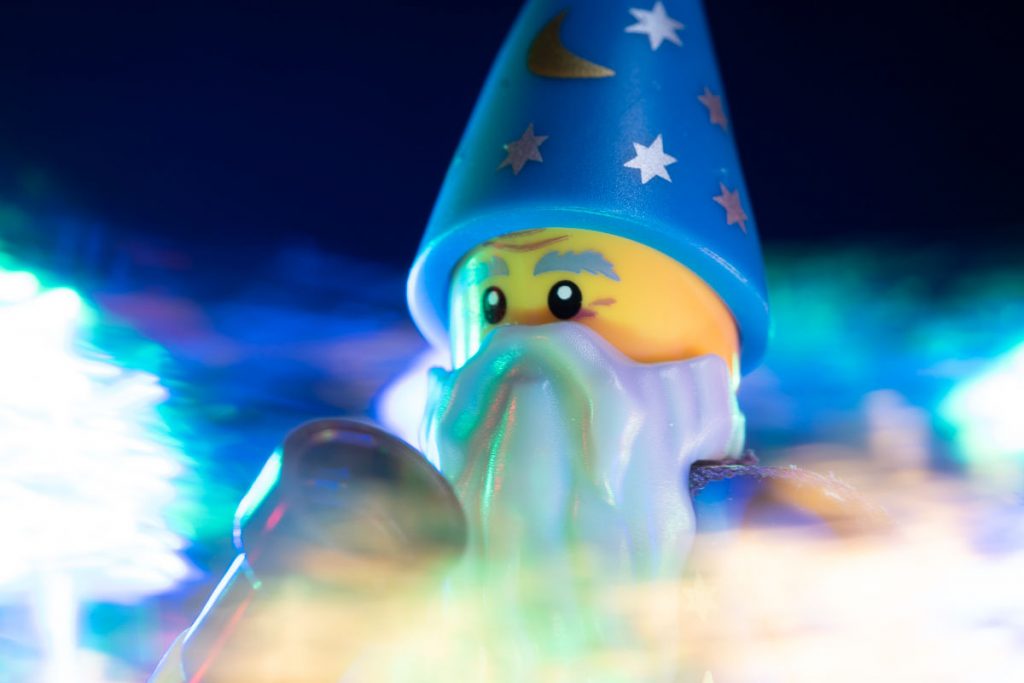
I wouldn’t be completely honest here if I didn’t admit that while I don’t use Photoshop, I do use Lightroom to post process my images. In this image, I adjusted my exposure, brought down my highlights and bumped up my shadows along with the vibrance. I also cleaned up some dust on the figure using Lightroom’s clone tool.
I then finished the image with a 16×9 crop, adding vignetting (a bit too much now that I look at it) and widescreen bars along the top and bottom of the image (a habit I just can’t seem to kick).
Dave’s thoughts
I love seeing Alan’s process with this post. Clearly he put a lot of time and energy into experimenting with lights and coming up with the method he used to get the shot he wanted. Even though he rejected a lot of the effects he came up with, it is interesting to see all of the possibilities. I can see how each one of those looks could be useful in future shots.
Honestly, I am impressed with what is possible with in-camera effects. I never would have guessed one could accomplish such variety.
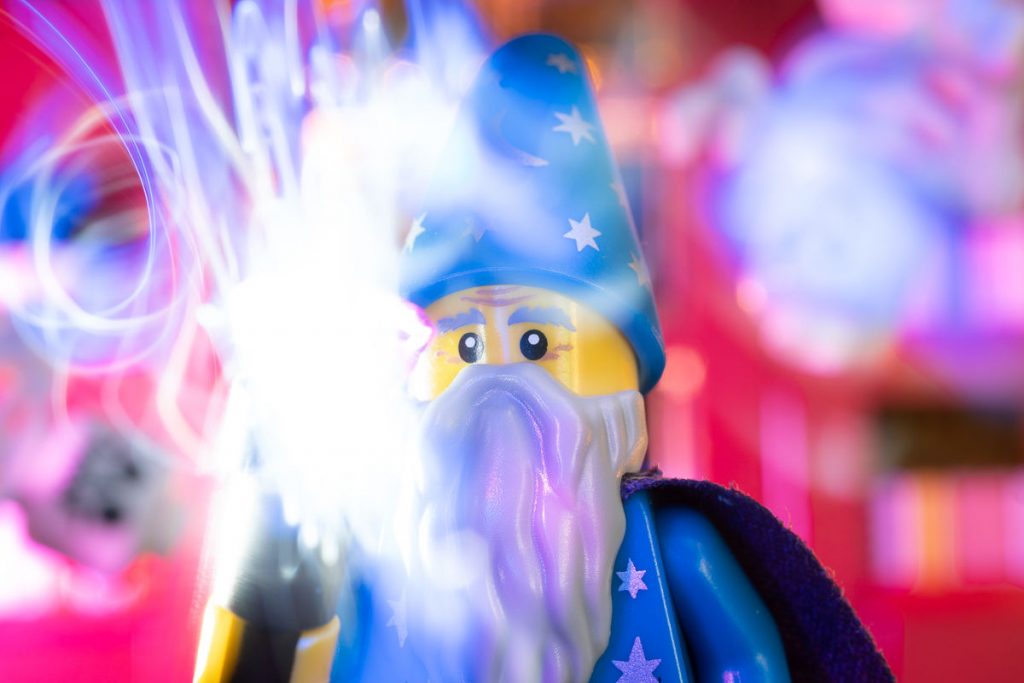
The final image had a charming quality to it. The level of magic was just enough to to be mystical, but not overbearing with the light show. Like many good uses of effects, the magic light enhances the story and doesn’t overwhelm it. A nice blend of subject and story.
Cast your own spells
I would love to see more takes on this theme. Please comment below with your own images, and if you prefer to travel the Photoshop or practical road.


Thanks for sharing your experience, Alan and Dave! I liked the post very much. Great results!
As for me, I cast spells without Photoshop.
It’s nice to hear about spells: I tried light painting early in the year. It’s the first time I’ve worked with it and my first project was “Spells”. 🙂
Here is an example (there are 2 shots in the post):
https://www.instagram.com/p/BukCbetlBwS/?igshid=1v3r05kxpvmrs
Another idea:
https://www.instagram.com/p/BtHRGQhFgg9/?igshid=pnelkdxz9zxh
Really neat to see how practical effects can create such fun lighting. Especially interested to hear about the blocking trick (where you kept the light painting from affecting the figure). Thanks for sharing this, Alan!
What a great challenge! As someone who likes to mix both practical effects and Photoshop, I loved seeing how you both handled it. I’m always fascinated by your lighting tricks. That blocking trick with the paper is genius! It would have never occurred to me.
I love the final shot. You’re right that it’s the perfect amount of magic without being distracting. I’m also happy to see what I’m not the only one that will end up with a bunch of missed attempts before finding the right idea! 😉