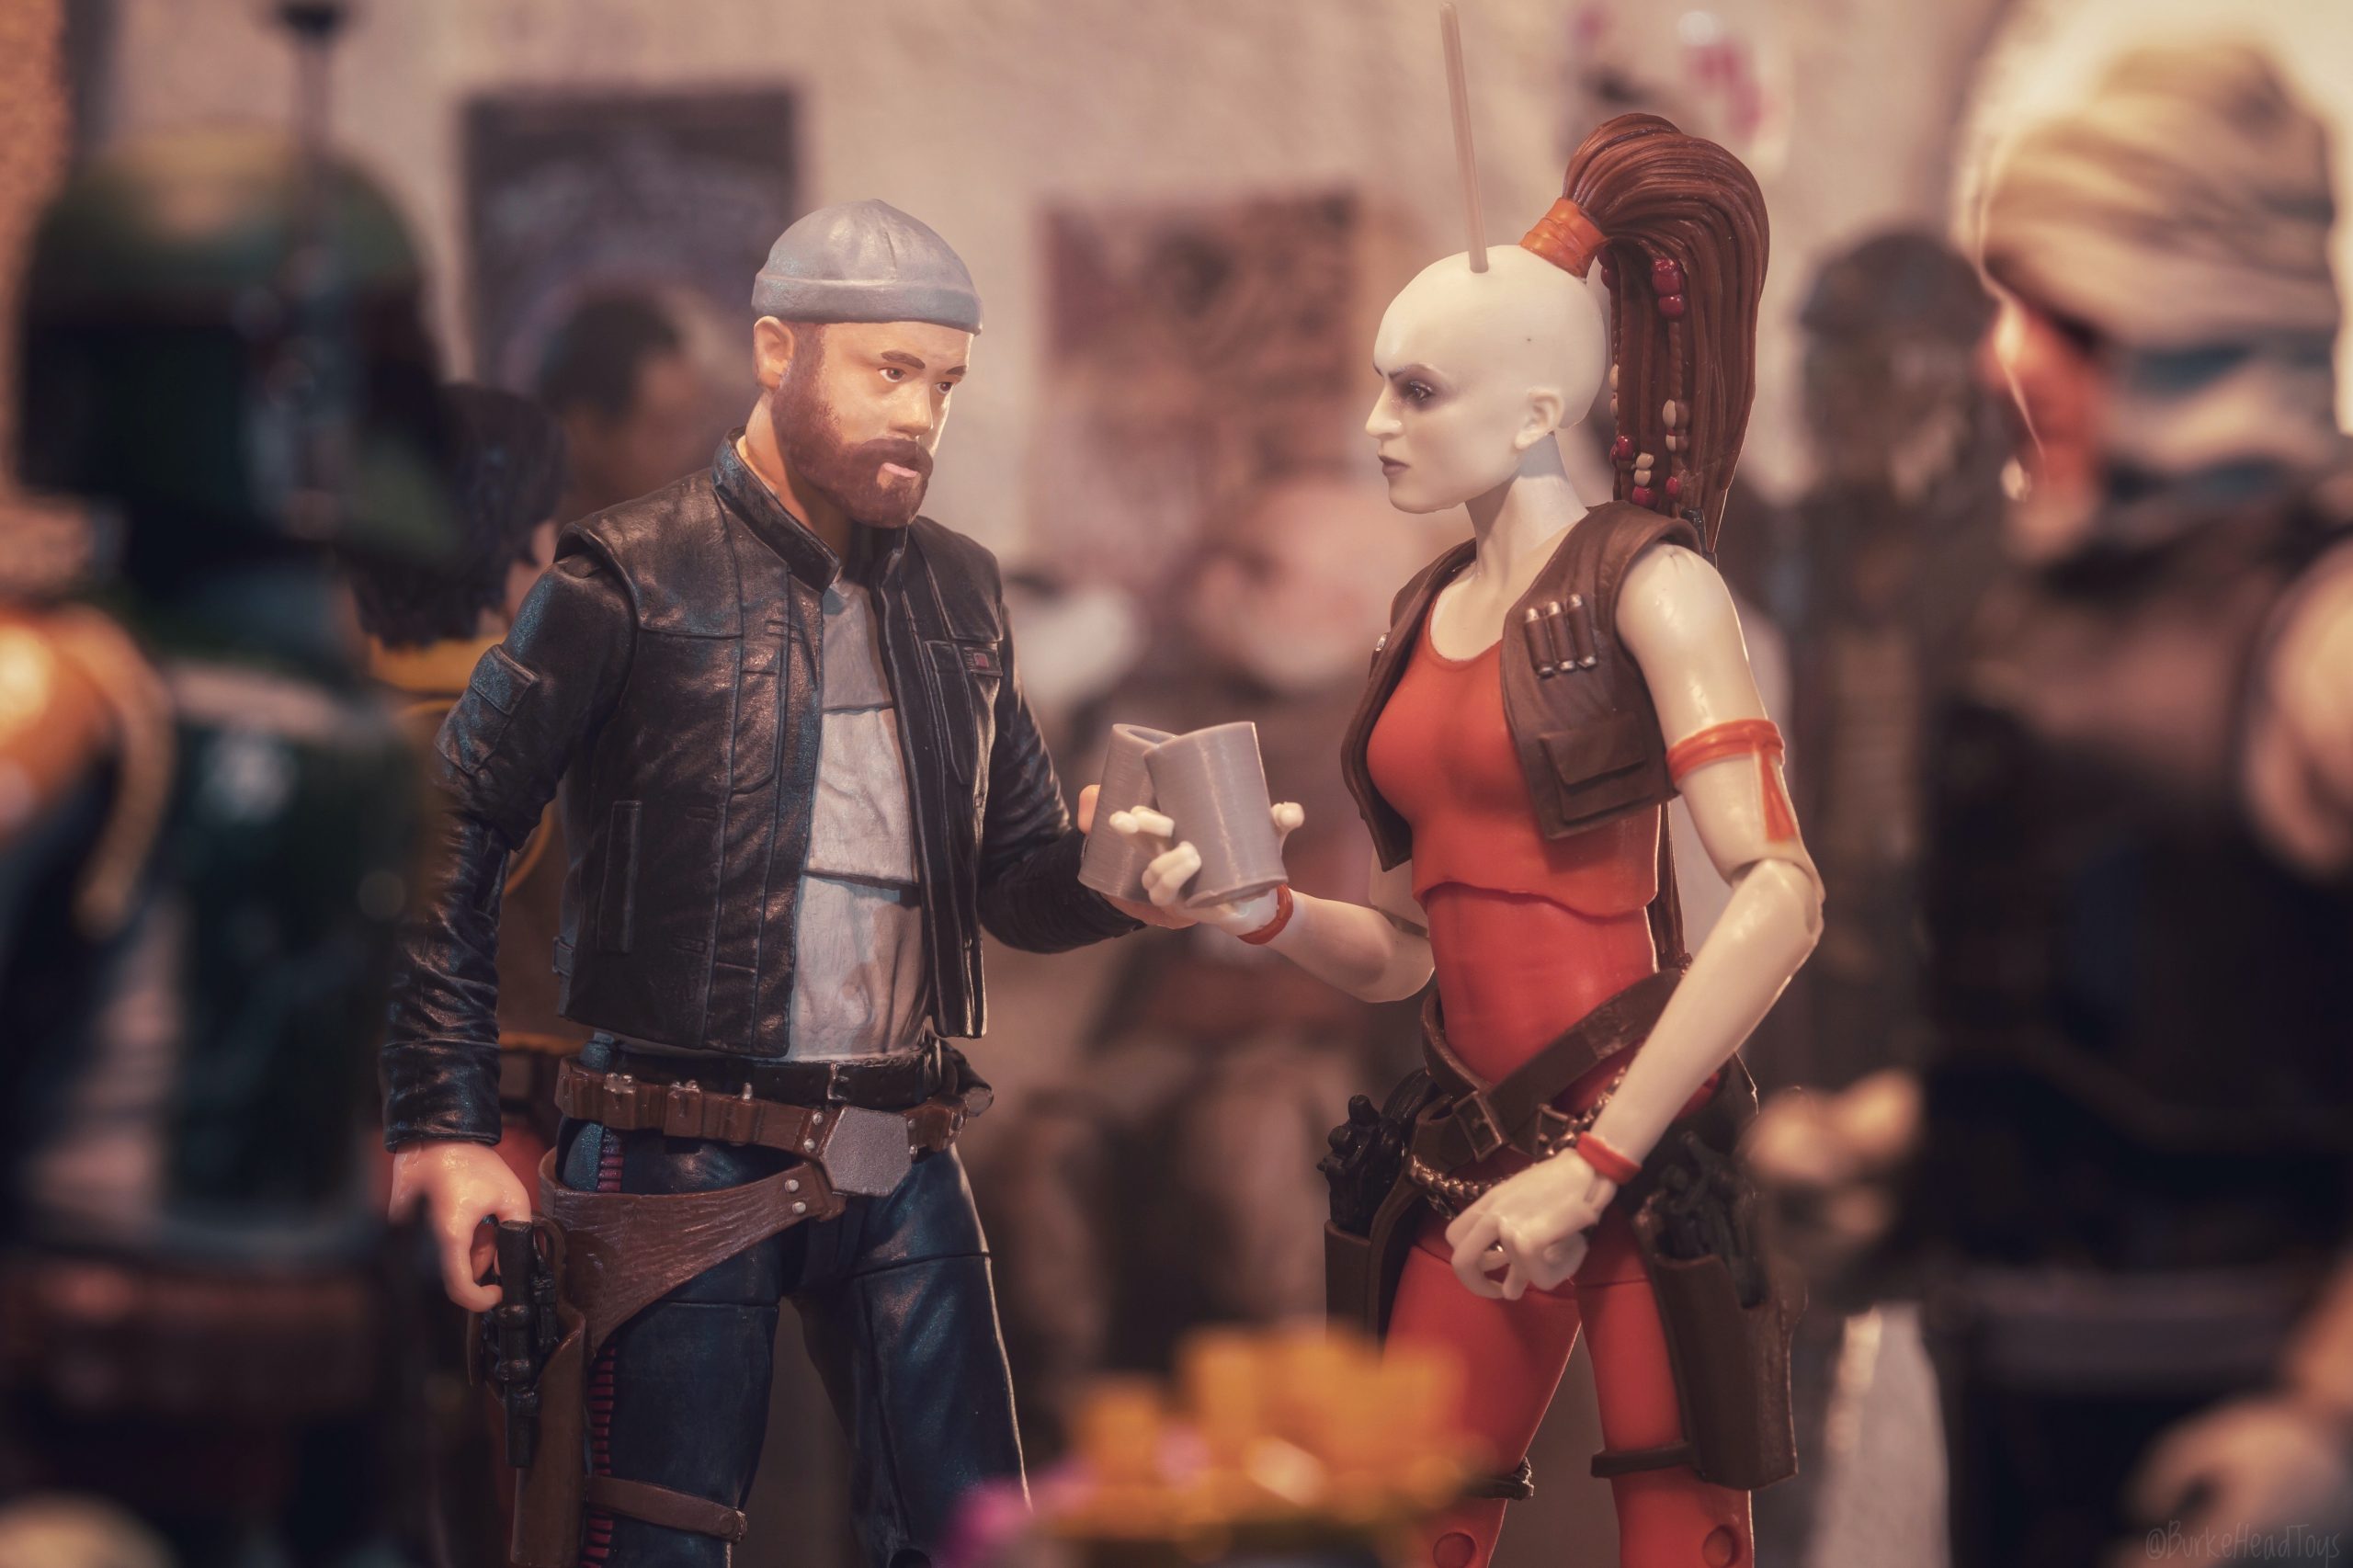
If you’re here reading this, then you’re in some way interested in toys. And if you’re specifically into action figures, perhaps you’ve wanted to see yourself enshrined in six inches of plastic. Well, I’ve had this idea to make an action figure of myself for years, and this year, I finally decided to give it a try! If you’ve been following me on Instagram (@burkeheadtoys) for a while, then you may know that I like to work myself into an image every year for my birthday. As egotistical as it may be, it’s still a fun challenge. And I decided last month that this idea was finally happening.

As I said, I’ve had this idea for a few years, and back then I was able to find several tutorials on how to make yourself into an action figure. In those passing years, the technology for this process has become more prevalent. So when I tried researching again, I was bombarded with links to commission sites on getting your own action figure. So, long story short, you can just pay to have someone do all of this. But where’s the fun in that? Plus, I’m cheap, and those commission jobs are not. But in retrospect, they may be worth it, depending on the quality you’re expecting.
What you’ll need:
- A scanning app for 3D rendering
- An application for 3D modeling
- Access to a 3D printer (resin preferred)
- Paints and brushes
- A sacrificial figure
- Time and effort
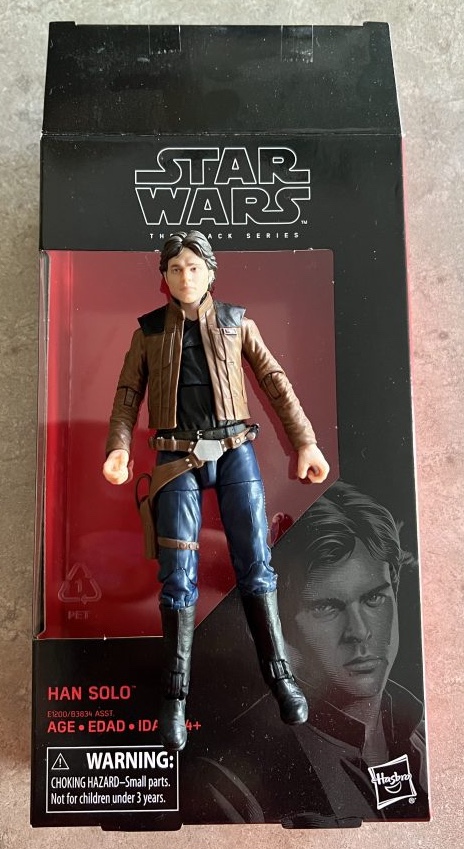
Now, where to start? I’d suggest finding a figure you want to head swap. I believe the figure you want to pop your head on dictates how you want your facial expression to look. You don’t necessarily want to be super happy while sitting atop a grimy Punisher figure. Or maybe you do — to each their own. I knew I wanted to insert myself into the Star Wars universe, so last year I scouted for cheap Hasbro Black Series figures. I eventually came across the young Han Solo from the Solo movie for around $10. Plus, the actual head is useful for reference and sizing.
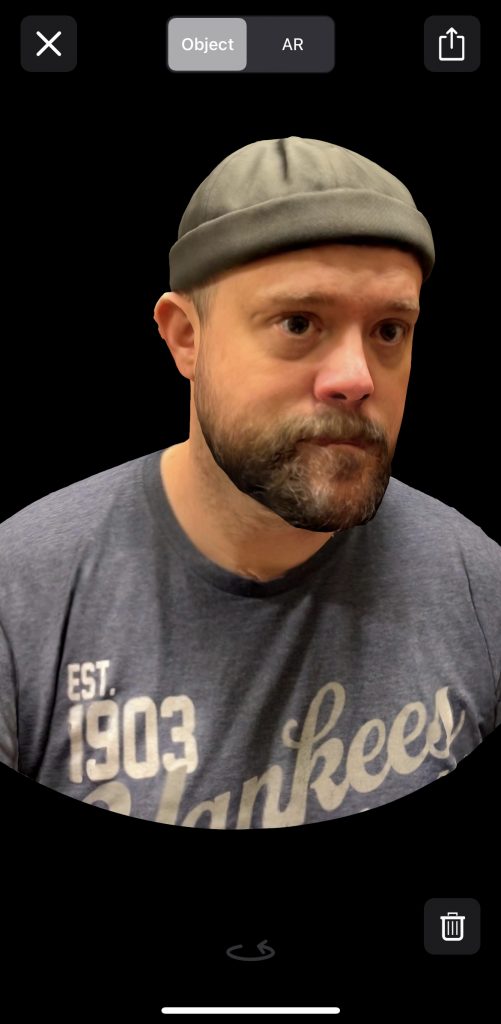
The next step is the trial-and-error phase: 3D scanning. I tried a few apps for my iPhone: Capture, ScandyPro and Trnio. Of the three, Trnio worked the best. I stood in the kitchen with a smirk on my face while my wife went around me with the camera. It essentially takes a bunch of photos and uploads them to a server for rendering. Some time later, your scan will be ready for viewing/saving. In retrospect, I wish I hadn’t smirked and just kept a neutral face. The quality of the capture is OK — it lost my facial hair detail and the quality of the eyes is lacking. This is important, and we’ll cover later in the lessons learned.
Now the hardest part (for me) is 3D modeling. This alone, is a hobby all by itself. But, you’re gonna need something to clean up your scan for printing. If you’re familiar with this, then you know infinitely more than I do already. I’ve done nothing outside of using Tinkercad to make basic objects. There are several 3D modeling applications (Blender, ZBrush), and while amazing, they can be costly. I opted to go with Meshmixer, primarily because it’s free, and I’ve used it a handful of times for cutting prints which are too big for my printer. Google, or whatever search engine of your choice, will be your best friend. Most of my time on this whole project was spent googling how to do stuff and reading/watching tutorials. I can tell you, when you import your .obj file from Trnio, it will have your colors and textures. I found it easier to work without this level of detail, so I used the Shaders command and selected the white sphere and dragged it onto the model to give it a basic and more detailed appearance to what will actually be printed. I was able to isolate my head easily enough using Plane Cuts and the Select tool to discard areas that basically weren’t my head. With my printable head finally isolated, I discovered this handy tutorial about cleaning up scans with Meshmixer.
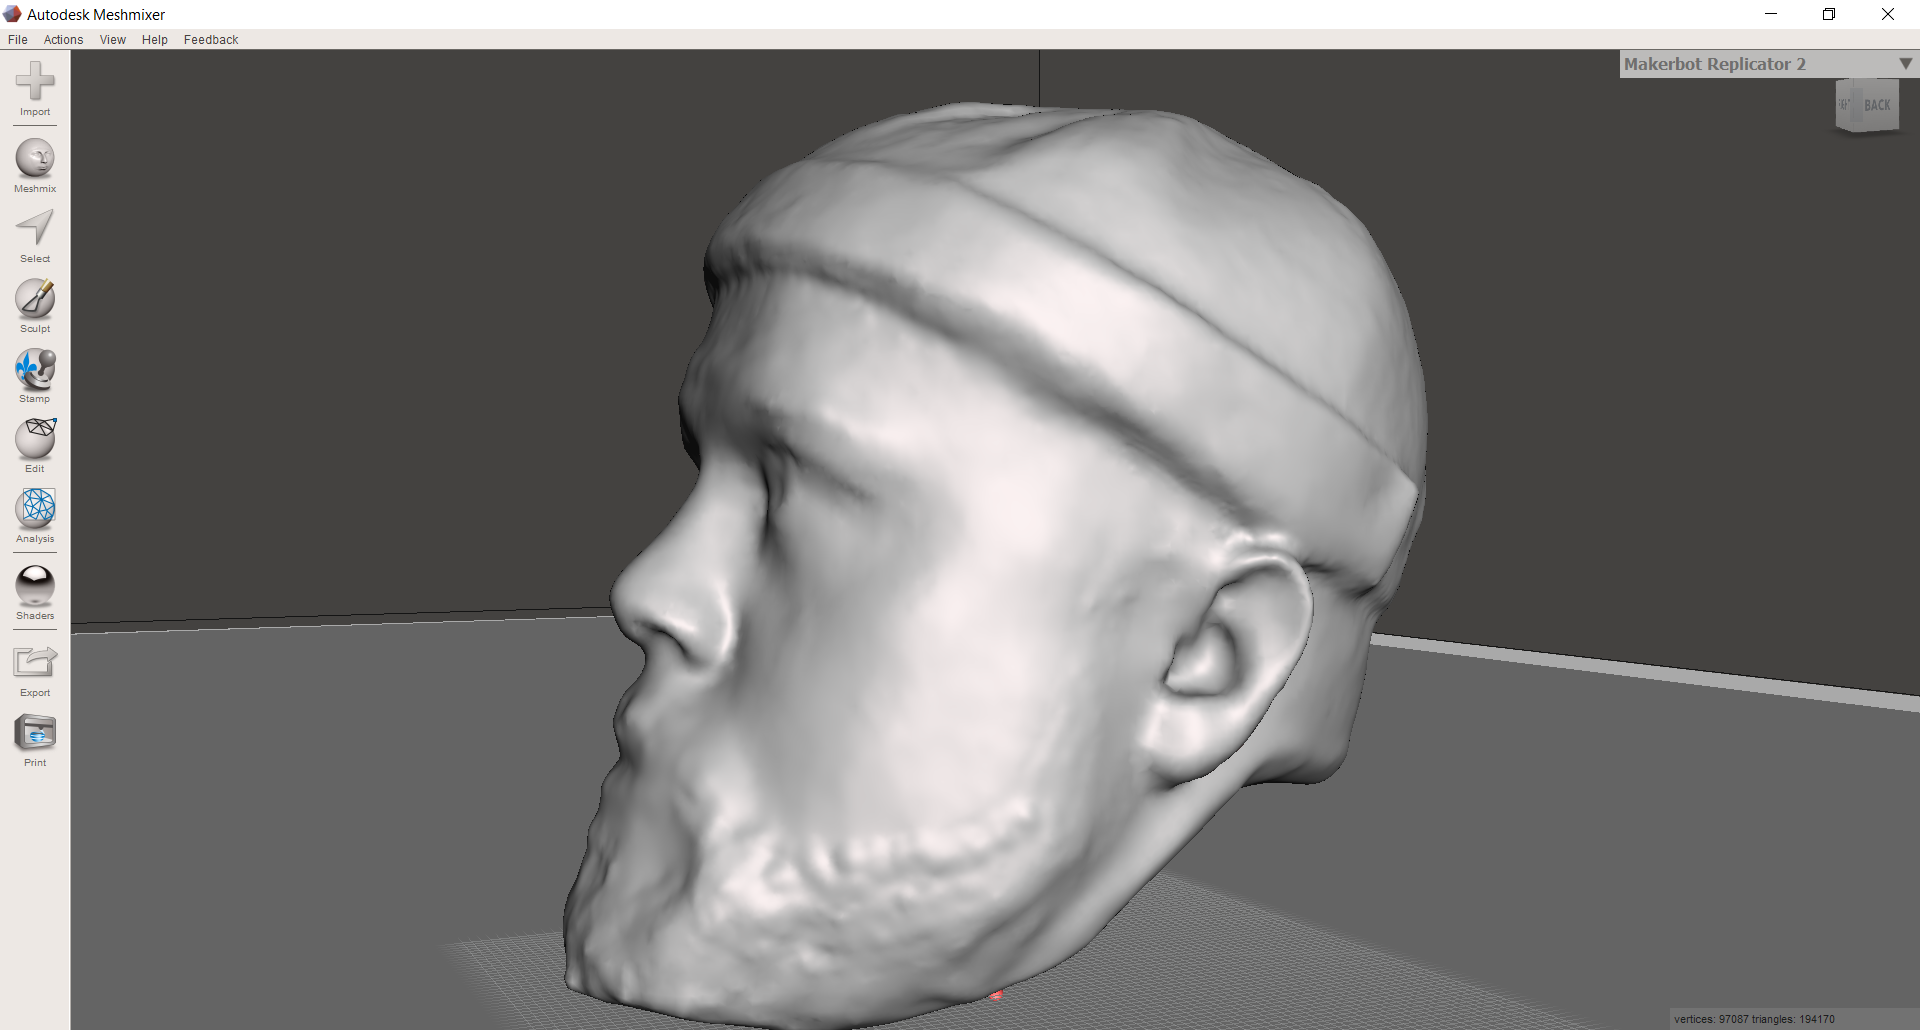
From here, I had something printable. Now it was time to tweak. Luckily for me, I have a filament 3D printer, so it was relatively easy for me to adjust the size, print and compare with the existing figure head, then rinse and repeat as necessary. After a couple rounds of adjusting at a millimeter at a time, I got it to a height of 21mm and called it done.
Now I handed it off to my friend Steve (@phantom_spaceman__). Steve has a 3D resin printer. I’ve already covered 3D printing before (here) and if you’ve read it, you know that resin is where it’s at. Such superior quality. He was kind enough to supply me with 21 prints. So there was plenty of room for error!
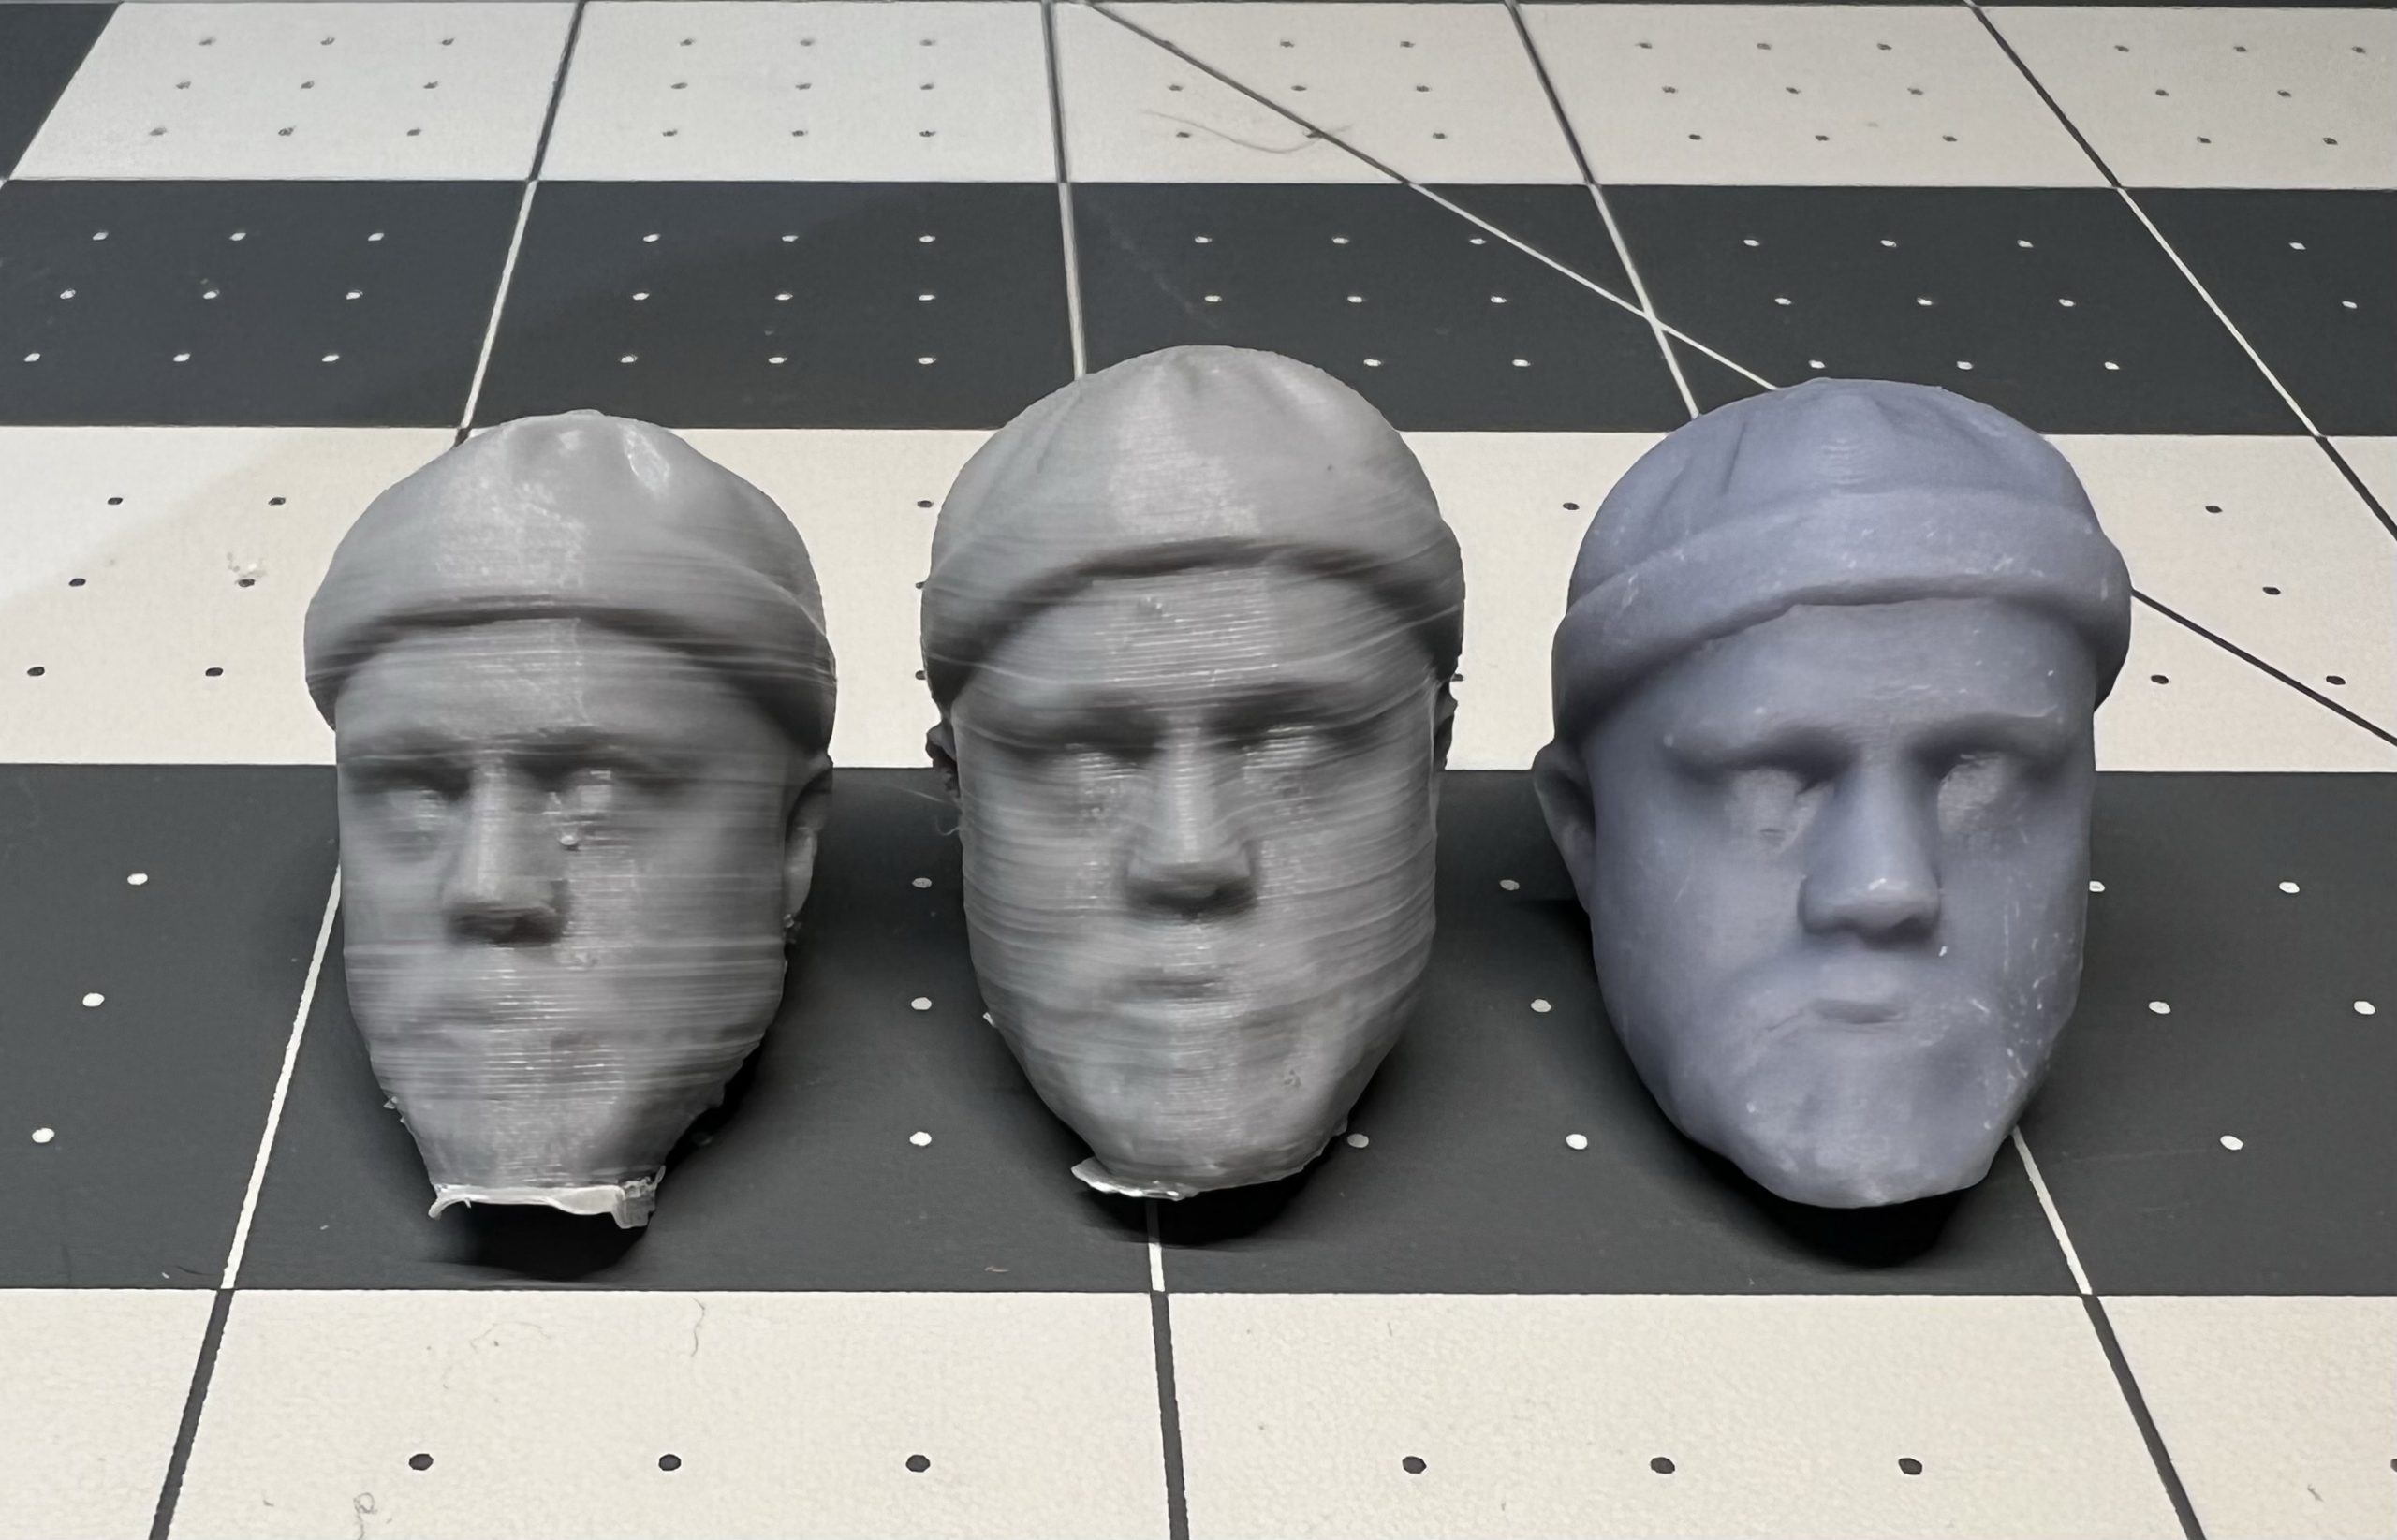
It was only when I had the heads in my hand that I realized I had given Steve the wrong file to print. Because I had figured out how to add the hole for the neck peg in Meshmixer, but I didn’t give him that file. After a quick trip to Lowes, I came back with ⅜-inch Grinding/Sharpening bit for my Dremel. Drilling the hole was easy enough. However, all six heads I put holes in started cracking on the back of the skull. This wasn’t unexpected as resin can break/chip pretty easily. If you go this route, wear a mask and safety glasses. The amount of dust was profound and I found it easiest to do it outside.
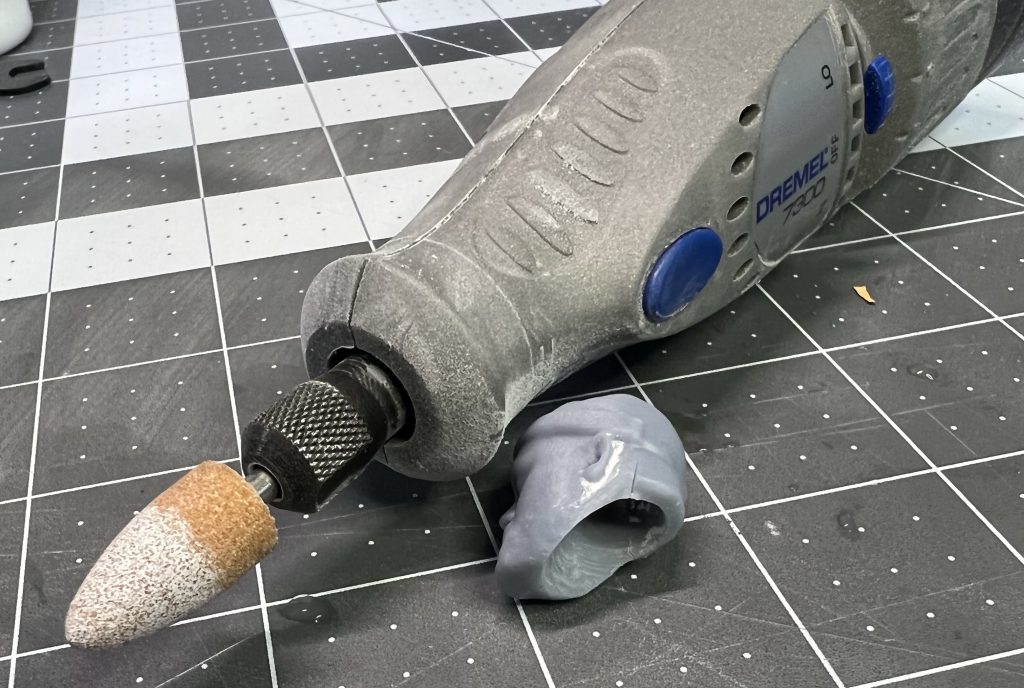
Now we’ve reached my least favorite part: painting this ugly mug. I reached out to my friend Jason (@workmoreorless) and he was kind enough to offer me some tips and links to some helpful information. One of the best things he sent me was this tutorial from @jcmcustompaints. If you’ve actually looked at my pic, then you know I’m not an expert (I wouldn’t even call it entry level quality), but here are the tips I can provide:
- Get good paint and brushes. For the skin tone, I bought some Vallejo Basic Skin Tone and Dark Flesh at my local Hobby Lobby. For brushes, I used a standard smallish paint brush for the base coats and some miniature brushes for all the details. For the hat and hair, I used my standard cheap acrylic paint.
- Thin the paints and use light coats. When using the paint on my palette, I would only use a couple drops at a time and I would mix them with a wet brush. I’d use a dry brushing motion when applying to keep it light, and I did several coats. I basically kept going until none of the resin gray was showing through. I only waited a few minutes between coats, and as thin as the paint was, it dried pretty fast.
- Work on multiples if you can. I worked on five heads at a time. I figured that with no experience in this, I should, statistically speaking, have a 20% chance of getting one head that was usable. So as I was working on these, I judged each head after every round and opted to do whatever I was currently painting last on the best one. Think of it as four practice rounds.
- Get some magnification. I borrowed my in-laws’ bench magnifying lamp. I only really used it on the eyes, but it would have been a lot less strain on my eyes if I had used it the whole time.
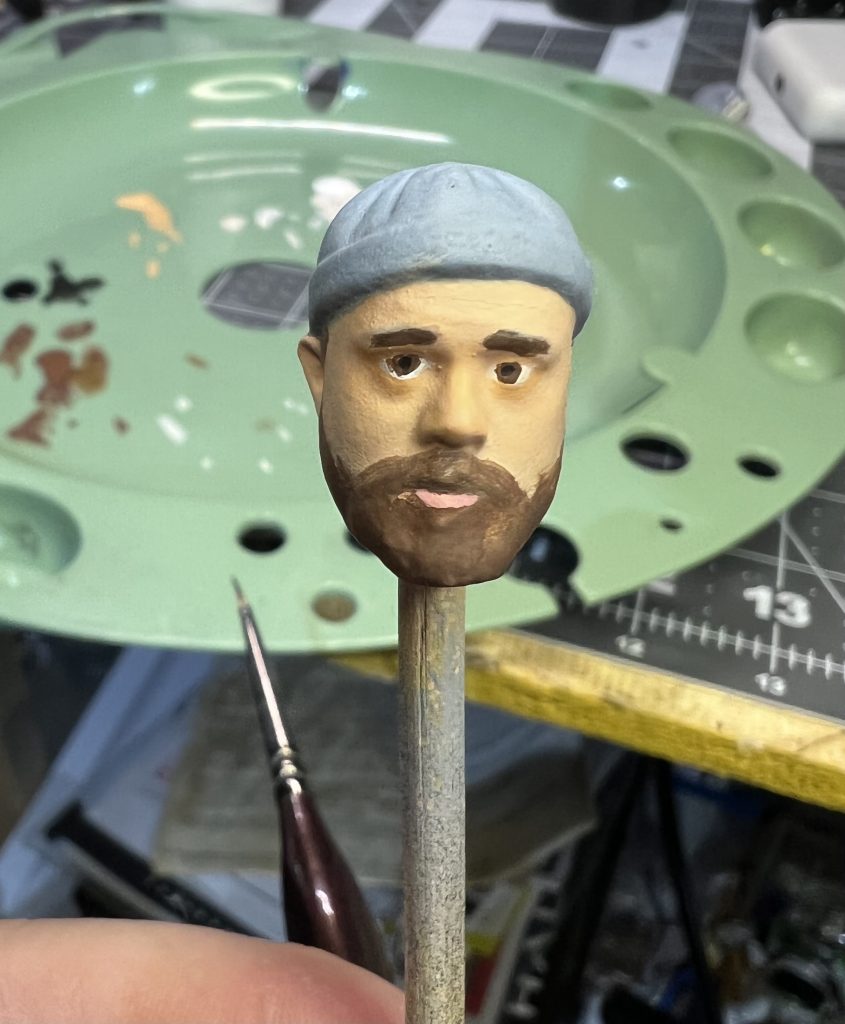
In the end, I learned why quality painted head sculpts can be so pricey. This is definitely a bankable skill. I opted to press forward because after years of cleaning up lousy head paint jobs from all the major manufacturers, I had some confidence of at least making this guy presentable in post.
Now from here, you could be ready to go. Go ahead and pop your head on and shoot. I personally wanted to create a character of my own and figured the young Han is pretty identifiable. So this time, I turned to my friend Jav (@ronin314). He is one of my favorite customizers to follow. He offered me some great advice. If you’re going to disassemble a figure, boil him for a bit until he feels pliable. I did this and was able to pop out the joints with ease. I then washed the body with soap and water. He also had a good tip, which I heeded, about painting as much intact as you can. If you fully disassemble and then try to pop everything back together, there could be some chipping of the paint.
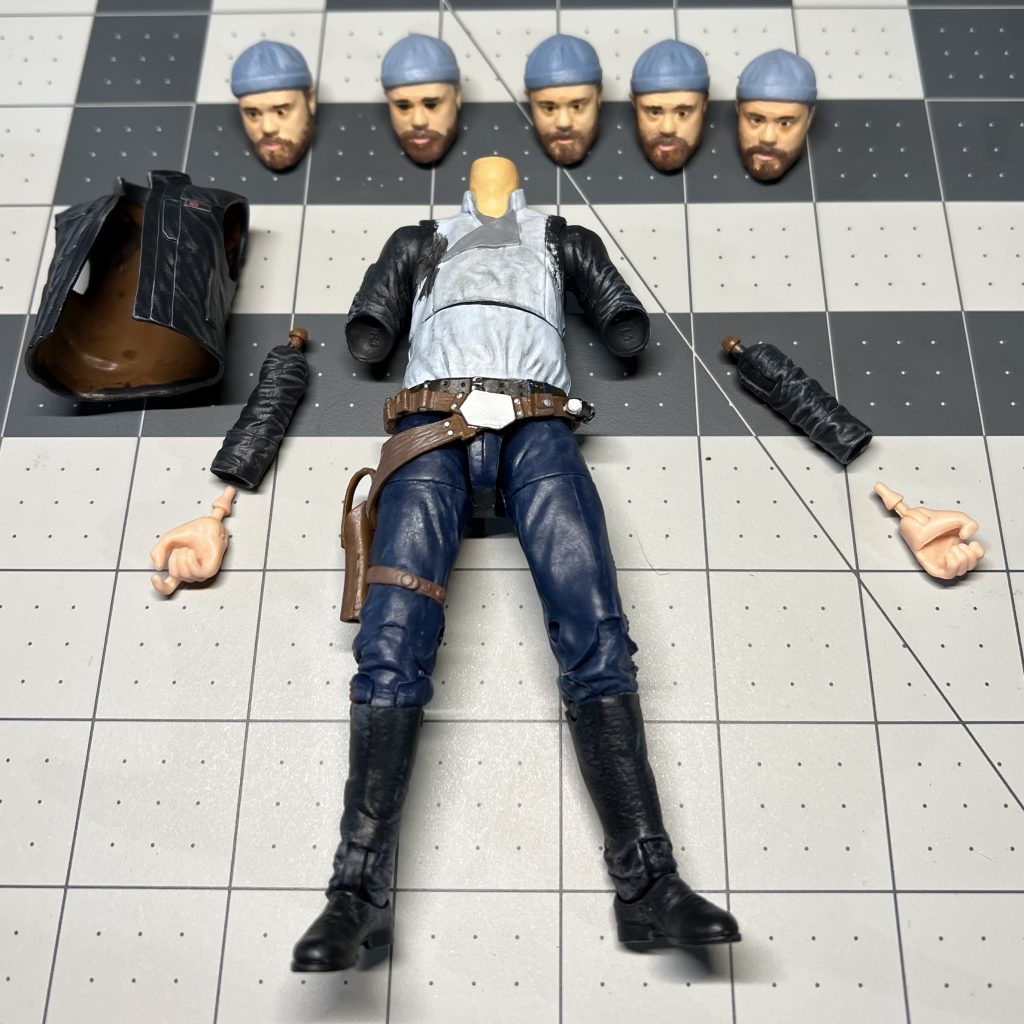
As you can see, I kept the changes pretty minimal as I really wanted to keep the belt/holster and didn’t want to mess with those iconic pants too much. I again used my cheap craft store acrylic paint and went over the whole figure with a layer of gray dry brushing to bring out some detail. After that, I hit him with a layer of clear matte top coat, and popped him back together.
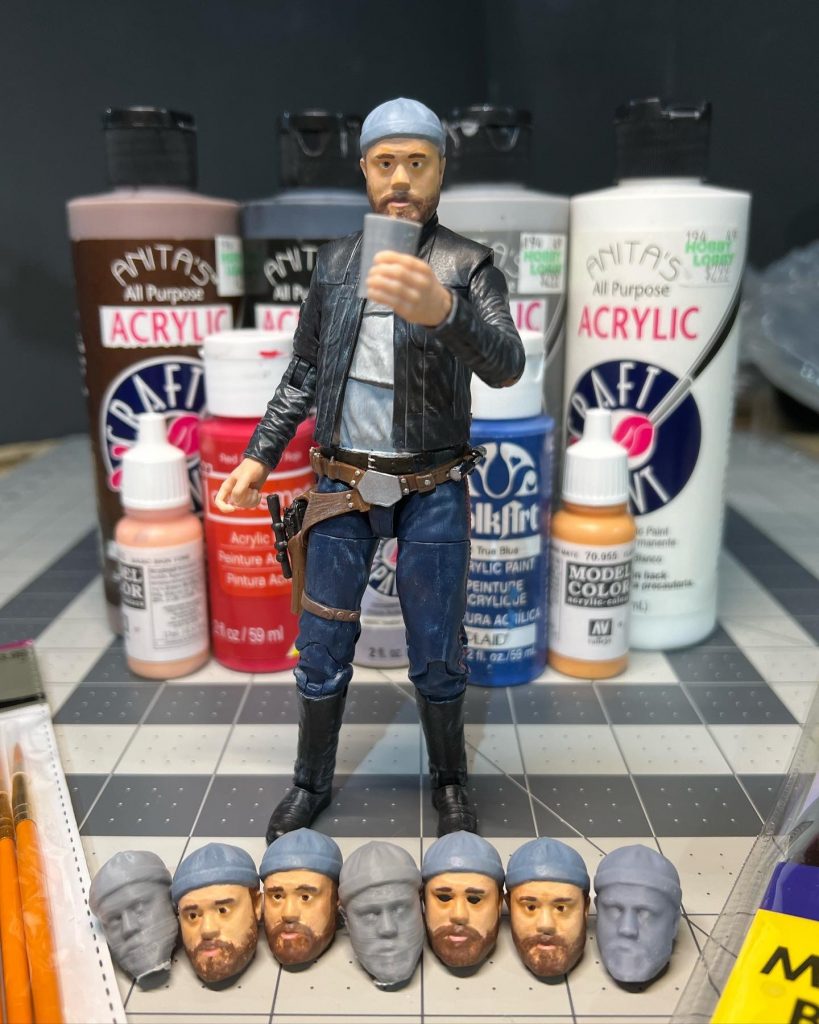
Time to shoot! Go and have some fun with yourself.
Lessons learned
- Try several scans/apps as all behave differently. Try to get your scan as best as you can before pressing forward.
- In retrospect, I wish I had added more time and effort into the cleanup of the model. Specifically, I wish I had clearly defined the eyes with a round shape and eyelids. I believe this really would have made a difference in finishing them. I also wish I had added more texture to my eyebrows, beard and hair.
- Add a neck peg hole to your 3D model before printing.
- Something I learned from the countless head painting tutorials is use an air brush. It really does a superior job with the blending of the colors of the face.
- If you’ve only got one head sculpt to paint, practice on some cheap or unwanted figures heads.
Tune in next time, when I’ll present a more in-depth article on how I cleaned up this sub-par paint job with my post editing flow.
-Adam (@burkeheadtoys)


Thanks for the write up! Very informative. Have been thinking about creating custom heads for a while via 3d print. This article will certainly come in handy as reference.
No problem! It was certainly an interesting challenge
Man,this Is pure Genius!?thanks for the idea:)
I’m an idea man ? actually kinda rare for me to follow through
This is fabulous! I really didn’t think it could be this easy to 3D print a likeness. Thanks for sharing!
Having the tech on a phone these days makes it a lot easier!
Hey! Just got this article recommended to me! I teach STEM classes at an after school center for teenagers and have been looking into doing this as one of my classes! Thanks for listing your steps so I can roughly get an idea of the process! My plan is to scan their heads in, teach them how to use Blender, customize the figure, and have them put a superhero logo of their own design on it.