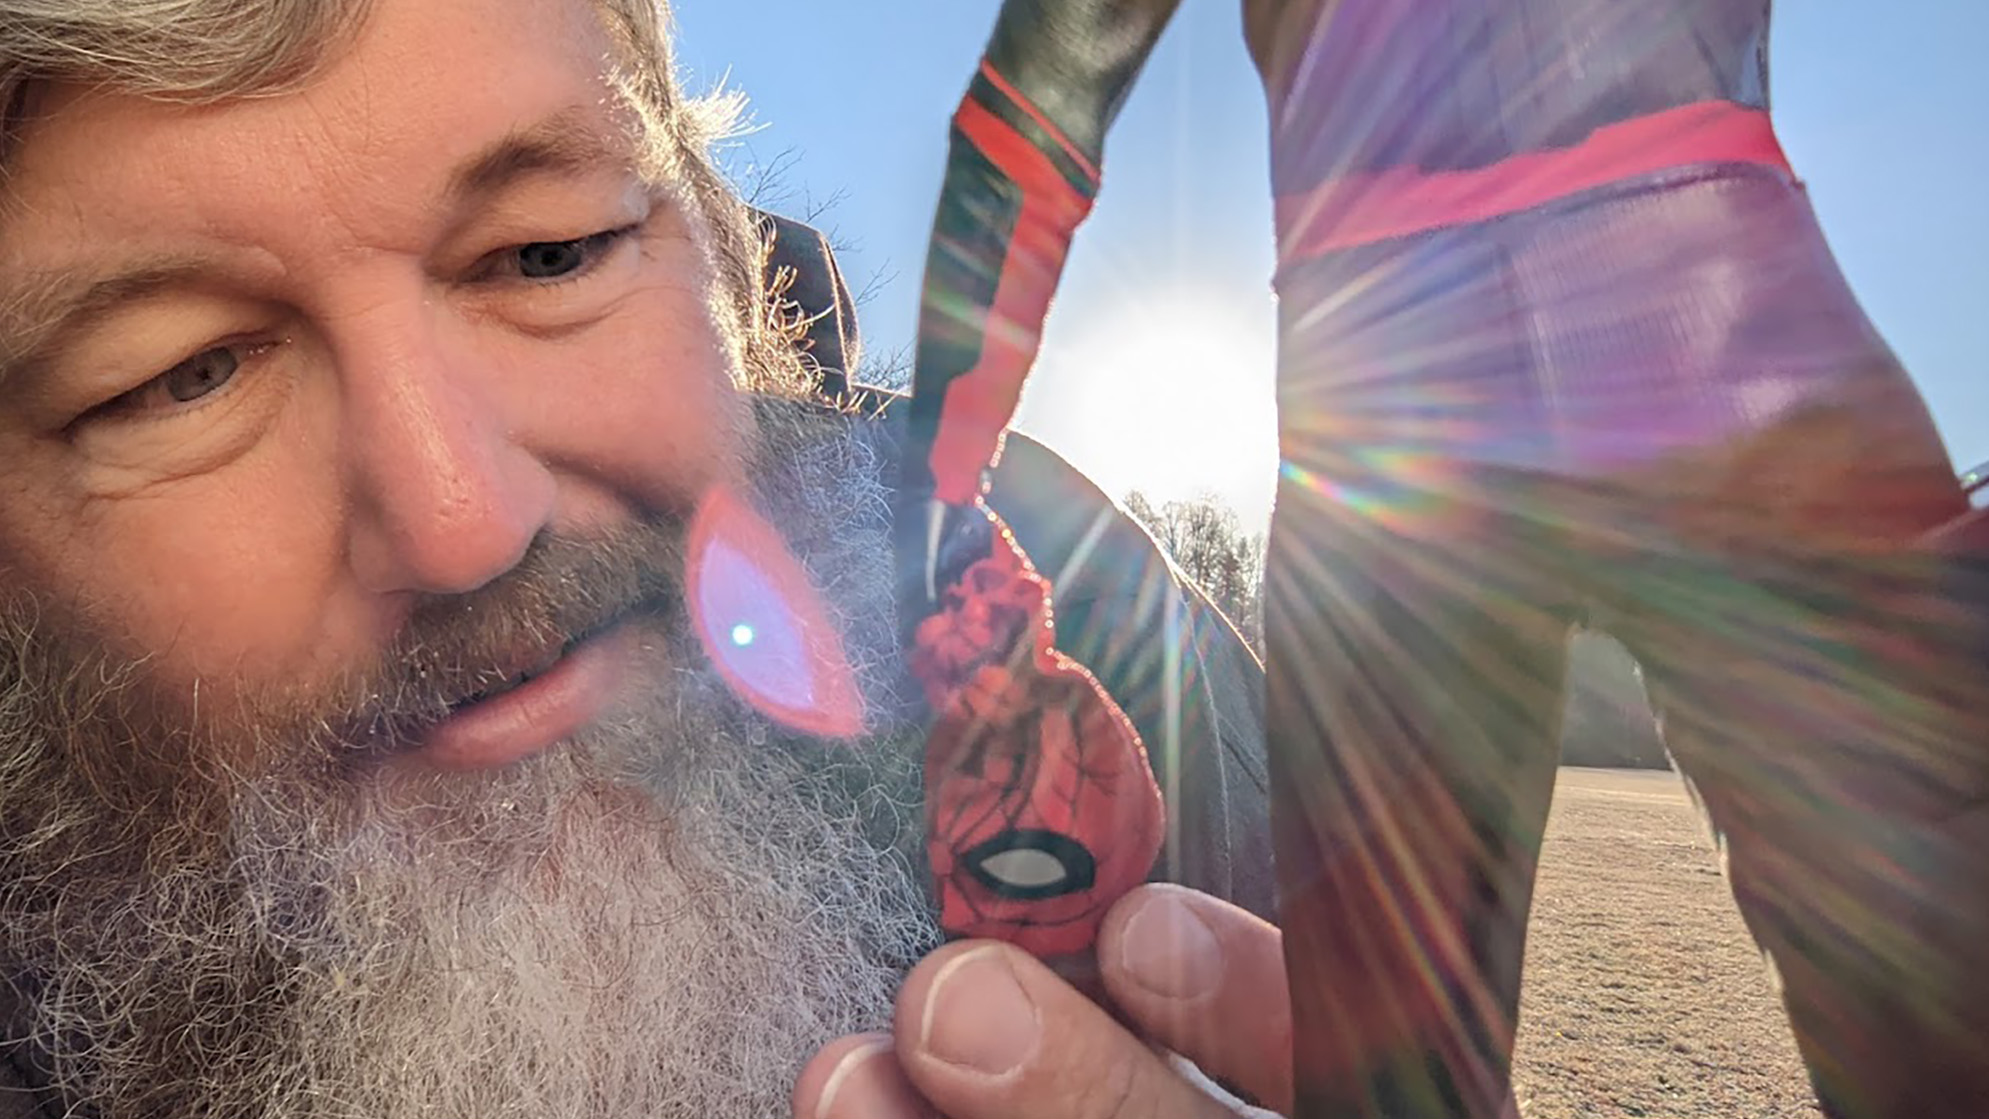
I recently picked up a Hot Toys Spider-Man figure, specifically the Spider-Man (Upgraded Suit) model. This is the suit at the end of Spider-Man: Far From Home, and beginning of Spider-Man: No Way Home. It came with a whole host of accessories, one of which was Spidey’s mask — not the whole head, just the cloth — which he can hold in his hand. This sparked an idea, which would involve me shooting Spider-Man into the sun!
You probably guessed this by now, but I don’t mean launching Spider-Man into space towards the big ball of fusion we call the sun. I mean shooting Spider-Man with the sun directly behind him, creating some dramatic light effects, i.e. facing the camera directly into the sun. The idea was to have a close-up shot of the mask in Spidey’s hand, with a sun burst behind him, creating dramatic light and shadows, and some creative lens flares. If you are thinking, “This sounds like a Michael Bay movie,” you’re on the right track.
Planning the shoot
This is a fairly simple shoot with relatively simple needs. All I required was a location, the sun, and a go-get-em attitude.
The location was a local park where I do the majority of my daily morning walks (and, incidentally, where I shot the LEGO Porsche). The go-get-em attitude came in the form of a day off work thanks to a national holiday (MLK day, to be specific). The sun came in the form of, well, let’s face it, we get the sun everyday for free.
I just needed to get Spidey and the sun set up in a straight line to my lens. This part proved to be a bit trickier because of where I live.
My town is located in the foothills of the Appalachian Mountains in North Carolina, in a bit of a valley surrounded by trees. The area is quite beautiful, but it does mean that, by the time the sun peaks over the distant hills and trees, it is actually quite high up in the sky. This means that the normal method of “go to park, put toy on ground, put camera on ground, shoot!” was not going to work for this particular image. Those angles just didn’t (literally) line up.
This is all a way to explain why I built this unholy contraption:
Holy unholy contraption, Batman!
Specifically this contraption here:
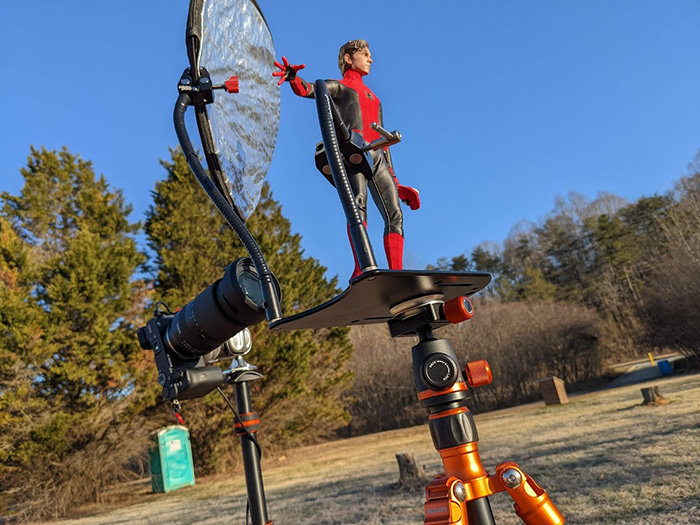
If you are wondering, yes that is a Platypod Max with an Arca Swiss plate adapter on the bottom, and attached to a standard tripod. On top of the Platypod Max are two goosenecks with clamps, one of which is holding up Spidey, and the other a 5-in-1 reflector.

Behind the unholy contraption is another tripod holding my camera with a 22-70 lens. This allowed me to get the camera lower than Spidey, which in turn allowed me to line the lens up with the mask and the sun. Now the angles literally line up. Win!
The hidden bonus for this setup is that I can set the tripod to whatever height I want, so it is comfortable for me. No lying on the ground for this shot! (Work smarter, not harder.)
All that remained was composing and shooting, all whilst cackling like a madman (because, let’s face it, this stuff is super fun)!
Remember the sun? This post was about shooting into the sun…
Shooting directly into the sun has a lot of benefits, and some drawbacks. The benefits are that you can get awesome looking sun burst and lens flare effects for free. The downside is that any subject between you and the sun tends to become a dark blob.
The reason the subject becomes a dark blob is that cameras can only capture a subset of the total dynamic range of light. Dynamic range is the difference between the darkest and brightest part of an image. This range is measured in stops. The human eye can perceive a range of roughly 21 stops of dynamic range. My camera, a Sony A6600, can do only 14 stops of dynamic range in one frame. Everything outside of that range becomes either pure white or pure black. Fourteen is a lot less than 21, so whatever shot I take, I am missing out on a lot of dynamic range. Since the sun is one of the brightest things around in our day-to-day world, you have to expose for the brightest side of the dynamic range (or “expose for the highlights”). This means anything in the lower third of the range is left dark.
There are two ways around this issue. The first is to capture several frames, one exposed for the highlights, and one exposed for the shadows, and perhaps one or two in the middle of the range. Then you can combine them in post, in a process called HDR or high dynamic range (some cameras can do this in-camera, but you lose some control over the final output). The other is to use the sun against itself by reflecting its light back into the darker parts of the subject. This is why I included the reflector in my unholy contraption.
Capturing sunbursts
Capturing sunbursts is a fairly easy thing to do. Just close down your aperture to f/22, point the lens in the direction of the sun, press the shutter, and watch the magic unfold before your very eyes.
The question of where to put the sunburst in frame is the trickier thing. Very small camera movements can have drastic effects on the size and effect of a sunburst on your image. For example, these two shots were taken with the exact same settings. The only difference is that one had the camera nudged a tiny amount to the left.

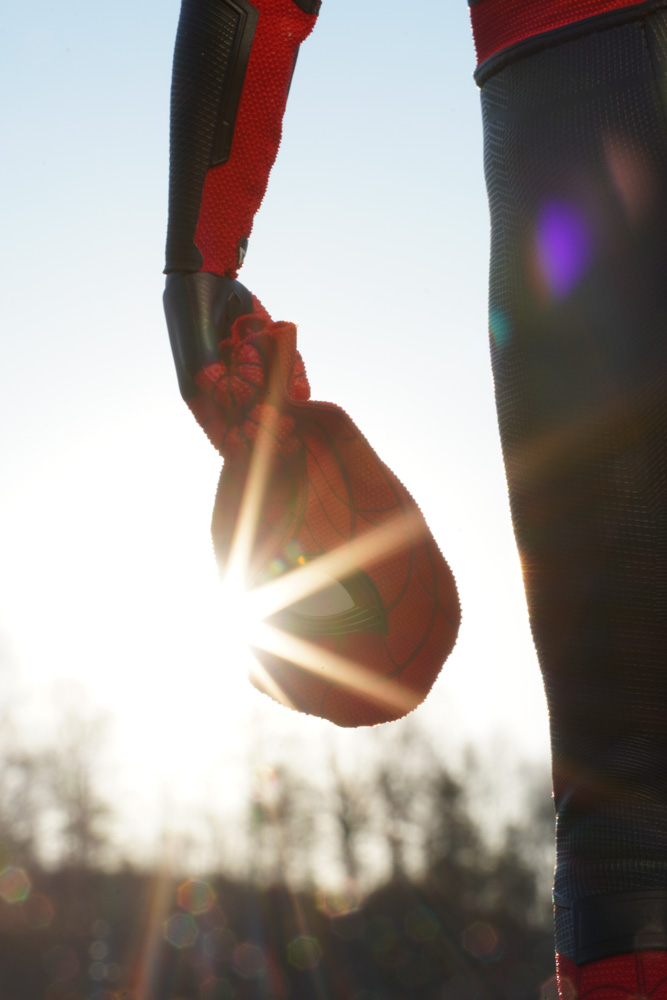
As you can see, placement of the sunburst can have a large effect on the impact of the image. I try to make such sunbursts a part of my composition, and not just a happy accident.
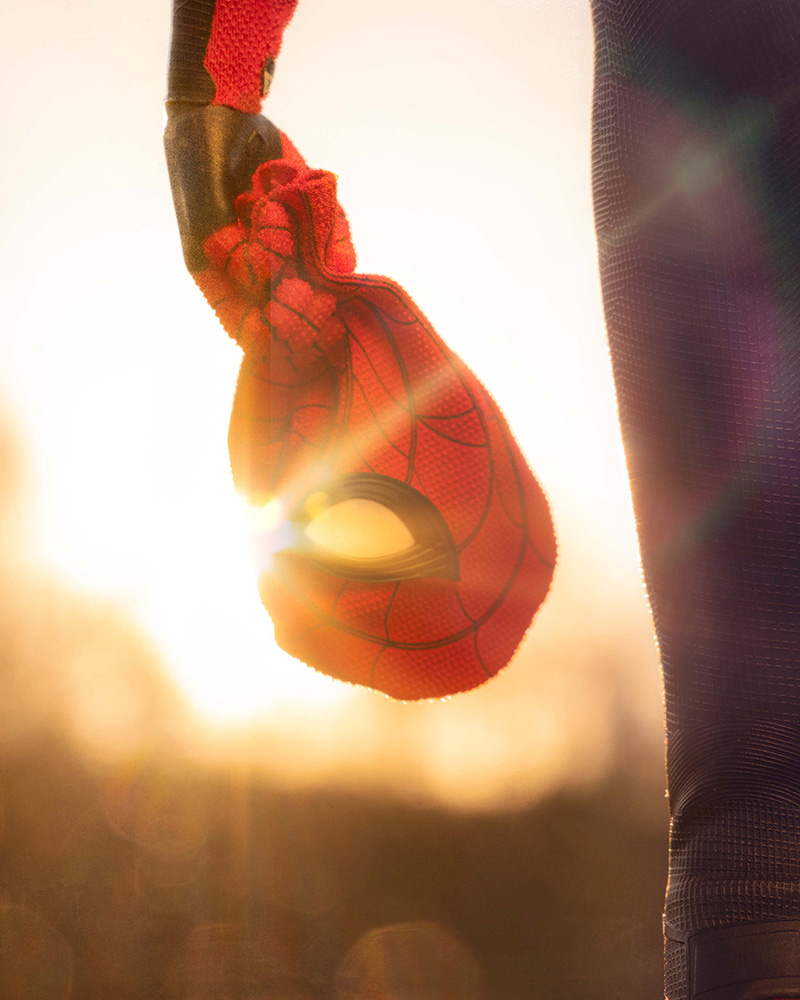
Happy accidents can be cool. But what is cooler is intentional execution of one’s ideas.
So the rest of this story is summed up thusly, “I played with the composition until I got a shot where the sunburst added the most to the image.” Just a little bit of Photoshop work later and this is the final image.
If you want a bit more info on how I put all of this together, I made a video of the process to provide a bigger behind-the-scenes view.
Cheers!
[dave]


Awesome shot, Dave! Thanks for showing us your unholy contraption!