“To me, photography is the simultaneous recognition, in a fraction of a second, of the significance of an event.”
Henri Cartier-Bresson
With the Winter Olympics going on I thought I’d write a little guide on adding motion to your toy photography.
You might think adding motion to you photography a strange topic for a blog devoted to capturing still photographs. We often think of the purpose of photographs is to stop motion, to freeze a moment in time. Getting that perfect shot of a moment in time. We want to preserve a single moment that happens a fraction of a second. As toy photographers, unless it’s windy or your surface is not sturdy the toys should not are not moving.
Why should we care about capturing motion when our toys don’t move? How then do we create motion in our toy photography?
In toy photography there are a large number of ways for you to capture motion in your toy photography. I will attempt to break down as many ways possible and why it’s important.
Capturing Life To Still-Life
First off, I’m not an expert in adding motion to my toy photography. It is not something I do often. However, I do know a great deal about capturing motion.
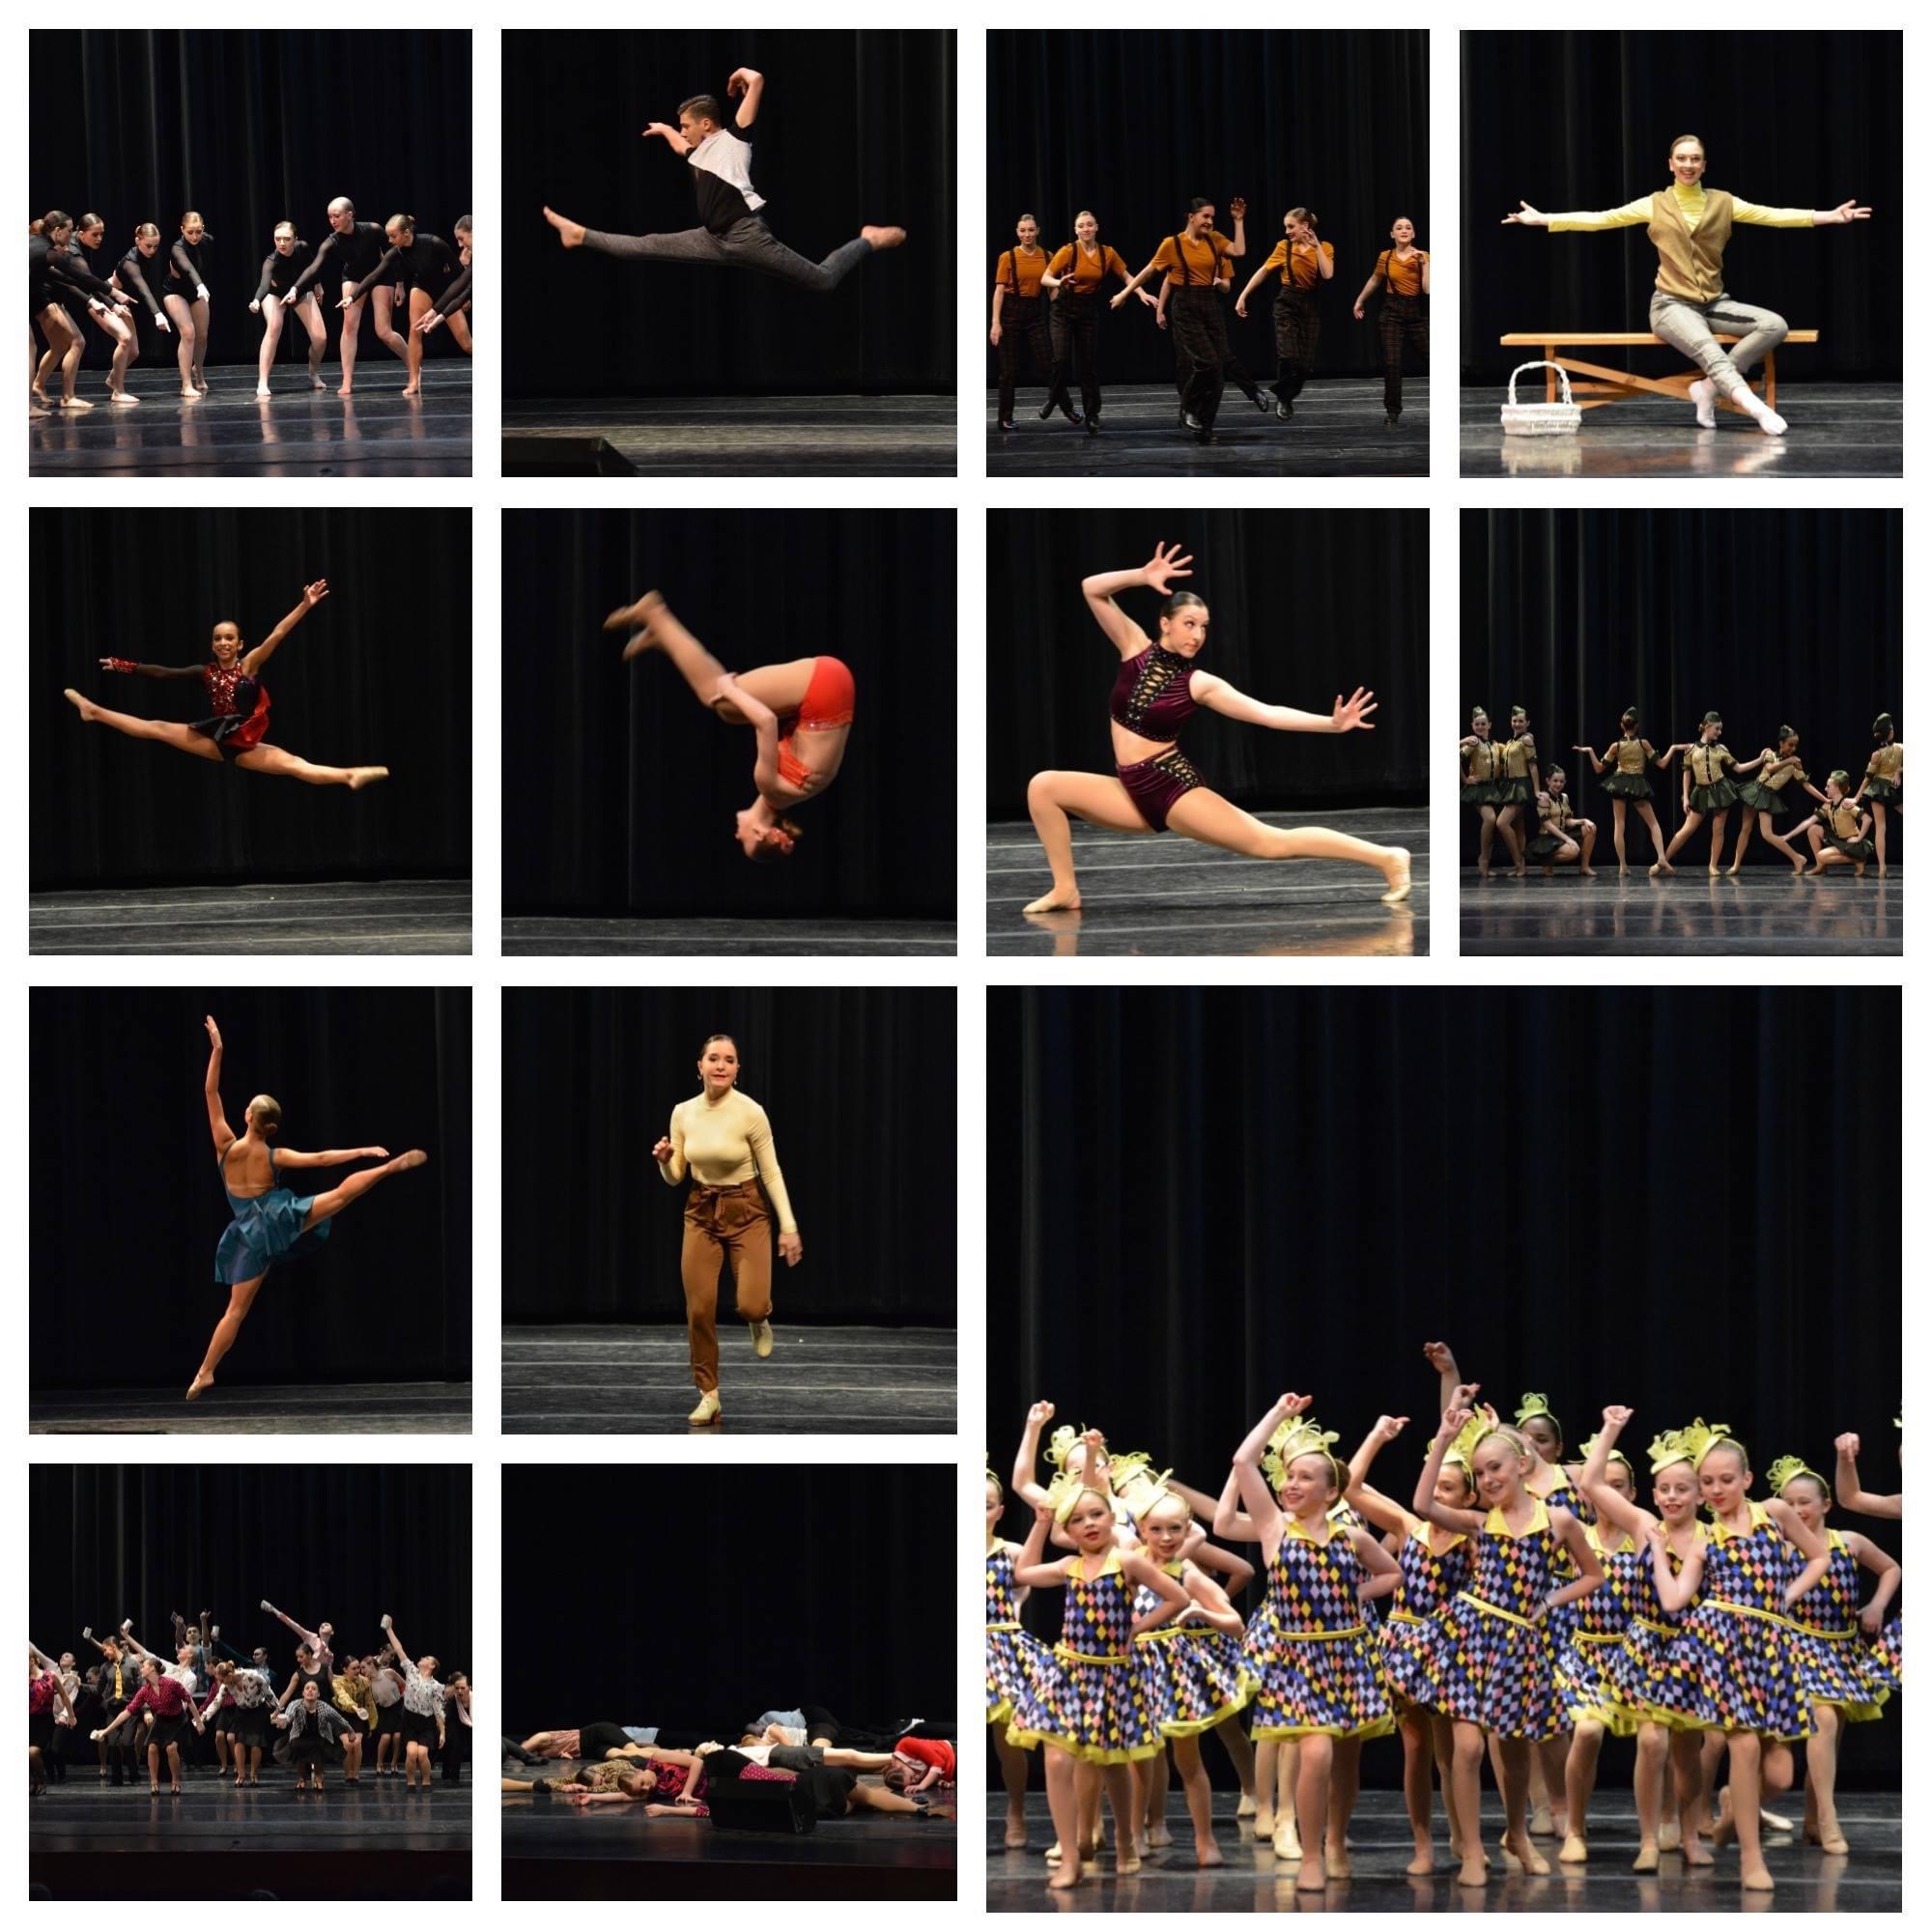
It might come as a surprise to you but before toy photography came into my life most of my photographic experience came through sports photography a true action photographer. I spent the better part of my 20s photographing the fastest moving team sport of hockey, and the art dance. I learned how to stop movement in it’s tracks. Goals, leaps, hits and leaps all stopped for me. I learned how freeze time in the midst of chaos.
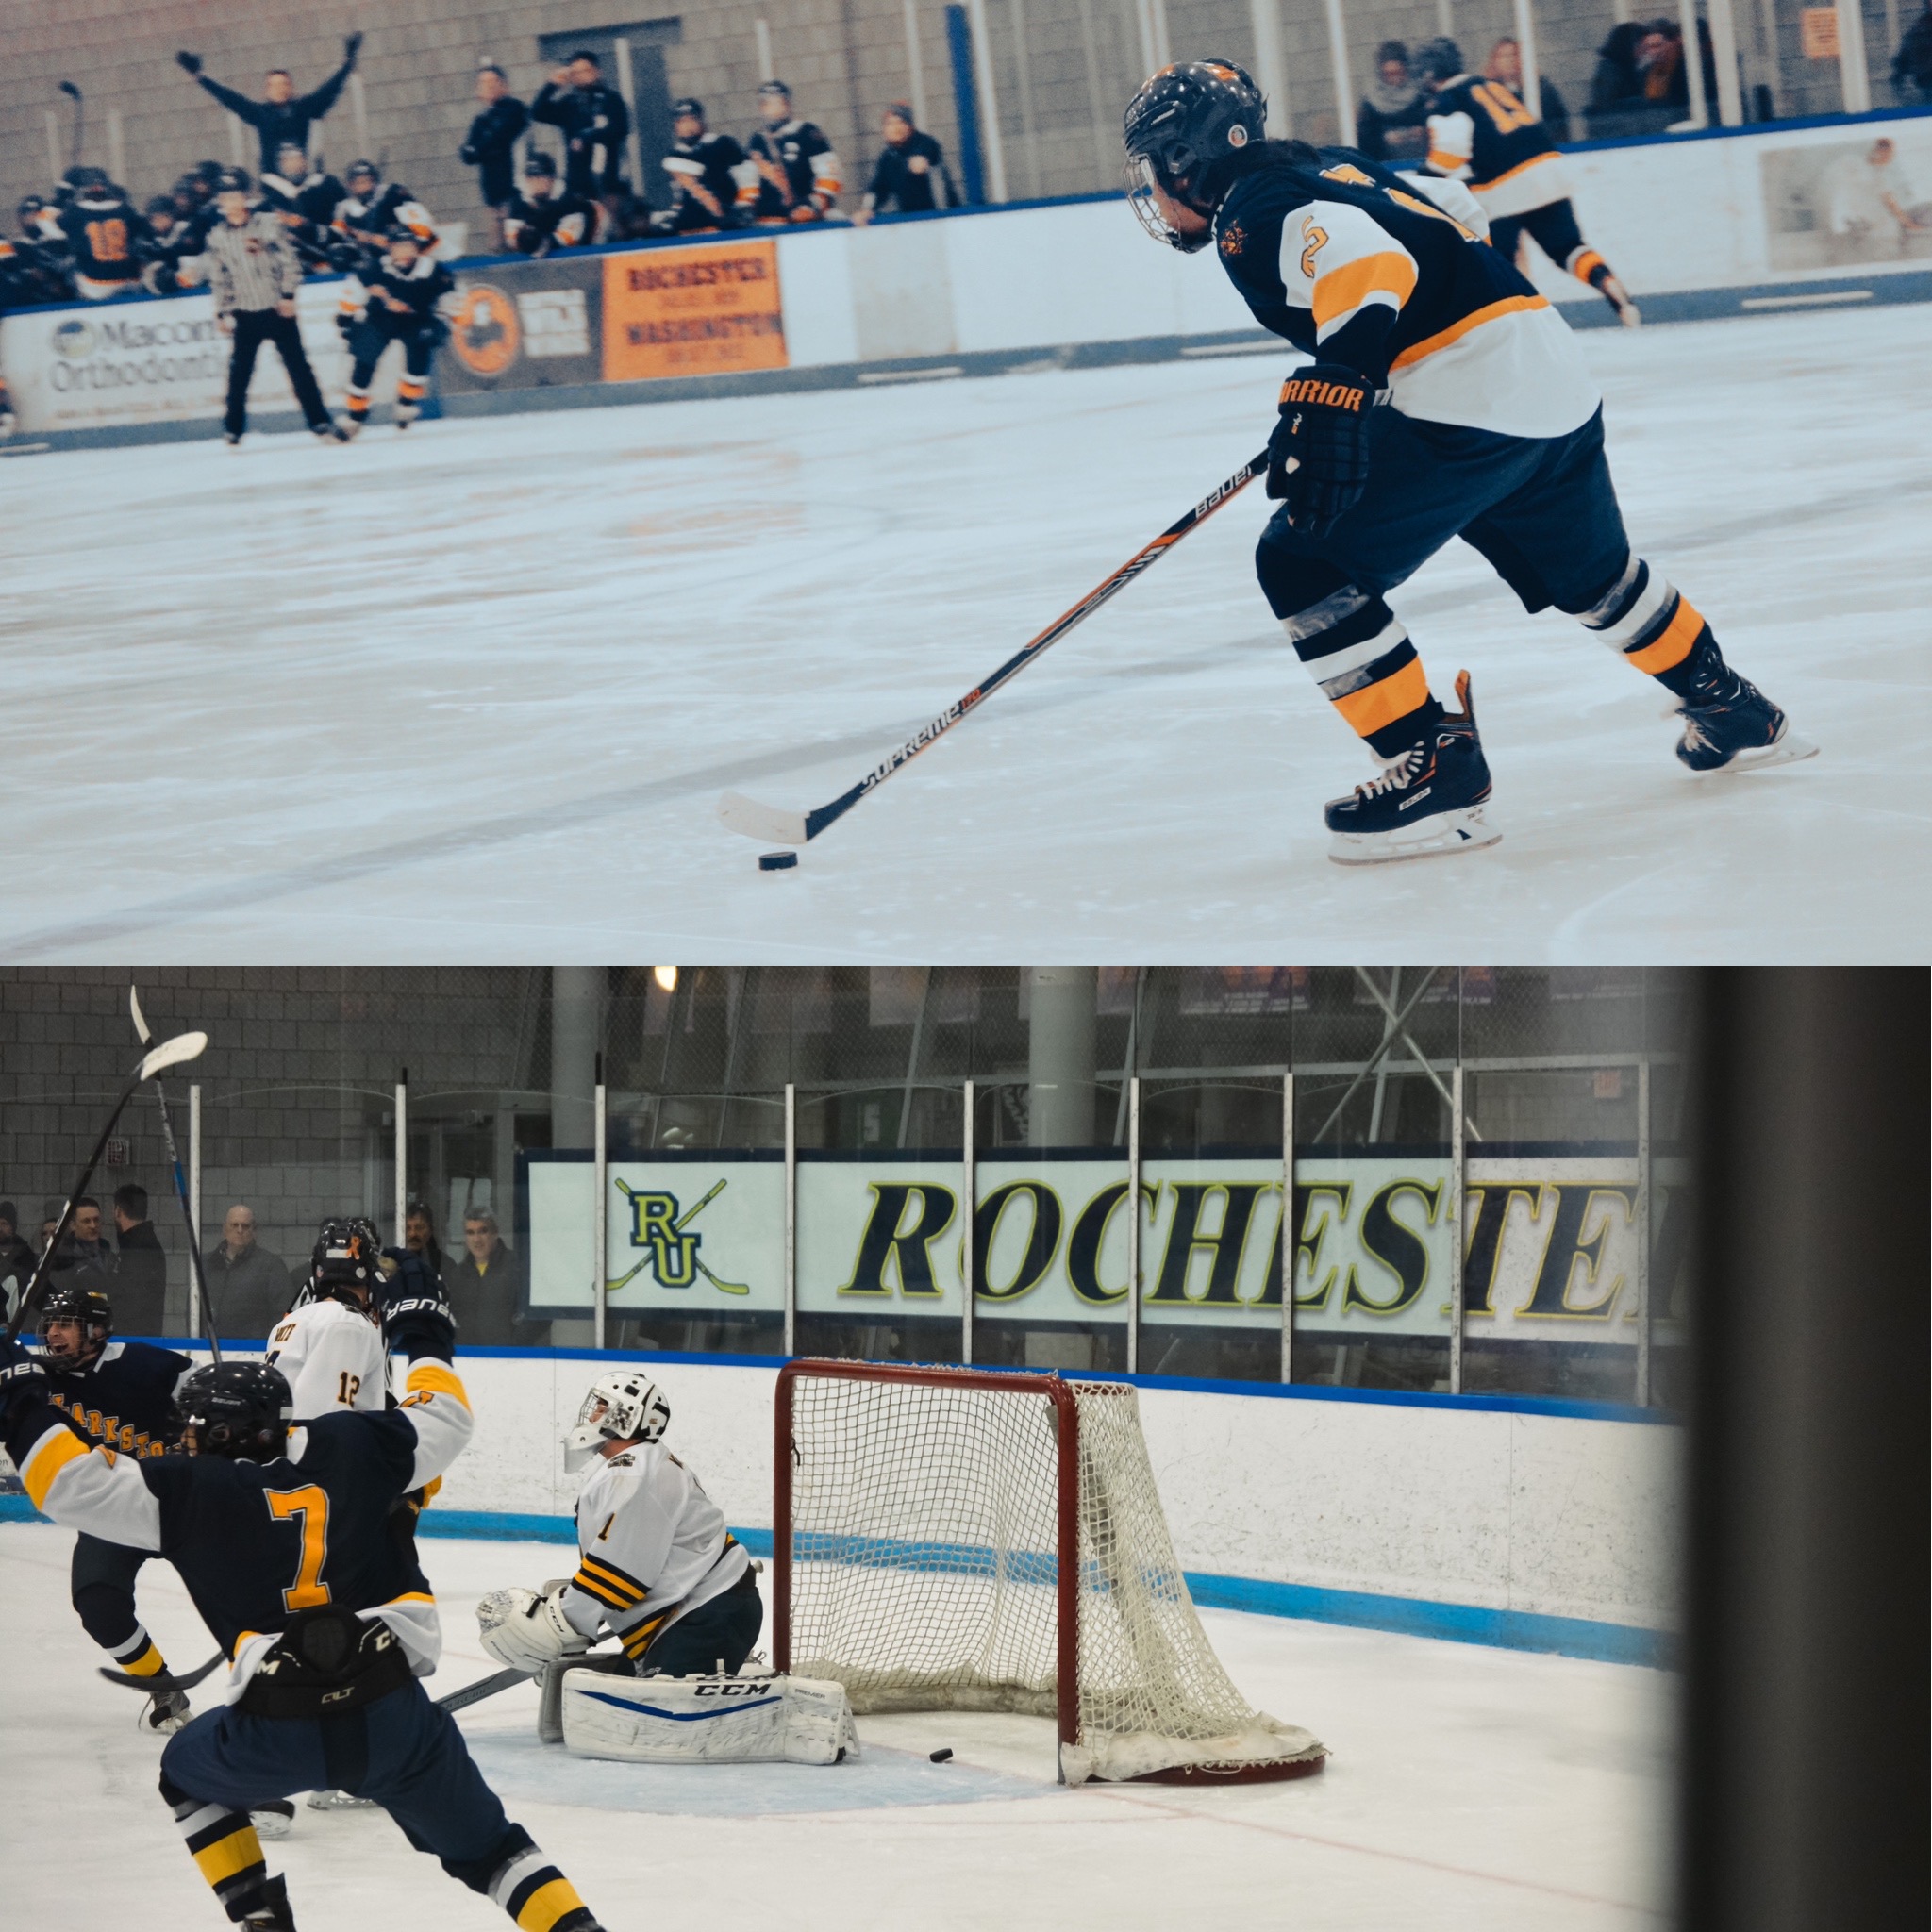
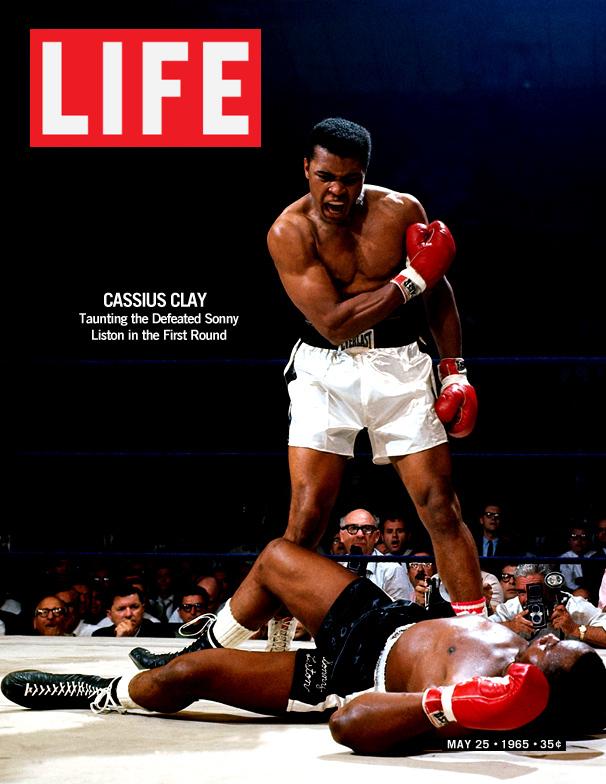
Before, toy photography the photographers I wanted to mimic were the people whose photographs ended up on sports illustrated. Sports photographers have taken some of the most iconic photographs of all time, from Neil Leifer’s photo of Muhammad Ali after he knocked out Sonny Liston to Ray Lussier’s photo of Bobby Orr diving after scoring the winning goal of The Stanley Cup Final to my favorite Heinz Kluetmeier’s photograph of Team USA beating The Soviet Union in 1980 in Lake Placid colloquially known as “The Miracle On Ice”.
Whenever the Winter Olympics are on I think about that photo. I think about how Heinz perfectly captured the moment Team USA beat the greatest hockey team to ever play the game and all of the emotion that came with it. It was so perfect in fact that it is the only cover in the history of Sports Illustrated without a headline. Heinz said, “It didn’t need it. Everyone in America knew what happened. ” The idea of capturing a single perfect moment in 1/500 of a second, to capture a photo that doesn’t need a headline, always seemed impossible to me. But, photojournalists do it everyday. Photojournalists, action and street photographers are at the right place, pointing their cameras in the right direction, to capture that moment.
As toy photographers we have the ability to create those defining moments everyday. We can fabricate capturing life in motion.
Though, I haven’t stepped foot in an ice arena or a theatre in a while. I am still a sports photographer at heart. Which is why in my toy photography I always think about capturing motion.
In the back of my mind I am still thinking where is the character moving to? Where will they end up? Where is the best place for me to point my camera to capture that moment?
Why motion?
Before, I get into the how. I will answer the why. The short answer is adding movement to your toy photography adds to the story. It can make your photos more interesting and engaging. With movement you can isolate your subject. Adding movement and motion blur to your toy photography can create a sense of realism. It takes a still life and turns it into capturing life.
Finding the right “The Decisive Moment”
Now, when I am taking my toy photographs I take everything I learned as a sports photographer and use it in my toy photography. And one of those things is how to capture motion. As a sports photographer it was about following the action and spraying and praying. You keep the subject and focus anticipate where they will go and fire shots off before after and during the moment. All action shots are essentially the same. Whether its the first kiss at a wedding, the stranger crossing at the top of the hill in the perfect spot, capturing the so called photo finish. These are all shots you can prepare for even if it only happens once. Your whole purpose to to capture the one photo. That one decisive moment.
You might be wondering what is the decisive moment?
It’s what I’ve been talking about this whole time. Stopping time at the perfect moment to capture that one image amidst chaos. It’s the ability to sense where to point your camera in the split second something amazing happens. What does this have to do with toy photography?
Well, as a toy photographer when you are setting up your shots, you are in a sense imaging what it would be like to see that moment happen in real life. And be there to capture that one single image that represents the whole story. You are fabricating that ‘decisive moment’ as if you’ve captured it as it’s happening.
Capturing The Action
Even though our toys are not moving as we photograph them, most of us want to sell the illusion that they are in fact alive. That we are actually capturing Spider-Man flying through the streets of New York.
When I am shooting toys, I take them as if I was shooting at 1/125s. The shutter speed I would use to capture the movement if that toy was walking the same way I captured my brother scoring a goal. I rarely add motion blur because to me, that isn’t they way I want to capture the action. That isn’t to say that it is wrong. It’s just not my preference. This is because as a sports photographer for a high school team, and a dance photographer for a studio I was more focused on getting everything in focus, without all the extra. And it has rubbed off on me. Which is why when I am capturing my toy photographs, I want everything in focus as if I was really able to capture that movement in real time how I would want to.
I don’t like blur in my action shots, but a lot of people do. And that is the kind of question you can ask yourself to enhance your toy photography.
Here are some questions you can ask yourself to figure out how you want to capture or add motion to your shots.
When you are setting up shots, you probably ask yourself what is the best moment of the story I want to tell? More specifically what is the decisive moment I want to show my audience?
Once you’ve decide that you can ask yourself these questions to add motion or movement to enhance your story.
If I was to see this in real life, how fast would that subject be going? How fast would it pass in front of me?
If I was to see this in real life, what would that photo look like? How much blur would I want to see? None at all. A little bit. A lot of blur.
Faking Motion
Once you’ve asked yourself those questions and you’ve set up your shot. You need to fake the movement. There’s all kinds of ways to fabricate the illusion of motion. There’s all the in camera stuff you can do, like tossing particles like dirt and snow. You can spray water and lighting fireworks. There’s long exposure or intentional camera movement. Certain lenses can add the illusion of movement too like LENSBABY. Or you can take a still photo without all that and add all of it later in post production.
Adding Motion Blur
One of the simplest ways to show movement is motion blur. When I think about adding movement to a shot, the first thing that comes to mind is motion blur. What is Motion blur? Well its, that blurry part of the subject as it moves across the frame. It’s that bit of streaking you get when the shutter speed is to slow to capture the moving object. It is what you have to understand when it comes to adding motion to your toy photography.
Before, I talk about motion blur let’s quickly talk shutter speed and why it matters when it comes to toy photography.
Shutter speed is how long the shutter in your camera stays open to capture a photo before closing again. It’s how long your image is exposed to light. The most important part of the lesson today is what shutter speed you want to be at to capture motion. The faster the shutter speed the less motion blur the subject of your photo will have. If you don’t want any motion blur then you need to set your shutter speed higher, if you want to see a lot of blur lower your number. When I was taking photos of dancers I would often be at 1/125 or 1-250 and the same goes for high school hockey. These types of actions happen quickly but not at super speed. If I was going to photograph the NHL or Olympic Hockey I would probably go for 1/250 – 1/500 because the athletes are much faster.
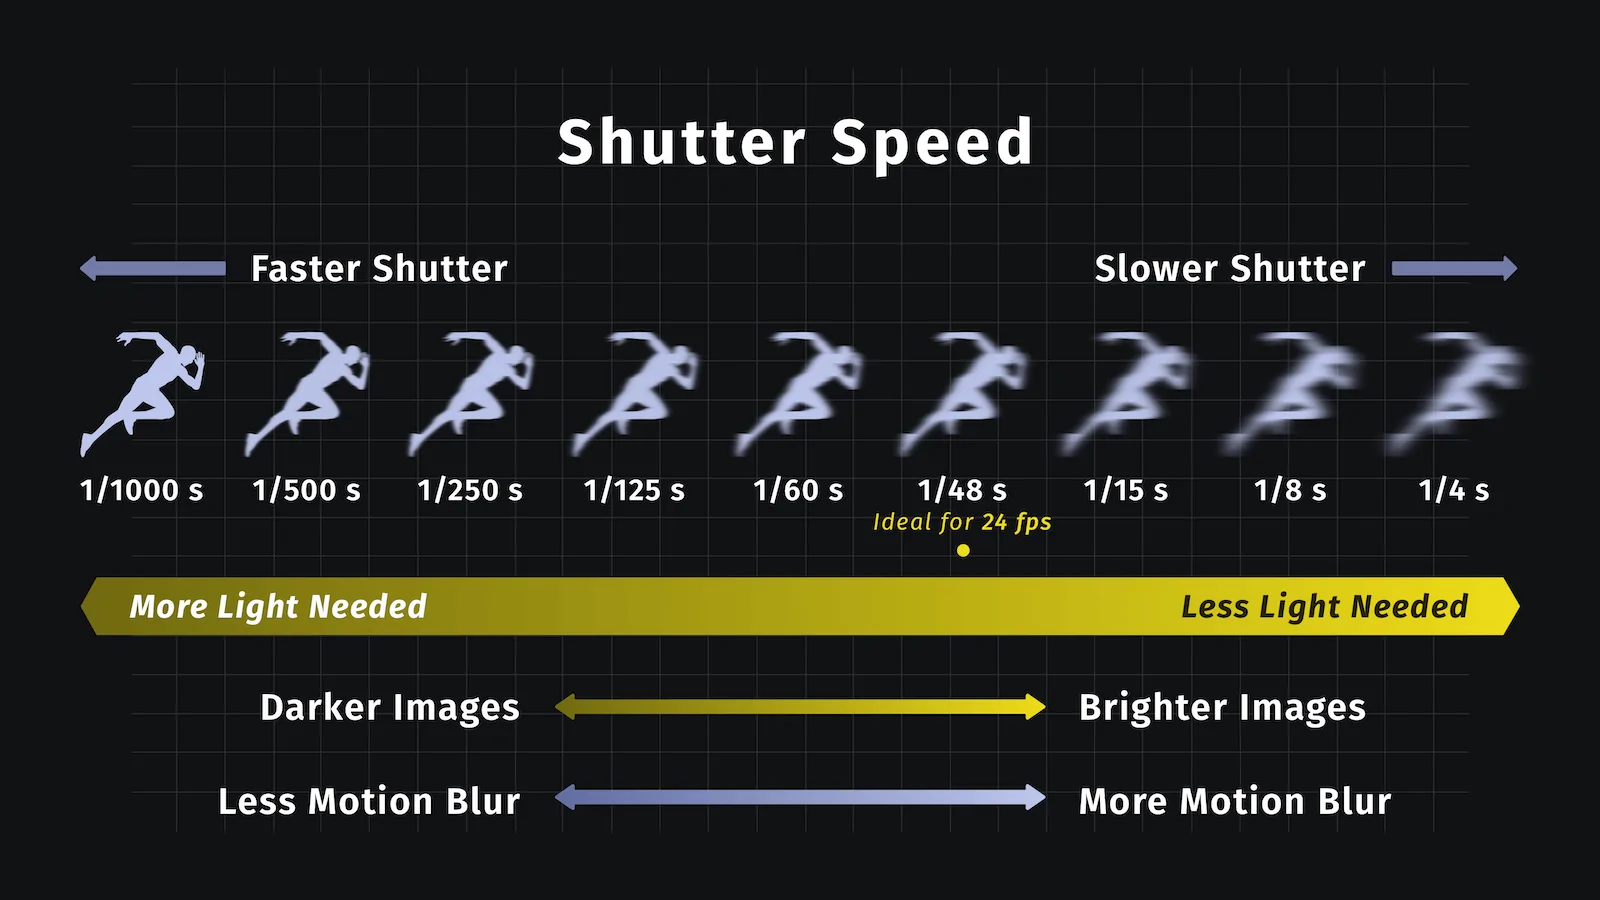
As toy photographers our toys are not moving. But, if we want to add movement adding a little bit of motion blur can go a long way. Ask yourself if I were to try and take this photo in real life how fast would I need my shutter speed to be? How much movement do I want left? How much motion blur do I want to see? Once you’ve asked yourself those questions then you will be able to sense how much blur you want in your photograph.
To Blur or Not To Blur? That Is The Question.
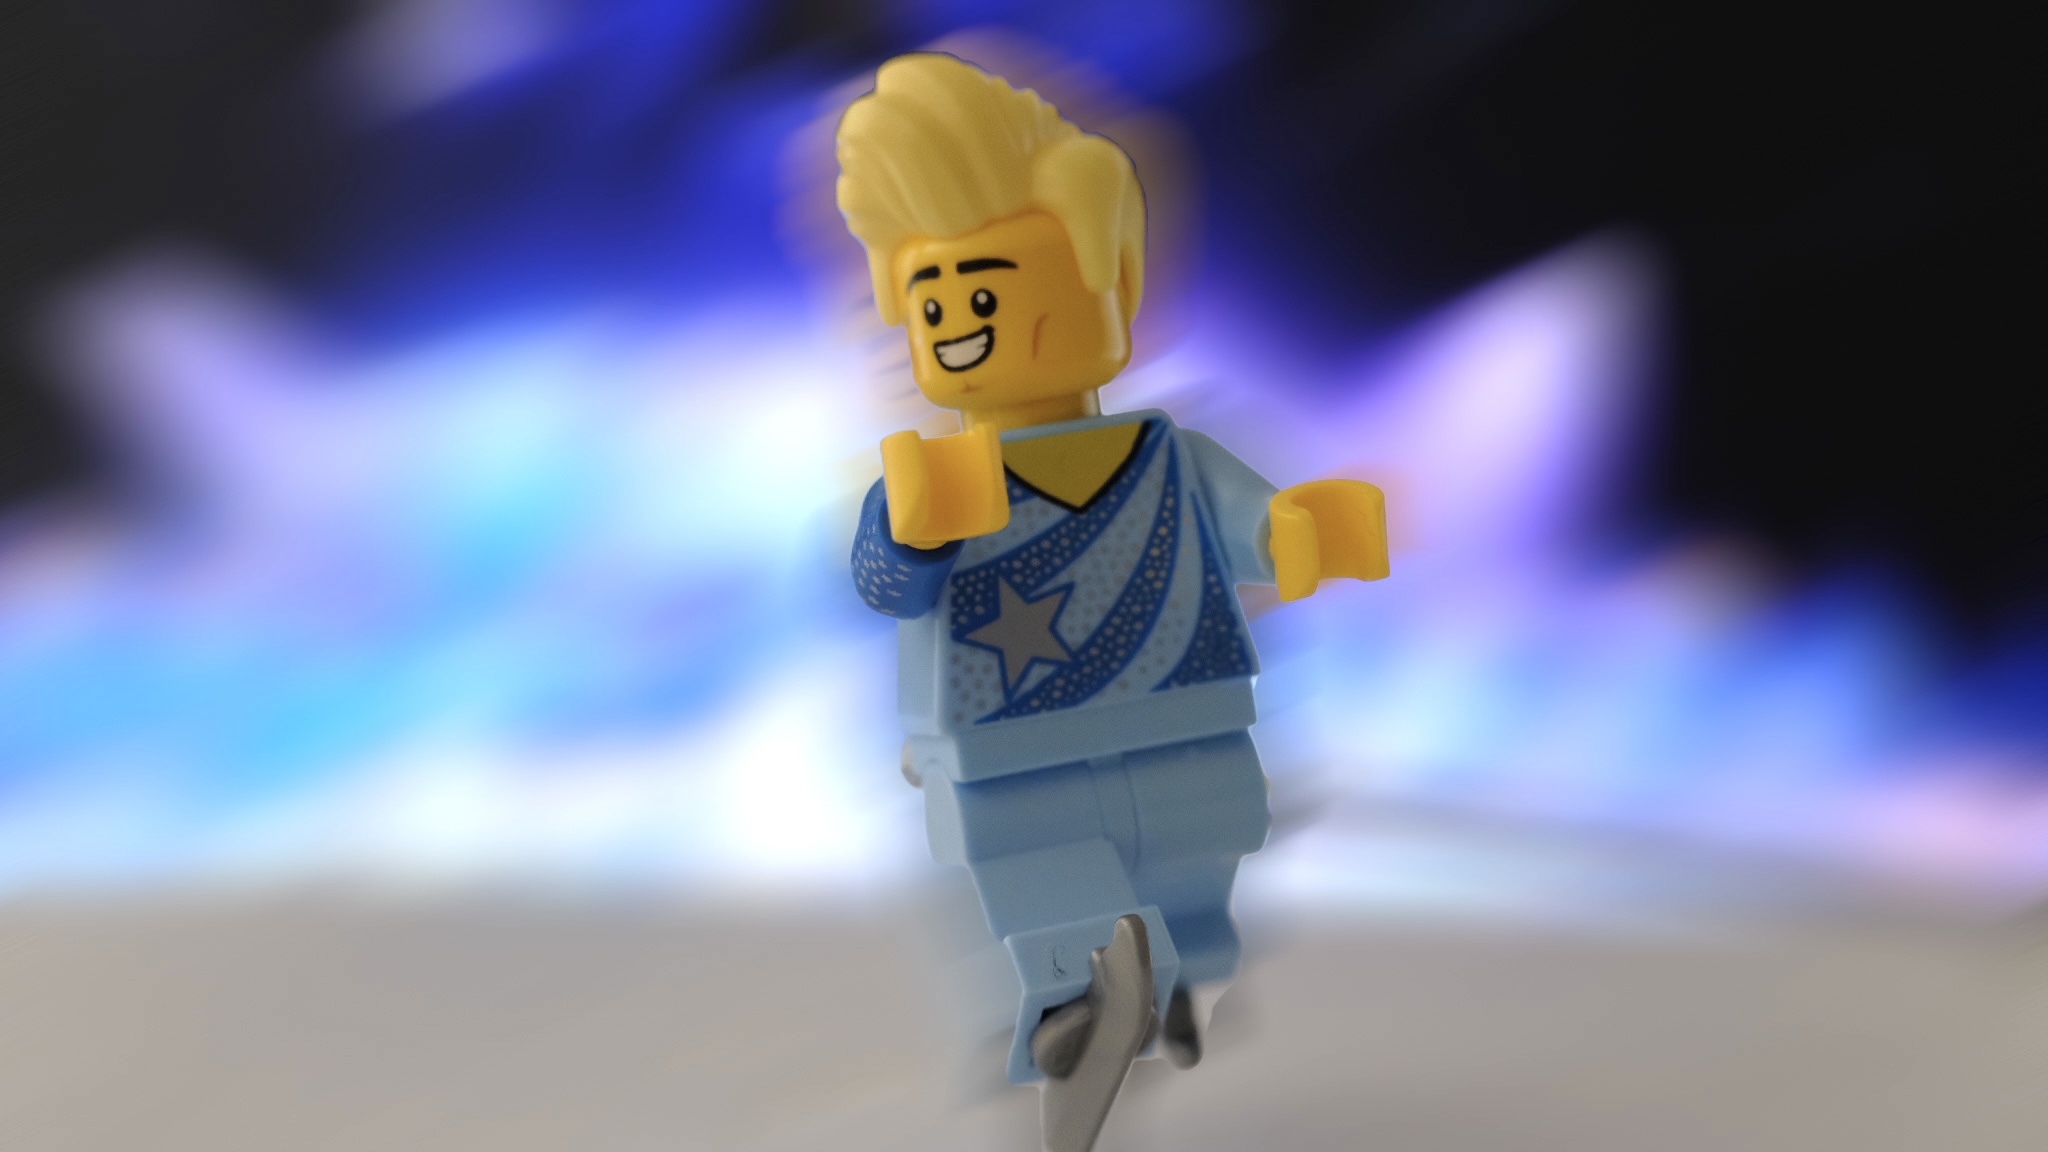
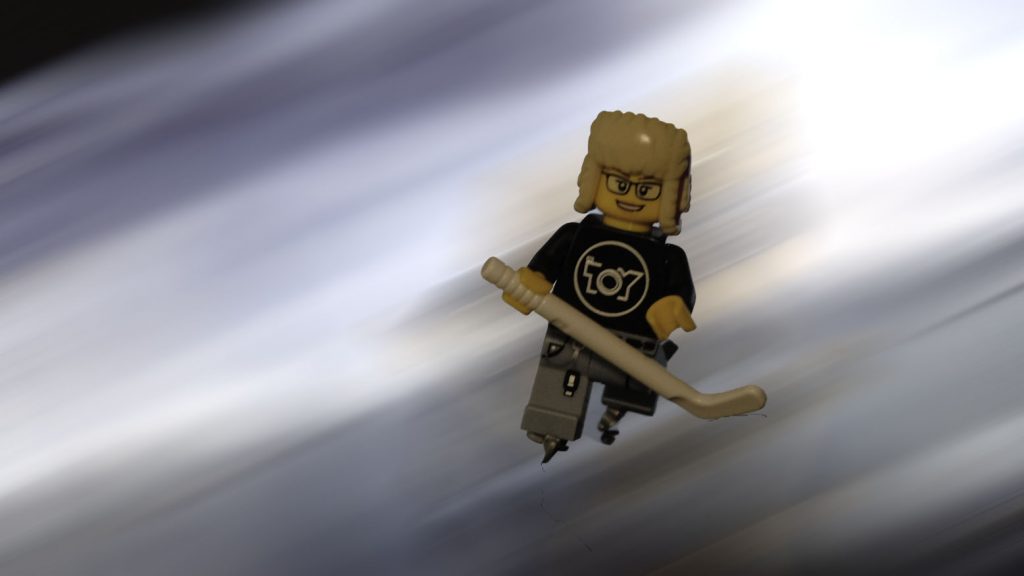
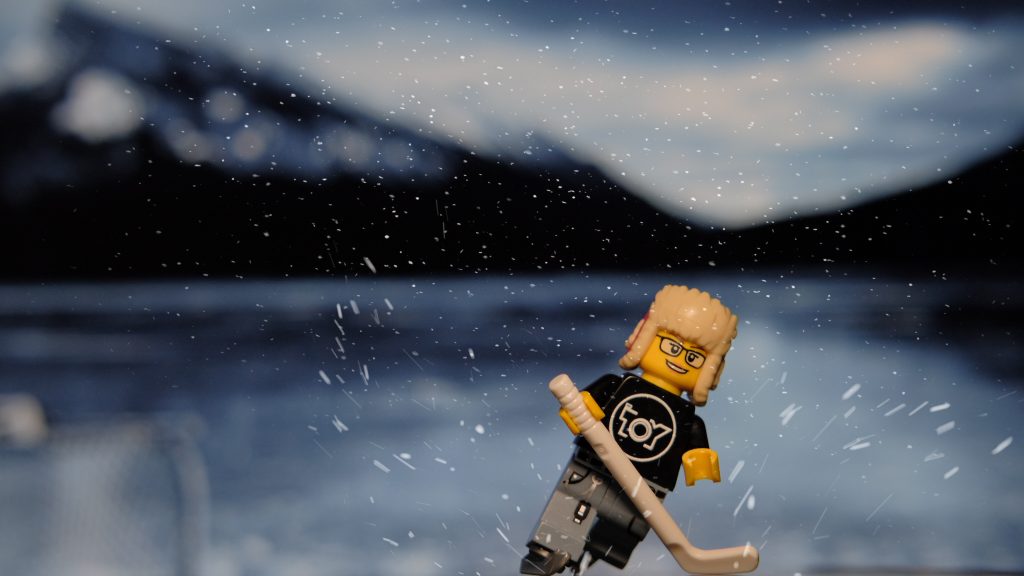
Here’s a photo I shot on my iPhone. There’s no motion blur at all.
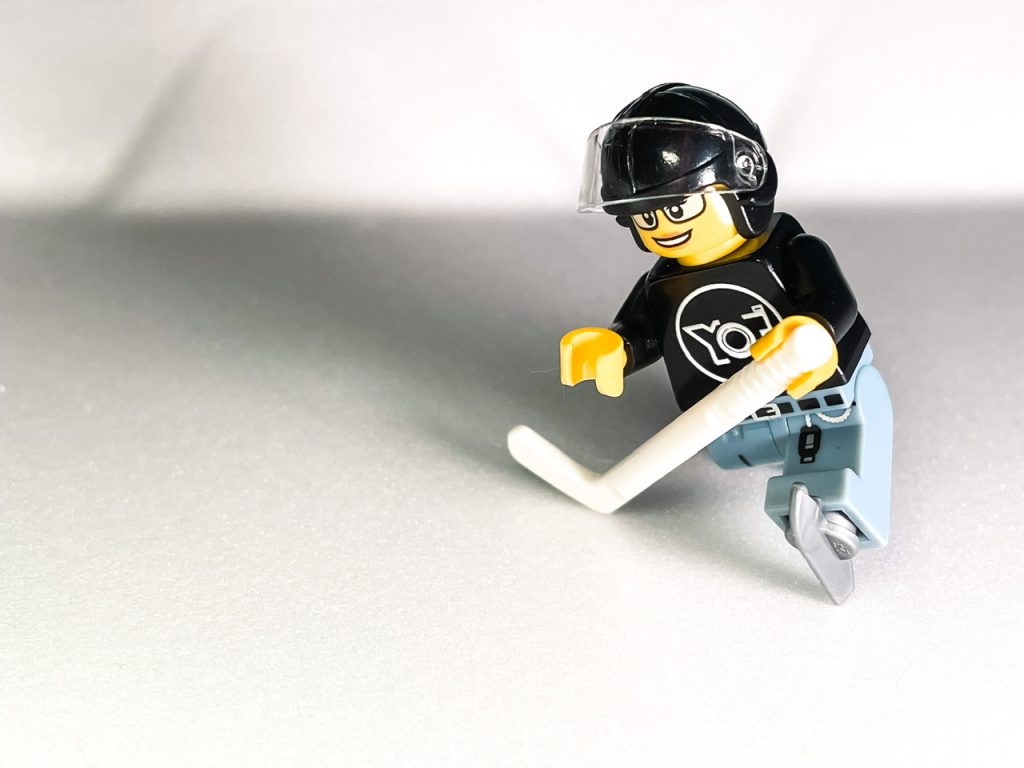
In this second shot, I’ve added a little bit of motion blur through the magic of editing. Now, I used Photoshop to create this effect. But, any photo editing app will get the job done easily. Adding that little bit of motion blur to the hockey player can give the viewer an idea of how fast the subject is moving. I determined that this amount of blur is what I would get if my shutter speed was slightly slower than needed to capture this photo without any blur.

Sometimes, if you want to add interest to your photo you can blur the background and keep your subject in focus. Now, I used photo shop to add background blur in the photos below. But, you can accomplish the same thing using Snapseed a free phone app to blur the background and isolate the subject as well. Street photographers often use this technique to make a photo more interesting. It kind hide all the strange things captured in the background and show the viewer something much more deliberate.
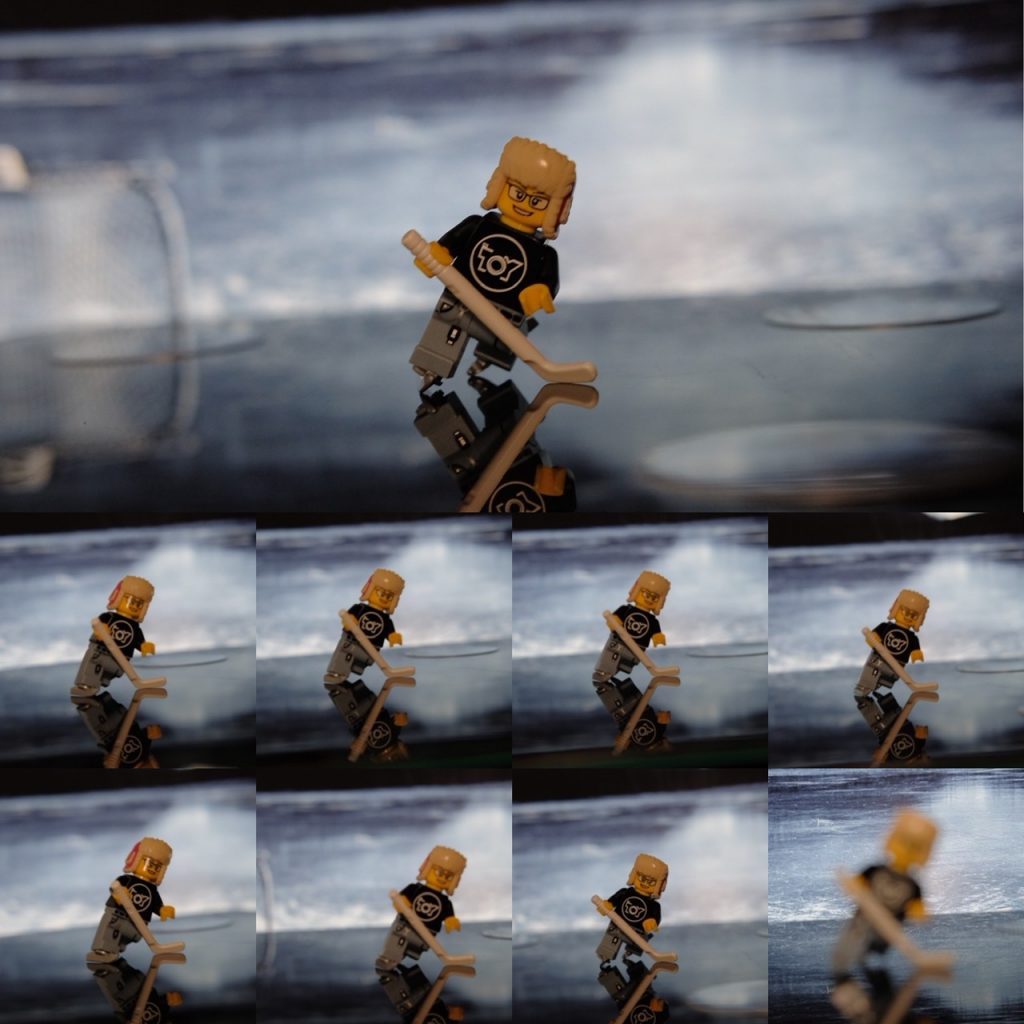
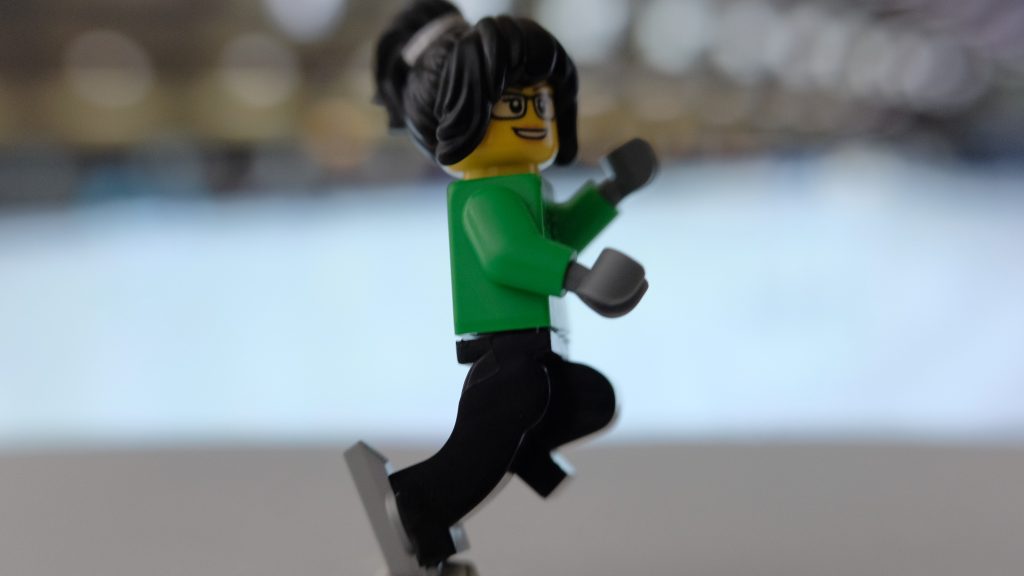
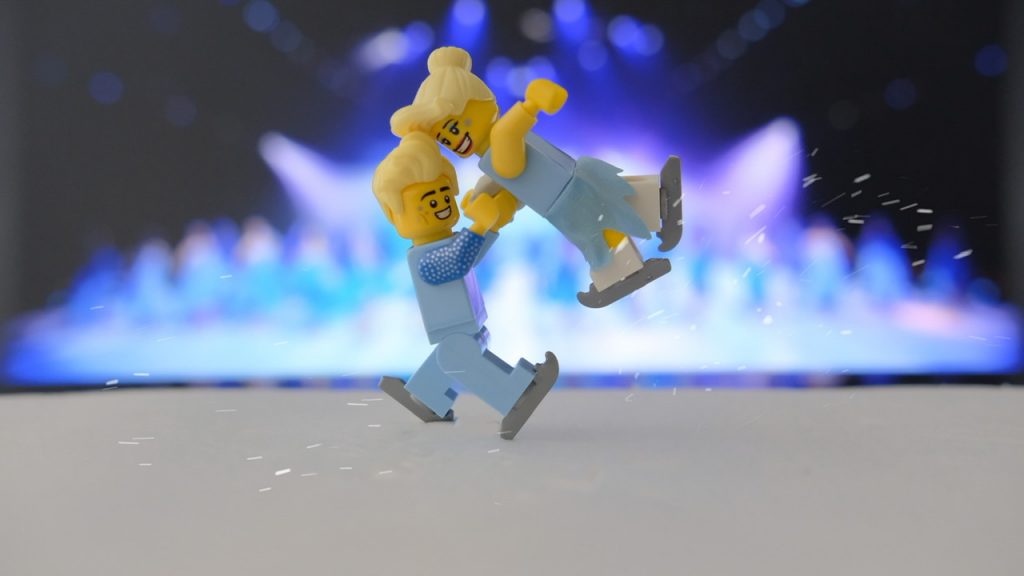
Here’s a photo I shot on with my camera. You can see the clear stand holding up the figure skater in the background. Once I added motion blur it disappeared and there was no need for me to edit it out.
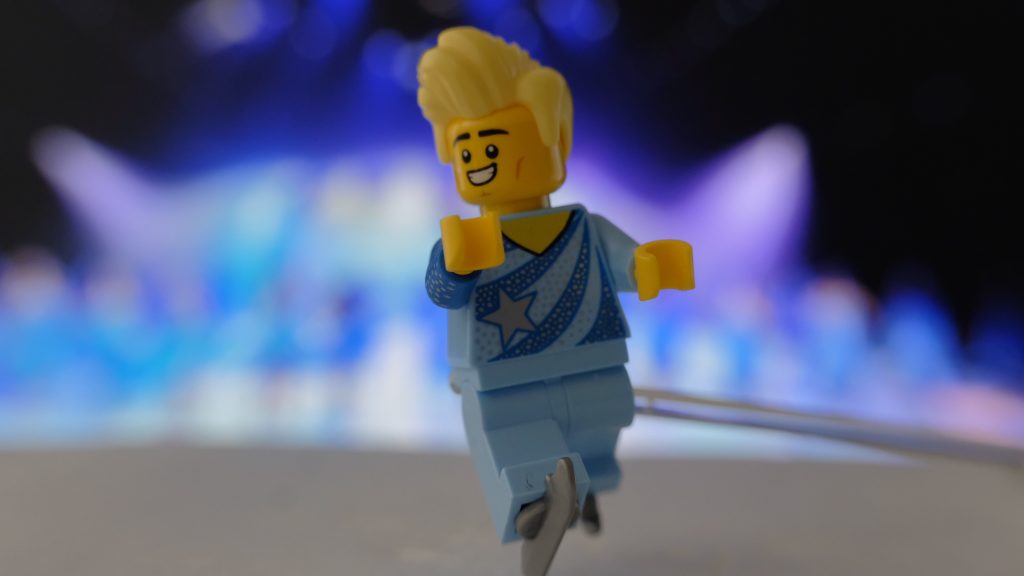
For the figure skater, I used a different blurring technique. Path blur. This allows you to add blur from where the subject was to where it is either going or ends up. I used path blur for this one because I wanted to show the blurring effect you would get if you missed focused on the skater and adjusted your shot mid camera click and found focus after re-adjusting. Imaging yourself as a street/action photographer can really help you decide what motion or movement can be appropriate to add to your shots.

Not interested in blur? No Problem – Just Throw Stuff.
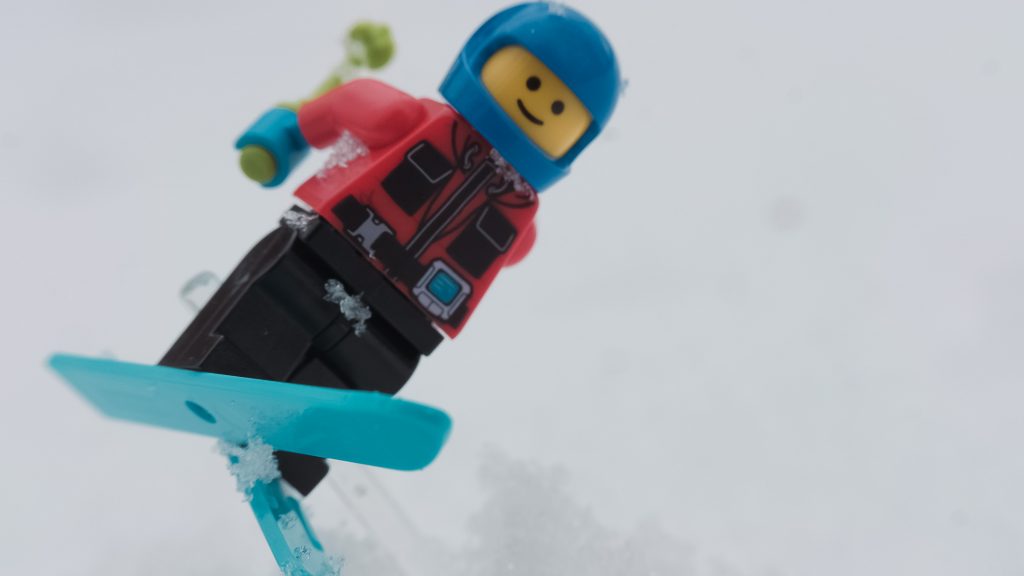
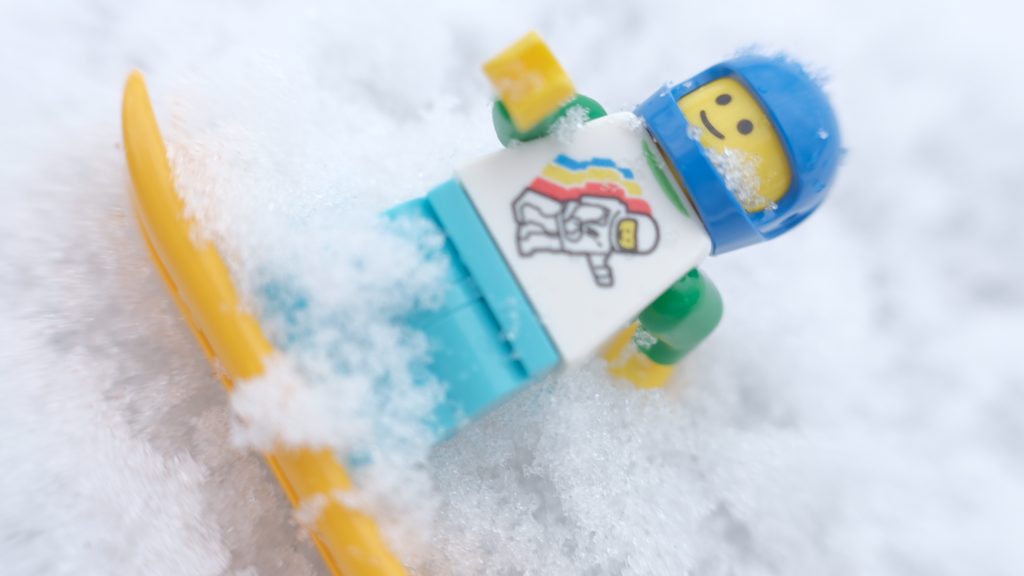
For some people, adding motion blur is not something they are interested in. But, if you still want to add some sort of movement you can add particles that come up when you walk. Throwing dirt or snow behind your toy sells movement in your toy photography. Inherently when we see particles fly up from behind an object we think movement. Naturally, adding flying particles behind your toy sells the illusion, whether you capture the snow our dirt flying off in camera or add it later using editing software. Showing how your subjects interact with the world can go a long way. Whether its showing hair being affected by the wind. Or dirt flying up behind the tires of a car. Adding those small details can sell motion even without motion blur.
I used the free version Lens Distortions app to achieve all the fake flying snow in this article. But, you can also put your camera on a tripod, grab a remote, set your shutter speed high, set your camera to continuous and fire away throwing stuff behind your toys. Either way, you are adding motion.
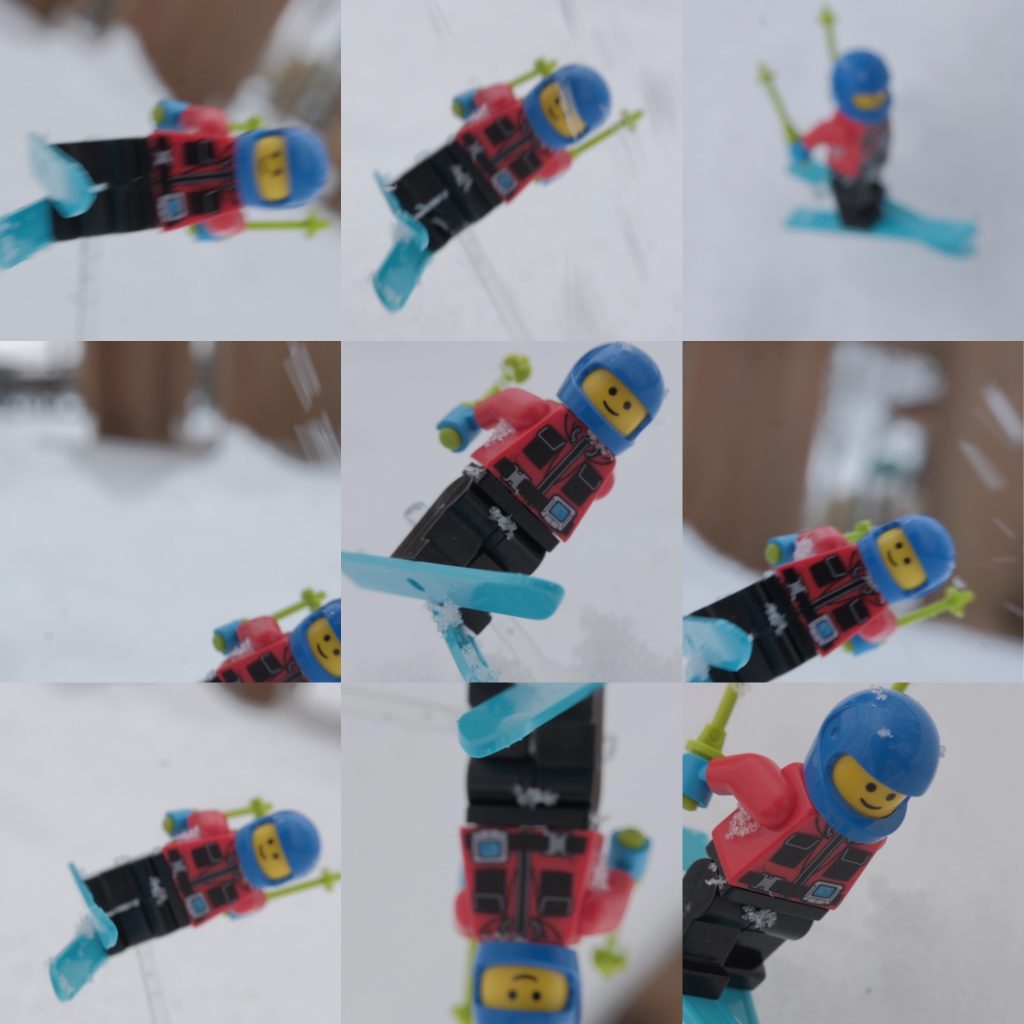
It isn’t easy to capture snow to throw snow at your toys and capture it in camera. I only tried for an hour but in my defense it was quite cold out. Unfortunately, I did not get any useable practical snow effects shots. So adding snow with a couple of clicks post production with the free version of the Lens Distortions app was a life saver.
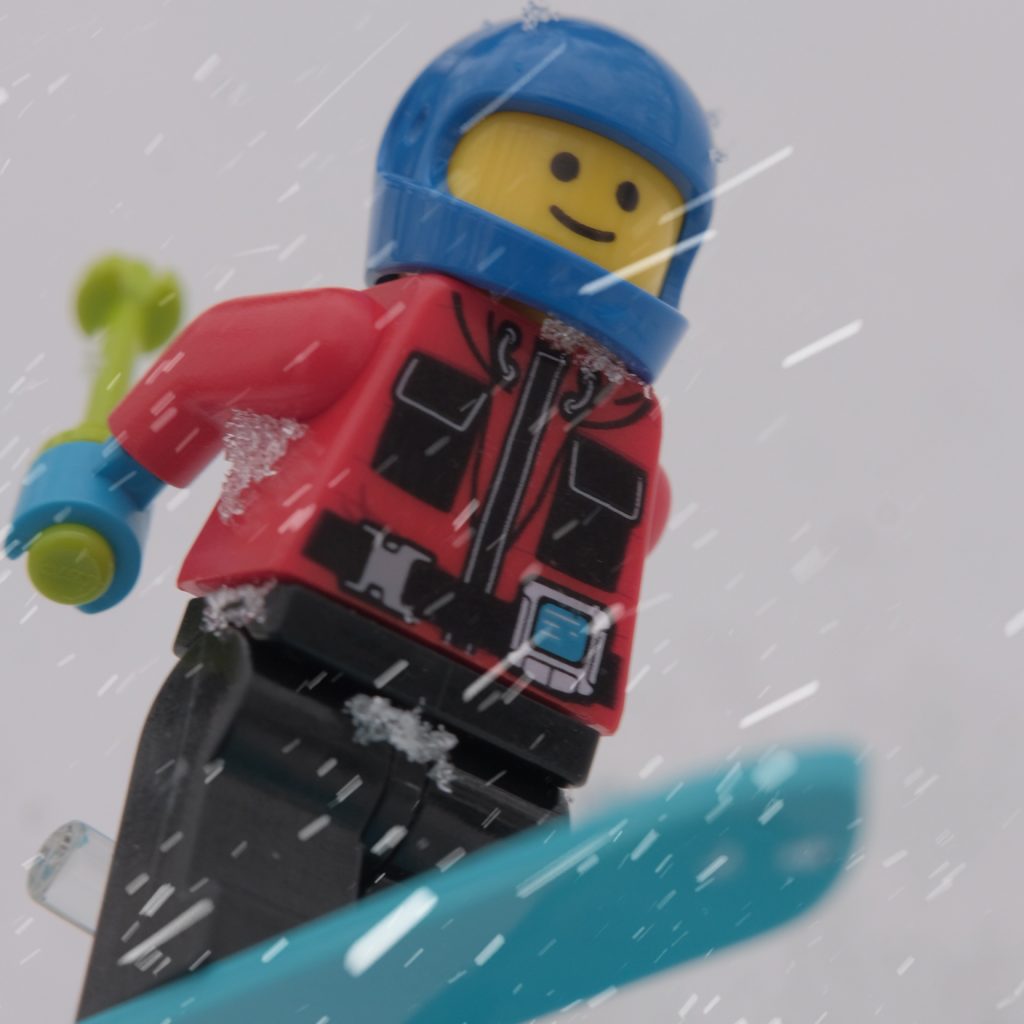
Adding snow flying off the ice as a skater breaks, or kicks down for a jump sells the idea that they are really on ice instead of a piece of foam board on my desk. The photo goes from two LEGO minifigures on a desk to two LEGO minifigures about to do the pamchenko ice and all. Yes that is a reference to the 1992 film The Cutting Edge.
Other Ways To Add Movement
While adding motion blur, and throwing particles is the most common way to add motion to your shots. There’s a few other ways too. Such as long exposure photography which you often see landscape photographers use to photograph waterfalls. Street photographers photograph city lights, and cars moving and getting those really cool looking light trails shots. And the second is intentional camera movement which Tom breaks down in another article I’ll link it down below. Which is why I won’t get into it here.
Just, know that there are way more ways than the ones I’ve mentioned to add motion and movement to your shots.
The Photo Finish
When I started preparing for writing this article I wasn’t sure where it was headed. I knew it wasn’t going to be a true how to because I am no expert on adding motion to my toy photography. What I did know, is that I wanted to be able to help you find the movement and motion in your toy photography. Writing this article reminded me of my reasoning for taking the photos I do. It reminded me that even though my toys aren’t moving I am still looking to capture that decisive moment.
Writing it has certainly helped me go one step closer to capturing that ‘Miracle’ photo, the one with no need for a headline. The photo that needs no caption. The photo that perfectly captures a single moment in time without any words.
I hope this article helps you find ways for you to fabricate and create out of thin air the decisive moments you want to capture as it did me.
“There is nothing in this world that does not have a decisive moment”
Henri Cartier-Bresson
Sabrina’s Study Guide To Adding Motion
Understanding Motion in Photography
What is Shutter Speed – Studio Binder
Photographing The Olympics – ‘One Shot’ Documentary on Olympic Sports Photographers
Other Toy Photography Articles Featuring Motion
Team Chima and the Winter Olympic Games – Olympics
Adding Z- Axis Motion – Getting That Motion Blur
Shooting a Rocket Launch…with toys! – (this one is kind of about long exposure photography)
How to Use Intentional Camera Movement – Motion Blur by Moving Your Camera
Awesome Tutorials On Adding Motion
Create SPEED in Photoshop – PiXimperfect
Generate “Perspective Motion” in Photoshop – PiXimperfect
How To Add Motion Blur To Your Photos – Easy – Kevin Eassa


absolutely great tips. now to figure out exactly how to implement them!
thanks so much!
Thanks Lara. Have fun experimenting, that’s what I do. I just try things out to see what works for me, and what doesn’t for any particular shot. I look forward to seeing what you come up with.
I really enjoyed reading this article. I used to take photos at gymnastics competitions (as a hobby) and I can remember the excitement of capturing the perfect moment. These are great tips for adding motion to our toy photography. Thanks for sharing!
Lynn
Thank you Lynn. I am glad I could stir up some memories of catching the perfect gymnastic shot.
I’ve used 2nd current sync with my flash to give the illusion of motion with Legos. It took a quite a few tries and some experimentation, but it was fun and turned out ok.
I actually meant to capture the motion (not give illustion).
Deidre, that’s awesome. Some of the coolest photo’s I think I’ve taken have come from just trying things.
I’m late to reading this post, but I loved it Sabrina! I love your clarity and fun in writing and all of the tips you offered. You’re so down to earth about it all and I feel a welcome challenge as I learn from you. Fun post — thank you!!