
I recently got my hands on the adorable Disney Pixar Spotlight Series Wall-E from Mattel and wanted to shoot a photo of him amid a giant mess, similar to how Earth looked when humanity abandoned it in the movie WALL-E. I wanted the mess to look like the garbage piles in the movie, so instead of grabbing dirt from outside to create a scene, I decided to try my hand at crafting my own trash.
Disclaimer
When it comes to crafting dioramas, I don’t have much of a clue what I am doing. I’m pushing myself to experiment in the hopes that I’ll learn and improve as I go. That said, I have no doubts that there are much better ways to go about building things, but I’m happy with how this turned out and wanted to share my simple approach.
Materials
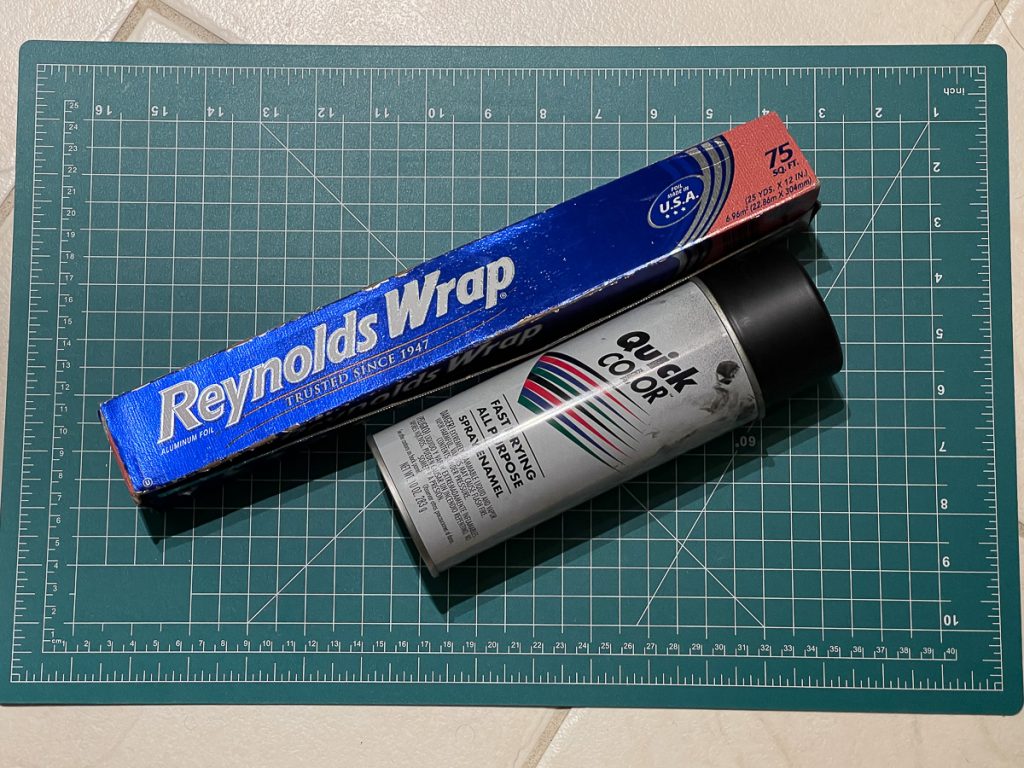
Like most of my DIY diorama attemps, I like to rummage around the house to see what materials I already have on hand vs running out to buy something new. In this case, I grabbed a roll of tinfoil from the kitchen and a can of black spray paint from the garage.
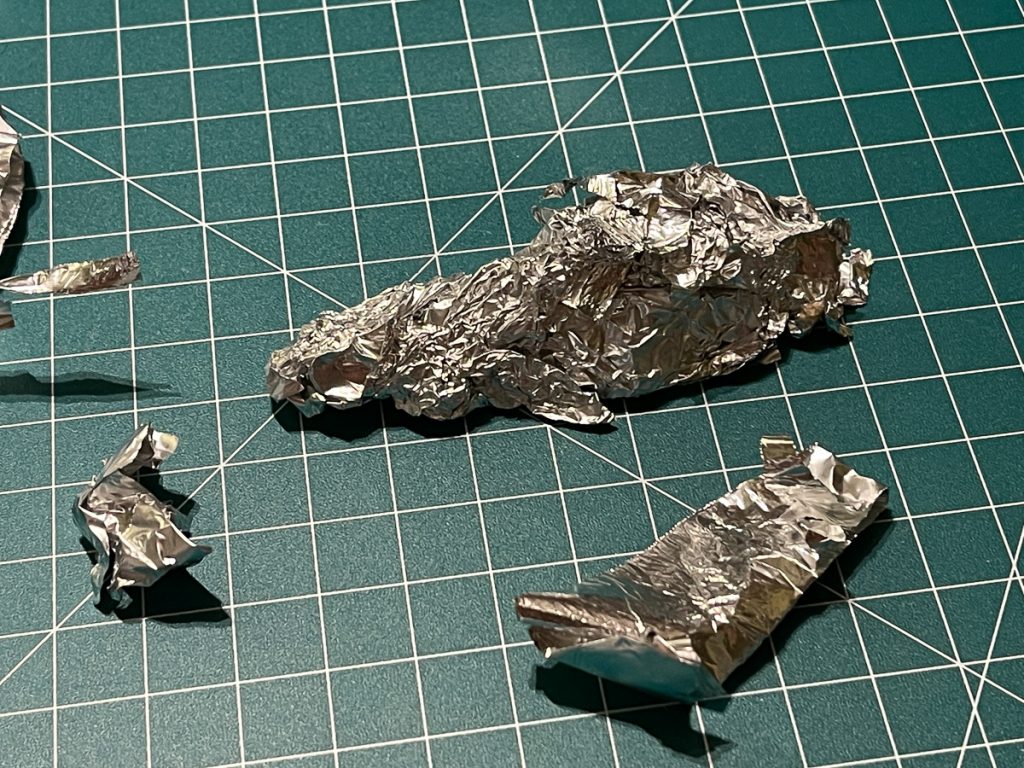
With no real plan in mind, I started crumpling up the tinfoil and forming various sized junk piles. Since I was building trash, I wasn’t too worried about being precise or careful as I worked.
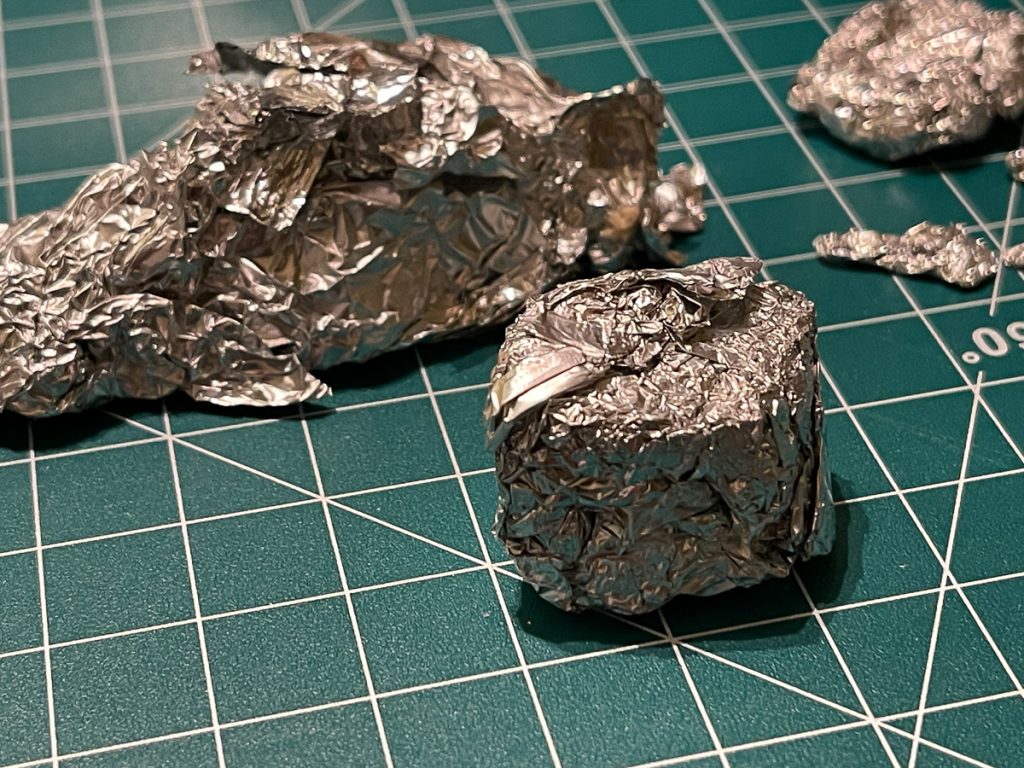
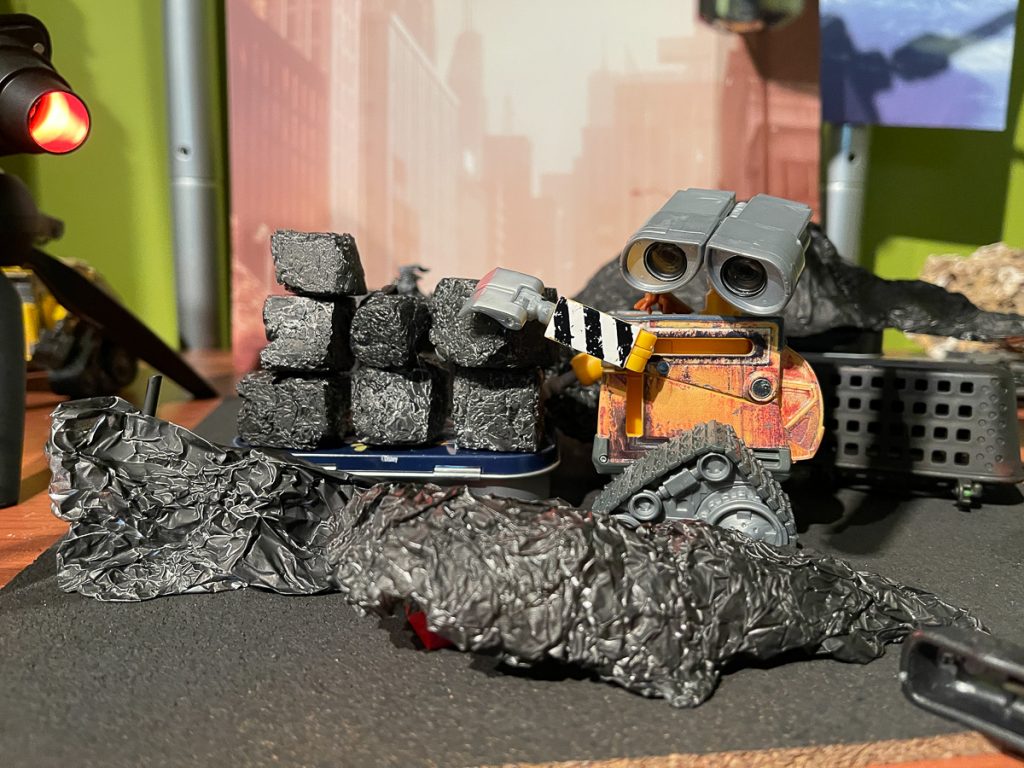
In addition to the junk piles, I used a mallet to pound out some crushed tin-foil cubes remeniscent of the cubes Wall-e compacted himself as he tried to clean up the detritus around him,
As I made my tinfoil piles and cubes, I used WALL-E to get an idea on how many and what sizes I would need to complete my scene.
I thought about gluing everything (except WALL-E) in place, but I wanted the pieces to be modular, so I could get more use out of them in future photos by rearranging them as needed.
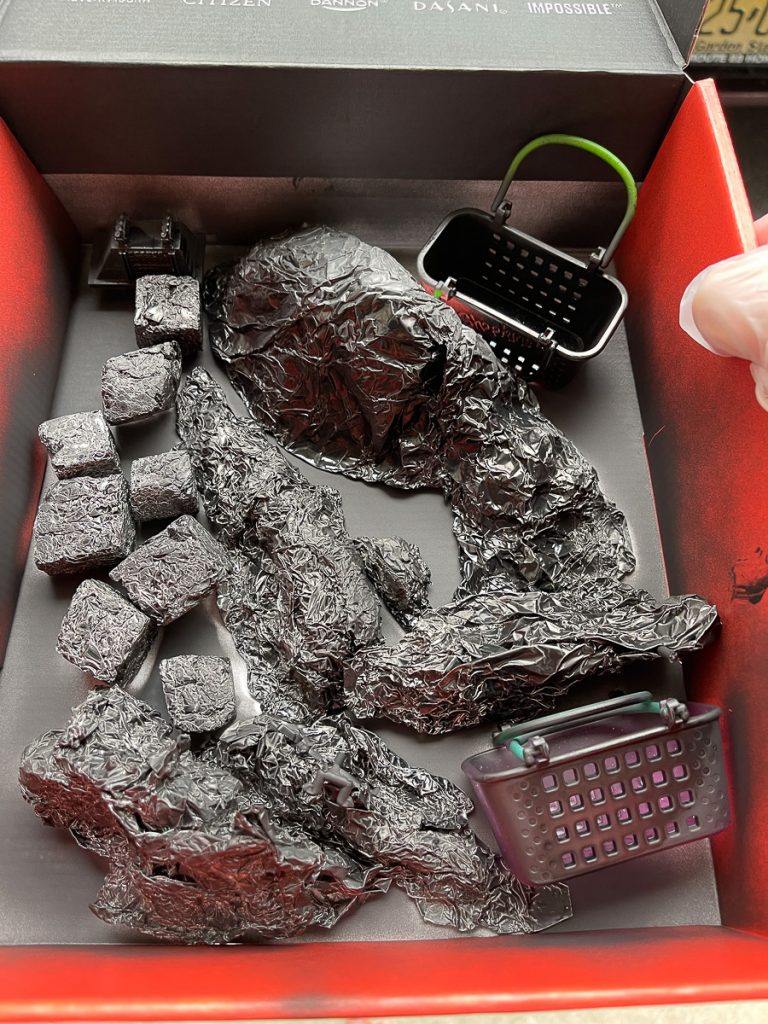
When I felt I had a sufficient amount of a tinfoil junk on my hands, I dropped the pieces in a box along with some other random bits and hit everything with a coat of black spray paint.
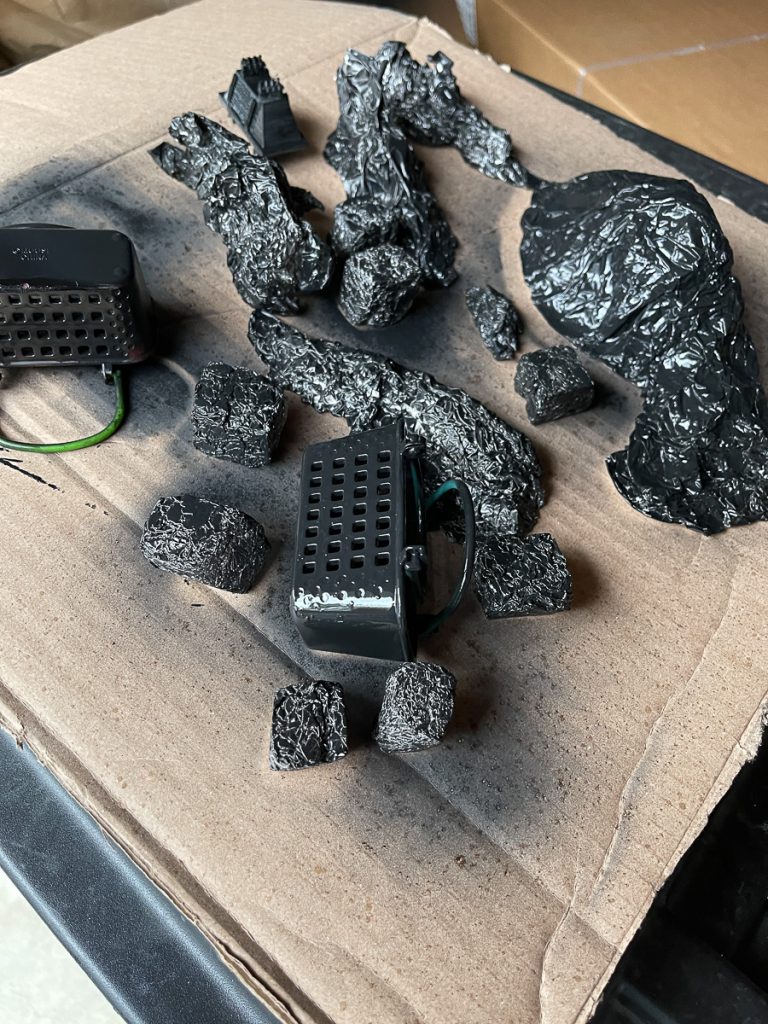
Once again, I wasn’t worried about precision. I wanted everything to look like trash, so I left some parts uncovered. The end result was a cool mix of the black paint and the silver from the foil, which gave the piles a nice bit of variety to their appearance.
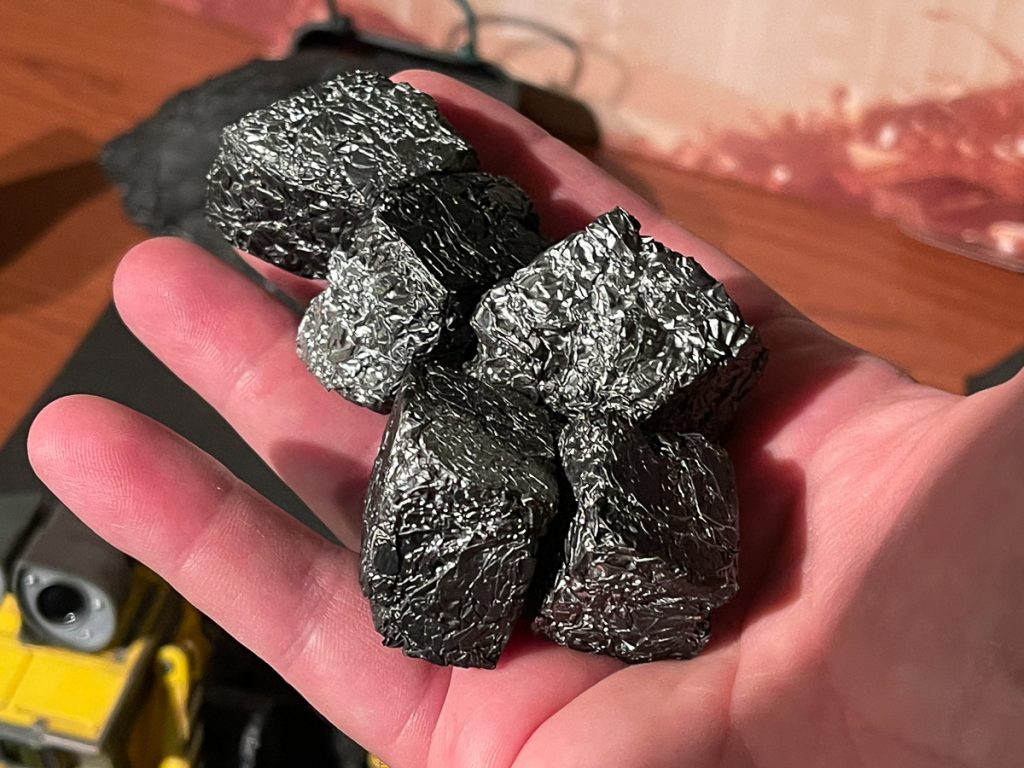
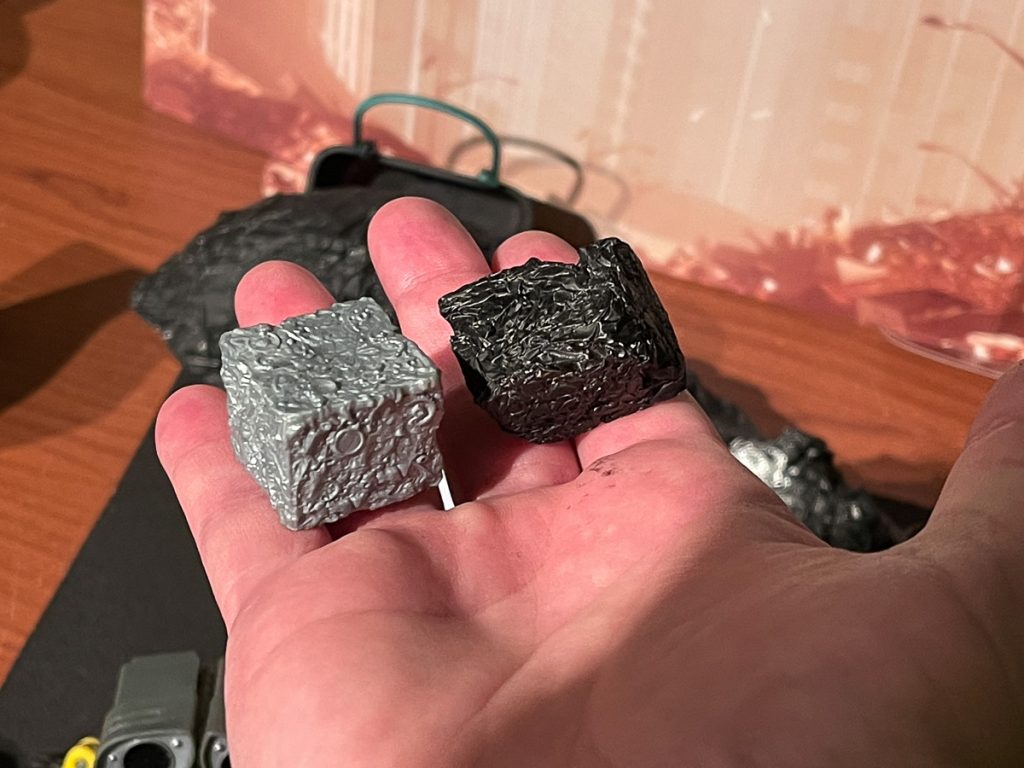
Here is one of my WALL-E figure’s cube accessories (left) compared to my homemade version (right). Not too shabby for a first attempt. I think WALL-E would be proud.
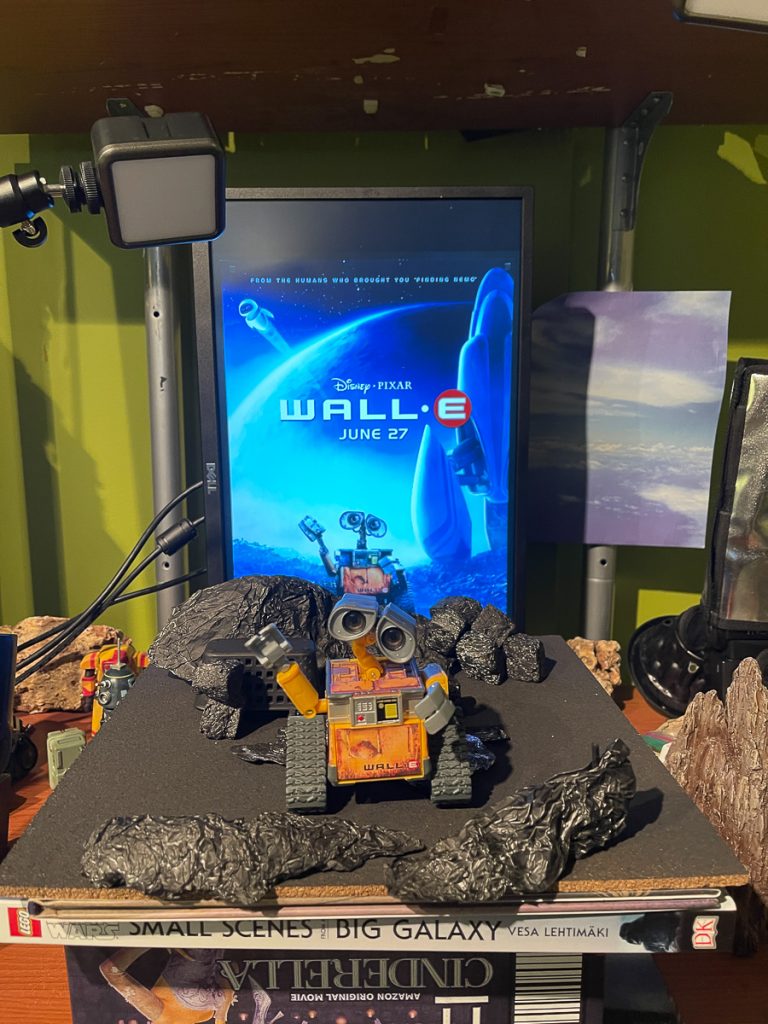

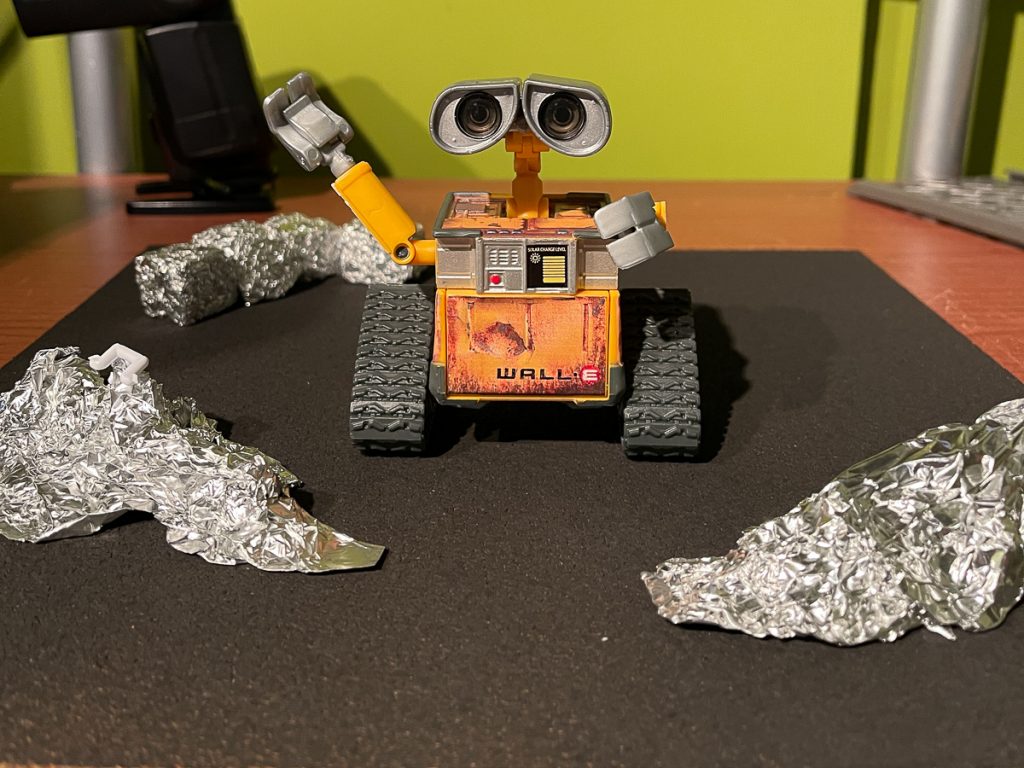
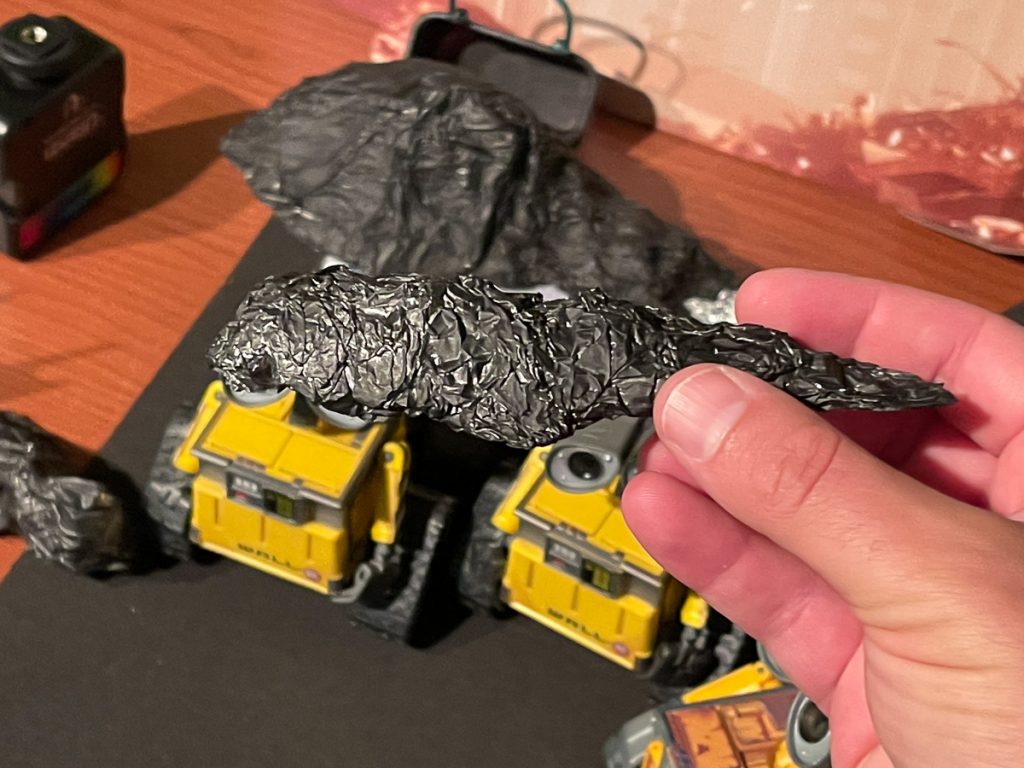
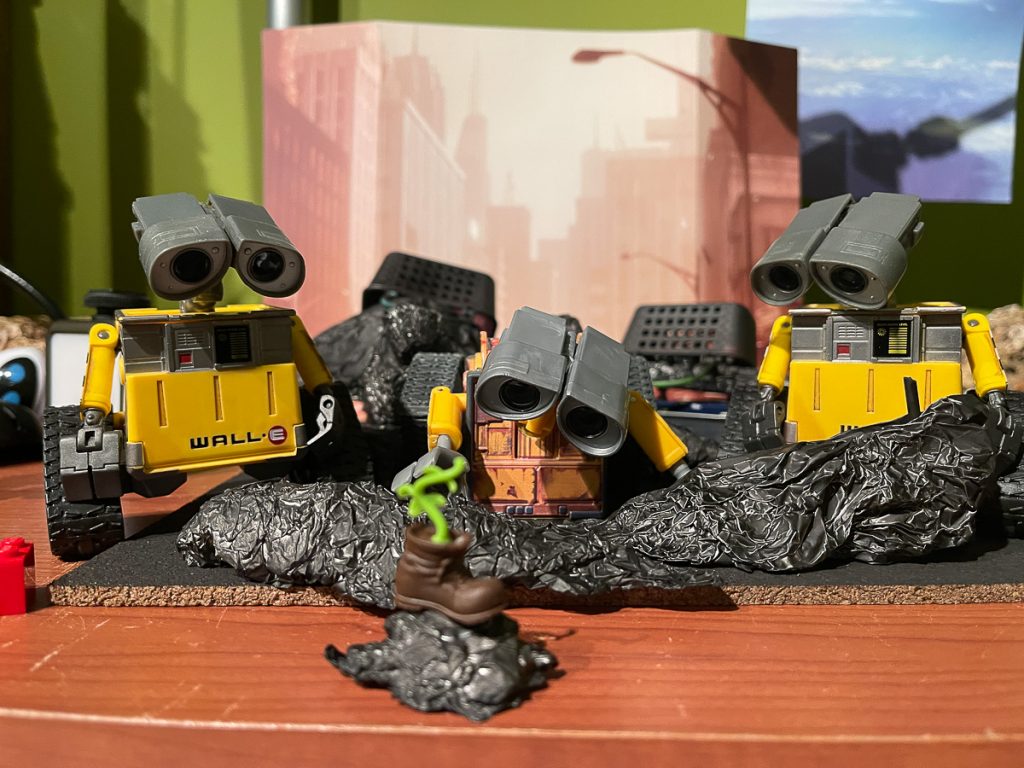
Once the paint dried, it was time to set my scene. I arranged the piles around WALL-E, set my lights and my digirama background, and started shooting.
The tinfoil made for some pretty convincing looking rubble.
Being modular made them versatile, as I could re-arrange the cubes and piles around WALL-E to create different scenes and shots.
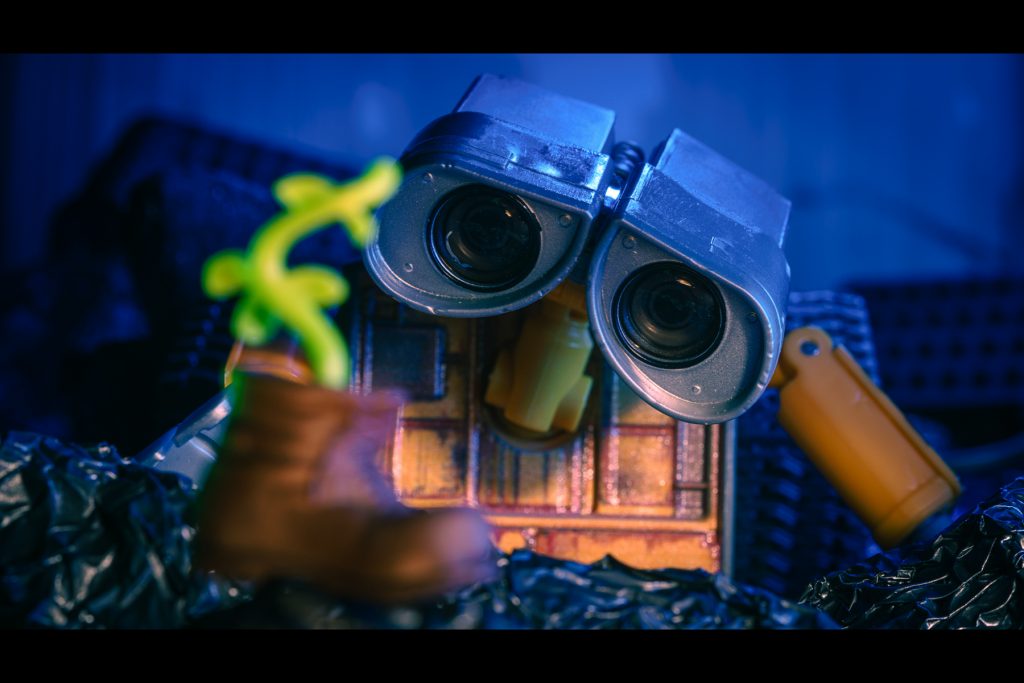
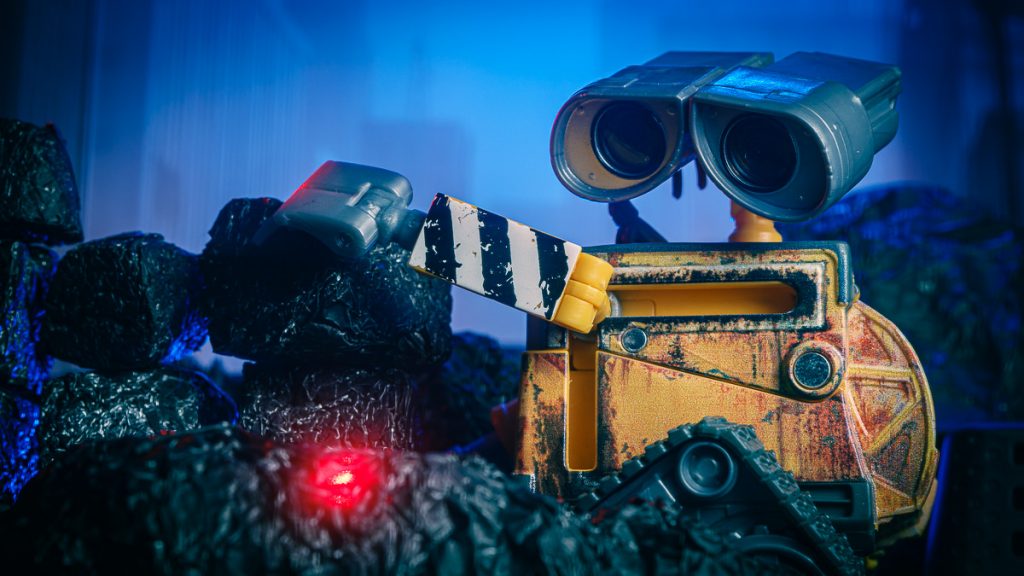
In the end, I was really happy with how this little bit of DIY turned out. Looking at these photos has already got me thinking of ways to iterate and improve on my trash piles for next time.


Nice and simple. I’m going to have to try this out for myself!
Great creation and so simple even I might be able to do it sometime. Well done!
Such a great reminder that diorama bits don’t have to take a long time or require expensive or rare materials. So much can be made from what’s already available in one’s house. Thanks for sharing, Alan!