
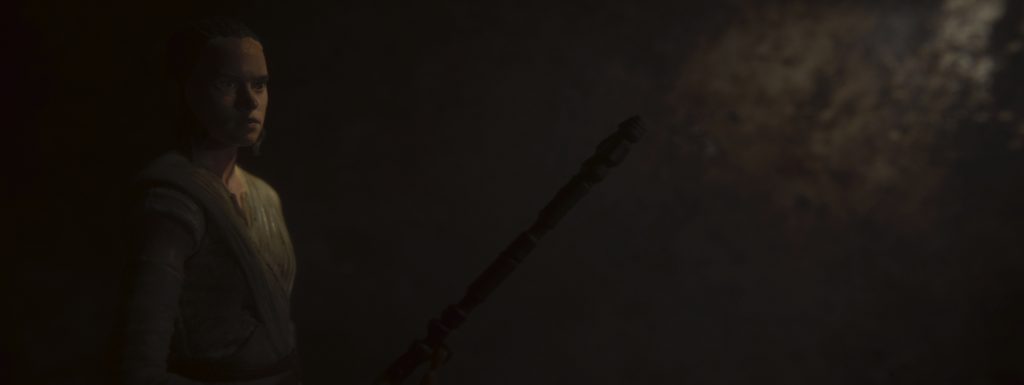
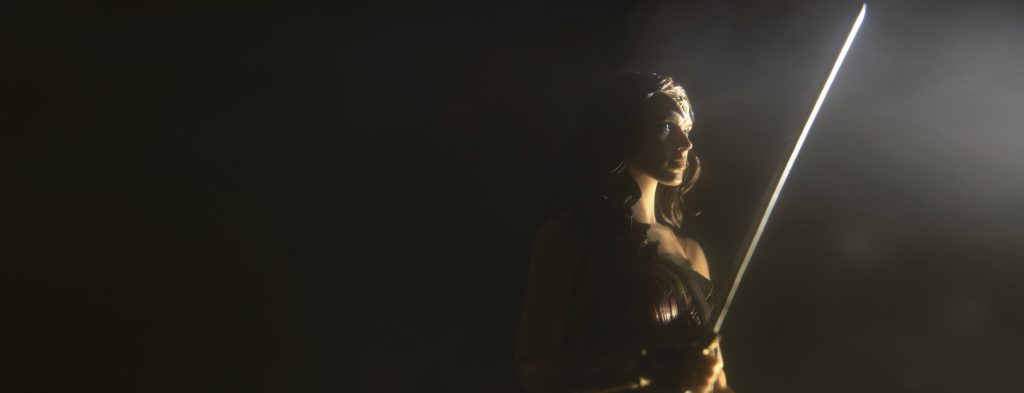
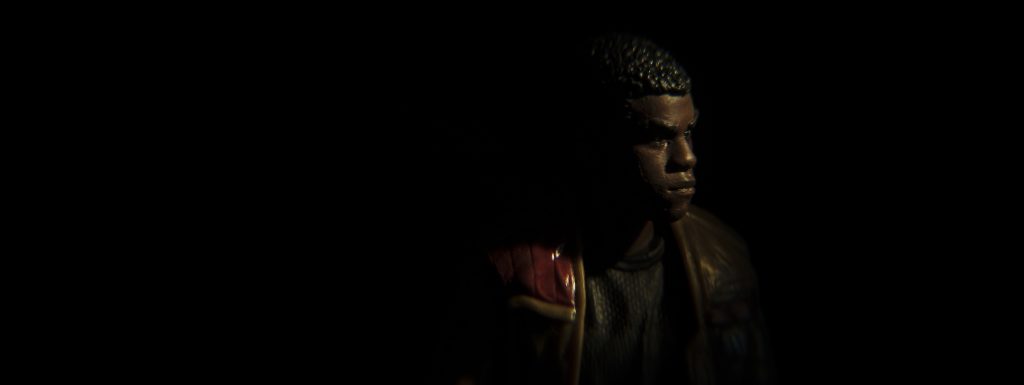
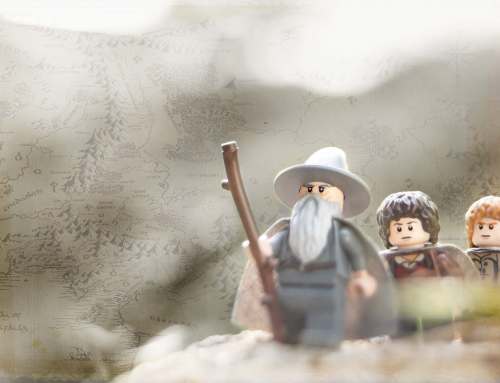
I’ve been taking Rembrandt lighting style photos of some of my action figures for quite some time now. I find it a great way to work on my lighting technique. And by keeping it simple, with a single light source, you can really investigate the shape of a figure’s face and features. I find it can bring even the plainest figures to life. But then again, I do like a bit of high contrast in my photos.
Rembrandt the man
Rembrandt van Rijn was not only a painter, he was a draftsman, etcher and printmaker. He’s considered one of the most important Dutch artists of all time. Famous for his shadowy portraits, Rembrandt has been a huge influence on many photographers and cinematographers. His dark and naturally lit image style can be seen in much of the cinema we see today. It can also be seen in the work of many portrait photographers.
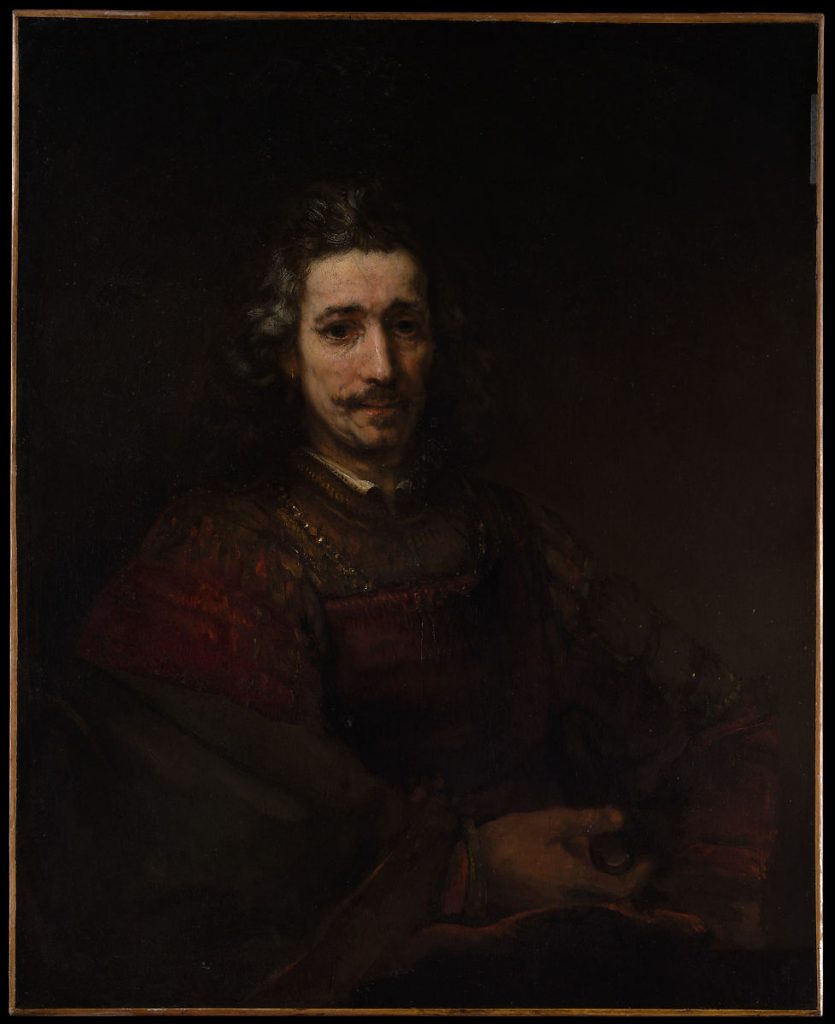
Many of Rembrandt’s portraits were from the early part of his career. He was known for his observation of realism, and as a painter of light and shade. The specific thing to pull out of his style though is not just the contrasting light but how he shows that through the contours of the face. While not a guaranteed feature in all of his portraits, Rembrandt was famous for the upside down triangle of light under the eye on the shadowed side of the subject.
When you look at toys, just like people, they are three dimensional. So with some specific lighting, directed at the different contours, a sense of realism can be found. All of those shadows are also great for hiding joints and hinges.
Rembrandt when it comes to lighting
Rembrandt lighting is a specific setup, mainly used in portrait photography. You’ll find loads of guides online, but it is super simple. And it’s so regularly used it will come across as natural lighting. As the diagram below shows, it involves just a single light, usually at an angle of 45 degrees to the subject. Typically a reflector or similar object is used on the opposite side of the subject to provide some fill.

With the photos I take in this style, I tend to forgo the fill on the opposite side. I prefer for shadows to roll on and off the subjects to and from the dark or black background. Using the idea of the subject’s contours and wanting to literally highlight areas of the face, they not only stand out from other parts of the face but the rest of the photo.
Rembrandt in Star Wars

Watching Rogue One recently, I was taken aback by this particular shot. It’s actually a CGI effect, but was created and digitally lit to make the Star Destroyer look like one of the original models used back in the ’70s. What really caught my eye, though, was how the lighting reminded me of Rembrandt’s style. And by using the contrasting light and the shapes of the Star Destroyer, the filmmakers managed to cut both light and dark silhouettes against a “field of stars.”
For my own interest and intrigue, I set about trying to recreate a similar image in the “real” world and dusted off (literally) my Bandai model kit Star Destroyer. I hadn’t taken any spaceship shots in quite a while. It’s such a small model, it fits in the palm of my hand. I then primed myself with a micro LED torch as my only key light. The only thing left was a field of stars and I specifically wanted the stars to actually shine. I thought about a digital background (very Star Wars at the moment) but wanted something a little more practical to match my mood.
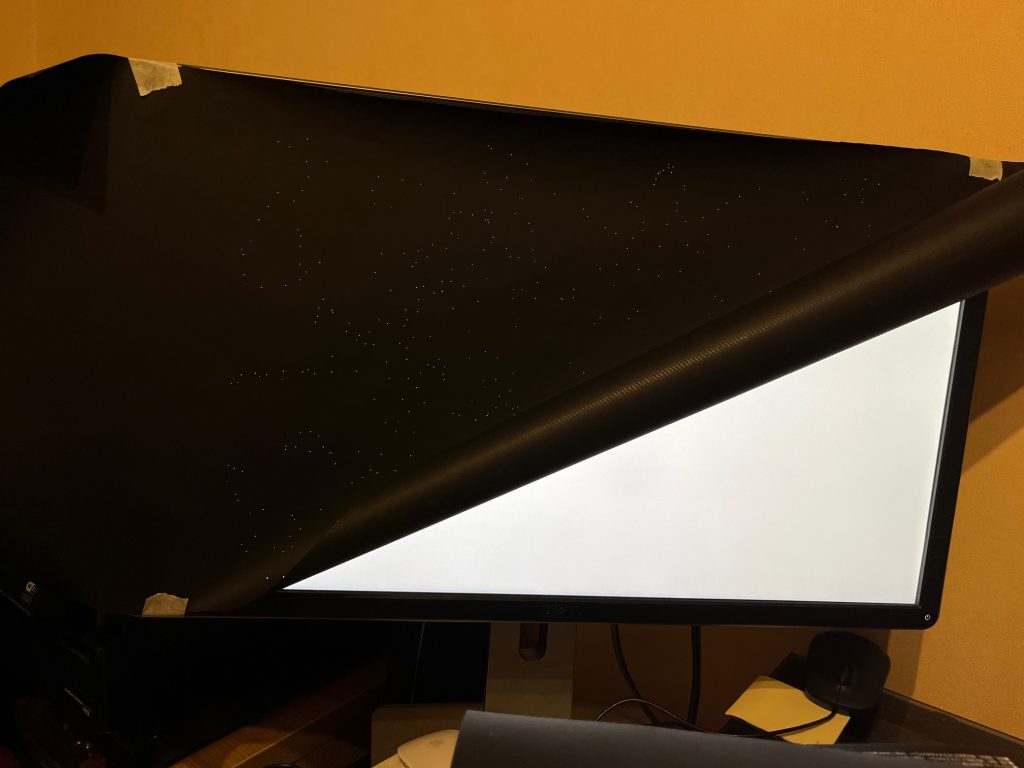
My solution for a star field was one i pinched from miniature photographer Adam Makarenko. Check his space images out over on Instagram—they’re great. The idea is simple with a light source behind, in this case my monitor set to white. A black piece of paper covers the screen, but is perforated with a needle or pin to create lots of tiny holes.
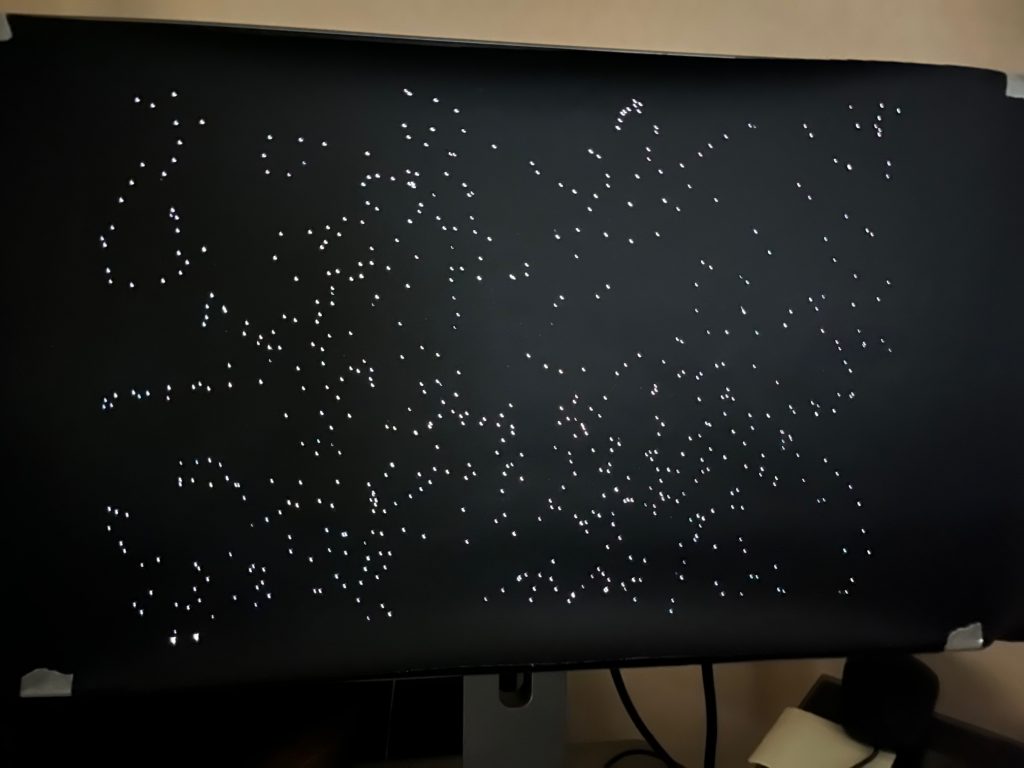
As you can see, the light then shines through, and the camera will pick up their glow in the background of the image. This was actually my second setup after the pin I used the first time around had too big a point and dwarfed the Star Destroyer in comparison when it came to the scaling.
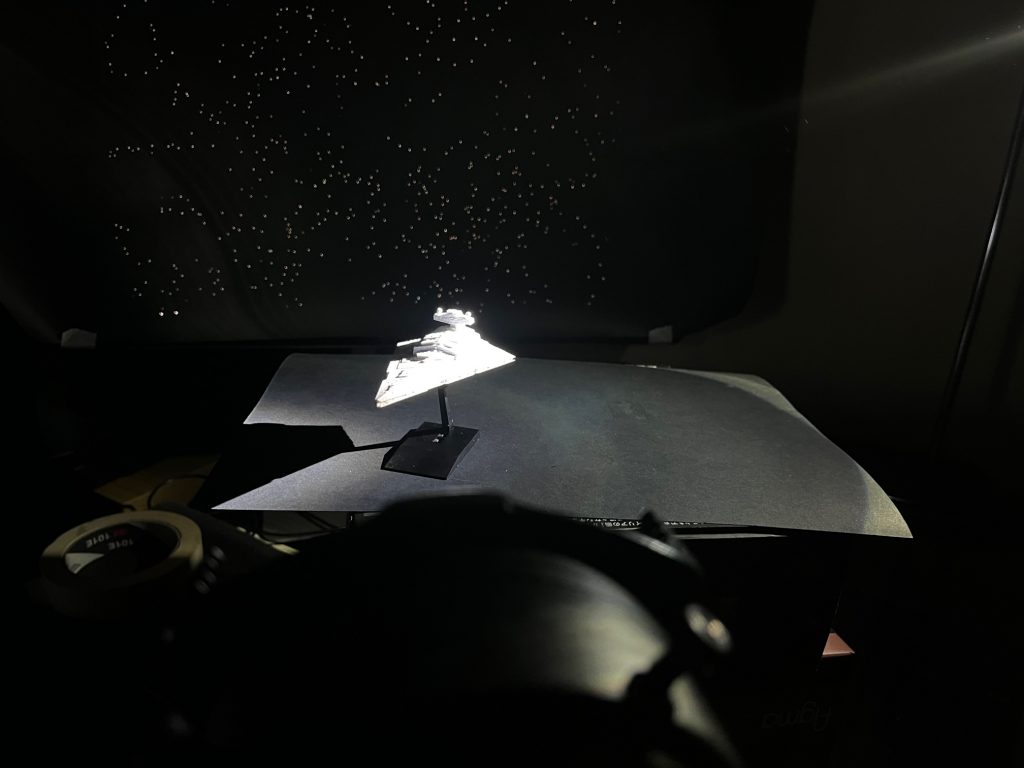
The lighting as mentioned was super simple. And from the image above you can see there is a single light off to the right shining across one side of the ship. I consciously raised it a little higher as I wanted the underside of the destroyer to be in shadow. It’s also why I chose to shoot up from below the model to gel that dynamic line cutting across the image.
The one challenging aspect I found in this simple setup was getting the exposure right. I actually needed a short exposure for the Star Destroyer—well, short in comparison—of about 5 seconds. But the background needed a full minute’s exposure so the stars would shine through. The simple solution for this? I covered my torch after the first 5 seconds and got the whole image in one capture. I suppose I could have put ND filters over the torch to dull it down, but my hand was, well, at hand.
Rembrandt in space
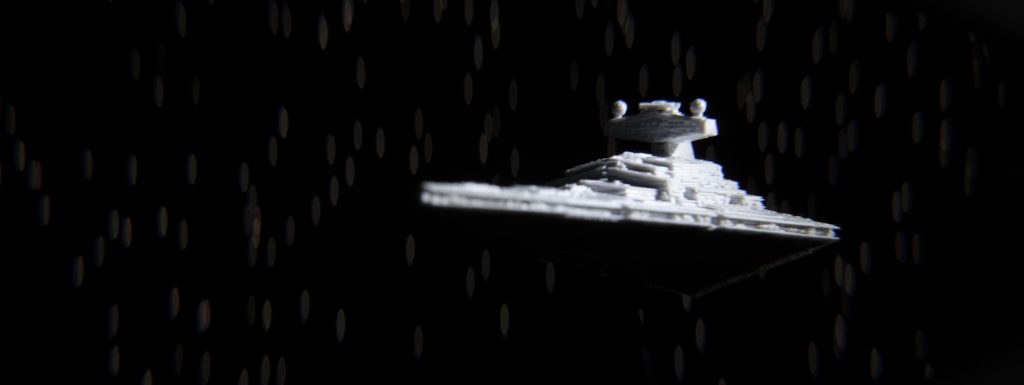
And here is the resulting shot, fully practical and with no actual editing or post production other than my usual desqueezing due to my anamorphic lens. While not my most original image and idea, I’m really happy with the result. And I can definitely say I’m going to be flying in my Star Destroyer again very soon. It’s a great and obviously iconic shape, and it could lead to some quite dramatic and striking images full of contrast.
While this post is about taking Rembrandt into space, for me it’s about talking through and taking a style that I use for one type of photo and applying it to another. It simply shows new possibilities. In the future it doesn’t need to be a spaceship. Perhaps I can achieve similar effect with LEGO. Or perhaps it’s just the experiment of seeing what happens when I try it with a new subject.
I guess the point I have rambled towards through this whole post without realising, is mixing up things you already do can create entirely new possibilities.


Leave A Comment