As photographers we have many techniques at our disposal to tell our stories. One of the most overlooked method is the practice of framing your photography subject with the intention of isolating and hightlighting. By framing the subject in a compelling manner, you will guide the viewer’s gaze to what’s important to you. This gives you, the photographer, control over the viewing experience. Framing tells the viewer what’s important about the story you’re trying to tell.
What is framing? Framing is a compositional technique where you use elements within your image to frame your main subject. By intentionally framing your photography subject, you tell the viewer where to focus their attention. By using compositional elements such as props, foliage and lighting, you can create a dynamic image with additional depth. Framing your subject with specific elements will also help the viewer focus on the story you want to tell.
Why framing is important
In a digital photography world, where you can easily crop your image to create a dynamic image, paying attention to your framing may seem frivolous. But by being aware of your framing, you will create structure, shape and purpose to your composition. Framing will also help you create depth and, more importantly, it will help you tell a more interesting story.
By framing your photography subject you can separate the subject from the background and help direct the viewer’s attention. Common techniques like selective focus and shallow depth of field will help to spotlight the subject. But there are other techniques you may not be as familiar with.
Techniques for framing your photography subject
Beyond the basics of focus and depth of field, I’ve compiled a list of other creative framing techniques for you to consider.
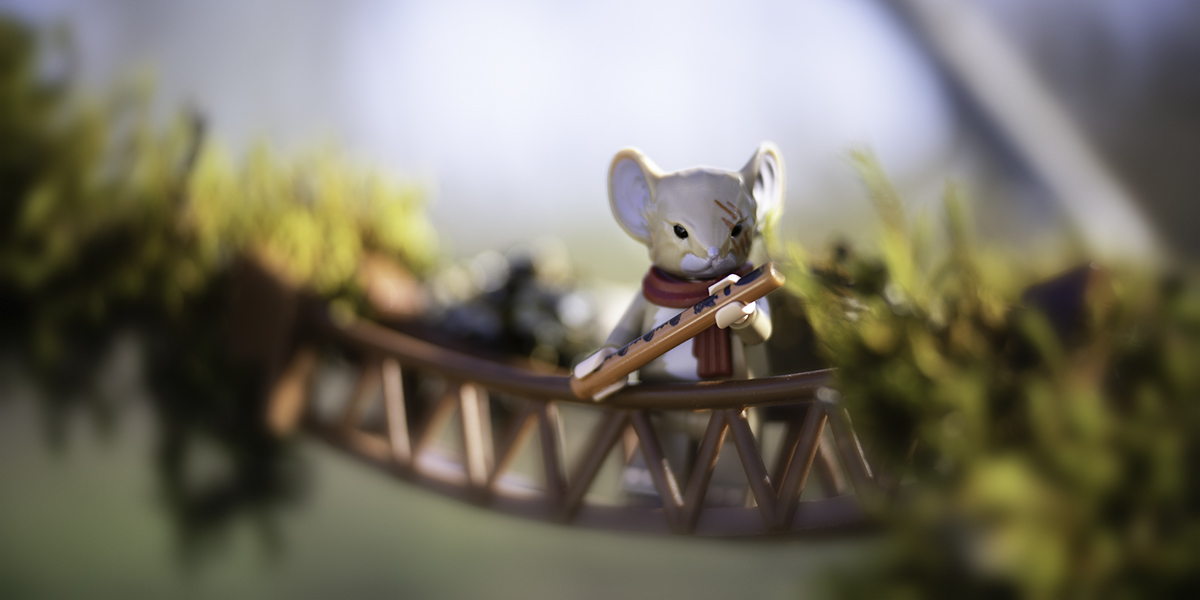
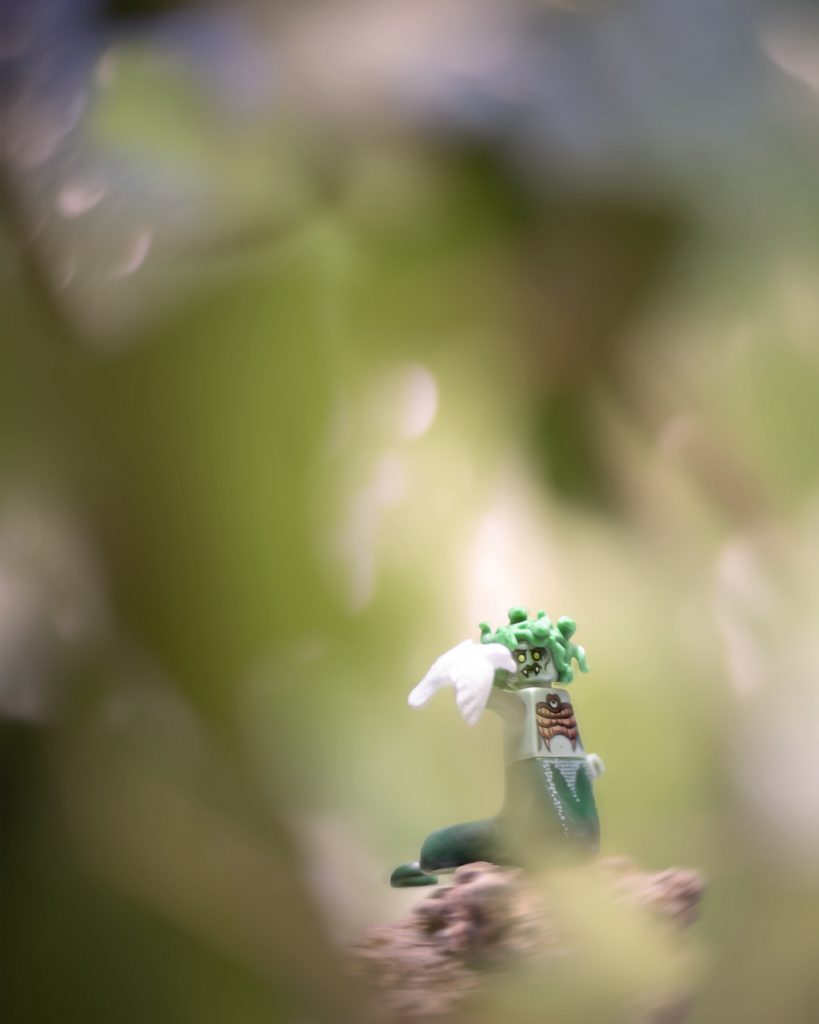
- Photograph through foliage or flowers
- Shoot through a partially closed door or window to highlight the subject
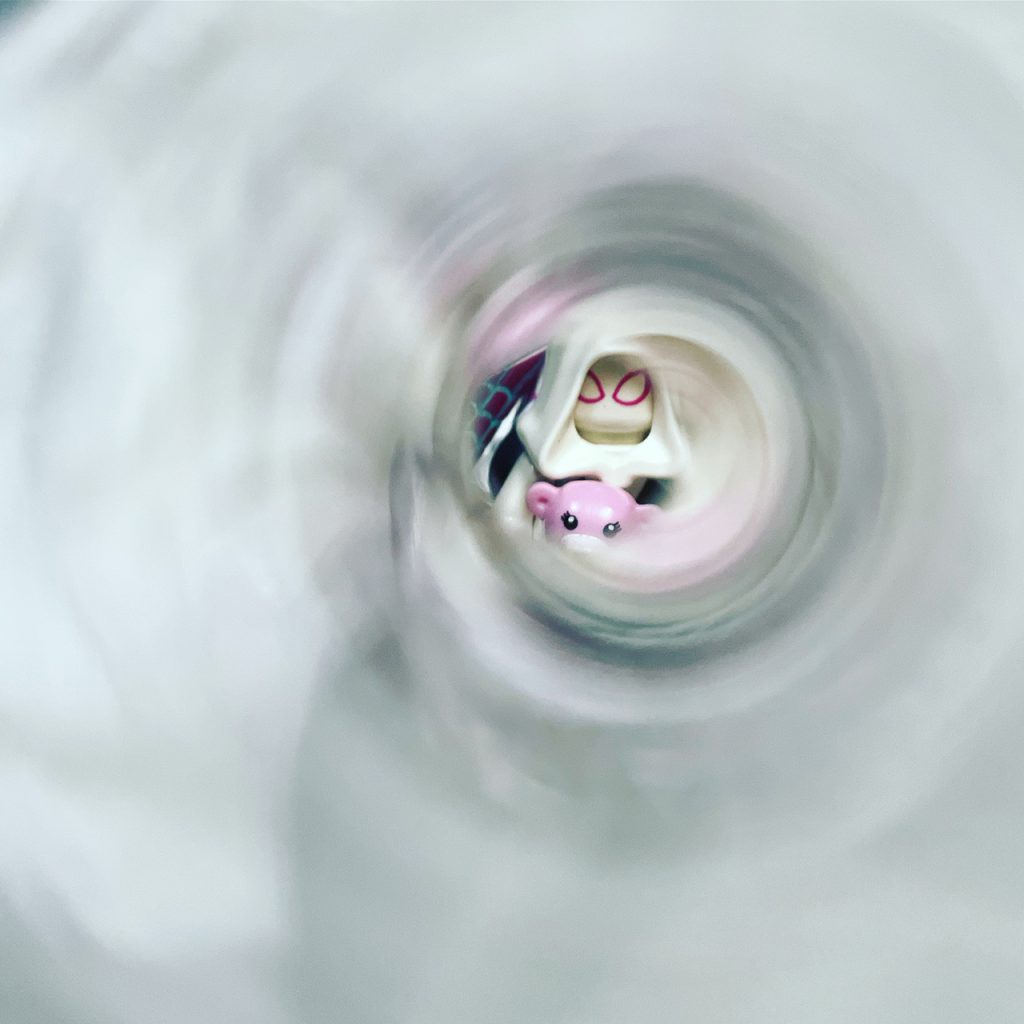
- Frame your subject through an unusual household object: straw, paper roll, magnifying glass, etc.
- Use an existing architectural element, like a door or arch, to frame the subject
- Create interesting shapes with the arms or hands to frame the subject’s face
- Use background elements to frame the subject
- Use moving background / blur to highlight your subject
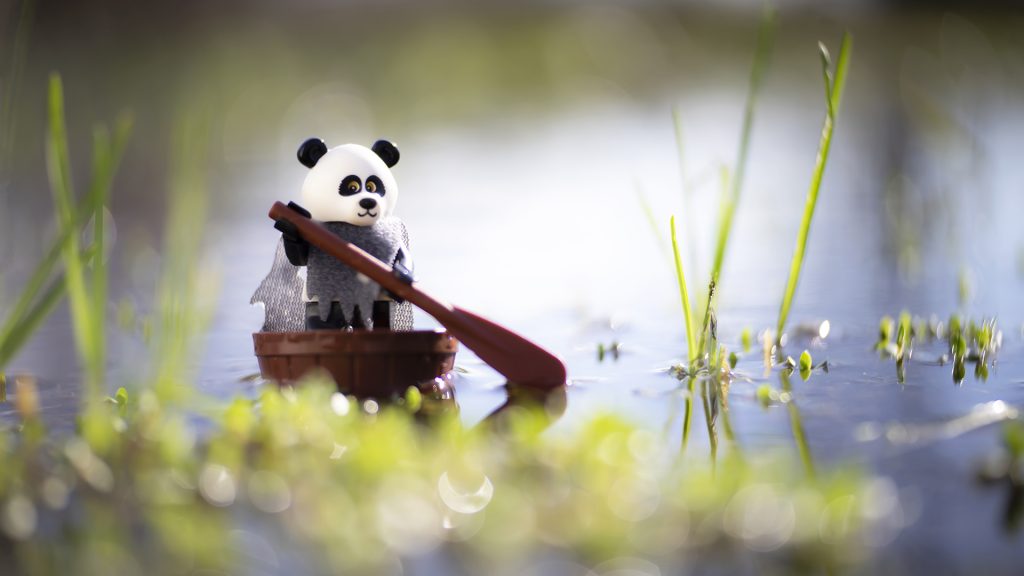
- Take advantage of negative space to minimize distractions from your subject
- Use contrasting colors to isolate your subject
- Light and shadow can also be used to highlight your subject
Placement is another aspect of framing your subject you will want to consider. Will you be placing your framing element in the foreground where this object is often out of focus? Will it be in the middle ground and on the same focal plane as your subject? Or maybe you prefer to use background elements to frame your main subject? Whatever you decide will undoubtedly create a more dynamic and interesting story for your viewer.
Toy photography is more than toys
As photographers we have lots of tools in our toolbox to tell captivating and fun stories. We’ve highlighted a few of these tools here on the blog. For example, Selective Focus, Rule of Thirds and Leading Lines. But sometimes it pays to review some of the other tools we have at our disposal. Framing, exposure, composition, lighting and storytelling are just as important as clever tricks like smoke, fire and motion. Whether you’re a seasoned professional our just beginning your toy photography hobby, it’s always good to review the basics.
It might seem confusing, all these options for framing and isolating your subject, but with a little practice you will notice natural framing opportunities everywhere. And it doesn’t take long before your studio set ups become layered as you find opportunities to frame your stories.
When our subjects are so much fun to photograph, it’s easy to get caught up in the story and forget the basics of composition. For me, the holy grail of a good photo is one that is equal parts excellent photo and compelling story. This is not an easy task and one I only occasionally manage to attain. But the longer I practice the craft, the more these subtleties loom in importance.
Join MeWe for a chance to talk about framing in-depth
On June 27th, I will be hosting an online conversation via Zoom about framing. As in past meet-ups, I will be soliciting examples from the community on the monthly theme. Then we will spend an enjoyable 90 minutes looking at these images and talking about them. These meet-ups are always inspiring! Between the camaraderie and the learning, everyone leaves a little more educated and inspired about our hobby. If this sounds fun, feel free to join our MeWe community for more information and an invite to June’s meet-up.


Leave A Comment