It is still summer in the Northern Hemisphere, where I currently live in North Carolina, and it will be great weather for months to come. My roots, however, are Canadian, so this time of year my eye is cast towards winter. Specifically snow and the wonderful photography opportunities it provides.
Shooting in the show has some unique challenges. Here are a few tips to help you get the most out of your next shoot in the snow.
Cold and your camera
Snow is cold, and cold affects electronics, like your camera. I have found the biggest issue with shooting in snow is that batteries don’t last as long in the cold. Normally I keep extra batteries in my camera bag, but in the snow I tend to keep my batteries warm in an inner jacket pocket. This prevents the cold from draining those batteries before I get my full use out of them.
The second thing cold does is cause condensation to form on the lens when going from the cold to warm. Plan to give your camera time to warm up when you bring it inside to shoot more photos.
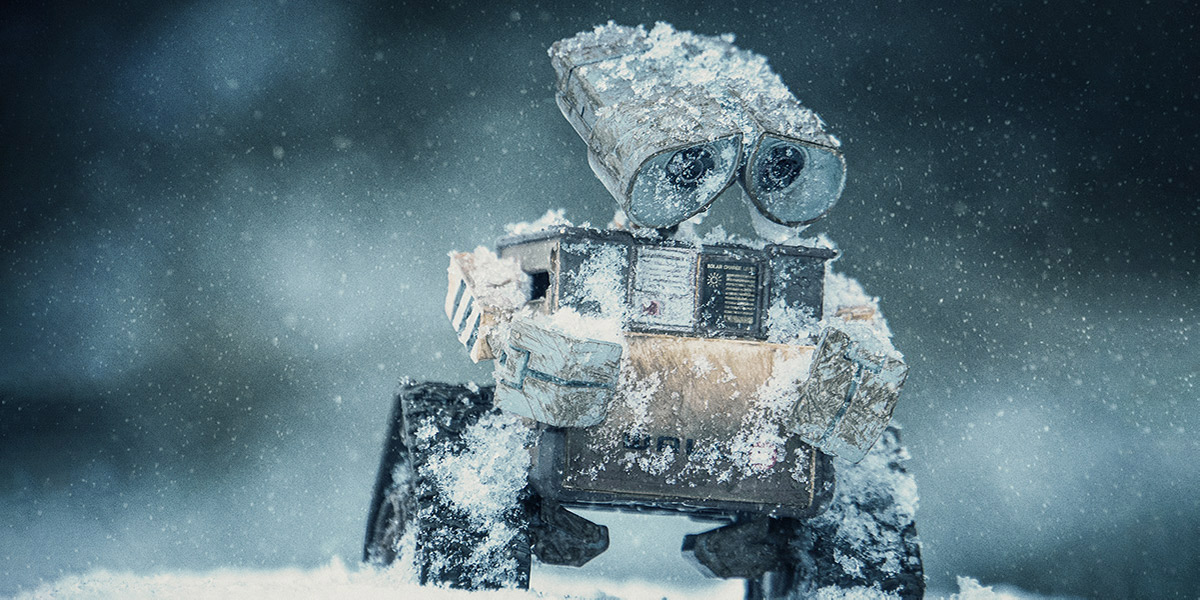
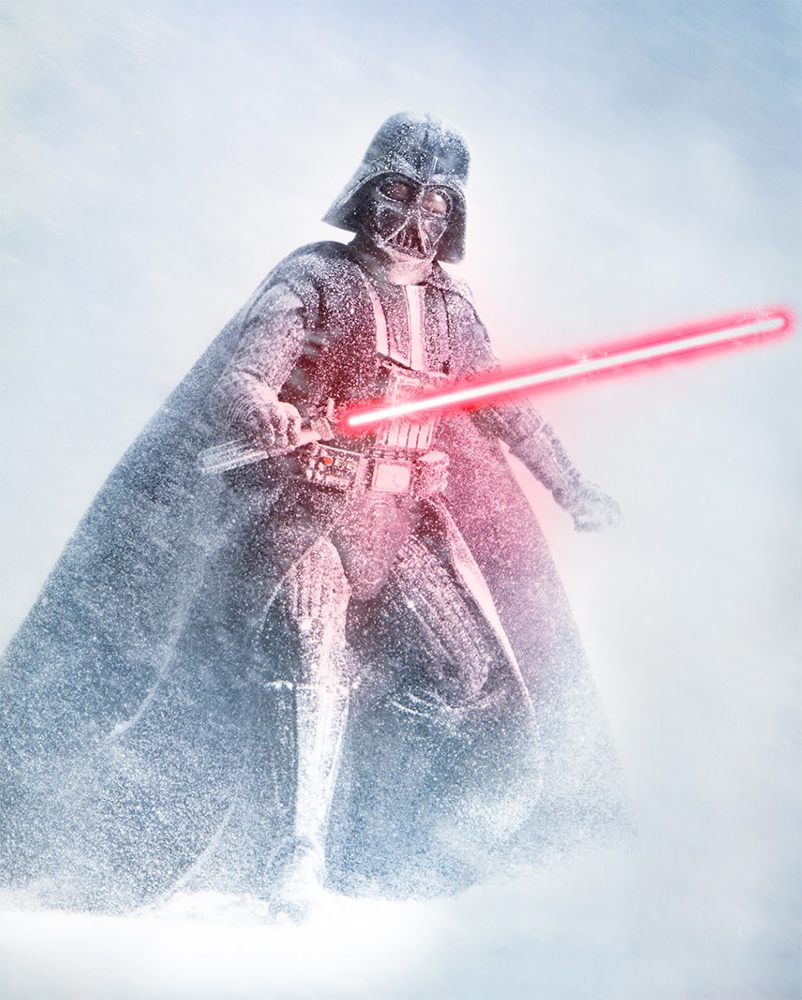
Pre-freeze toys
The vast majority of my toy photos tend to be taken in my backyard. I think of an idea, grab a toy, run outside, set it up and shoot. I have noticed these shots never really work as well as I hoped.
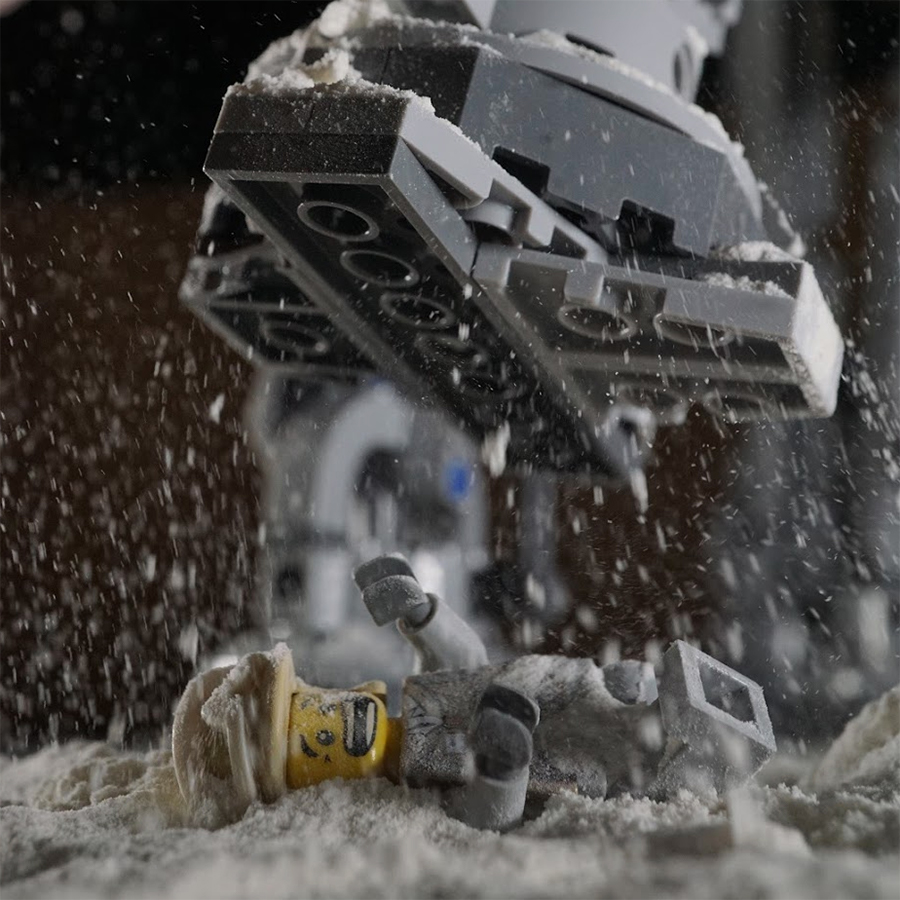
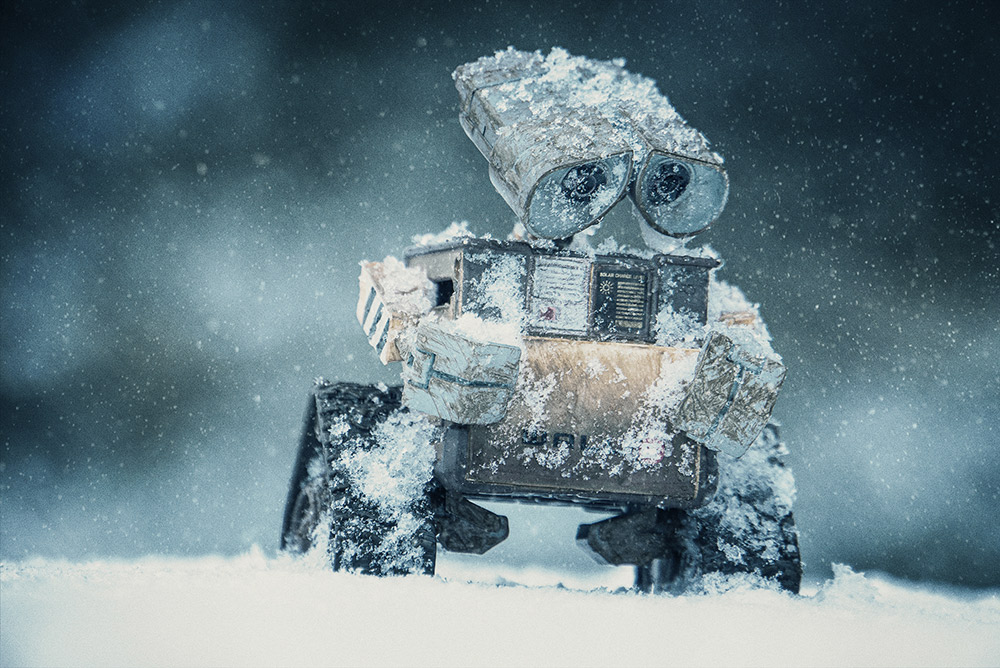
Part of the problem is a toy that has been stored in a nice warm house is going to melt the snow, causing it to sink or ice over. Falling snow ends up melting on warm toys, becoming water drops instead of frosty buildup on the toy. I often end up struggling with getting the snow to look right on my toys before it melts on me.
To combat the problem, I have gotten in the habit of freezing my toys before using them in a snow shoot. I either place them in the freezer in the kitchen for 30 minutes, or I place them outside the door to let the great big deep freezer that is a winter wonderland take the heat out of my toys.
Expose for the snow
Most modern cameras have an exposure meter in them. This is often a hugely useful feature as it adjusts the camera to get a proper exposure. It does this by measuring all the light in the scene and adjusts the exposure so the average light range is 50% grey.
Since snow shots are mostly white, it messes with the exposure meter. It tries to force the image to be an average of 50% grey, which is not what we want. The image becomes a dull grey instead of a bright white. To overcome this, the exposure needs to be tweaked. There are several ways to do this, depending on your camera. For most cameras, the quickest solution is to increase the exposure compensation. The exact settings depend on the situation you are in, but start by bumping up your exposure compensation by a stop or two. The sweet spot will be high enough so the snow stays nice and white, but not too high that the highlights get blown out and the detail of the snow is lost.
It often takes a few test shots to get this right.
Capturing falling snow
Unlike rain, falling snow is pretty easy to capture in-camera. So getting the results you want is simply a matter of setting your shutter speed appropriately.
Snow flakes tend to fall pretty slowly, so to get that nice blur effect you can set your camera to something in the range of 1/125 to 1/250. This shot was captured at f/250.
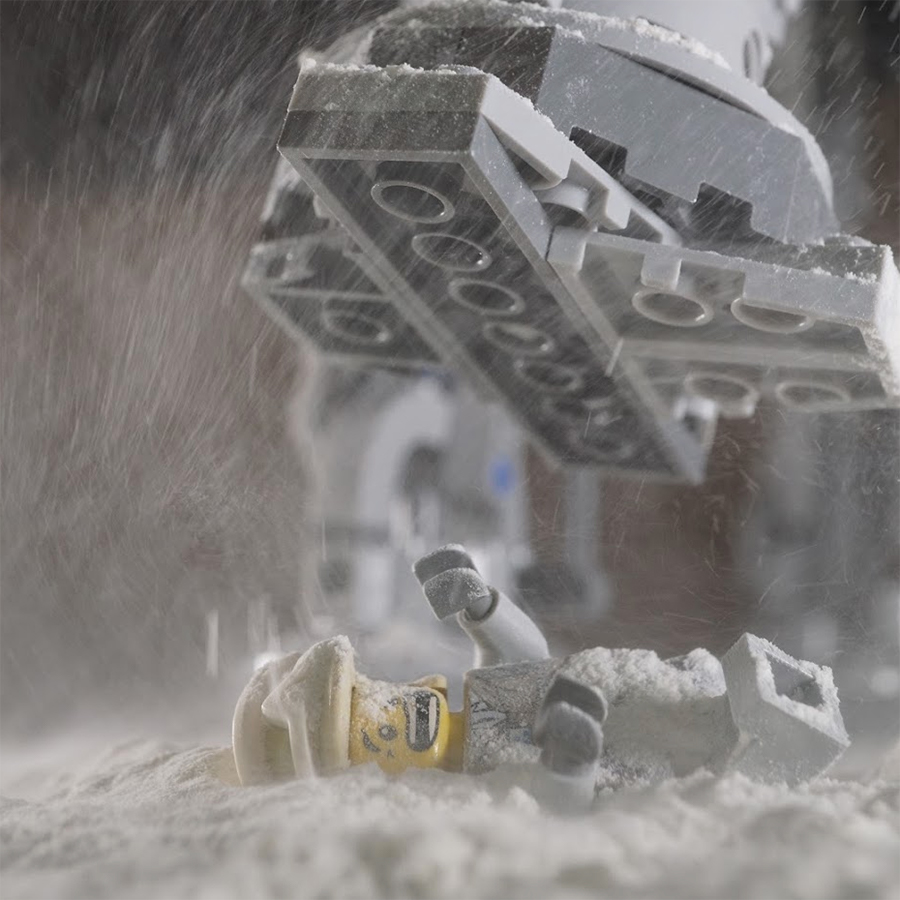
Sometimes you want to capture a more crisp shot of show, which is better for those action shots. In that case, simply crank up the shutter speed. This is 1/640.
Sudden but inevitable conclusion
Shooting in the snow is a great deal of fun. Hopefully these tips will make your next snow adventure with toy photography a good one.
If you use these tips, I’d love to hear about it. Toss your experiences in the comments below.
Stay warm out there!
[dave]
Want more toy photography goodness? Subscribe to our weekly email round up so that you never miss a post. You can also listen to episodes of the podcast!


Thanks for the tips, Dave! Now all I need is for us to get more than a dusting of snow. Could happpen – maybe. 😀