
If you are a Star Wars fan, and a toy photographer, you’re likely going to run across an image that contains lightsabers. You may be wondering how such effects are made. There are many ways to create lightsaber effects, however the way I use is to simply do it in Photoshop using some very basic techniques.
Lets begin.
The starting image
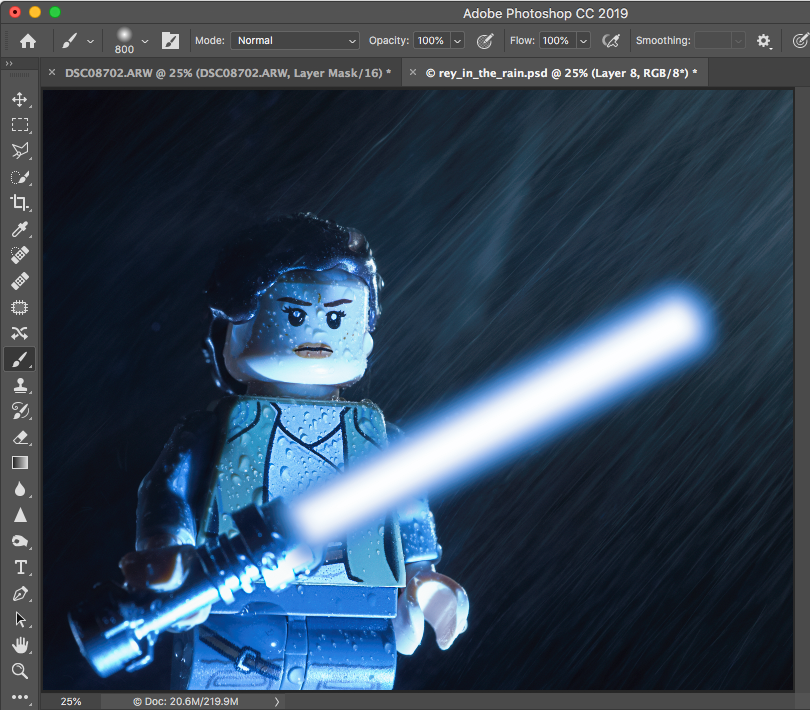
For the purposes of this tutorial I am going to assume we’ve already taken and processed an image, so all that’s left is to add the lightsaber effect. Let’s use one from my archives, Rey in the rain.
Load it up in Photoshop and let’s begin
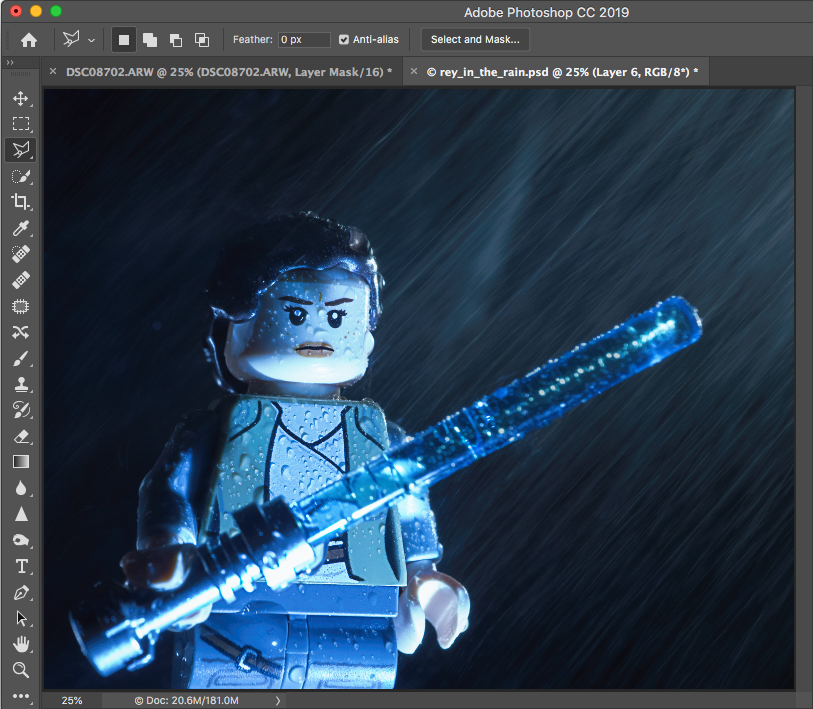
I always leave the plastic lightsaber blade in the shot. This makes it easy to get the shape of the blade correct. Some people are good at free-handing such things. I am not one of those people, so I leave myself all the help I can get.
Adding the basic shape and colour
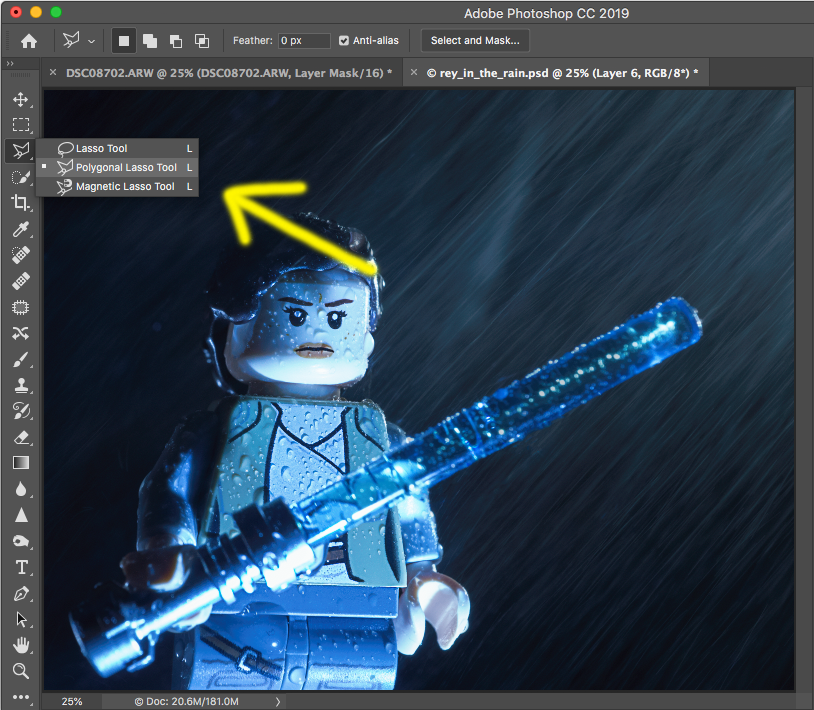
The basic process for creating a glowing lightsaber blade is to select the shape, add the basic colours, then blend them together.
Begin by selecting the Polygon Lasso Tool.
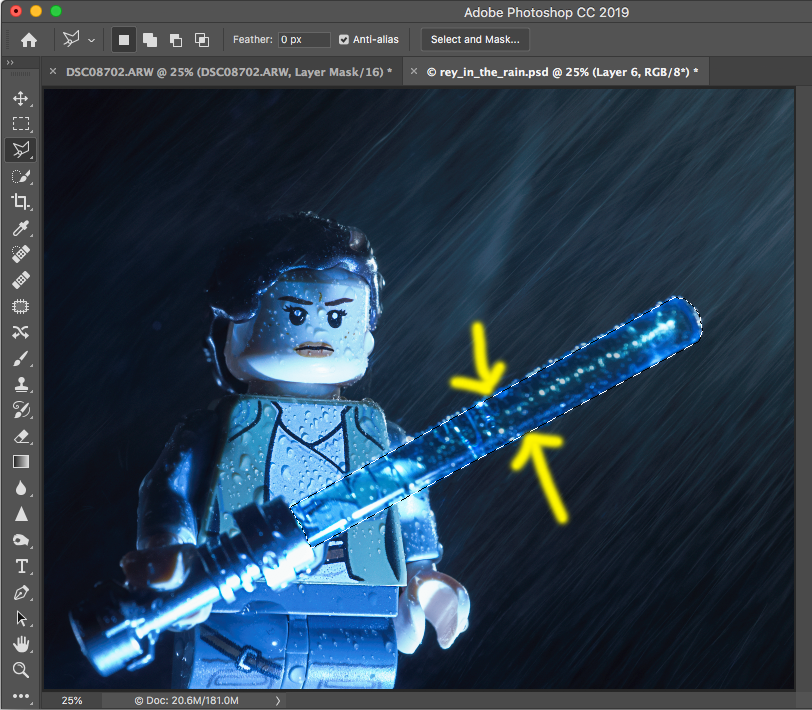
Then trace out the shape of the blade. When you get the marching ants along the perimeter of the blade, you are ready for the next step.
Note you just want the blade, not the hilt.
The selection covers the exact shape of the blade. However, the glow extends beyond the edges of the blade. To accomplish this, go to the menu: Select->Modify->Expand, and expand the selection. You will get a prompt to enter the number of pixels to expand the size of the selection by. This will change per image, but for this one, at a resolution of 3000×2400 pixels, 40 pixels appears to be the right size.
Once it is expanded go to the menu: Select->Modify->Feather and add a 20-pixel feather (adjust for your own image size). This will make the selection soft on the edges.
Next, take a brush, select the colour of the lightsaber from the colour picker, and fill in the selection.
Do not delete the selection yet, as we need it for the next step.
Add the highlight shape and colour
If you look at the way lightsabers appear on screen, they are typically some sort of coloured light, with a white light core. So, to get a realistic effect we also need a white light core.
To accomplish this, make a new layer by the menu option: Layer->New->Layer. Make sure the new layer is on top of the current layer, and is selected.
Now we need to make the white light smaller, but the same shape as the rest of the lightsaber. Luckily we already have the shape with our selection. We just need to make it smaller.
The right size tends to be two times the size we expanded it. Above, we expanded our initial selection by 40 pixels, so we’ll shrink the selection by 80 by going to Select->Modify->Contract.
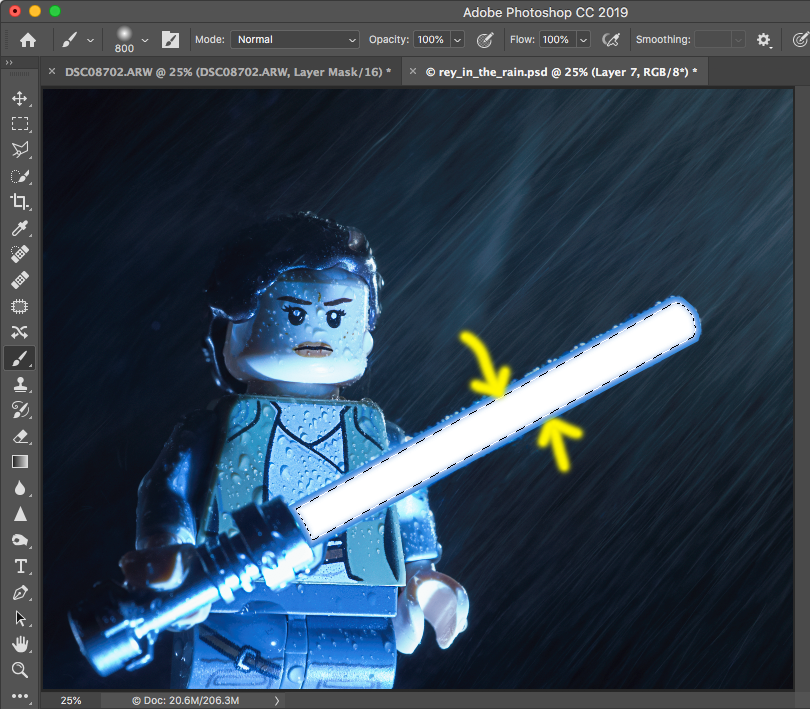
Now select the brush tool, pick pure white from the colour picker, and fill it in.
It should look like this:
Now you can delete the selection by the menu option Select->Deselect.
Finishing the lightsaber glow effect
At this point we have the basic shapes of the lightsaber glow effect, and can now work on polishing things up. The coloured blocks have a fairly distinct edge, so we need to soften those.
The tool for this is the Gaussian Blur filter (found under the Filter menu).
Select the colour layer, then go to Filter->Gaussian Blur, and enter the blur radius.
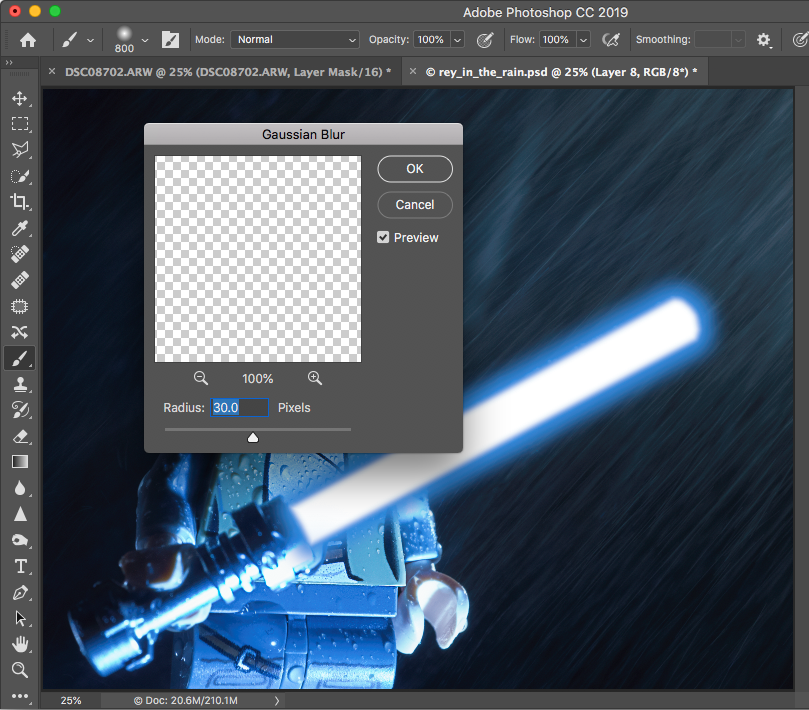
For my image a blur with a radius of 30 seems to be the sweet spot. Adjust as appropriate for your image.
Once the colour layer is blurred, do the same for the white layer, using the same radius for each. The final result looks something like this.
Conclusion
These are the basic steps, and will result in a realistic lightsaber glow every time. There are more advanced steps that can be used, so I encourage you to play with all of the settings (try duplicating layers with different blurs, blend modes, and layer opacity settings).
I find for LEGO, a fatter blade glow works well. If you are using action figures you may want to make the glow more narrow.
This technique isn’t just for lightsabers either. Any time you need a blaster bolt, or a glowing helmet visor, this technique can be employed. Just remember to adjust the parameters to match the resolution of your own image.
[dave]
Want more toy photography goodness? Subscribe to our weekly email round up so that you never miss a post. You can also listen to episodes of the podcast!


Pretty good. The process i use only has a couple more steps… (as you mentioned is possible) but it makes the glow much glowier. Insted of using the edge of the saber for colour, cover it completely with an extra white shape, gaussian blur it and use IMAGE/ADJUSTMENTS/COLOR BALANCE to alter the blade colour (of both the core and the edge). And if your ite shapes are on a layer set to screen mode with black background, it all looks super glowy, and the light spills out into the photo. It was in a tutorial by that kid who made some viral lightsaber battles on youtube… ryan wieber… of ryan vs dorkman fame.
That’s exactly the same method I use! I love going a little overboard with the glow
Yep, there are a lot of ways to make this better. One thing I’m working on is how to get that jagged look that Kylo’s sword has.
Great tutorial, Dave! Thanks for writing this up.
Thanks, Dave!
Now I just need a few shots with lightsabers in them!
Finally got a chance to try this out. Worked like a charm! Thanks again, Dave, for taking the time to share this. So handy for us Star Wars fans!