As toy photographers, we go to great lengths to avoid camera shake. From using tripods and remote shutter releases, to holding our breath during an exposure to avoid unintentional camera movement. The rule of thumb is that the steadier your camera is, the cleaner your image will be.
Thankfully, photography rules are more like guidelines, and I’m going to show you a cool way to add drama to your photos by deliberately shaking things up.
Painting with Light. Sort of.
The best way I can describe this technique, is a pseudo-reversed light painting sort of thing. Instead of moving a light source through a frame to create motion as you would with light painting, we are going to keep the light source still and instead move the camera.
What this will do is create streaks of light from any highlights in your scene. This can be used to add a sense of movement or action depending on the speed, intensity and range of your motion.
What you Need
To pull off this effect you are going to need a minimum of two light sources – a continuous light source, such as a flash light, and a triggered light source, such as a flash or strobe.
The continuous light, which I’ll refer to as the highlighter, is the source we’ll be relying on to create those streaks of light I mentioned. The triggered light source will be used to freeze our scene to give our motion a foundation. I’ll explain more about this once we start shooting.
Setting Exposure
We’ll be moving the camera during the exposure, so we’ll be working with a slow shutter speed. I tend to start with an exposure of .5 seconds, and adjust shorter or longer depending on the desired effect.
Creating Highlights
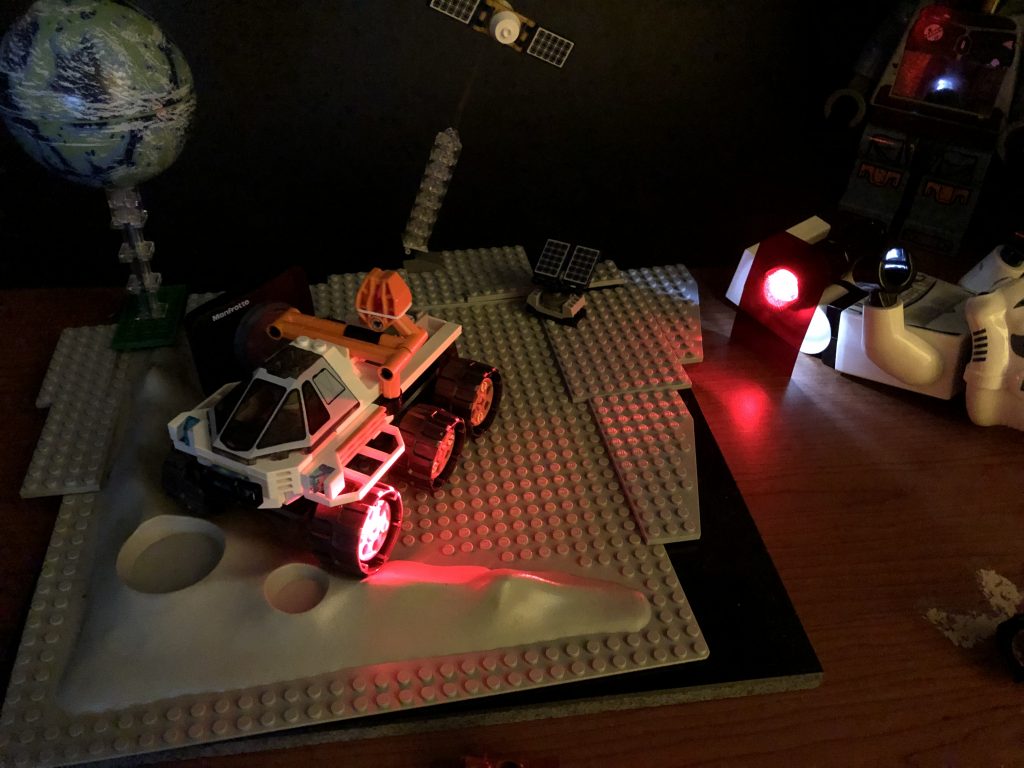
For this example, I’m going to be using the LEGO Rover Testing Drive set. I’m going to attempt to convey a feeling of motion, as if the rover is cruising over the moon’s surface.
To drive a sense of motion, I’ll be focusing the highlighter at the rover’s wheels. I’m a sucker for colors, so I’m going to modify the highlighter with a red photography gel to punch the effect up a notch. Before shooting, you’ll want to eliminate any ambient light in your workspace in order to have full control over your lighting.
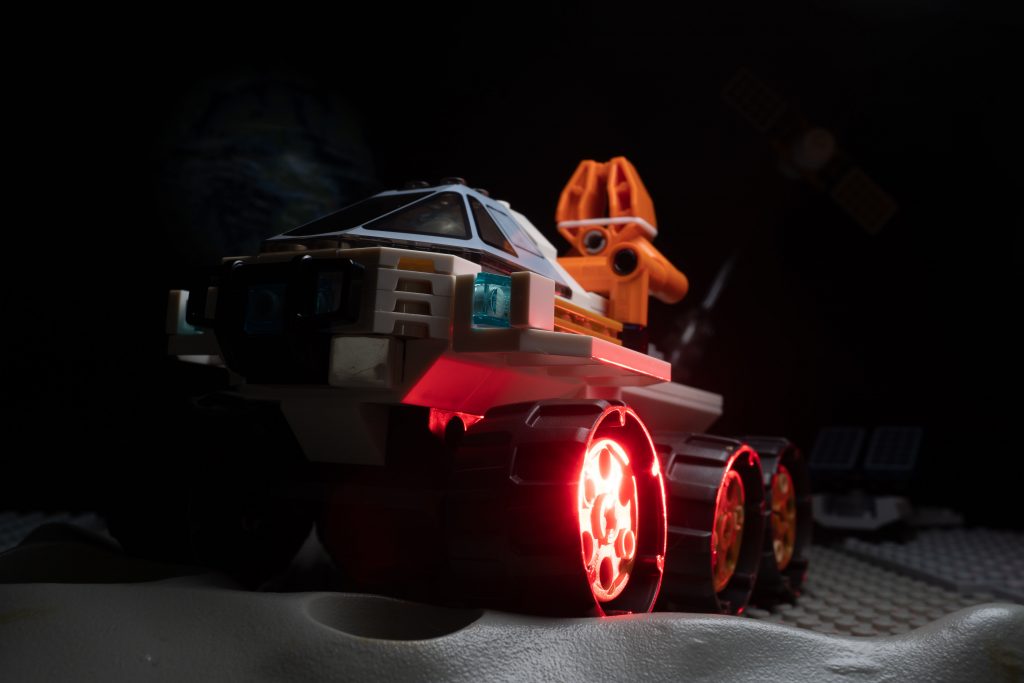
With just the highlighter, this is what the exposure looks like.
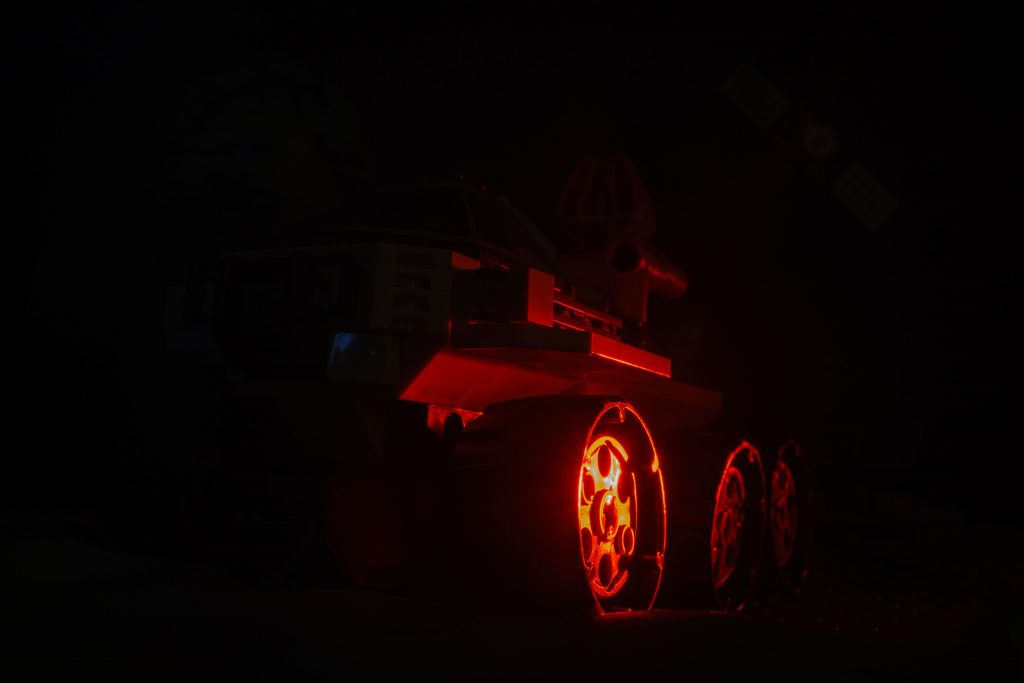
Remember, the intent here isn’t to light the entire scene with the highlighter. We are just going to be using it to highlight areas where we want to creation motion.
Before adding additional lights to the scene, lets get an idea on how the motion will look. For this example I am pushing my camera to the left once the shutter opens. Here is what the exposure looks like with a short push.
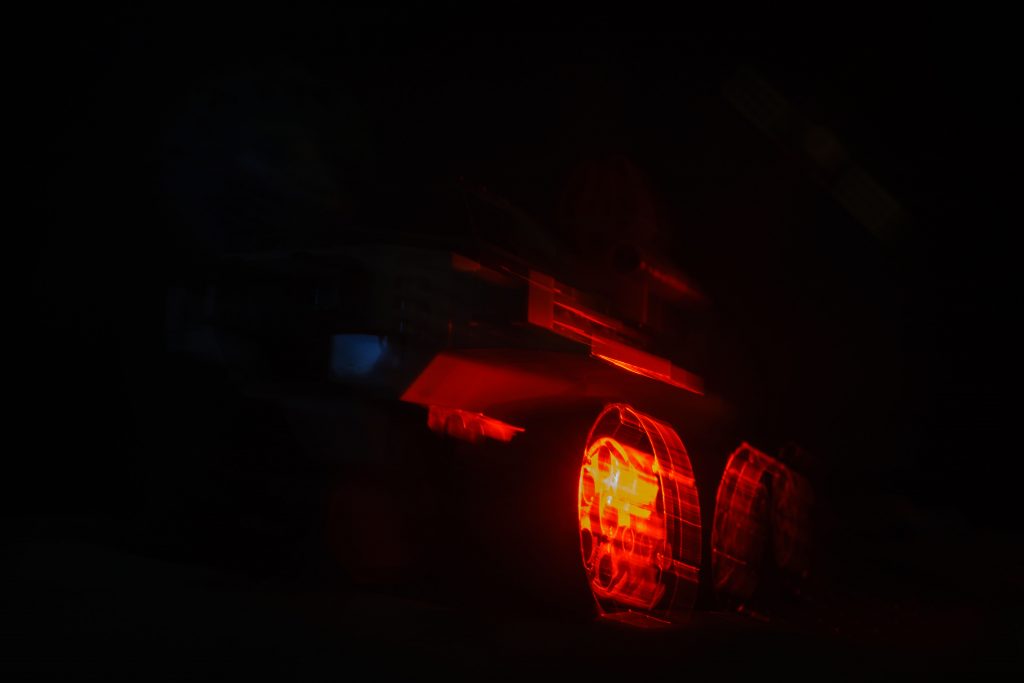
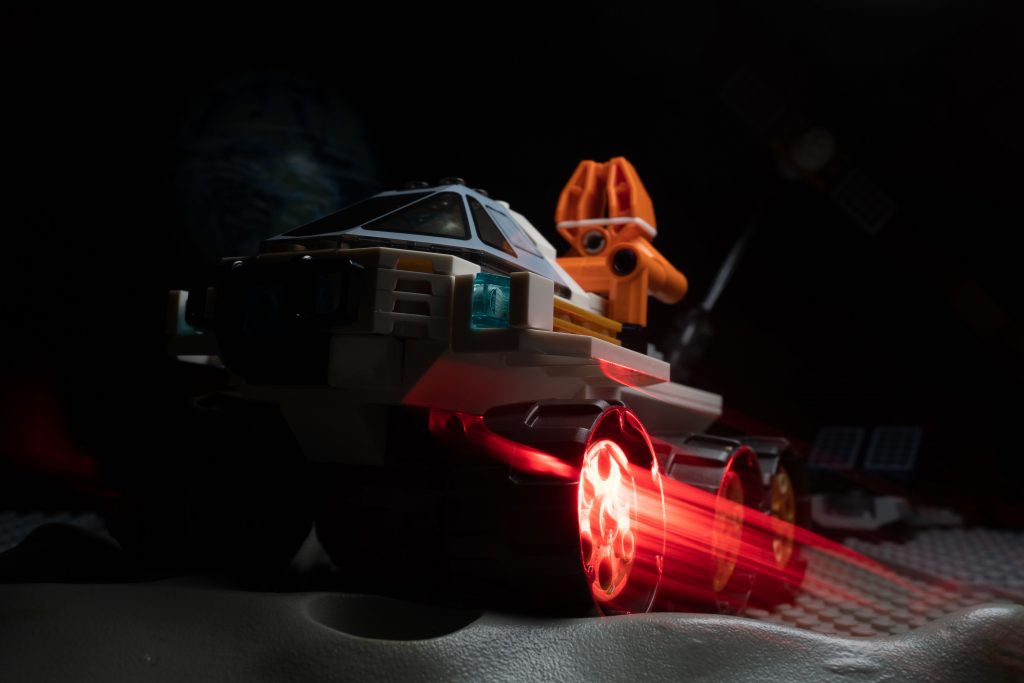
And here is an image looks like with a longer push.
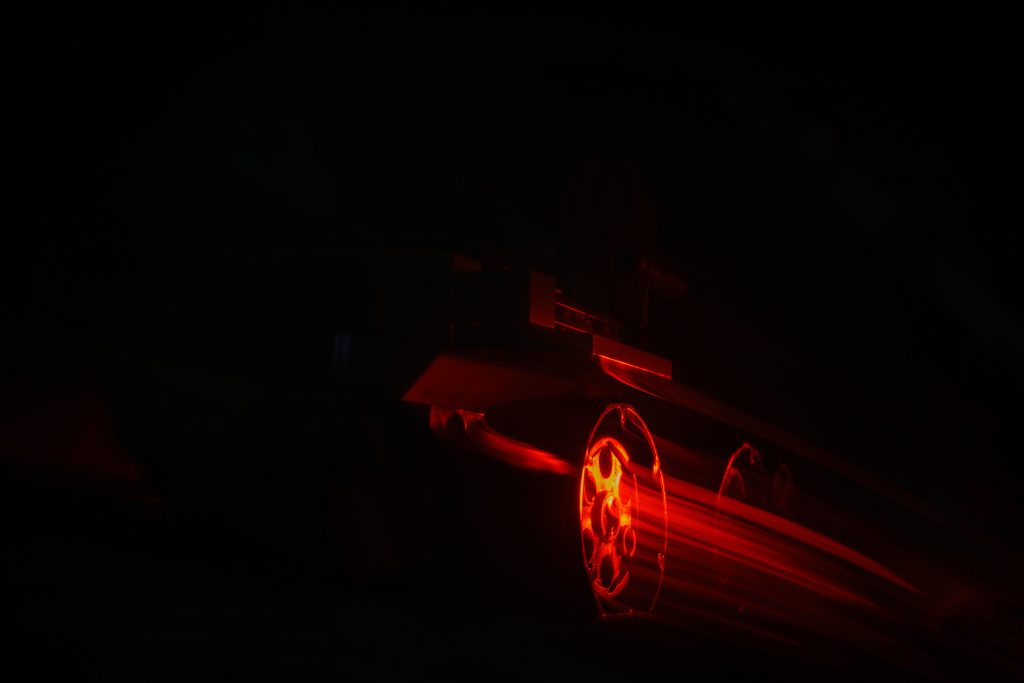
As you can see, the distance you push your camera plus the length of your exposure will dictate the look of the streaks. Once you have an idea of the amount of camera shake required, and your exposure settings, it’s time to add your triggered light.
Triggered
The highlighter works great to expose the part of the scene with motion, but we’re going to need our triggered light to exposure the rest. The triggered light only illuminates for a split second, so it isn’t affected by the camera movement at all.
I’m using a Yongnuo flash with a Pocket Box softbox as my triggered light source. I’ve positioned the flash above and to the right of the rover. Here’s a test shot with both the highlighter and the triggered flash.
Shake It Up
With the exposure coming together, and both light sources in place, it’s time to add camera movement. Here is where a little movement is going to go a long way. For my shot, I’m simply nudging the camera from right to left after my flash fires.
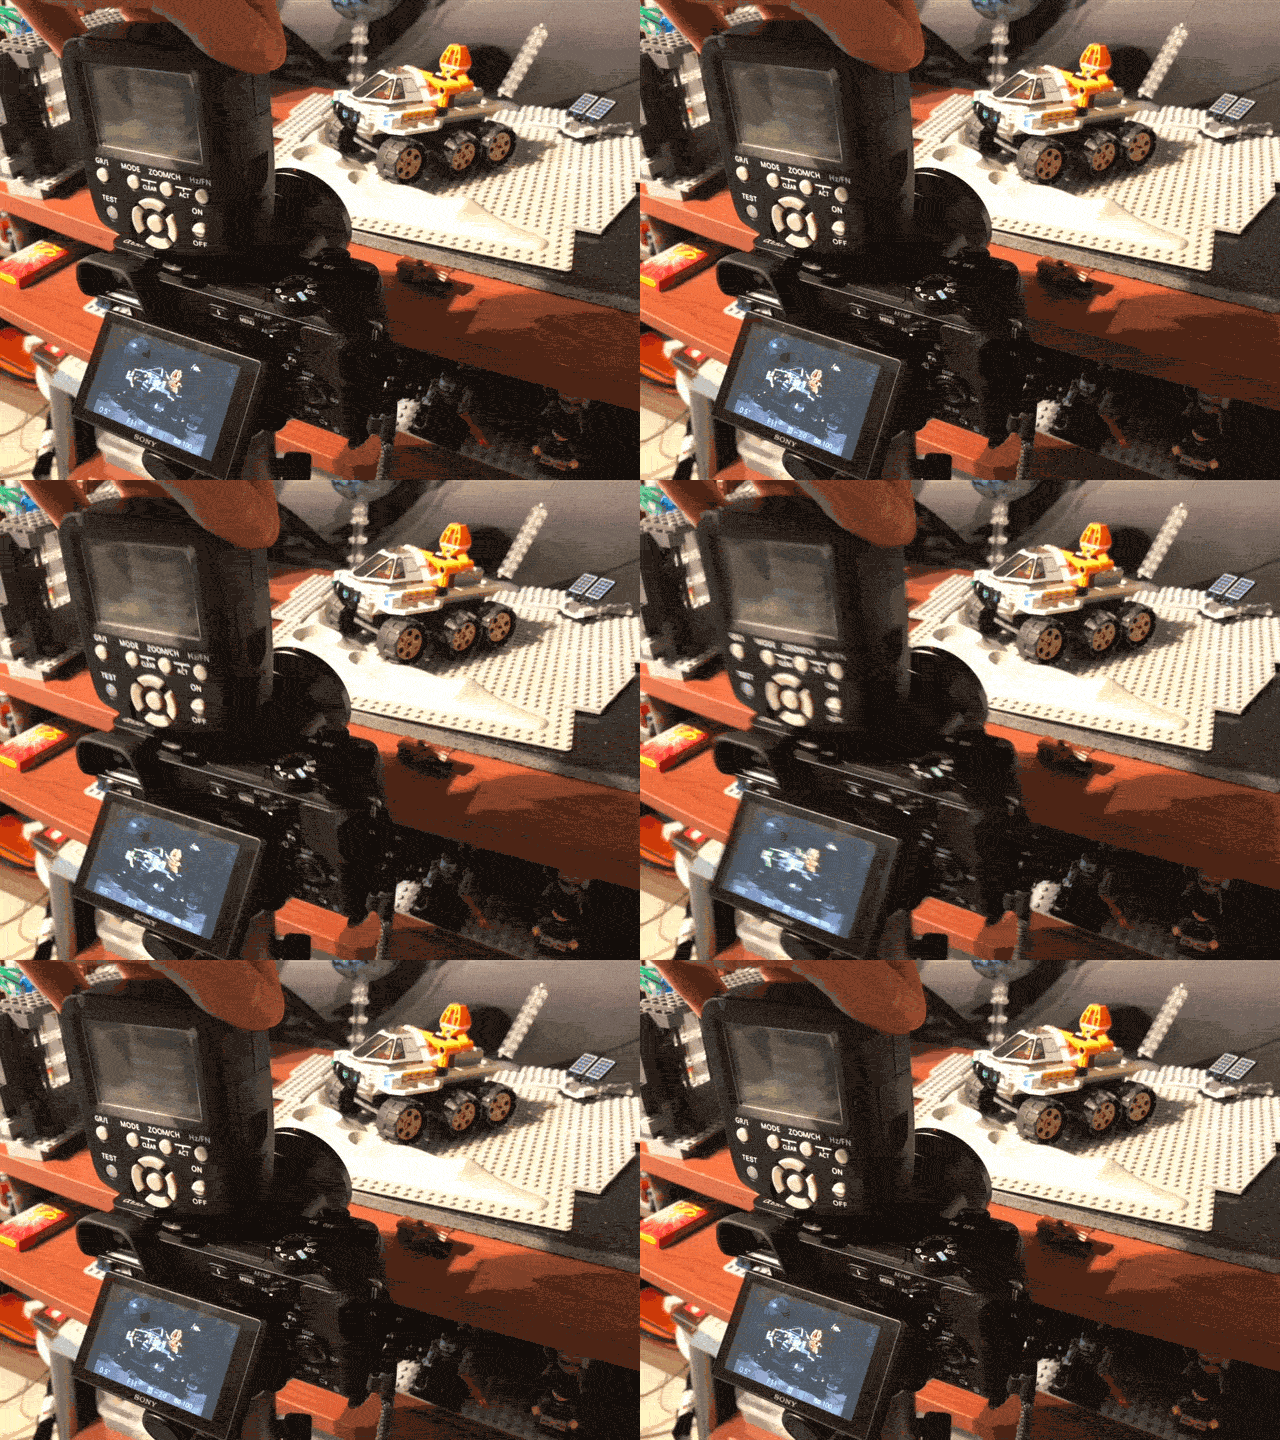
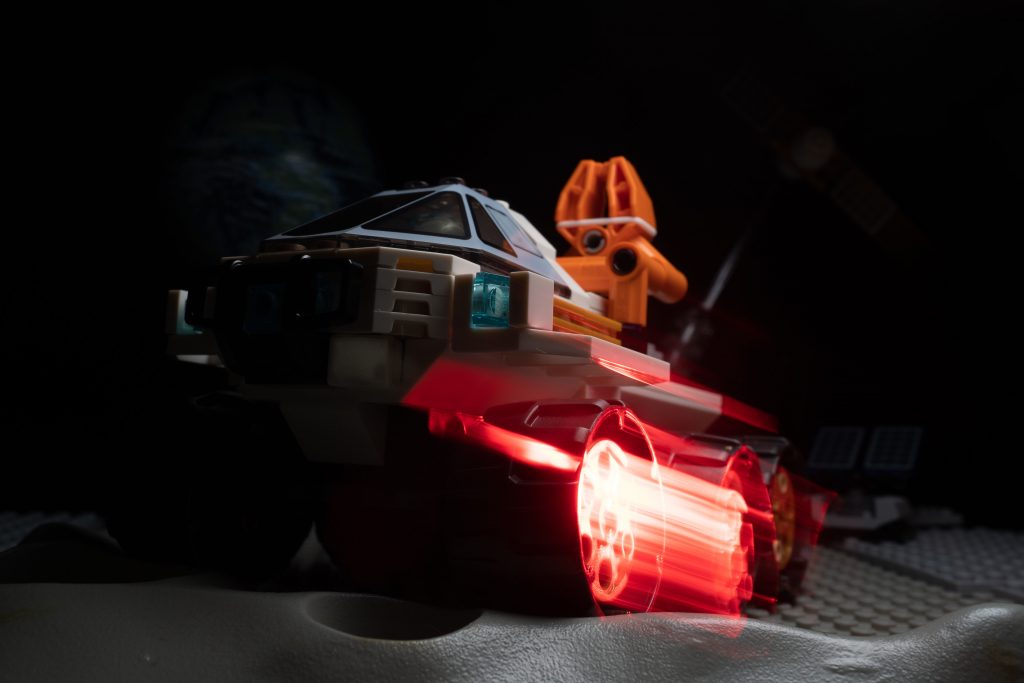
Here’s where I recommend experimenting in order to get the look you are after. There are numerous ways you can move your camera. You can shift it side to side, forward and backward, or any combination. Trying varying the distance you move your camera, the speed at which you move it, and the direction in which you move it.
Finish it up
Now that you’ve got everything in place, it’s time to complete your image. I’ve added additional colored lighting to my shot, to fill in my scene.
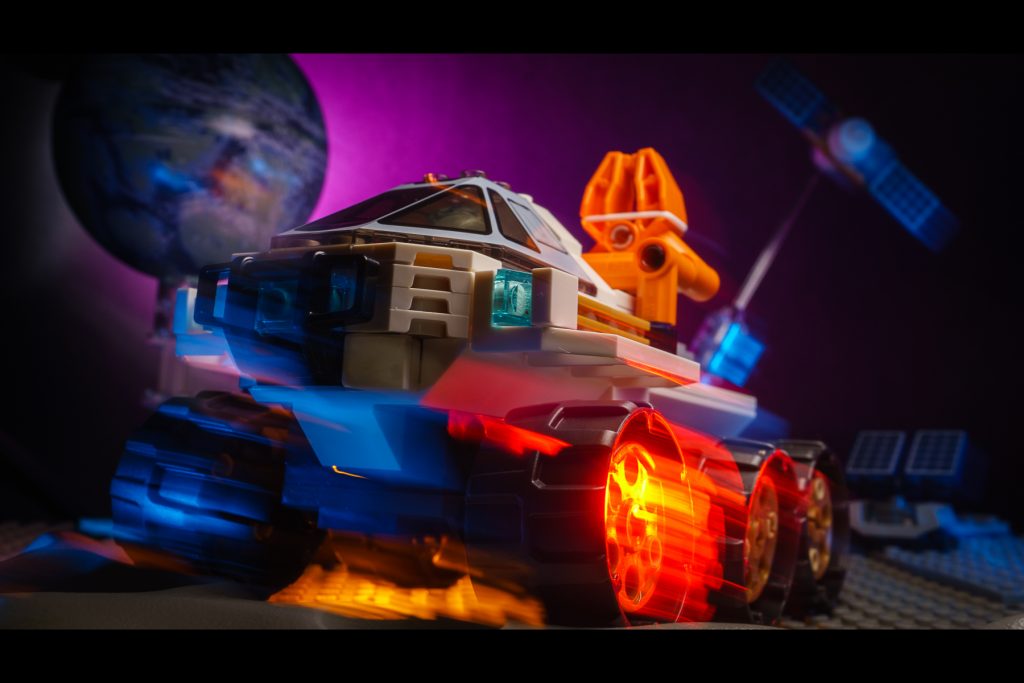
Remember, if you’re not getting the light streaks you want, try adjusting your position and intensity of your highlighter. It’s also a good practice to check your focus every couple of shots, as bumping your camera around could inadvertently change your focus.
Hope you enjoyed this tip, and have fun shaking up your images.


Very interesting! I’m glad you included pictures/video as this helps me understand what you are doing much better. Makes me want to give it a try! Very cool!
What a great idea. I’ve done some motion blur before but always by moving my subject. I’ve never tried actually moving the camera 🙂 Thanks for the ideas!
Lynn