Lighting, in photography, is one of those things that looks simple to do, right? Shine a light, pop a flash and WALA! You have a great picture. But being able to understand what the light is doing and being able to control it is a skill and can make or break a good photo.
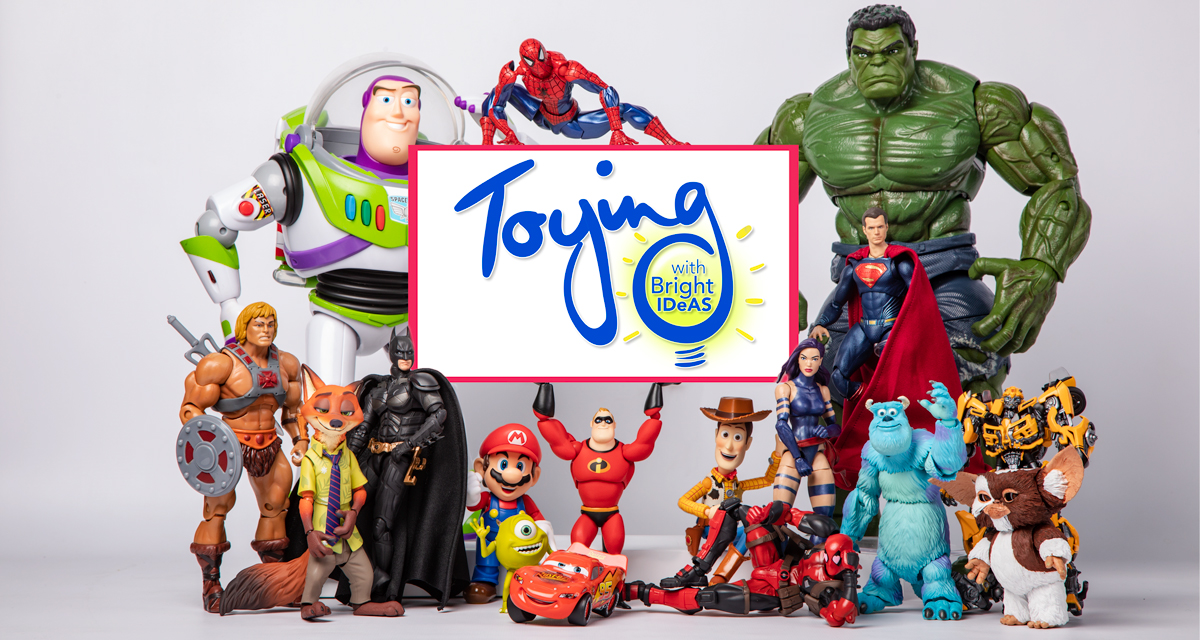
I recently read teddi_toyworld’s article titled indoor lighting woes. She explains the same scenario that I mentioned above; see a BTS of a toy setup and think, that doesn’t look hard to do? So I thought I would do a series of posts entitled “Toying with Bright ideas”. In this series, I’ll be giving some tips, tricks, and techniques into lighting for toy photography.
Now straight off the bat, I am not claiming to be an expert, there are many ways to skin a cat. But I have had many years of experience with lighting (advertising, wedding photography) and more recently with toys. I also thought it would be more beneficial to make videos on this rather than writing about it, allowing you to see the results.
So let jump straight in…
The first installment of this series is showing you a really cool technique called “painting with light”. Many of you may have heard of this and used it to create your images. What I find really cool about this way of lighting, is that you can create an amazingly lit shot with only the torch on your cell phone.

This shot above of one of the greatest evil bosses of all time, in my opinion, is an example of what you can achieve with 1 light.
So here is the video of the setup and the method for painting with light… ENJOY
So to recap:
- Make sure you have a tripod
- A camera that you can shoot manually
- A very dark setup so there is no other light affecting your scene
- Shoot with a big aperture (F13-F22). This allows you to shoot with a longer shutter speed and also makes the light source a little more defined.
- Shoot upwards of 15 seconds. This is not set in stone but the longer the shutter speed, the more time you have to paint. If you have a trigger, set the camera to bulb mode and you’ll be able to shoot far more than 30 seconds
- Always more the light around, this way it gives a softer light
- The closer the light, the brighter, the further away, the darker the light
- Make sure you give yourself space so that the light doesn’t become visible in your shot
- The longer you hold your light against your character, the more light will fall on it, give it a brighter look
And there we have it.
Look forward to seeing what you guys can come up with using this technique.
Till next time,
Gibbo
@harri.hawk


WOHOO! Thanks James for the tip and suggested settings! Appreciate that you took the effort to make the video instead of having to read and understand the technique!
This looks awesome. Gonna have to try this.
Brilliant stuff James. I’m looking forward to this series.
Very cool ? thanks for this James. I‘m looking forward to other posts of this series
Great tips James! Gonna give this a try right now.
This looks like fun! I may try it tonight (our house has so many windows it’s hard to find a room that’s dark enough during the day).
Thanks for including the video — but also the text summary, because I get impatient with sitting through videos and trying to catch the parts with the data I actually need. Perfect blend of the two things (video and text) in this post, and that’s much appreciated!