I now had my endgame, to try and toe the line between the abstraction of speed and the visual identities of my subject matter. Now it was just a case of figuring out how to achieve it…
But, that wasn’t the question, was it? This, after all, is a series about the whys, and not the hows.
From my first Toy Photographers post in 2017
My very first blog post on this site back in 2017 was part of the Why? series. I wrote it at Shelly’s request and she thoughtfully titled that post, “Art of the Blur” (I missed the irony of this at the time, but you’ll probably see it in the next sentence). In that post I explained why I create blurry pictures of flying X-wings and Thunderbirds, and I referenced Darren Heath’s influence on my work. He’s famous for his high-action Formula 1 photography and his Art of the Race series of books, blurring motorsport photography with the abstract to create truly striking images.

Inspired by two toys I recently purchased (we’ll get to those in a moment), I am finally going to catch up with that original sign off and deliver on how I go about creating a blurry mess of a photo.
Intentional camera movement (ICM) is when the camera is moved during exposure for artistic or creative effect. In this part of my photography, I aim to use camera motion to create a movie freeze-frame effect. I like to think of it as taking panning shots to the next level, adding blur to the subject as well as the background so the sense of speed and movement is heightened even more. The only catch is retaining the identity of the subject matter.
Over the years I have tried many things—moving the model I’m photographing, making animated backgrounds that move behind a model, I even got a little cart to attach to my camera so it could move as well (that broke, I was cheap and bought a rubbish one). But the first of my two recent purchases, a camera slider, takes all this to a new level.
[Note: Moving the camera is also very Star Wars—check out this video revealing how Lucasfilm and ILM filmed a Razor Crest model for the flying shots in The Mandalorian.]
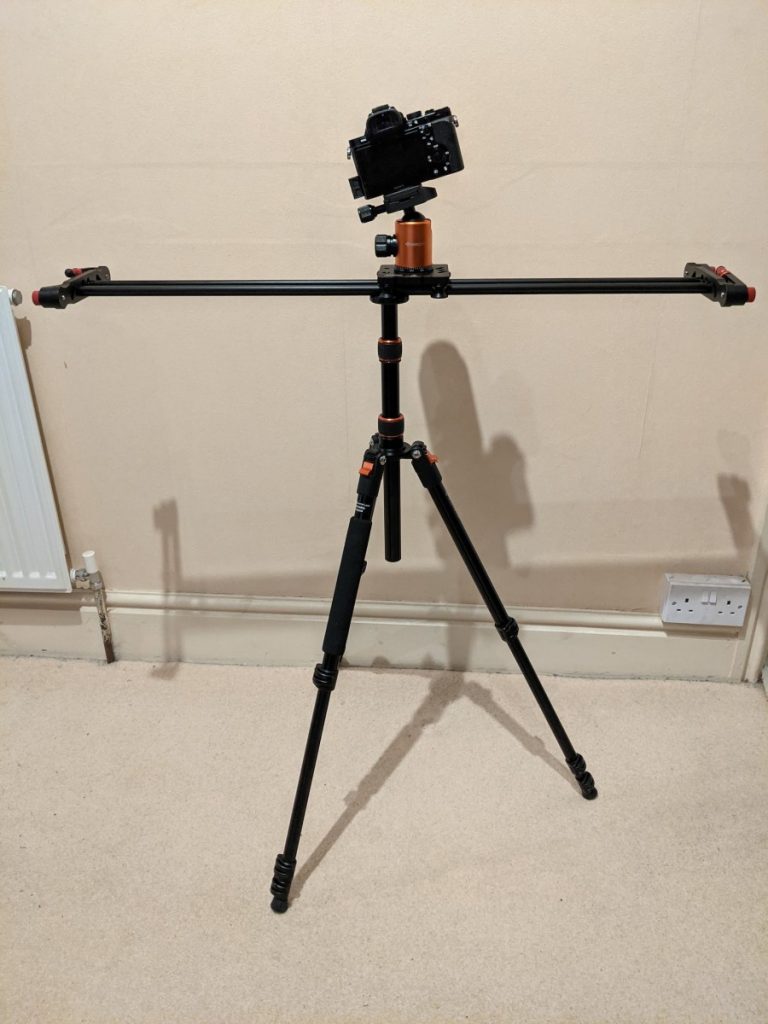
In simple terms, a camera slider is the long horizontal bit on top of the tripod and below the ball head. The camera runs the length of the “tracks” (this one is 80cm), and each end has little legs that fold out if you want to use a tabletop set up instead of a tripod. This model is a manual slider, but they do come in electronic, programmable flavours, too. I chose to go manual so I can adjust my speed at any point and have more of a “feel” for what I’m doing.
The idea of a slider is like a micro version of a movie dolly, allowing the camera to move throughout the shot. It’s usually for video, but I’ve been using the same technique along with some long-exposure photography.
In this clip (spoilers: I’m going to be making Superman fly), you can see the camera slide throughout the exposure. Because it’s a long exposure, the challenge is to have the right motion to get the right amount of blur while also pausing at the right point, and for the right length of time, to get enough definition. That is always the balance.
And this brings me on to my other purchase, a Mezco One:12 Collective Christopher Reeve Superman (aka Superman – 1978 Edition).
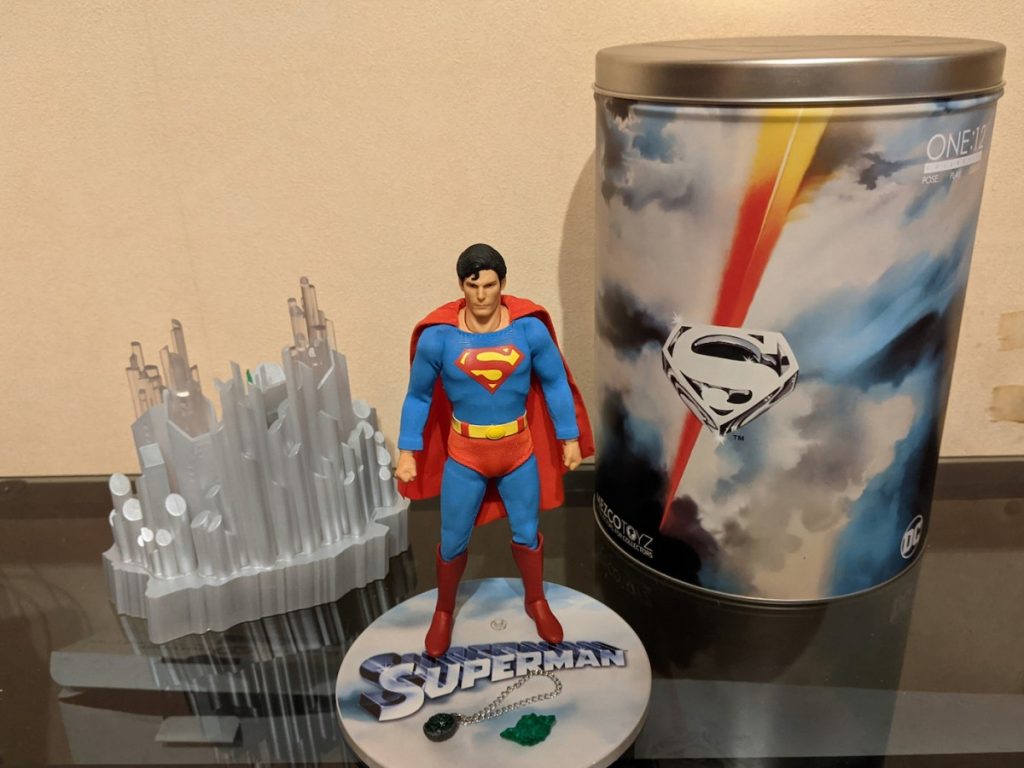
I absolutely love this figure, to be fair I loved the tin he comes in even before I opened the actual figure. Having never really read any comic books, Christopher Reeve has always been my version of Superman. I found his performances (he’s playing multiple characters, after all) in those movies truly wonderful, regardless of their sadly declining quality as the series progressed. This figure is a great representation of Chris Reeve, even if the smiling face is a little scary. and as I said it will always be the definitive look of Superman for me. What can I say, I’m an underpants on the outside type of guy.
Mezco One:12 Collective figures are pricey, but they always do a great job with these clothed, 1:12 scale figures. The sculpt of his physique showing through the cloth is a great touch on this figure. I already have a Black Panther figure from this line and I had to get this figure when it went up for pre-order last year. If I am honest, the facial features are a little soft, but most usually are at this scale, and some contrasting lighting always solves that problem in any photos I plan to take.
It’s an incredible set with lots of scope for a variety of photos, I’m looking forward to using that light up Fortress of Solitude diorama base. But my first intent was making Superman fly.
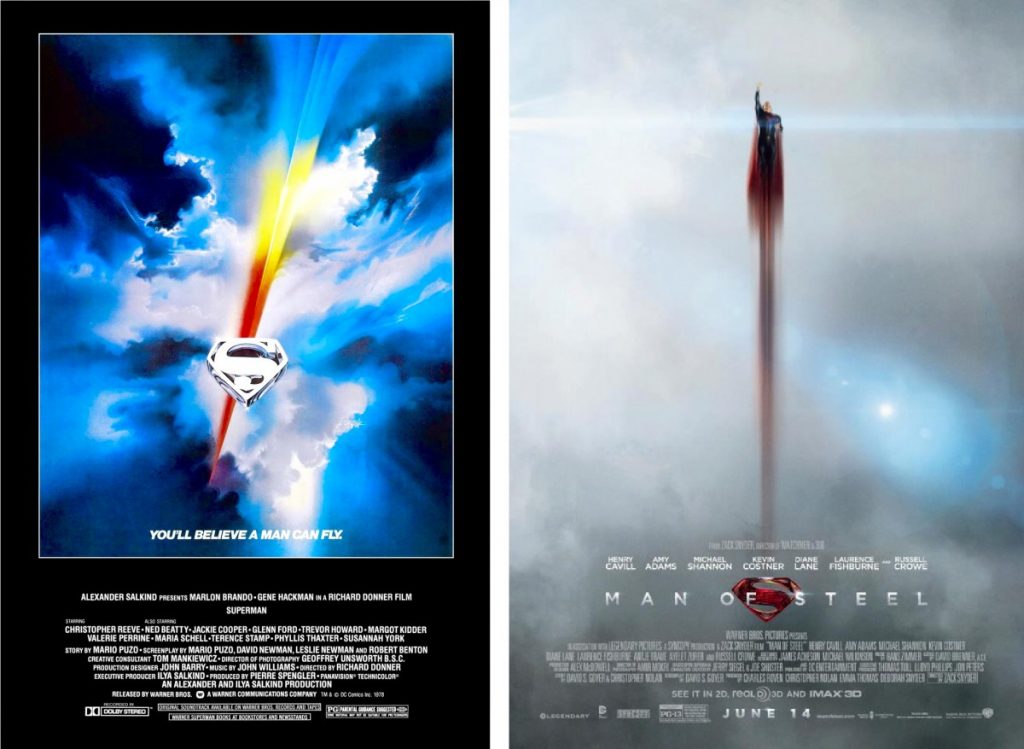
I can safely say that both old and new Superman posters influenced me for this one. Each does a great job of making superman fly.
Is it a bird?
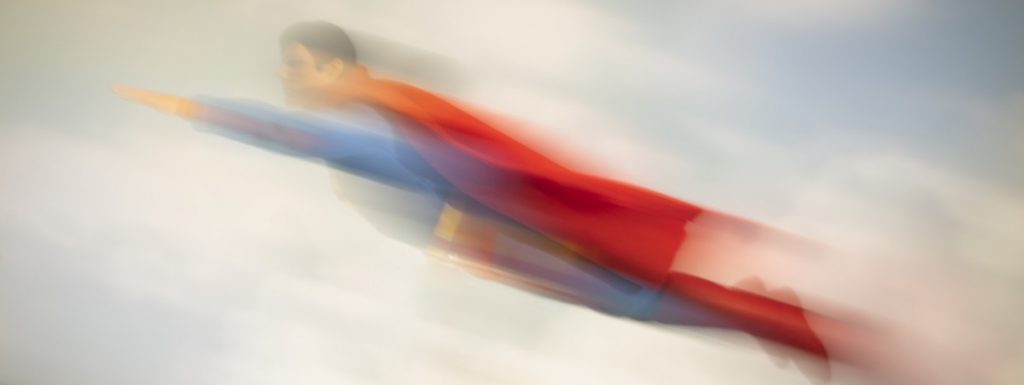
This is the same shot from the setup in the clip before. It’s shot over a 2.5-second exposure with the camera sliding left to right. I began with a short pause at the beginning to capture enough definition of his face and silhouette, then slid the camera to the right, speeding up through the end of the exposure to create the trailing details.
Is it a plane?
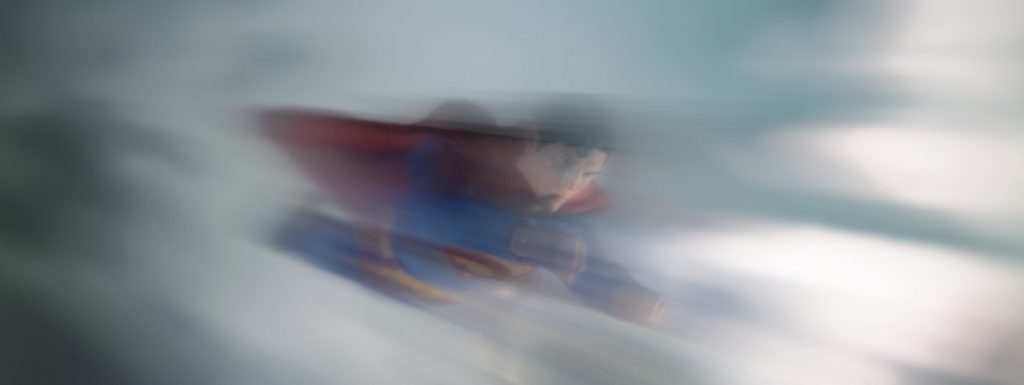
With this shot, the slider was on an angle to match the figure’s direction, so the camera actually moved toward the figure as I took the photograph. The slide itself took a three stage process; where the camera slowed down after sliding into the exposure, pausing for a moment at the right point where his face is in focus (manual focus, obviously), then accelerating past the figure for the end of the shot. That way, you get the blur before and after Superman.
No, it’s Superman
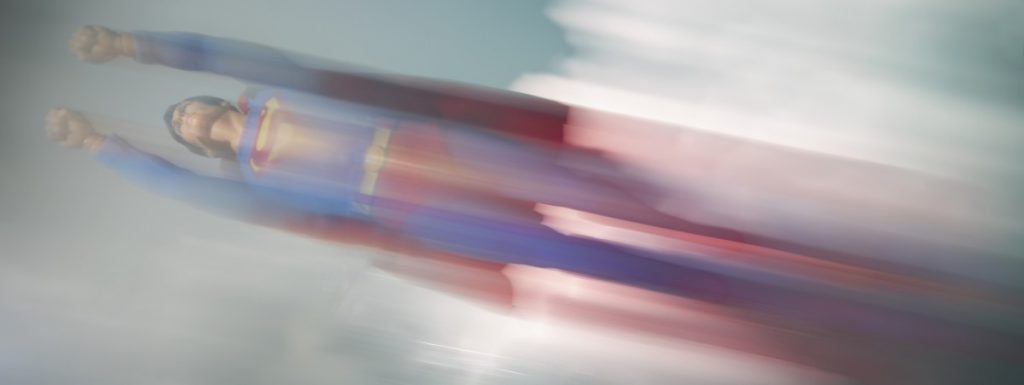
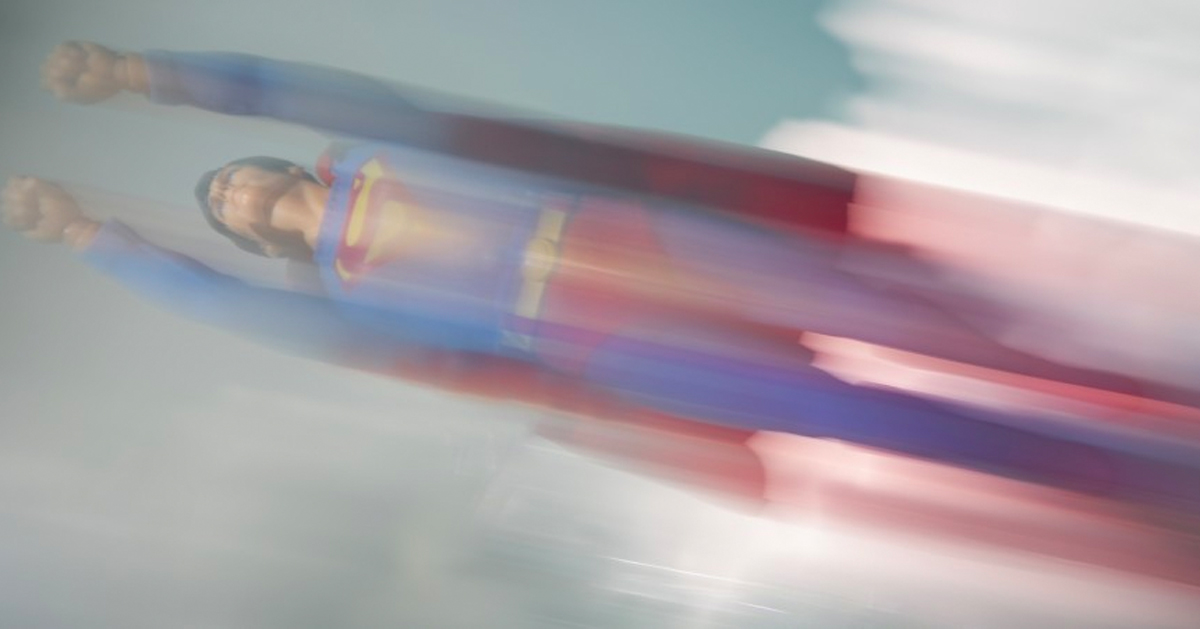
For this final shot, I actually moved the camera “backwards”, sliding from the right with Superman off-camera. Then I slowed to a halt and paused before the end of the exposure.
With all of these shots and with this type of photography, I do have to add the caveat that with making Superman fly there is a need to take a lot of photographs before you get it right. In a good situation and after a lot of practice, I can normally get the photograph I want in 15–30 exposures, however there have been many times when I’ve reached 50, all the way up to 100 exposures.
In truth, it’s all about experimentation when it comes to intentional camera movement. I love this effect, and I love that it’s so practical. This is as close as I can get to making Superman fly (or making anything else fly for that matter). Don’t get me wrong, I’ll still need photoshop to get rid of the wires or stand, and on some occasions I’ll combine two exposures to get a greater combination of blur and detail. And if this is the case, then for me it’s about practical tactics being enhanced with some post processing.
Now the question is, do you believe a man can fly?


Tom, thanks for sharing the secret of flight. I never would have thought of moving the camera backwards and then changing up the speed towards the end, brilliant.
Thanks Sabrina. I guess sometimes working backwards can be for the best, I’m sure there is some sort of different point of view metaphor in there somewhere. ?
I love ICM and it’s something I’ve been exploring for almost a year now. I don’t really aim at creating movement though, but rather more abstract images. It all started because I wanted to create pictures expressing certain feelings I couldn’t figure out how to express photographically. The big issue I have is that I usually end up with hundreds of photos and really struggle with culling them. Even after deleting the “garbage” ones I usually still have several dozens of photos that are almost all different but at the same time too similar. I wonder, do you also have that issue? If so how do you deal with it?
Totally agree Maëlick, literally hundreds of photos later and it’s still a challenge to choose. I’ve learnt from getting others to review my raw images that curbing my interests in abstraction is normally the best way to go. As I have the behind the scenes knowledge of what is in the photo I’ve taken, but when I go too abstract it is not as easy for the viewer to see the character, spaceship, etc, with in said abstraction. By aiming for that balance it’s a little easier to find the finished shot, after that It’s just a case of keep taking photos until that magic moment happens, which I appreciate is easier said than done when you are in a studio setting.