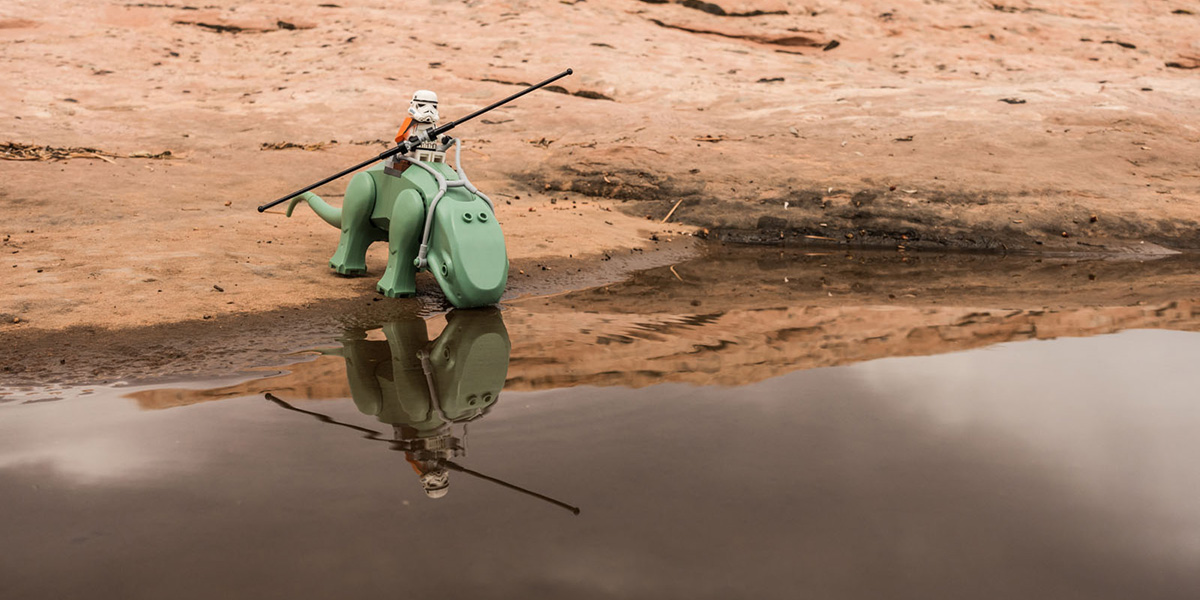
My journey from simply taking photos of some toys to crafting “toy photography” with planning and purpose. I’m photographing these for fun and enjoyment but have chosen to apply a bit more skill and discipline to shooting.
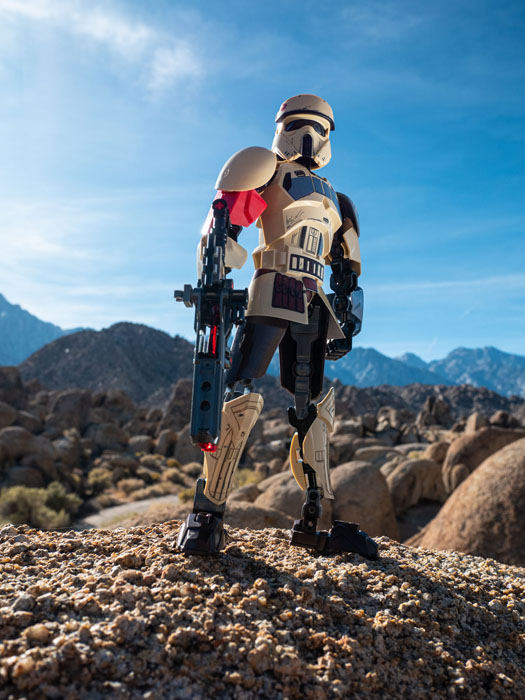
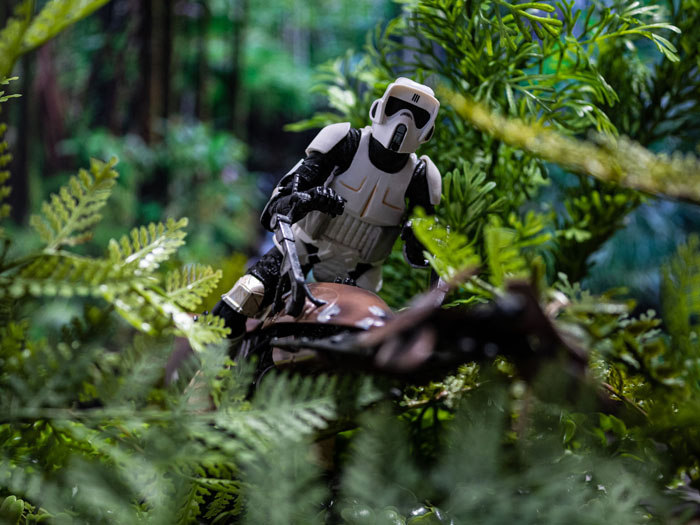
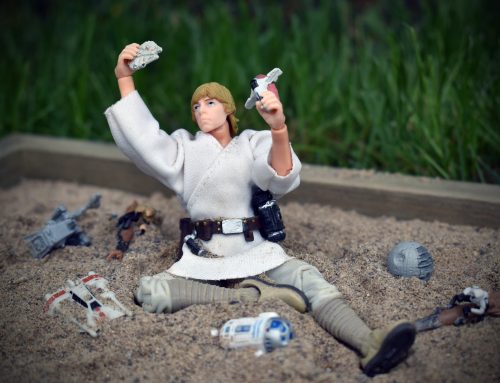
Reintroduction to LEGO via Generation X-Wing
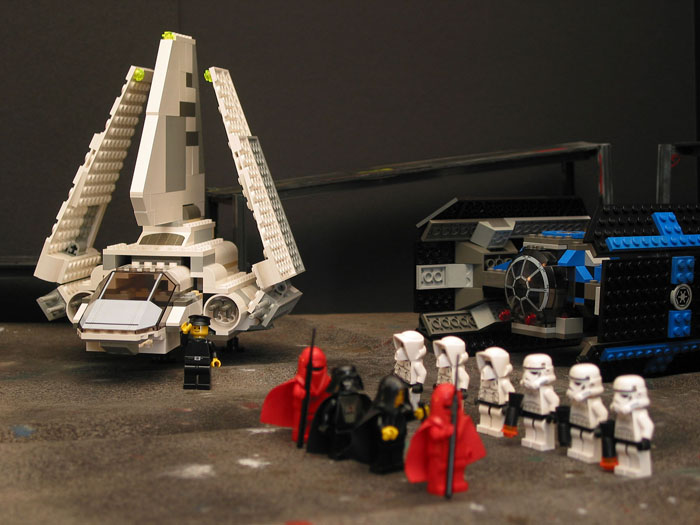
When LEGO came out with Star Wars sets, I picked up several as they were released. These were the first LEGO kits I had purchased as an adult and it was a blast. Other than building them and setting up little scenes, I only shot a few photos of the kits back then. Those were a starting point, if anything. I was just getting into photography and shooting landscape photos but those few shots are the oldest photos I can find where I took pictures of toys. I do recall taking some terrible film photos of 1/35 Tamiya WWII figures when I was a teen. What sticks in my memory from back then is waiting for prints, only to receive images with bad color and poor focus. I’ll blame that on the equipment—and a complete lack of technical skill.
Then came the “Gram”
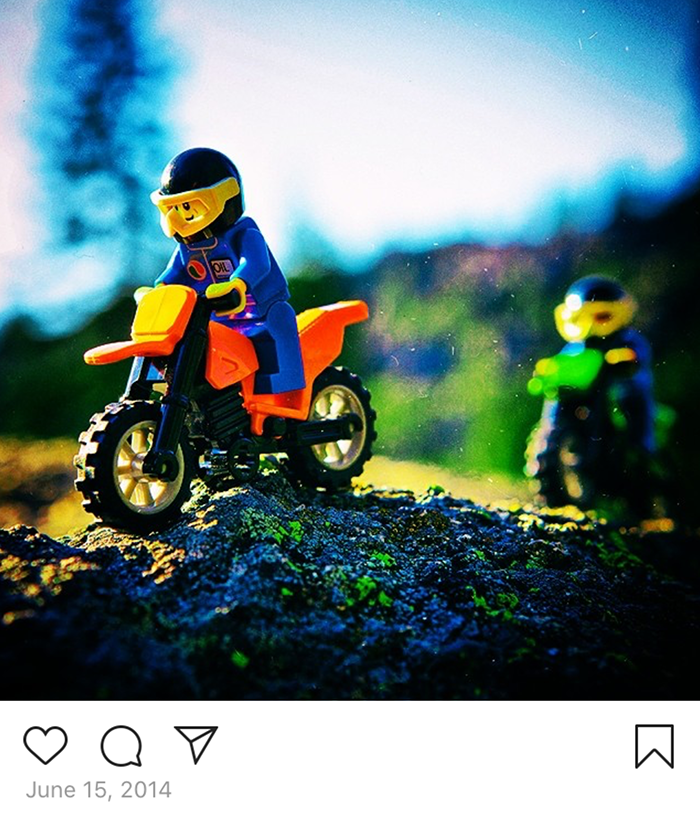
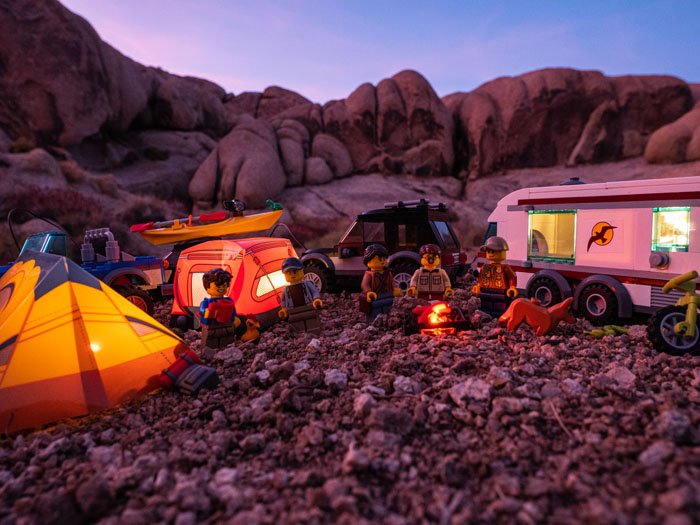
Fast forward to 2014 and my first Instagram post with a LEGO minifig: A motorcycle rider and buddy out for a ride in an image that’s truly post-processed to death. I had gone camping and taken a few LEGO sets along for the trip. I started taking them on every trip, and at the time I was traveling quite a bit. They were fun to shoot and I learned what cameras did and didn’t work. A DSLR definitely gave a better image but was more challenging to use for toy photography.
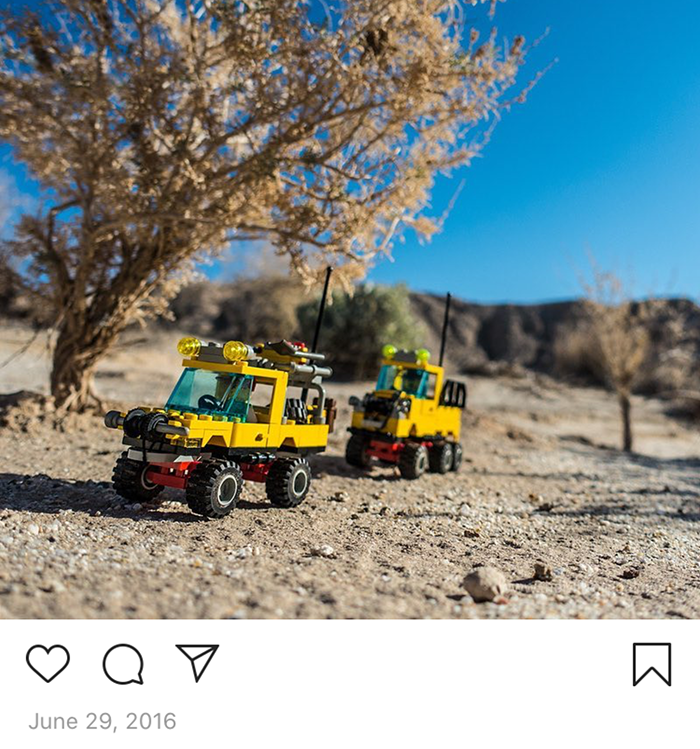
In mid-2015 I picked up a smaller Sony camera (RX100 MkIII). Then, in 2016, I started a LEGO-specific Instagram account. During these weekend camping excursions and longer road trips, with bricks in tow, I enjoyed fun and learning all over the Southwest. Along the way, I abandoned the Sony camera and moved to a Canon G7X.
Sidebar – Why the camera switch? The Sony UI never clicked for me, the Canon UI is familiar and I preferred the format of the little PowerShot bodies. I also shot with an Olympus Tough Camera on and off for a bit. Today I’m shooting most of my Toy Photography on a M4:3 setup, but more on that in a future post.
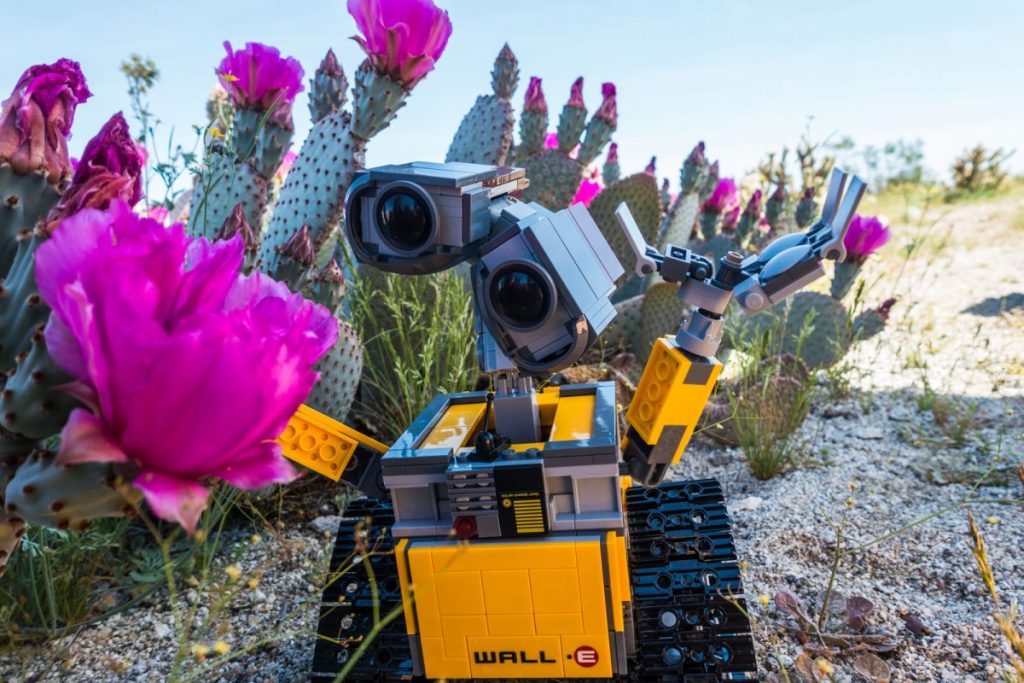
I had picked up a few Creator City Sets in 2016, but I shot almost entirely outdoors through 2017. The Creator City sets opened up new avenues for indoor shooting and led to more sophisticated lighting setups. In 2017 I also met my wife, so that was a pivotal year for me outside of toy photography as well. On one of our first weekend road trips, heading out to see the wildflowers in the Anza Borrego desert, she helped with shade while I shot Wall-E.
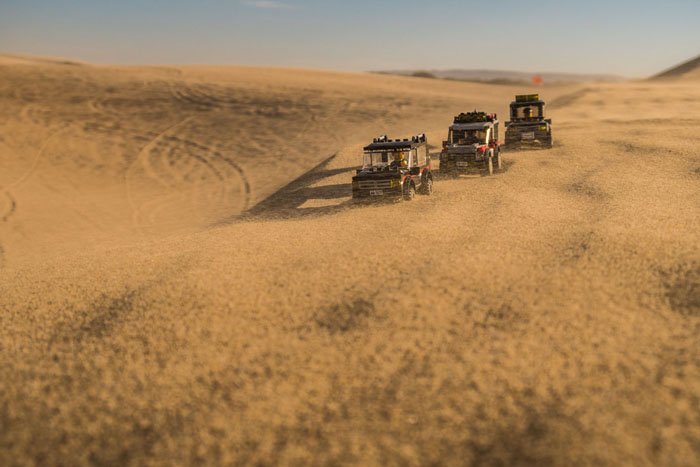
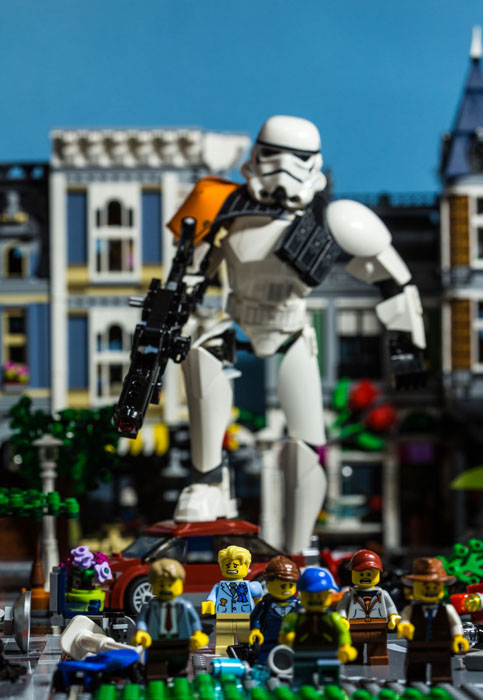
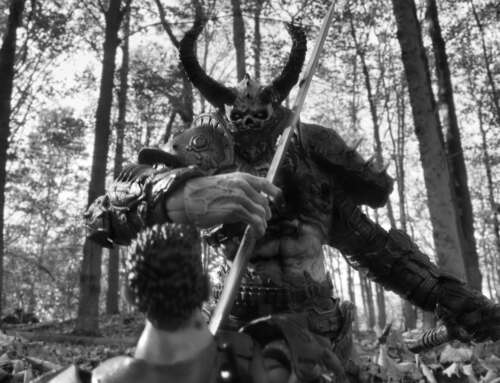
Sometime in mid 2018, I began taking a bit more time with lighting out in the field, crafting my toy photography through experimentation. Now, during full sun, I try to look for shade (or create it) and add bounce or a fill reflector when possible. If it’s just too flat, I’ll pass some time with painting or reading till the light is better.
A Peek at Packing
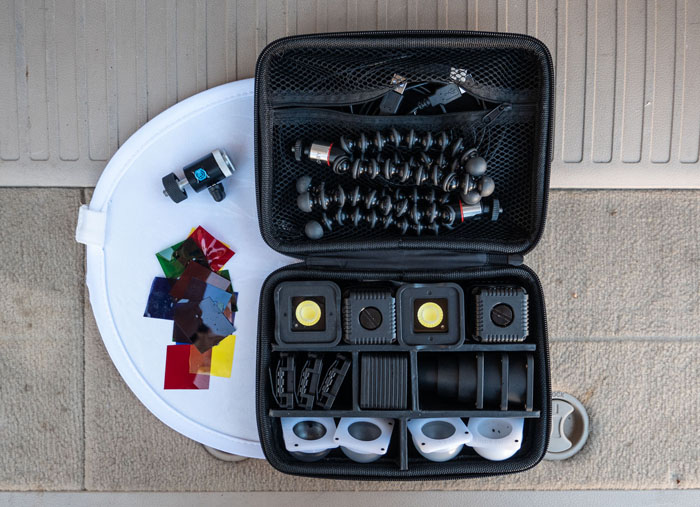
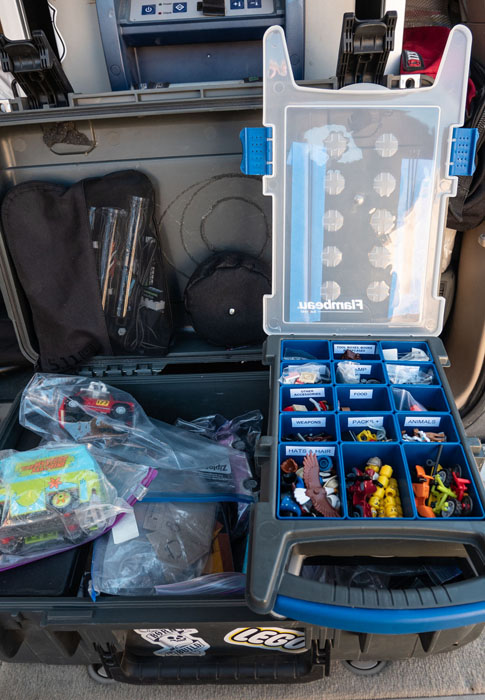

Packing for these outings is always part of the fun and I’ve worked through a couple different organization systems. With all the camping gear, space can be at a premium. While I’m sure it will change again, this organization system works well enough to come away from most trips feeling like they were worthwhile.
Fredbricksburg established
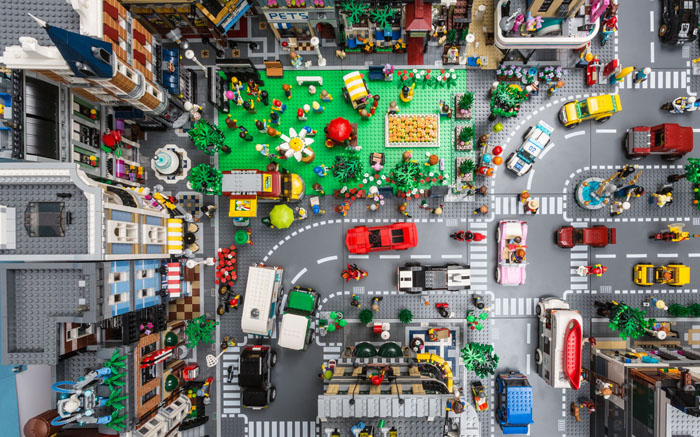
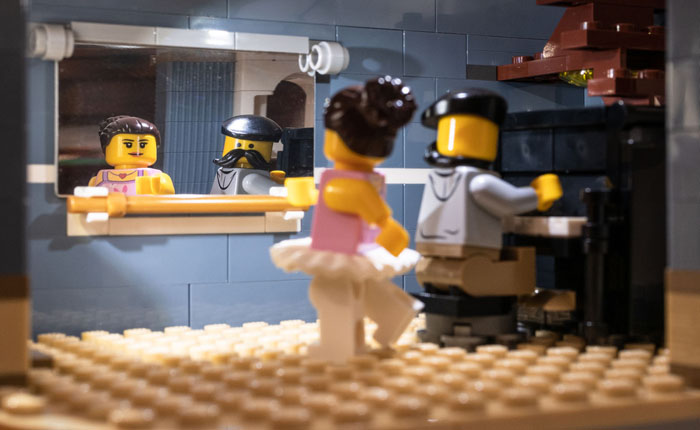
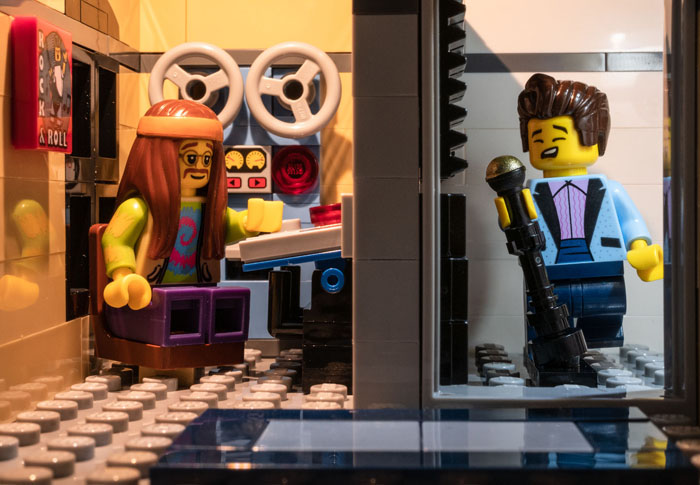
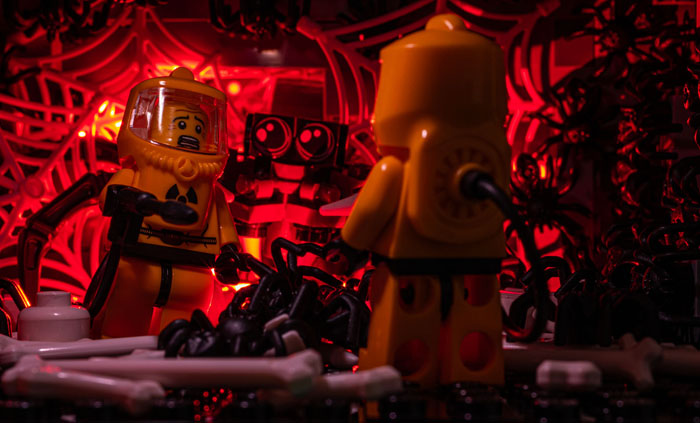
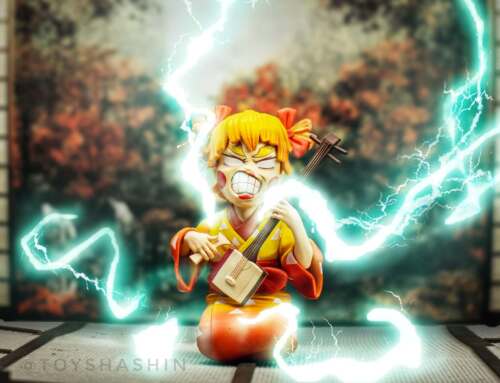
Throughout 2017–2018 I was shooting indoors with a little makeshift space, sometimes setting up the whole city, which I dubbed Fredbricksburg, on a table. The “City” bug had bit and I added a few more sets along the way. As the footprint grew, I added bigger sets and generally shot with some Savage LED panels and a Lume Cube or two when I needed a bit more control, but I won’t say I was crafting the lighting of those shots much then. I will say that shooting in Fredbricksburg is just fun!
In mid 2019, I saw a behind-the-scenes from @lego_nuts and inquired about the lighting. They were kind enough to share the make (Woodland Scenics Just Plug Lights) and I found them at a local hobby shop that specializes in trains. The system gives you precise control and has added a nice controllable element to my shots. I’ll also use the Lume Cubes and Savage LED panels, but the little LEDs give you controllable local light. My next article (or two) will be focused on some lighting setups with examples using these different lighting systems.

Well, I think that’s enough self-indulgence for now, thanks for playing along. I want to send a thanks to the Toy Photographers MeWe community for the welcome. If you’re not part of the community there, jump on in. Thanks also to @joecow and @droopayne, two toy photographers out in the Southwest who created some of the first images I recall seeing. It’s all your fault. 😉
You can follow me along with my toy photography on IG at @Fredbricksburg or take a deeper dive at theMirrorpool.com.
~ Matt Frederick
Background – I’m a lifelong creative and am the Creative Services Director at an apparel and gear brand. I build catalogs from the ground up, produce product photography, packaging and am involved in our MarTech stack. All that said, it amounts to far more information and process management than being creative on the day-to-day.
Leave A Comment