As a photographer who loves to toy around with lighting, I was ecstatic when Lume Cube asked if we’d like to test drive their new Lume Cube 2.0. James Gibbo, a veteran Lume Cube user, posted his thoughts on the 2.0 here, while I am approaching this as a complete newcomer to Lume Cube lighting. Lume Cube’s power and portability appear to be a perfect combo for toy photography, so I’m eager to find out just how illuminating they can be.
What’s new?
Since this is my first hands on with a Lume Cube, I’ll be providing my thoughts from the ground up. For those of you already familiar with Lume Cube, here is a breakdown of what’s new in the 2.0
- Low Light Mode – allows a fine tuning of the brightness from 1% to 10%
- Slave Flash Mode – enables an optical sensor which will trigger the light to fire when it senses a change in ambient light
- New LED with improved CRI, color temperature, beam angle & more
- Improved Bluetooth Connectivity for use with the Lume-X App
Out of the Box
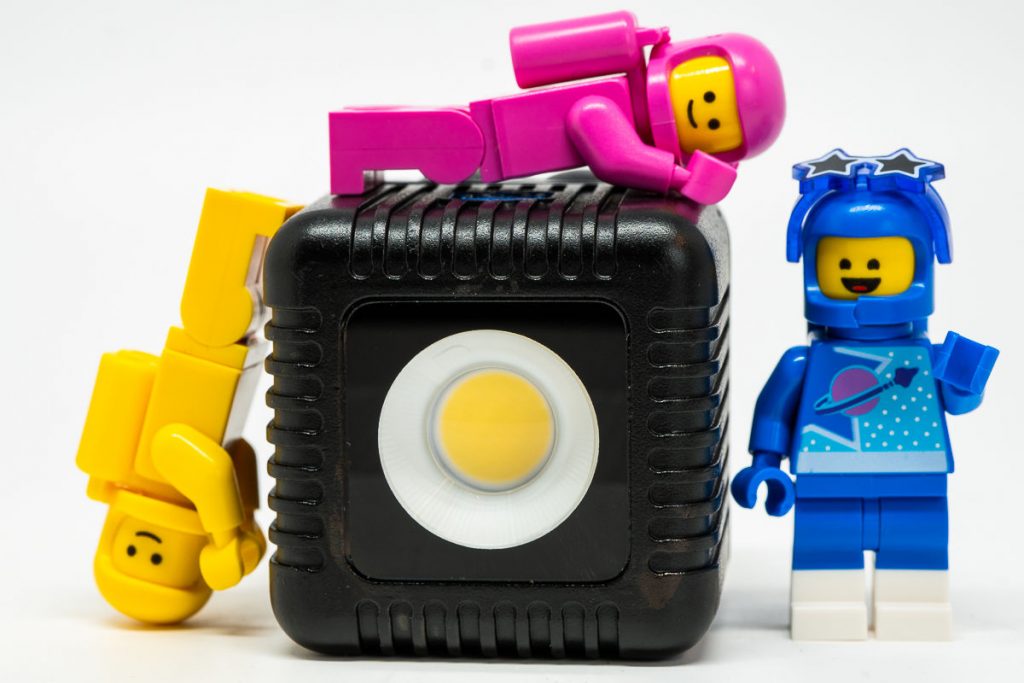
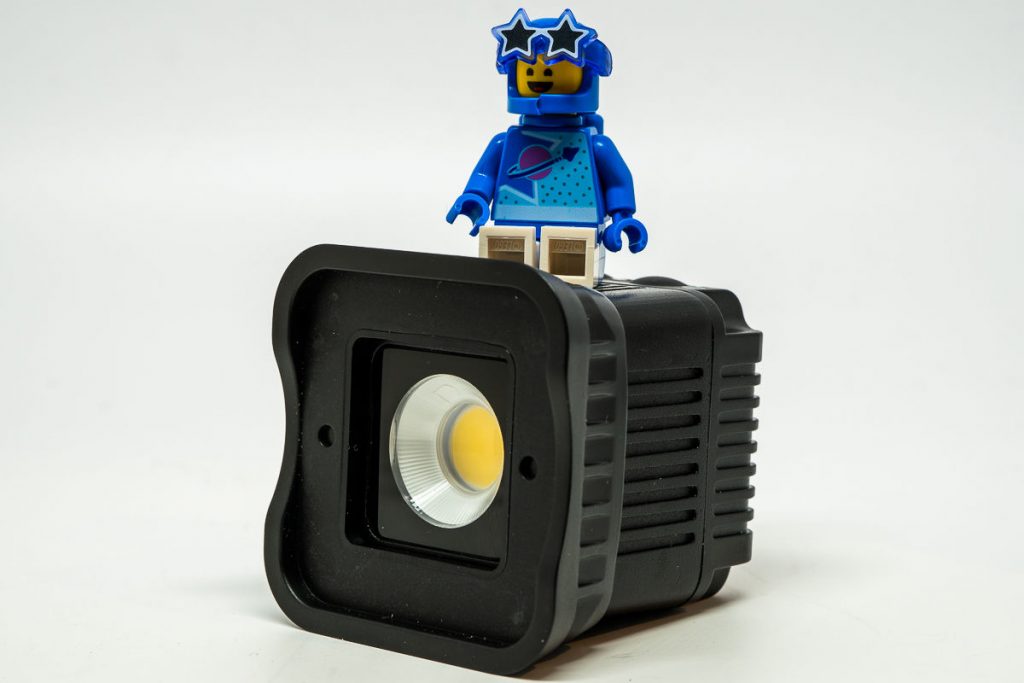
First thing I noticed when taking the Lume Cube 2.0 out of is package was just how small the light is. It’s not much bigger than a couple of LEGO minifigures, and feels incredibly rugged and solid for its size. The top of the Cube has manual controls as well as an optical sensor. The bottom has a standard 1/4″ thread for attaching a tripod, and the rear has a USB-C port for charging.
In addition to the Lume Cube 2.0, the box also contained a modification frame attachment, a magnetic diffuser gel, a magnetic warming gel, a shoe mount and a USB-C charge cable.
Powering Up & Low Light Mode
Immediately after taking the Lume Cube out of the box, I powered it up by holding the power button down for 3 seconds. Quick pro tip: Do not look directly into the Lume Cube when powering it on as this thing is BRIGHT!
Once my vision came back to me, I used the manual controls on top of the cube to cycle through it’s power output. In standard mode, you can cycle the power from 10% to 100% in 10% increments.
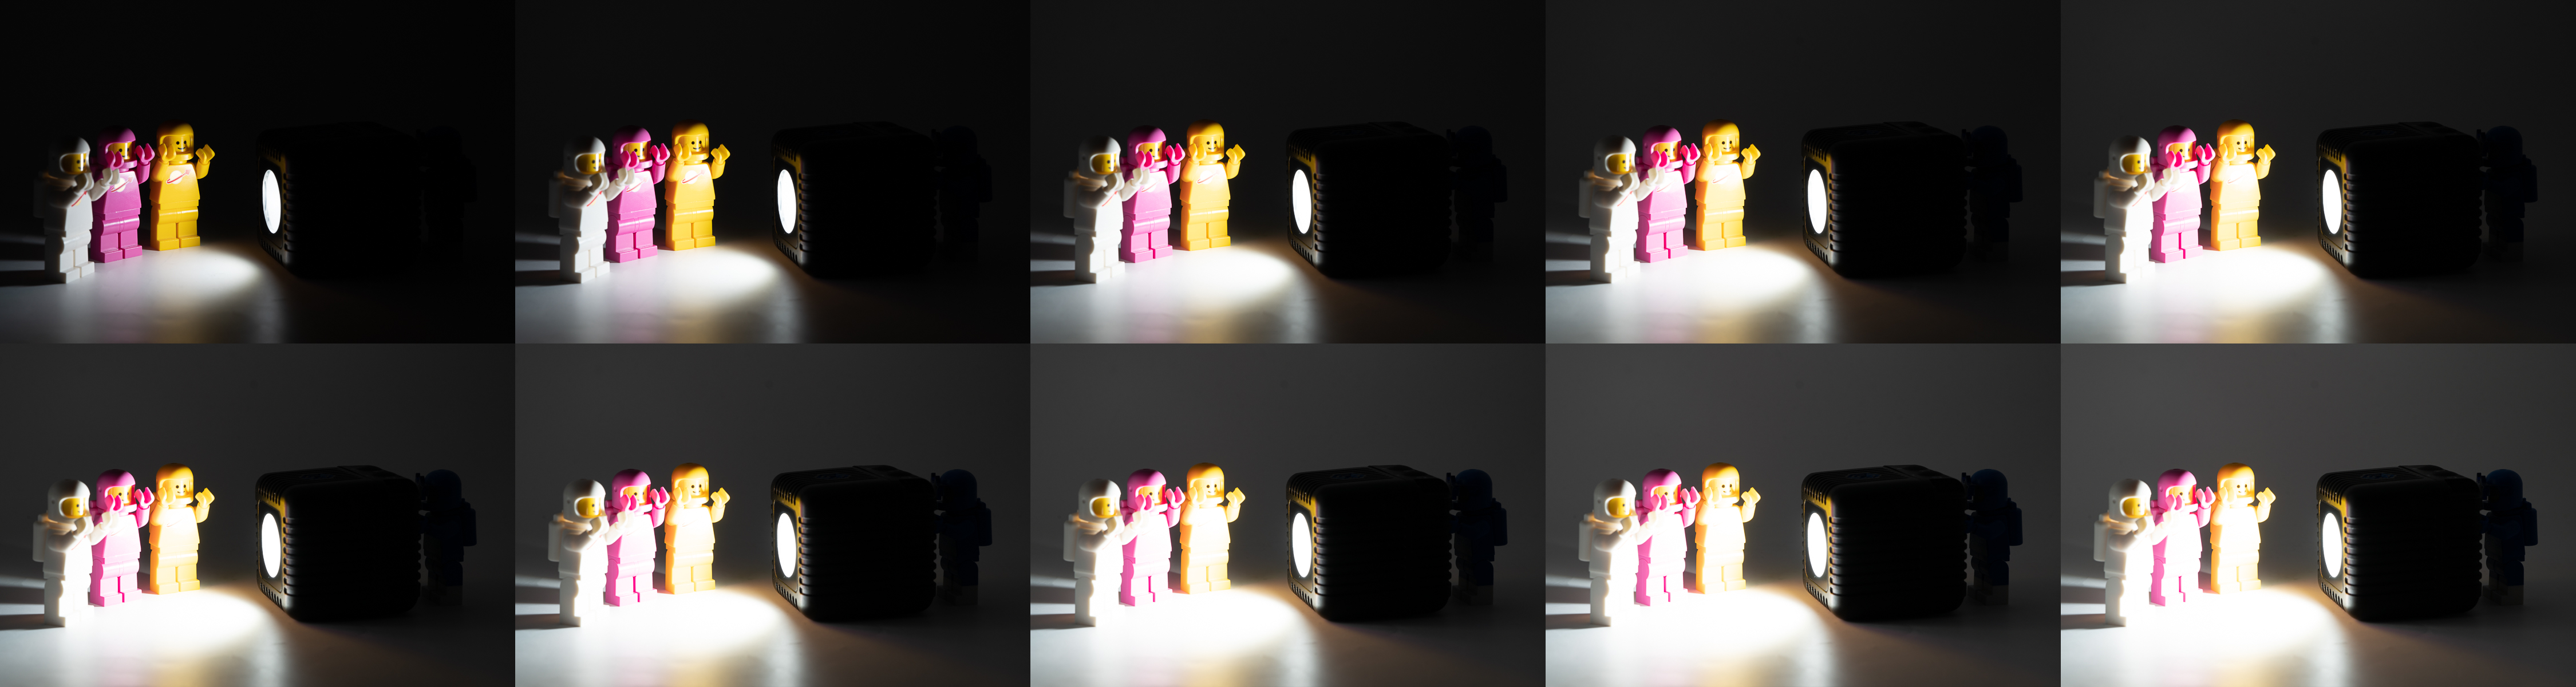
Bottom row: 60% – 100% power
For more precise control, you can enable Low Light mode by holding down both buttons on top of the Lume Cube for 3 seconds. Low Light Mode allows you to change intensity from 1% – 10% in 1% increments which is great when using longer exposures. When using the Lume Cube as a constant light, I don’t think I ever went out of low light mode.
Magnetic Modification
My favorite thing about the Lume Cube is its included Modification Frame. This ingenious system uses magnets to make attaching filters and modifiers a breeze. It’s an incredible time saver over the duct tape, rubber bands and paper clip approach I use with my current lights.
The magnets allow the filters to be stacked, so you can add multiple filters to a single Cube at the same time.
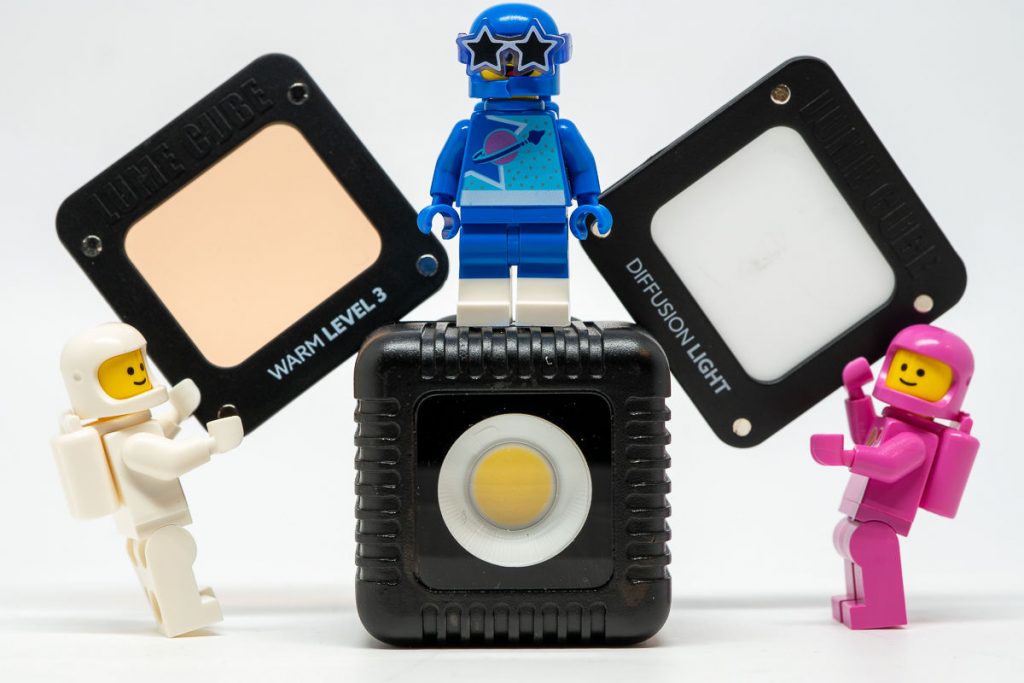
There are numerous accessories available that take advantage of the modification frame including a snoot, barn doors, honeycombs and colored gels.
There’s an App for That
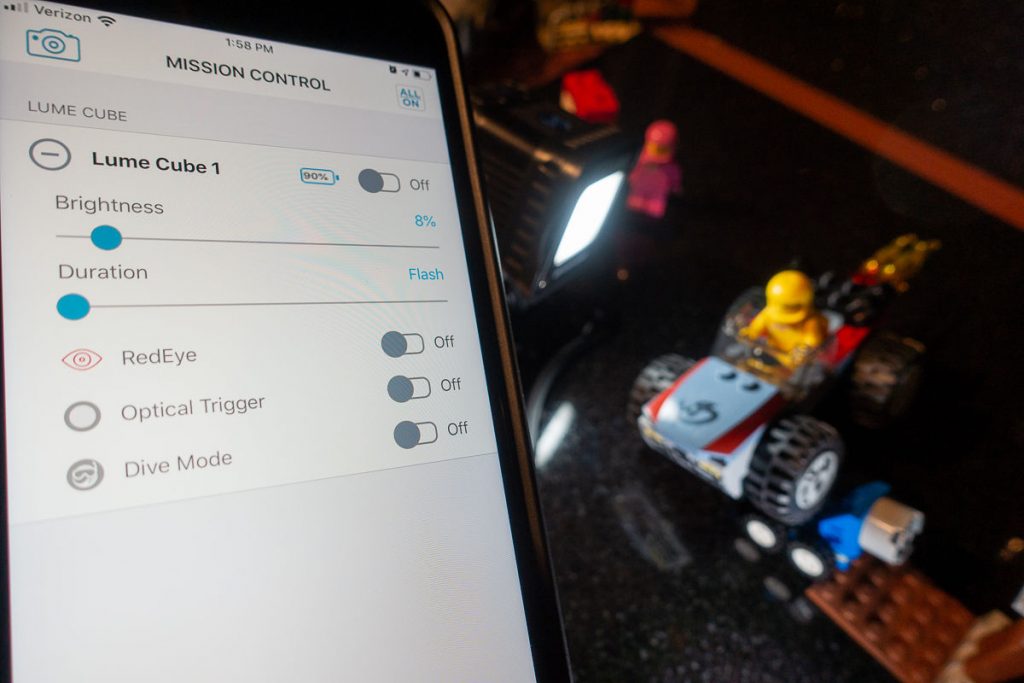
Using the app to adjust the Lume Cube’s power was a liberating experience
Another great feature about the Lume Cube 2.0 is the ability to control the light via Blutooth with the Lume -X app for iOS or Android. This means no more reaching into a scene to adjust your light’s power and knocking over your setup (which I have done countless times).
The app can control multiple Lume Cubes which allows you to stay behind your camera while you dial in the exposure you’re after.
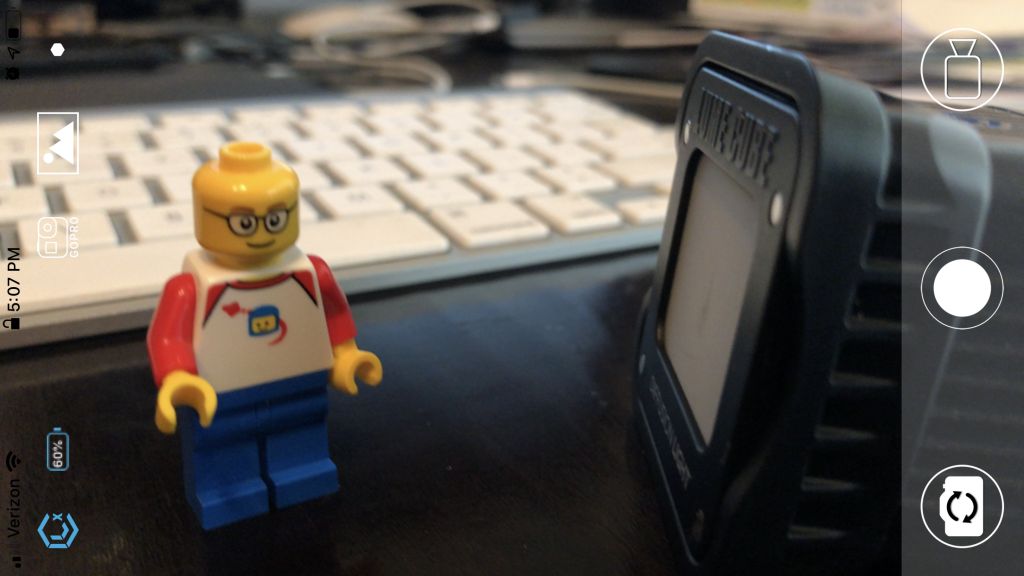
The app also has its own camera which allows you to take photos using the Lume Cube as an external light source. I didn’t play with this feature too much, but for mobile phone photographers, this should come in super handy.
The only area where the app let me down was when enabling the Optical Trigger. I was able to set the brightness and duration, but unable to ‘activate’ the mode for use. Most likely user error, but I opted to just use the manual controls when enabling the optical trigger.
One minor complaint I have with the app is that when on the mission control screen, swiping left opens the disconnect option which I inadvertently did a few times when trying to adjust power.
Using the Cube
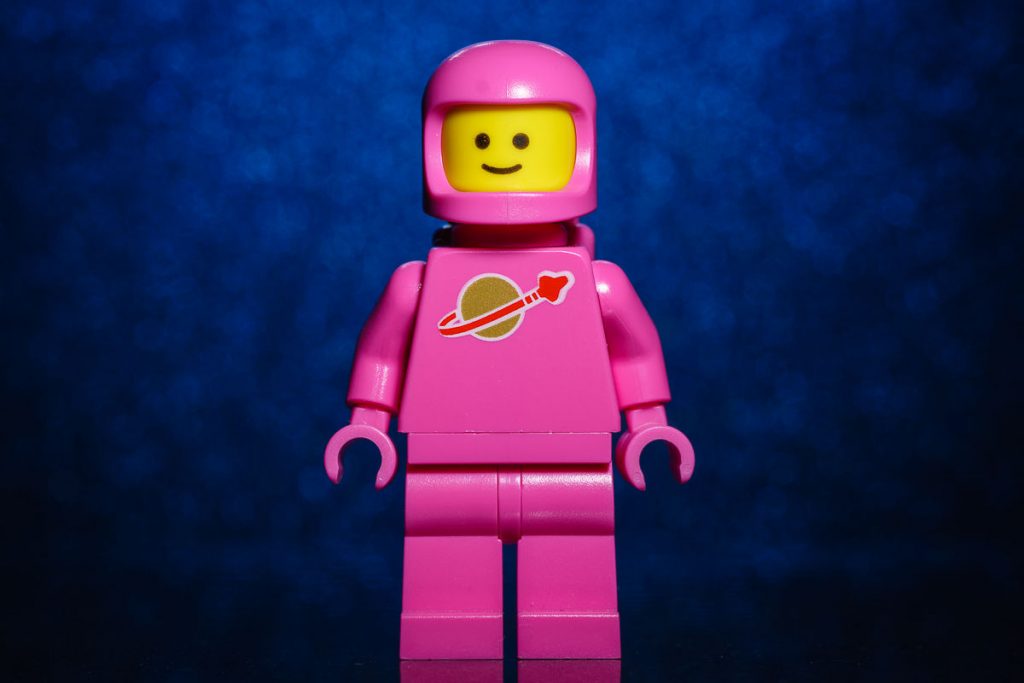
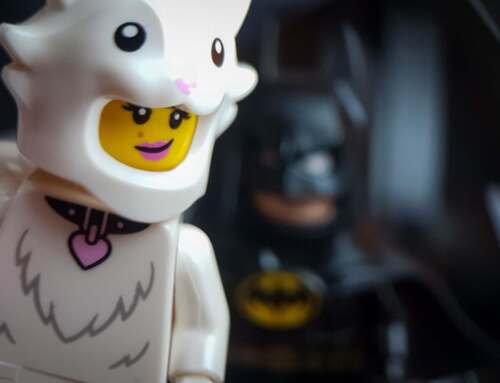
Here are some sample shots using the Lume Cube as my primary light source. These were taken using the magnetic diffuser gel, with the Lume Cube only a few inches away from the minifigures.
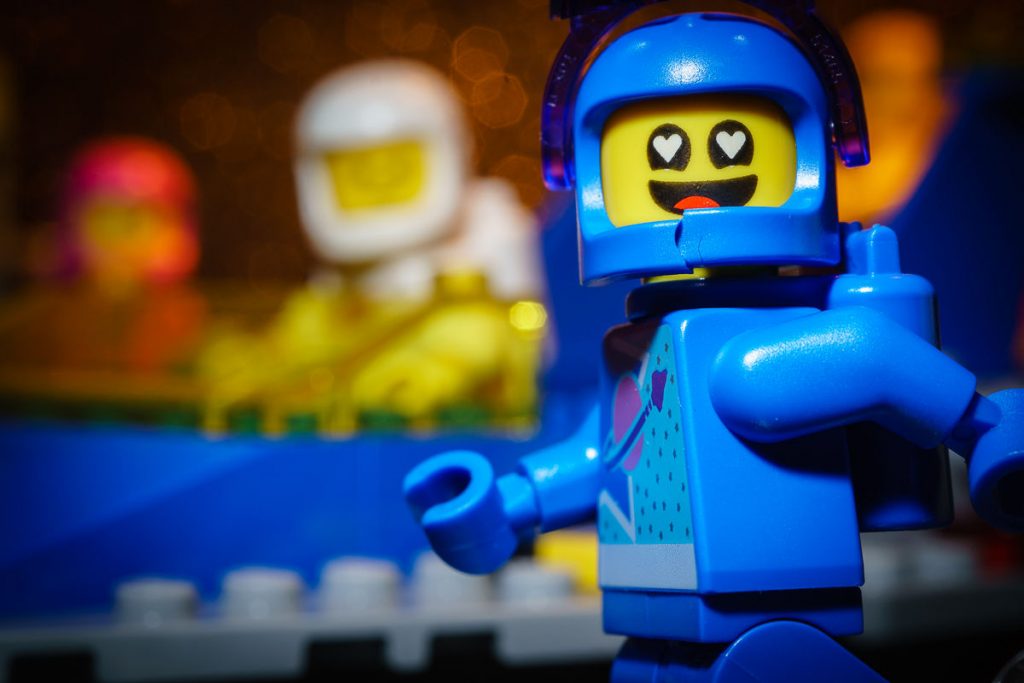
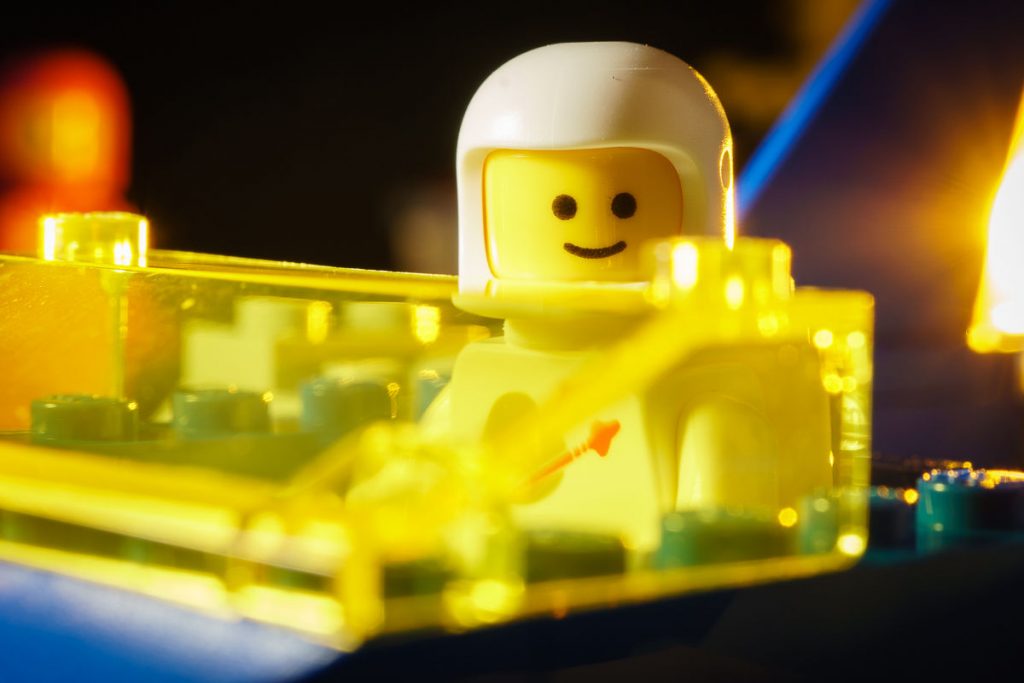
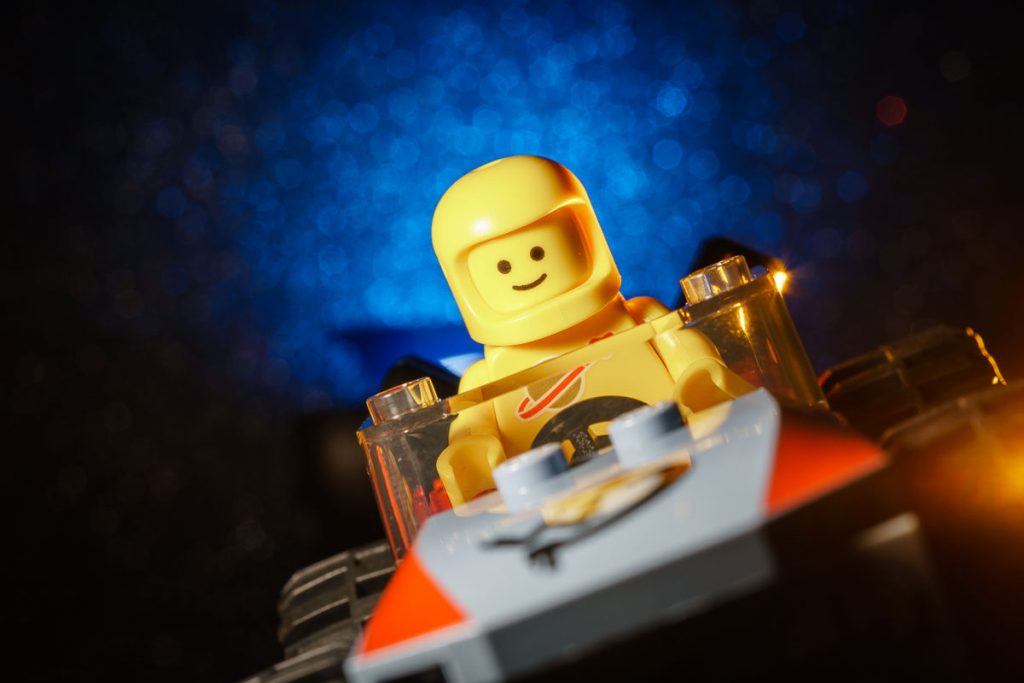
I was super impressed with how well the diffuser worked for such a small light source. The 80 degree beam angle had a great spread at such a close distance, and the light handled hot spots like a champ.
Flash Mode
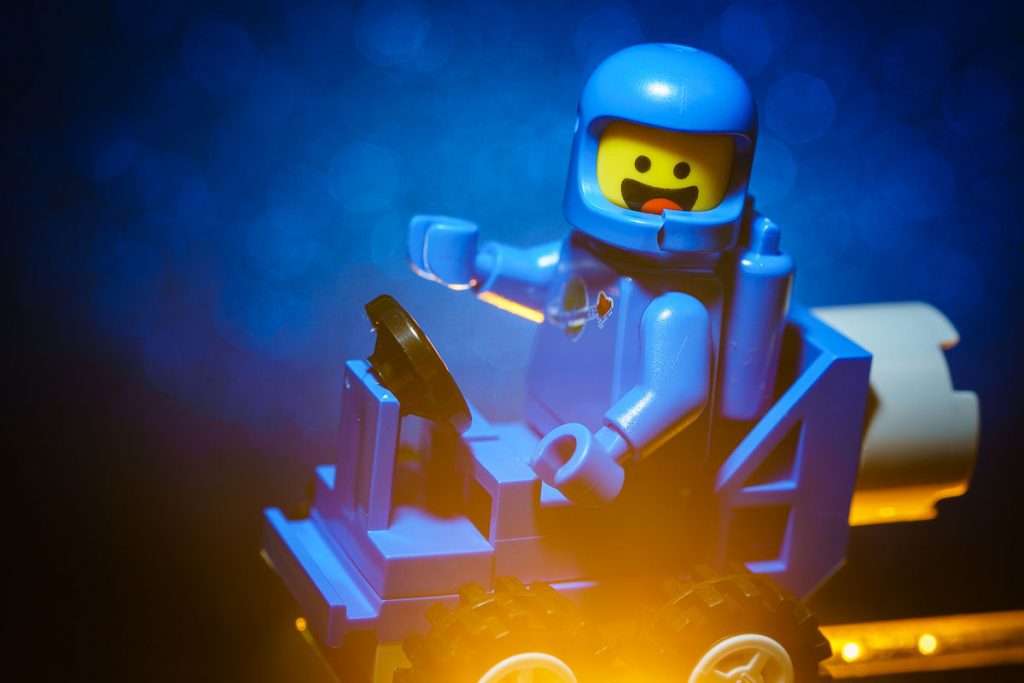
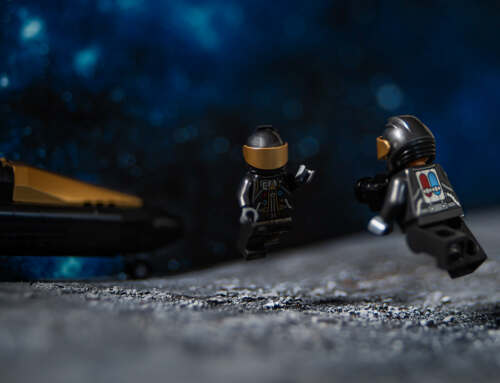
A super exciting feature about the Lume Cube 2.0 is the ability to use the light as a flash. This is a huge deal for me, and allowed me to leave my flash and wireless trigger home during a recent trip.
Flash mode can be triggered using the Lume Cube’s optical sensor, which fires the light when it detects a change in ambient lighting. In my case, I used the pop-up flash on my camera to trigger the Lume Cube.
8.0 seconds at f/9.0, ISO 100
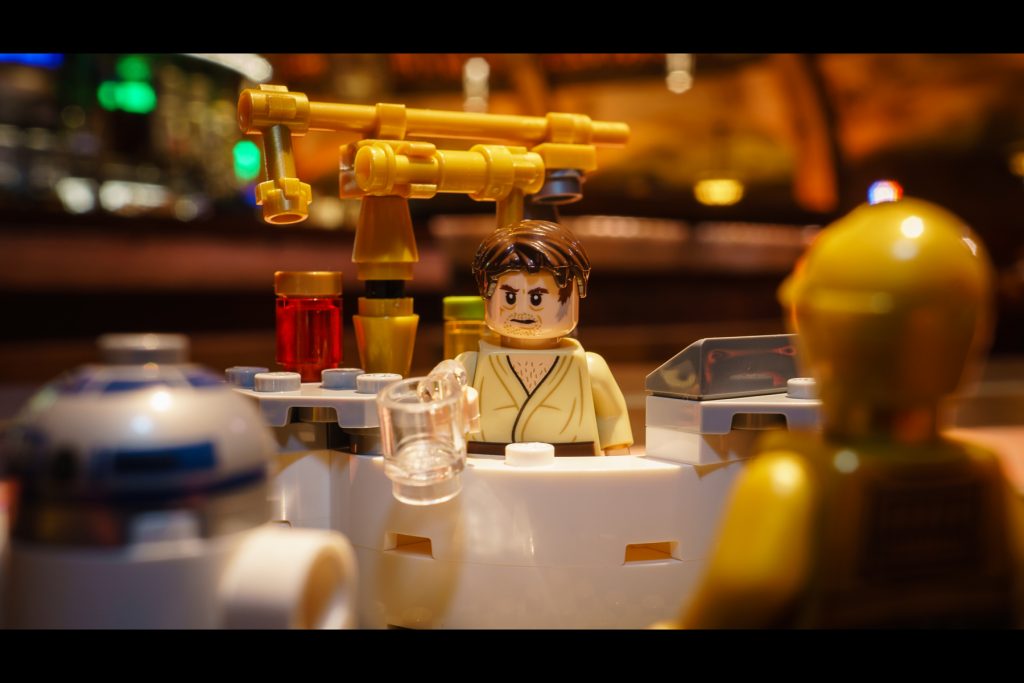
If your camera doesn’t have a pop-up flash, you can use a bit of a hacked approach to trigger the light by covering the optical sensor with your finger, and then removing it when you want the flash to fire. You can also trigger the light by using the buttons on top of the Lume Cube. These buttons adjust the power output each time they are pressed, so you need to be conscious about how many times you are pressing them because it will impact your exposure.
To mitigate this issue, I suggest alternating between the two buttons to keep your power somewhat consistent. It’s not perfect using the light this way, but the trade off for traveling with the Lume Cube vs a flash is totally worth it in my opinion.
5.0 seconds, f/10, ISO 100
I would love to see a wireless trigger enhancement to this in future revisions.
Conclusion
Spending time with a Lume Cube has completely won me over. This is a premium lighting system with a great design and feature set. The versatility of using it as a flash or constant light, the magnetic modification frame and the remote control capabilities make this an extraordinary addition to any toy photography kit. If there was ever professional studio lighting for toy photographers, this is it.
Honestly, the only downside is that now that I have my hands on one, I want to replace all the lights in my kit with Lume Cubes.
Pros:
- Versatile – can be used as constant lighting or flash
- Can be used while charging
- Small size – easy to take with you. 1/8 the size of my flash, leaving more room for toys 🙂
- Low Light mode for long exposures
- Remote control with the Lume-X app
- Modification frame & magnetic attachments are super easy to use
- Accessory kit (sold separately) includes colored gels, snoot, barn doors and more to expand the light’s capabilities
Cons:
- Had difficulty setting the optical sensor via the app.
- Light sometimes unresponsive when attempting to adjust power via the app. Worked in camera mode but not in Mission Control mode
- May be cost prohibitive
The Lume Cube 2.0 used in this review was provided to ToyPhotographers by Lume Cube.


Leave A Comment