Hello! My name is Scott Bourne and I’ve been a professional photographer for 50 years. I recently semi-retired from the pro-photography profession. I used to be a bird/wildlife photographer but my advanced age and some medical challenges have forced me to give that up.
I’ve only been what I would call a serious toy photographer for five or six months. When I had to give up wildlife photography, I couldn’t stand to go a day without making photos. Because I’d already done some studio photography early in the pandemic I decided to fire up my studio again and try my hand at toy photography. My goal at the moment is to make a new toy photo every day.
I’m drawn to toy photography for a variety of reasons. I want to connect with my childhood self and experience the joy and innocence of that time. Im a student of the philosophy of ‘beginners mind’ and embarking on this new skill at my age, definitely qualifies. When I photograph toys I need to keep an open, eager attitude with a lack of preconceptions.
I have had a modicum of success in my life and I owe it all to the fact that I am not afraid to make mistakes. Just as young children sometimes try things that we as adults think are crazy, I have spent as much time possible being too stupid to know I can fail.
What inspires me
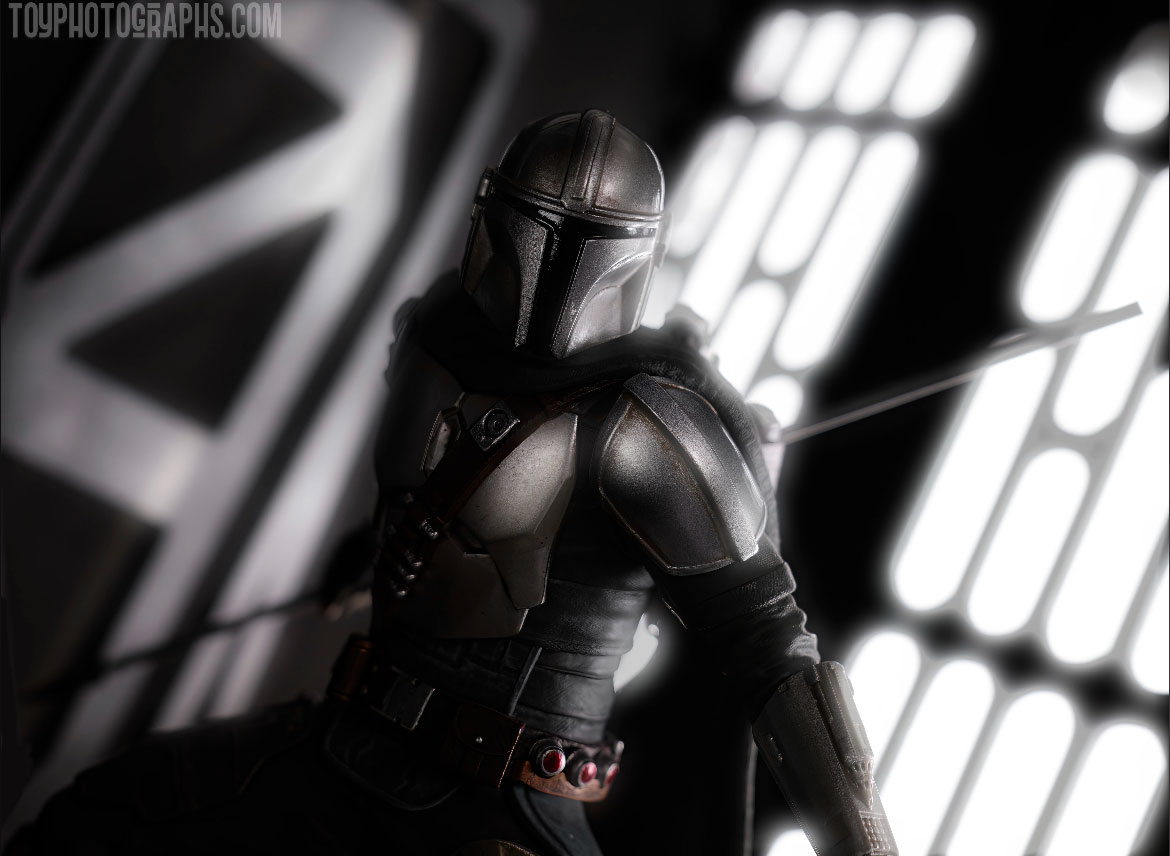
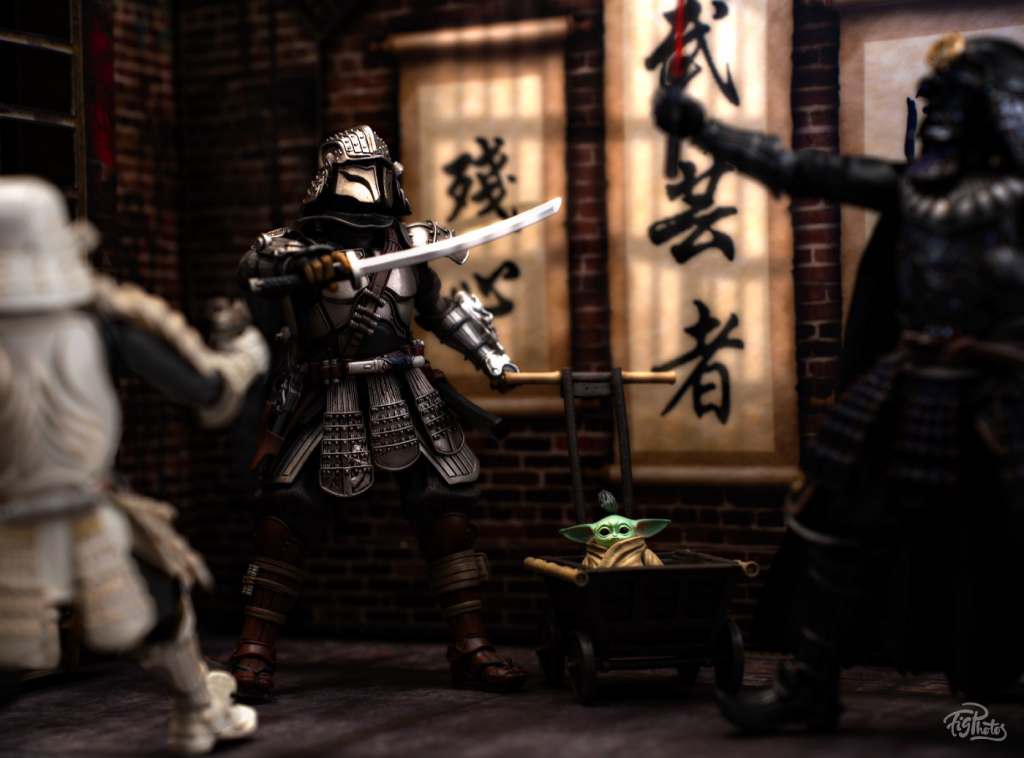
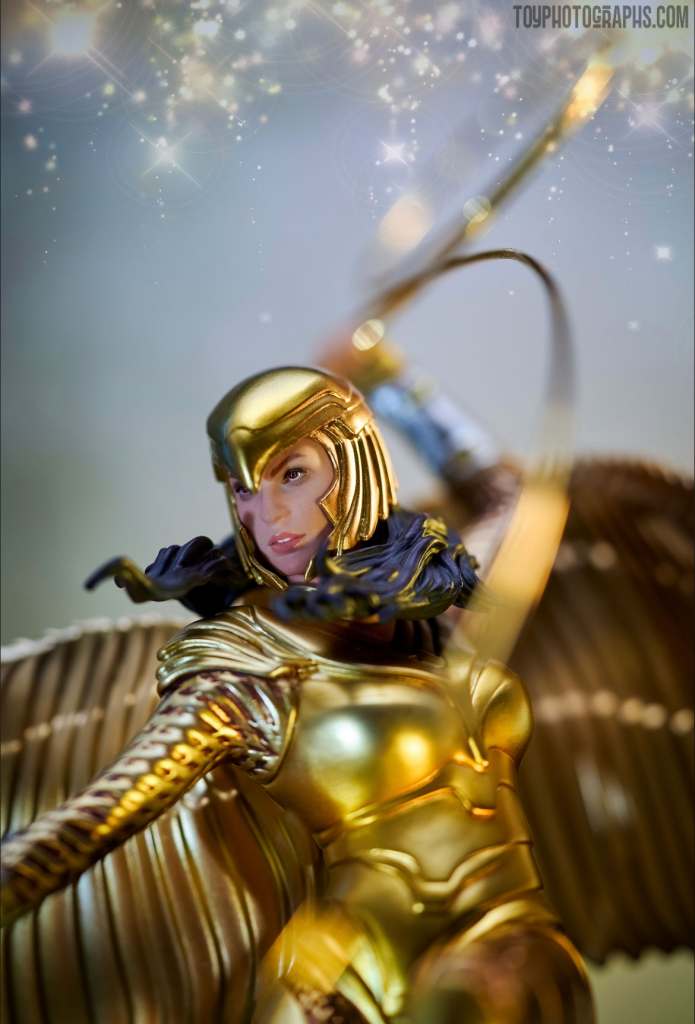
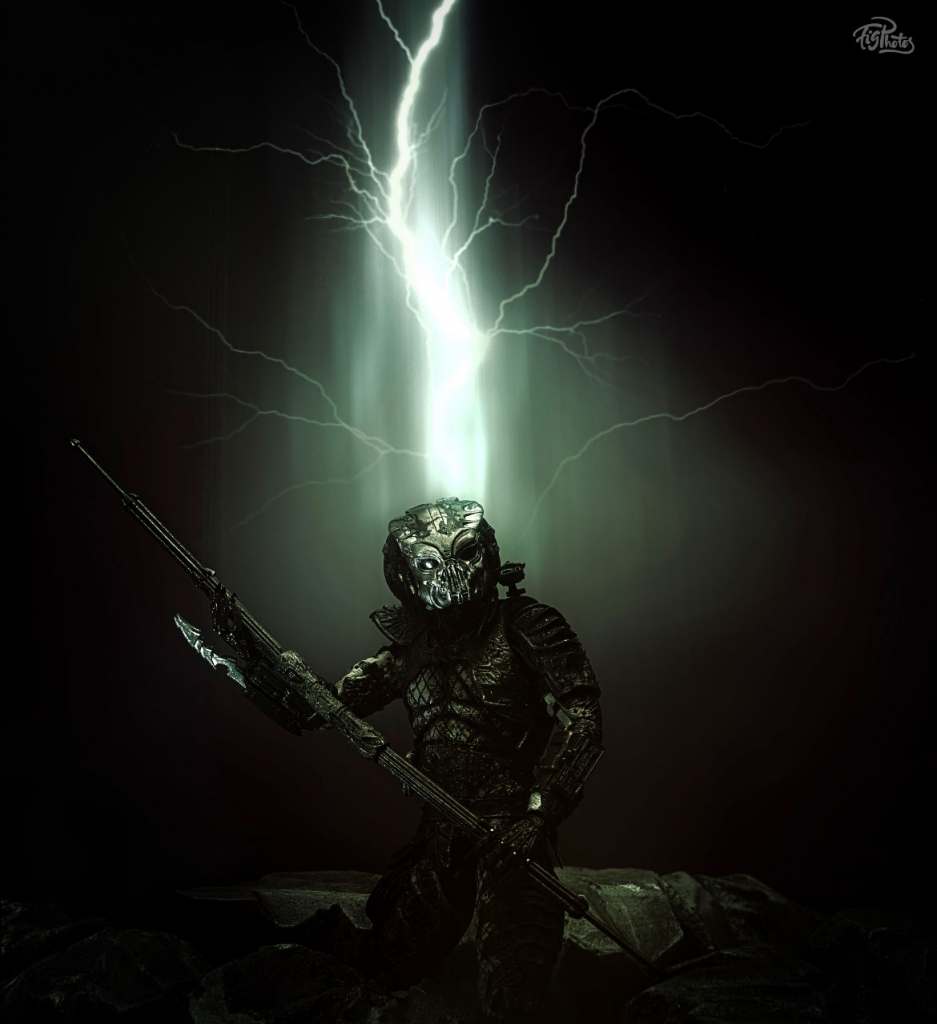
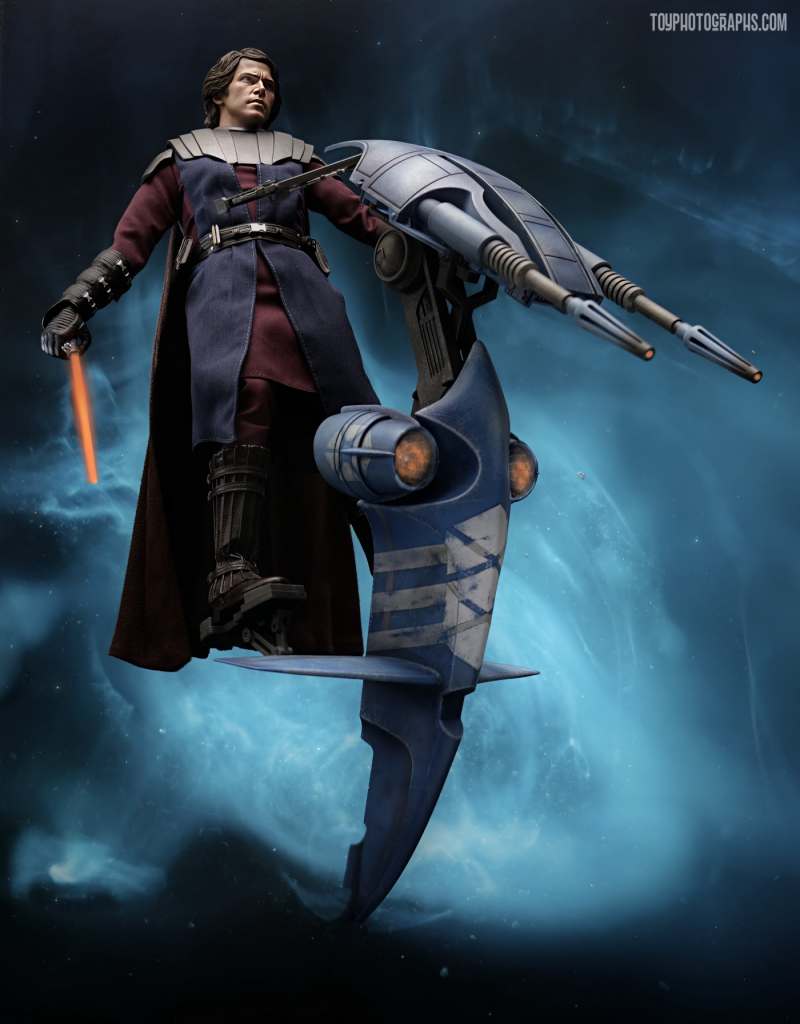
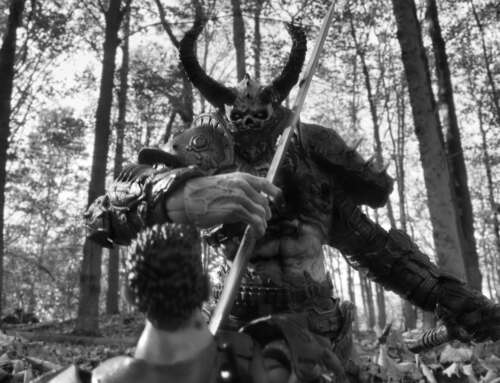
Inspiration for my photos comes from a variety of places. But primarily I look to comic book covers and pop-culture-related movies and television shows like “The Mandalorian” on Disney+ for photo ideas. There is plenty of iconic imagery in all of these place to keep my creative mind occupied. I don’t necessarily want to duplicate or completely recreate what I see. But these visuals often give me an idea that I can riff off of to put my own spin on each image.
My process
For me, each photo starts with one of two things – most often, it’s an idea that I can turn into a story. I like to think of photography as storytelling. Each image is essentially an entire motion picture that I will boil down to one frame. I try to think (pre-visualize) what elements are essential to the story. Then I build the set and the background FIRST (always first) and THEN I introduce the characters. Sometimes my prop/set room inspires the whole story. I see something that I had 3D printed for one job and then adapt it to another.
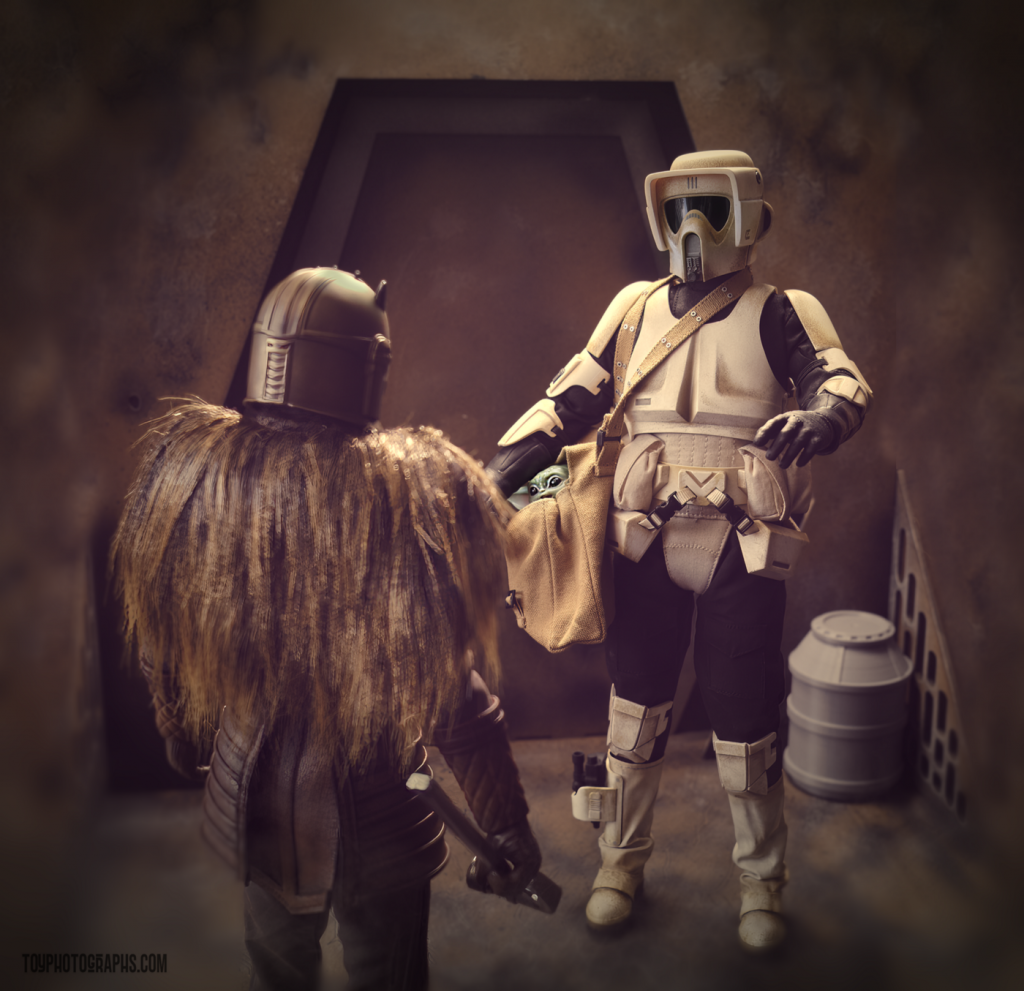
The second place my photos might start from is the simple need to protect a memory. I like to say I’m a high-priest of memory protection. Sometimes I’m protecting someone else’s memories and sometimes it’s my own. Since I create a lot of photos around the Star Wars franchise (and since I am a sci-fi buff) I want to protect my own happy memories of various Star Wars story lines.
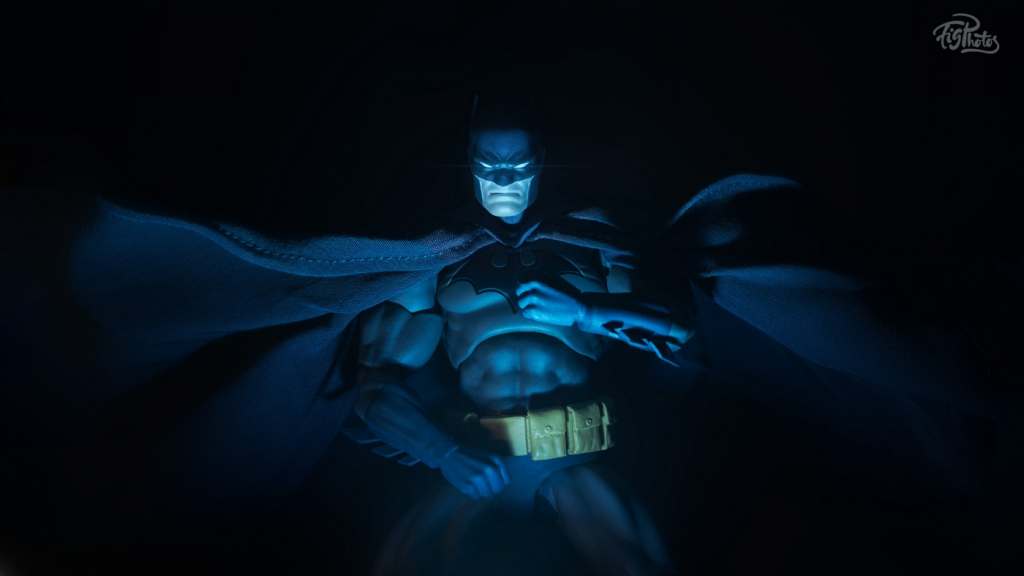
When it comes to editing my photos, the single most important piece of software I use is BorisFX Optics 2022. This software lets me do any of the photo-related stuff I can do in Photoshop but also allows me add motion picture quality special effects (SFX). This software has a particle effects generator and a render engine built in. Those might sound scary at first, but I assure you it’s actually very easy to learn and use. other software I use are Photoshop, Luminar AI and Topaz AI.
My equipment
Because Im new to toy photography my equipment is still evolving. For some images, I use my iPhone 13 Pro. It has amazing image quality and Im able to get into small nooks and crannies that “real cameras” can’t.
For macro shots I use the Sony a7C with the Sony FE 90mm f/2.8 Macro G OSS Lens. It’s very high quality, full-frame, professional lens that I think is reasonably affordable.
For everything else I use my Fuji X100V. Honestly this is my favorite camera of all time. It’s just a joy to use, creates very clean files in low-light, is small, lightweight and has a super sharp, fixed 35mm (EFL) f/2 lens that ends up being perfect for lots of toy photography situations. (Unfortunately they are on backorder everywhere but you might find one used on Ebay – albeit at a premium.)
Other equipment I use to take my toy photos are a variety of Platypus equipment. Such as the Platypod Extreme, the Platypod Elbow, the Platypod Stackable Gooseneck, the Platypod Mini Super Clamp and the Platypod Ergo Ball Head. As you can see Im a big fan of this product line. For lighting im currently using the Lume Cube Panel Pro and the Lume Cube 2.0. I always have a can of Atmosphere Aerosol on hand. This stuff helps generate fake smoke-like atmosphere at the press of a button. I don’t use it on every shot, but when I want to establish mood and I don’t want to have to create it in post, I just give a good spray of this stuff to the scene and it just works.
Printed backgrounds
I use stock photos, graphic art, AI-generated art, and some of my own landscape photographs as backgrounds in my toy photography. I stopped doing my own printing when I down-sized my home during the pandemic and I did a run of test prints with five different print houses before settling on Printique.
Printique offers incredible quality at a price point that is much lower than I expected and they also will mount matte prints on foam core which is a service that none of the competition offer or offer in a manner that is affordable. Without these backgrounds (which I often use to establish a theme or setting for my images) I couldn’t do what I do.
My greatest influences
Because I’m coming to toy photography late in my photo career, most of my biggest influences are from other areas of my career. My biggest influences have all been older photographers who helped me break into the industry and taught me how important light was to a successful photo. These include Monte Zucker, Tony Corbell, Clay Blackmore, and probably most of all – Dean Collins.
In conclusion – a few tips
Recently I received an email from a photographer I know who wants to try her hand at toy photography. So I gave her some tips. These aren’t ALL the tips or the ONLY tips but they are SOME of the tips that might help you too:
- Think like a child. Before you even start to get your camera out watch how children play with toys and emulate them. This will seriously up your game.
- Shoot dutch angles. Pro toy photographers use this trick often. It takes the mundane and makes it interesting.
- Shoot at eye level or shoot up at the toys. Don’t shoot down on the toys unless you have a creative reason to do so. Eye level brings the viewer into the scene.
- Tell yourself a story about the toy as you make your photographs.
- SAS — Subject — Attention Simplify. Make sure to put all the attention on the subject. You can do this with a telephoto or macro lens, by keeping the background clean and/or special lighting. When you think you have your shot just right, ask yourself if there’s one last step you can take to simplify the photo. When in doubt, leave it out.
Whatever you do, always remember that toys are joy!
Scott Bourne
You can see more of Scott’s photos from his previous life here or more of his toy photography here.
Thank you Scott for sharing your journey with the community!


Welcome to the world of toy photography, Scott.
Thank you!
Wonderful piece — nice to “meet” you Scott. I love your photography, too.
Thanks. Very kind of you.
Amazing work, Scott!
Thank you.