Our toy photography community loves photo challenges, and the editorial team here does, too. That’s why Alan Rappaport and I are doing a bit of a dance-off, photography style. I’m taking all outdoor photos of the new LEGO Minifigures Series 21 (#71029), and he’s doing all indoor shots.
Without further ado, let’s check out these minifigures!
Ancient Warrior
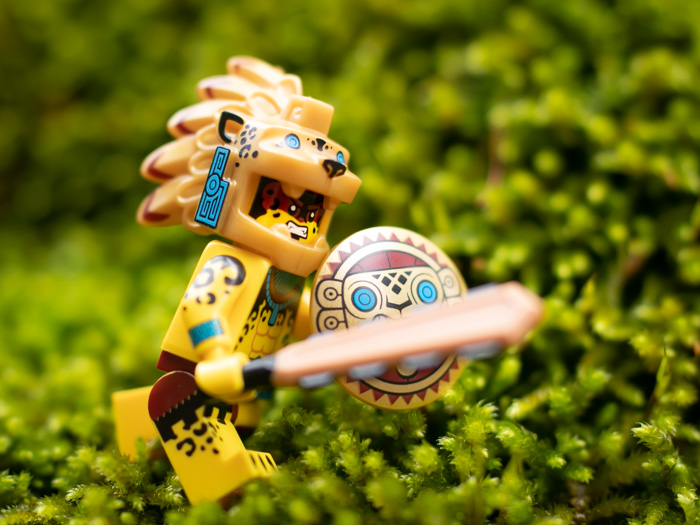
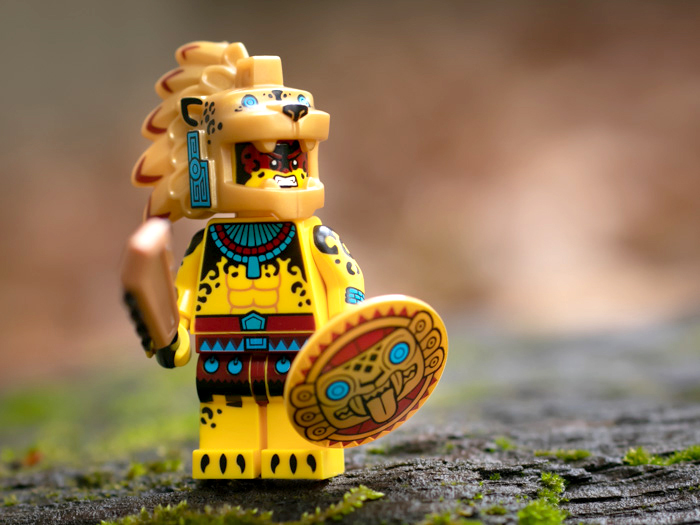
This figure is wonderfully poseable, able to turn his head and have full range of minifigure motion, even with the helmet. He has a “friendly” face, too, but I like the fierce one best. His unique weapon, shield and headpiece are fantastic, along with the impressive amount of arm and leg printing. He’s obviously an Aztec jaguar warrior, though I understand why LEGO might want to keep his name more generic.
Centaur Warrior
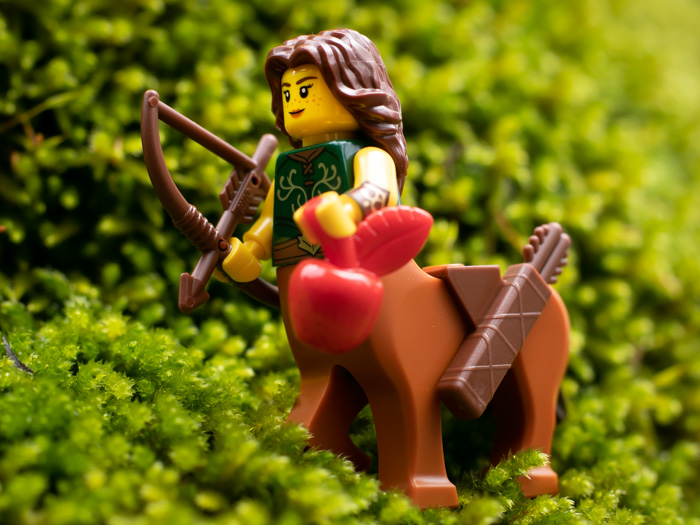
I was disappointed that the hair keeps her head from turning, so I’ll probably customize her with another hairpiece. The quiver also tends to come off very easily, so it may be worth using a little sticky tack to hold it in place. Or perhaps with a different style of hair it can go on her human back instead of on her horseback.
Pug Costume Guy
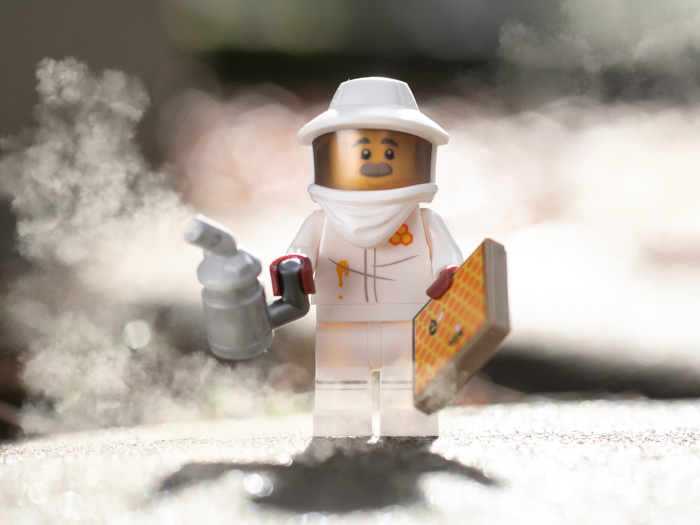
Beekeeper
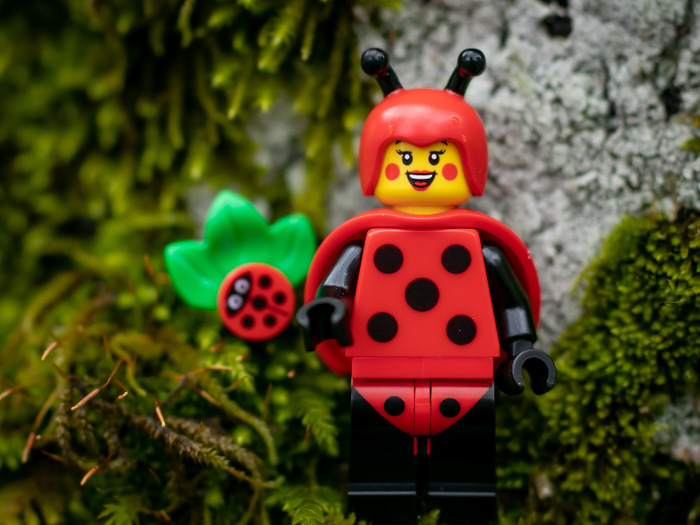
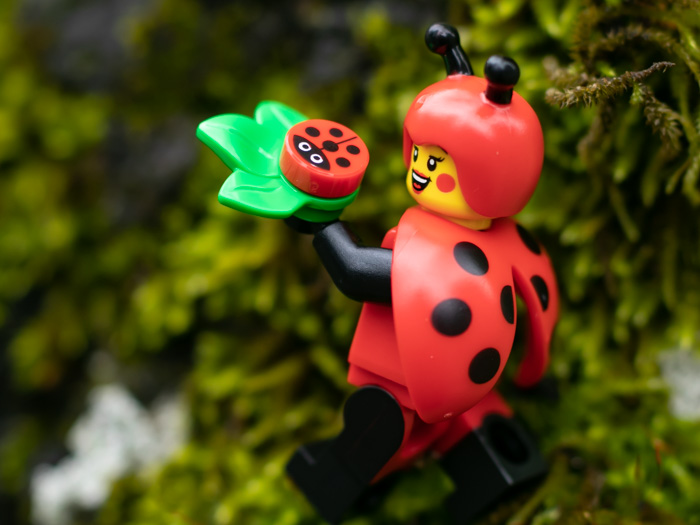
Ladybug Girl
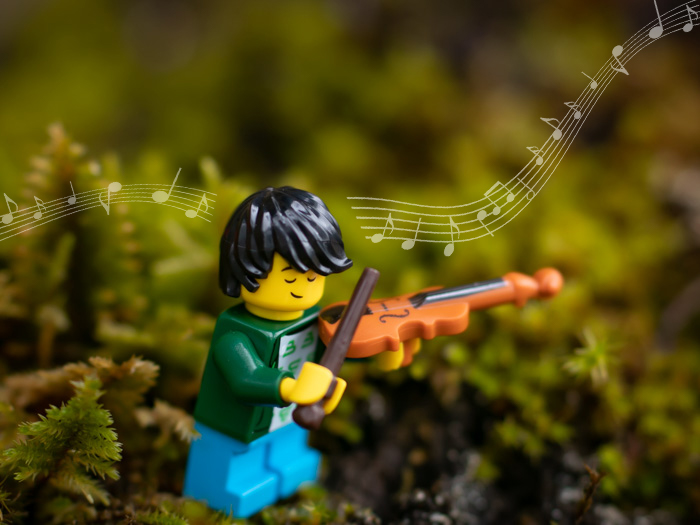
Violin Kid
Airplane Girl
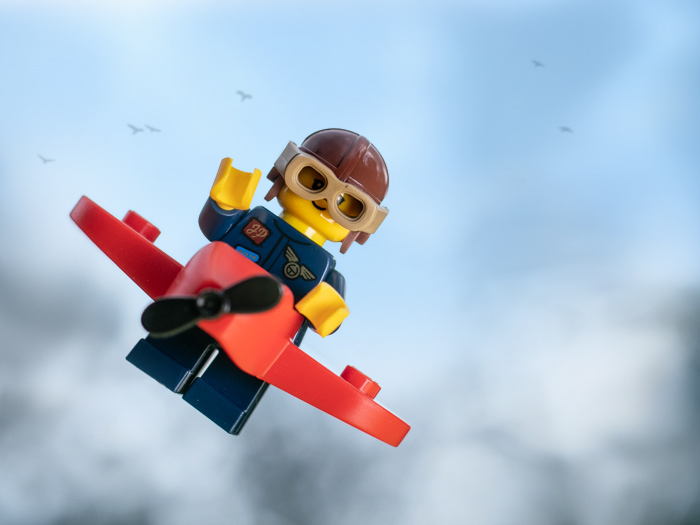
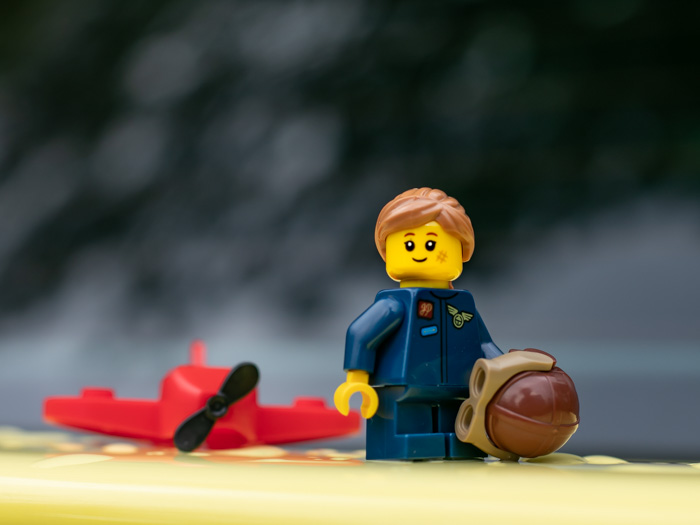
Alien
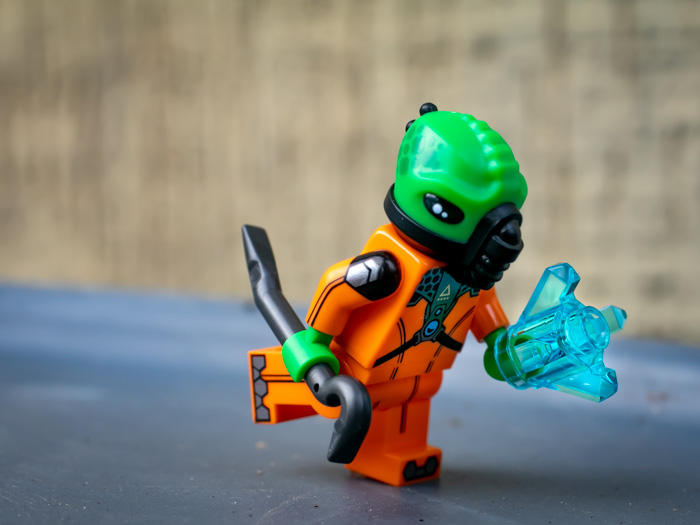
This is a fun figure, but I was disappointed that I couldn’t turn the head of the figure because of its breath-mask. This makes it a lot less expressive than I’d like for a character.
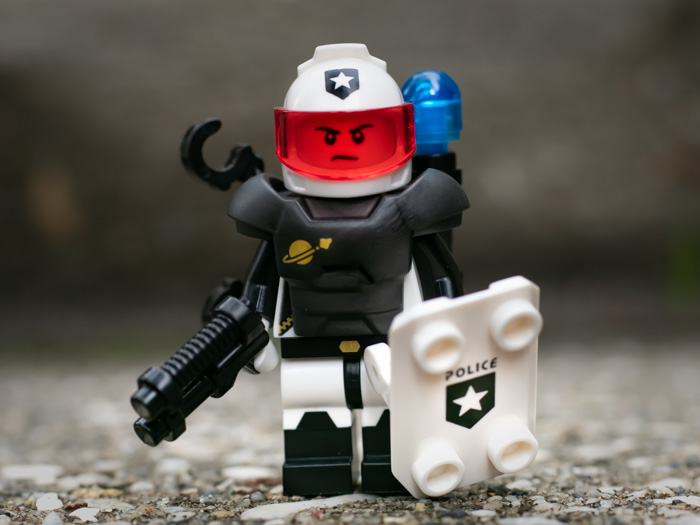
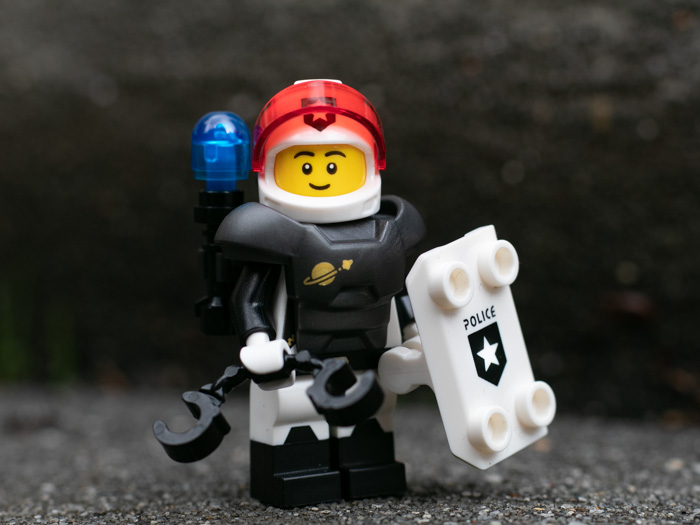
Space Police Guy
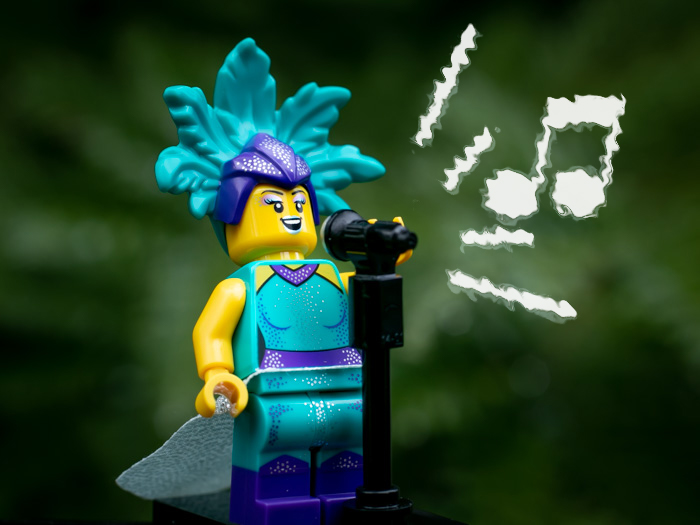
Cabaret Singer
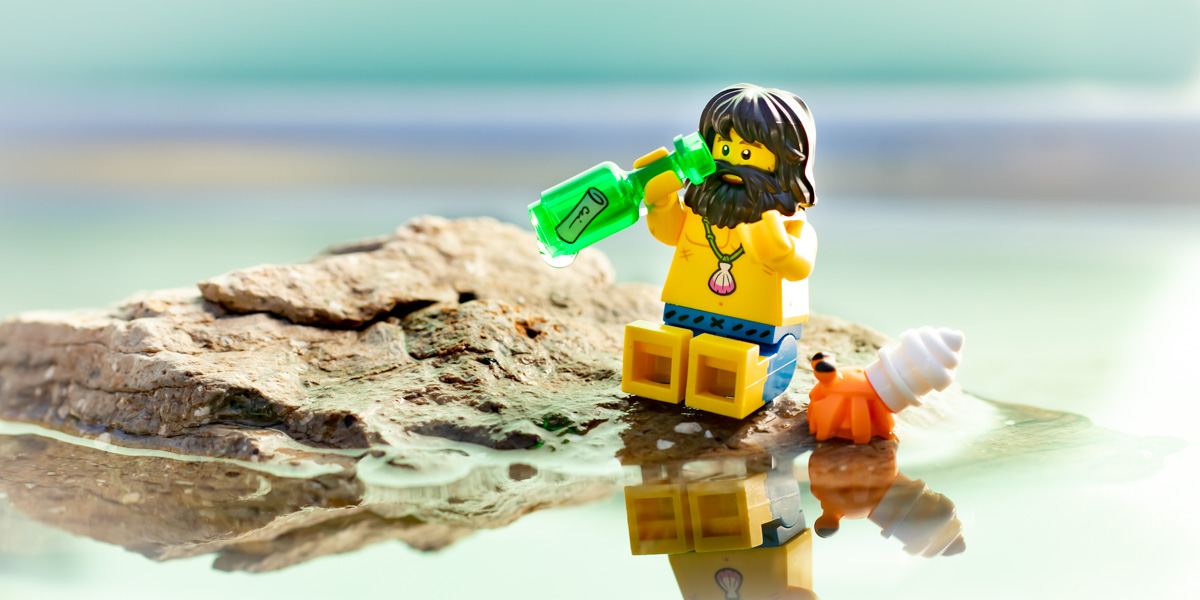
Shipwreck Survivor
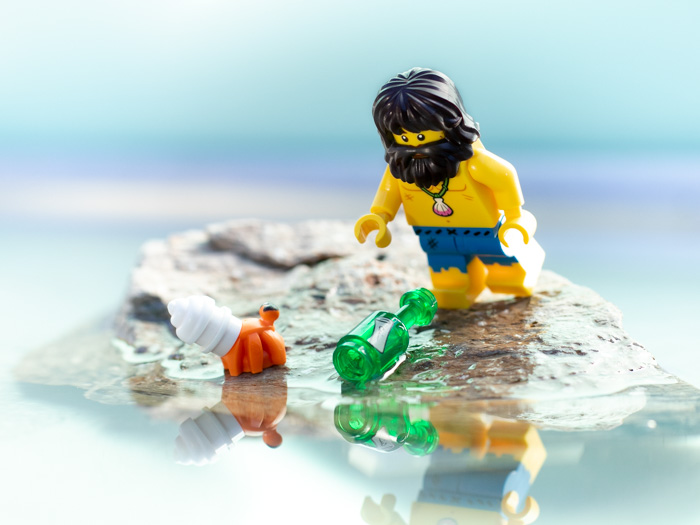
The beard of this figure naturally limits the range of the head, so there is almost no turn radius. He’s also the only figure in this series besides the alien who doesn’t have two facial expressions printed on the head.
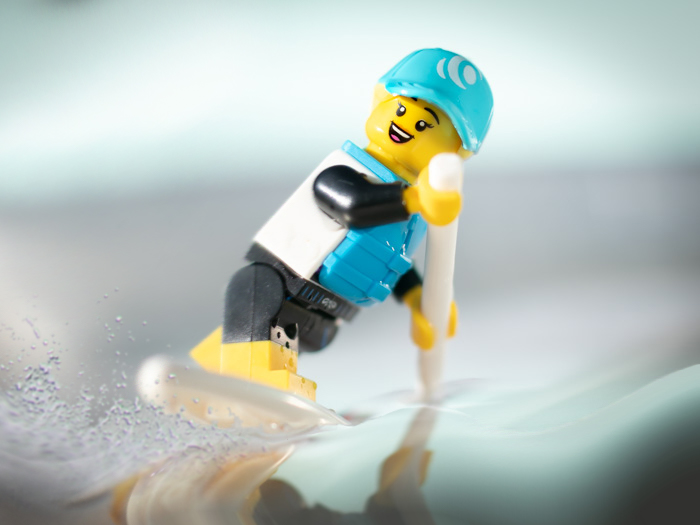
Paddle Surfer
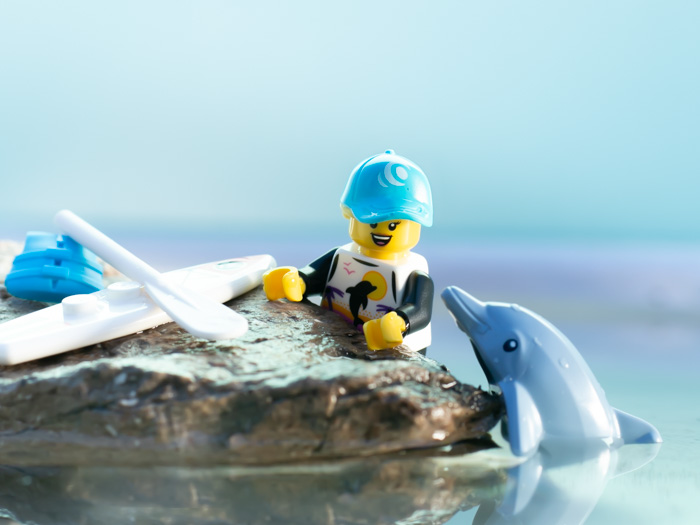
Behind the scenes
When it comes to outdoor toy photography, the biggest issue is that you can’t control the weather. You don’t know what you’re going to face when you gather up your camera and figures, and go outside. Or you may be on a deadline to shoot some pics and the forecast is all rain for days—which is what happened to me. I ran outside in between rain showers to shoot most of these minifigures in my foothills forest home.
For the last two (Shipwreck Guy and Paddle Surfer) I had a sunny day. We drove out to a local park by way of Dutch Brothers coffee (yum!). Once fully caffeinated, I was ready to get a few shots at the big pond.
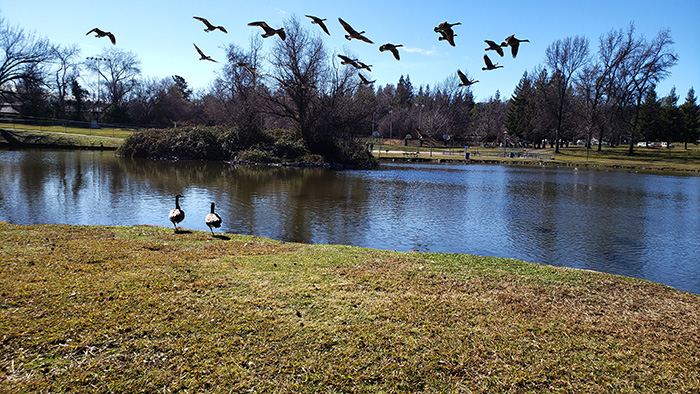
But I fell for one of the classic photography blunders: I didn’t check my camera before I left the house and didn’t bring a backup battery. It died before I could even snap a single shot. So much for the park pond! I would have to create my own body of water. The good news is that LEGO minifigures don’t require a lot of space to create the illusion of a lake or ocean.
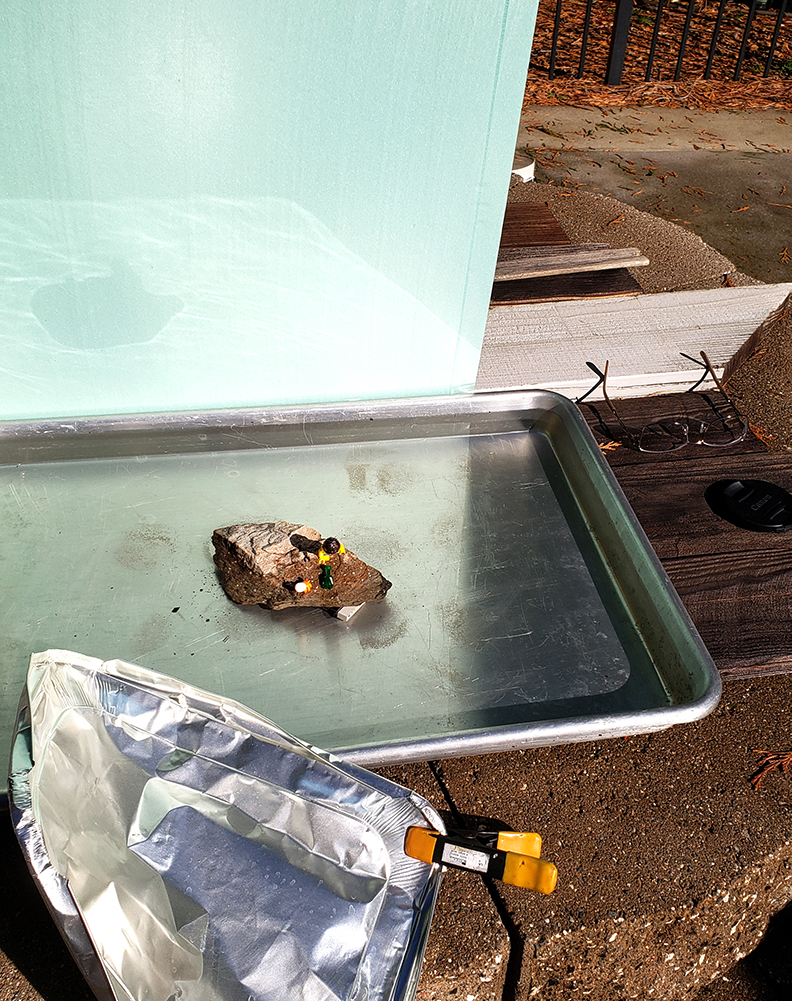
I filled a shallow pan with water, put a big rock in it, and used a piece of insulation foam for the sky background. I recently used this same foam for sky in the “Le Petit Prince” shots I did for the Toy Photographers Virtual Meet-Up earlier in January. A utility clip held a piece of aluminum to bounce some light where I needed it. It’s always amazing to me how something so unimpressive when viewed in a BTS shot can make such magic in a photo! The silver edge on the back of the shallow pan even became a sort of ocean horizon line in the water shots.
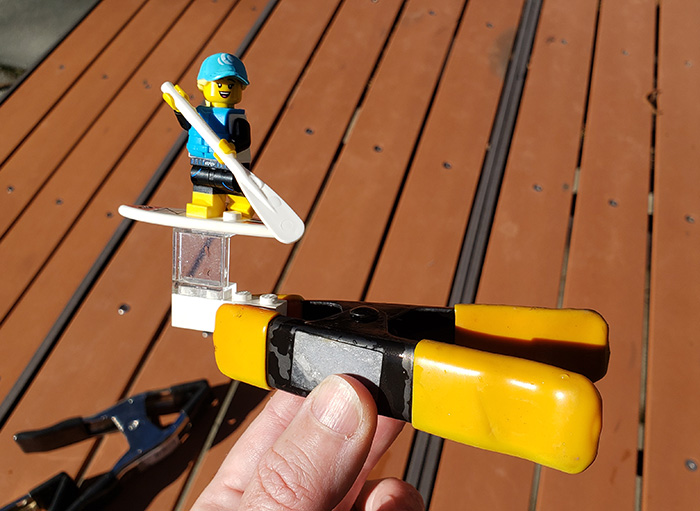
To make the Paddle Surfer “float” on the water, I used this rig. The clip is heavy enough to keep the LEGO bits from floating, the clear piece helped the support to be more invisible. However, the yellow-and-black of the clip showed clearly through the water at some angles, so I ended up wrapping it in a sheet of white paper (which quickly became soaked and flexible in the water). The white paper blended into the light silver pan holding the water much better.
Chime in below!
I’d love to hear comments from anyone who has a rig for floating LEGO surfboards and canoes on the water effectively. Sometimes when shooting at the edge of a pond, the water is deep (6 inches or more) or too shallow for this clip. Do you have recommendations for something that adjusts in 2–8 inches of water while also anchoring the LEGO pieces well? Or even something that works reliably in shallow water between 1–3 inches?


Fun, now I want a few more that I haven’t picked up yet…
When I first saw the series, there were just a few I was interested in. But now that I have them all, they’re a lot of fun. So many neat little details.
There’s a lot to like in this series. Thanks for BTS shots – my imagination often fails me when I’m trying to get my shots like the paddleboard set you did. During 2020 I started to just buy the whole set at once on Ebay and I may continue as things ease up – I get the whole series and not a bunch of the same figure.
Great review and now that I have the whole series I’m inspired by your post to get some outdoor photos of series 21..
Thanks for the review! I found ‘em all in the wild at Target and such. I went kind of overboard with the bee keeper and the Aztec warrior as I love the printing and parts.
As for outdoor photography, that’s mostly what I do. I usually don’t plan ahead and end up using natural means in a pinch for mounting and such. For deeper water and puddles a stick does wonders. I always have a pocket knife on me, so I’ll carve one end of a stick to fit a minifigures lego hole or through the end. Sticks are fairly easy to find in the length I need. Jam it into the base material of the puddle and tada – perfect shot.
I’m sure if I planned more I would probably make sure to have some crafting wire in my bag. I use chewed gum quite often in place of sticky tac too… (not abc gum on benches or anything like that), but fresh chewed. I always keep a pack in my camera bag. Somehow it just seems more practical than sticky tack for me.??
Those are great suggestions, Joe, THANK YOU. The stick idea is perfect: not fancy, ready to hand. I just need to throw a small pocketknife into my toy photo bag. A pack of gum is also a great idea–why not combine fresh breath (or the fun of blowing bubbles) with a little sticky tool? Love it.