Let me admit that I am not a builder of models. I am a photographer. So, along with the budget, I also try to minimize the work I put into the sets (hence their slightly minimalist feeling).
To achieve this, I try to build sets which are so flexible that they can be put to multiple uses. And with the above room, I think it worked. The whole thing started when I held a wall with a pair of windows under the desk lamp. I had been ready to discard it because the windows had turned out to be too crooked for H0 scale use. But then I suddenly realized that they could still be used for lighting a room.
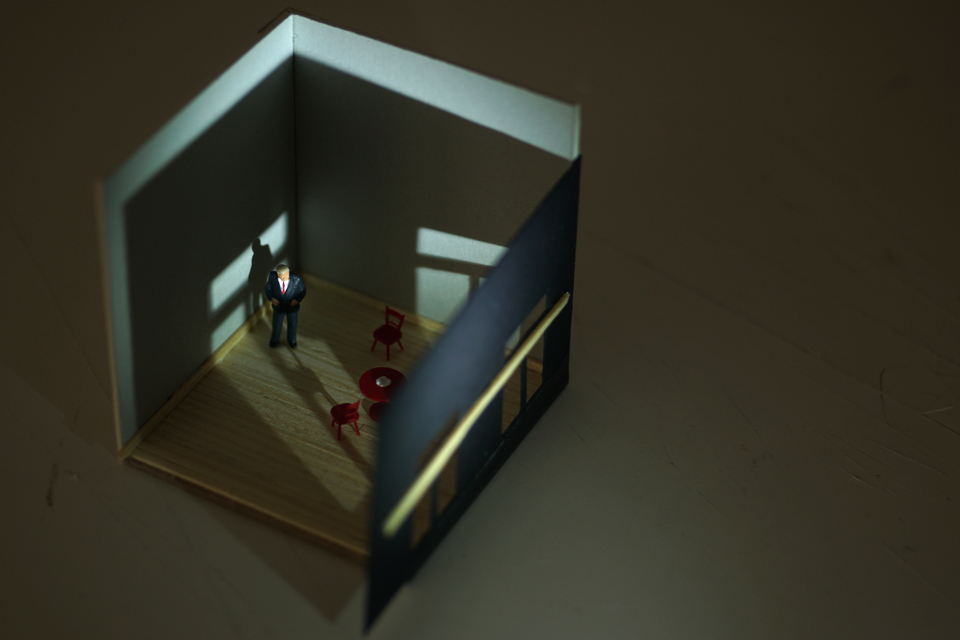
So I only had to build a room. It turned out to be a cube of 6 x 6 cm, made of cardboard with 1 by 2 mm wood pieces making up the floor and the floorboards. Now all I needed was some furniture, lighting ideas, and subjects.
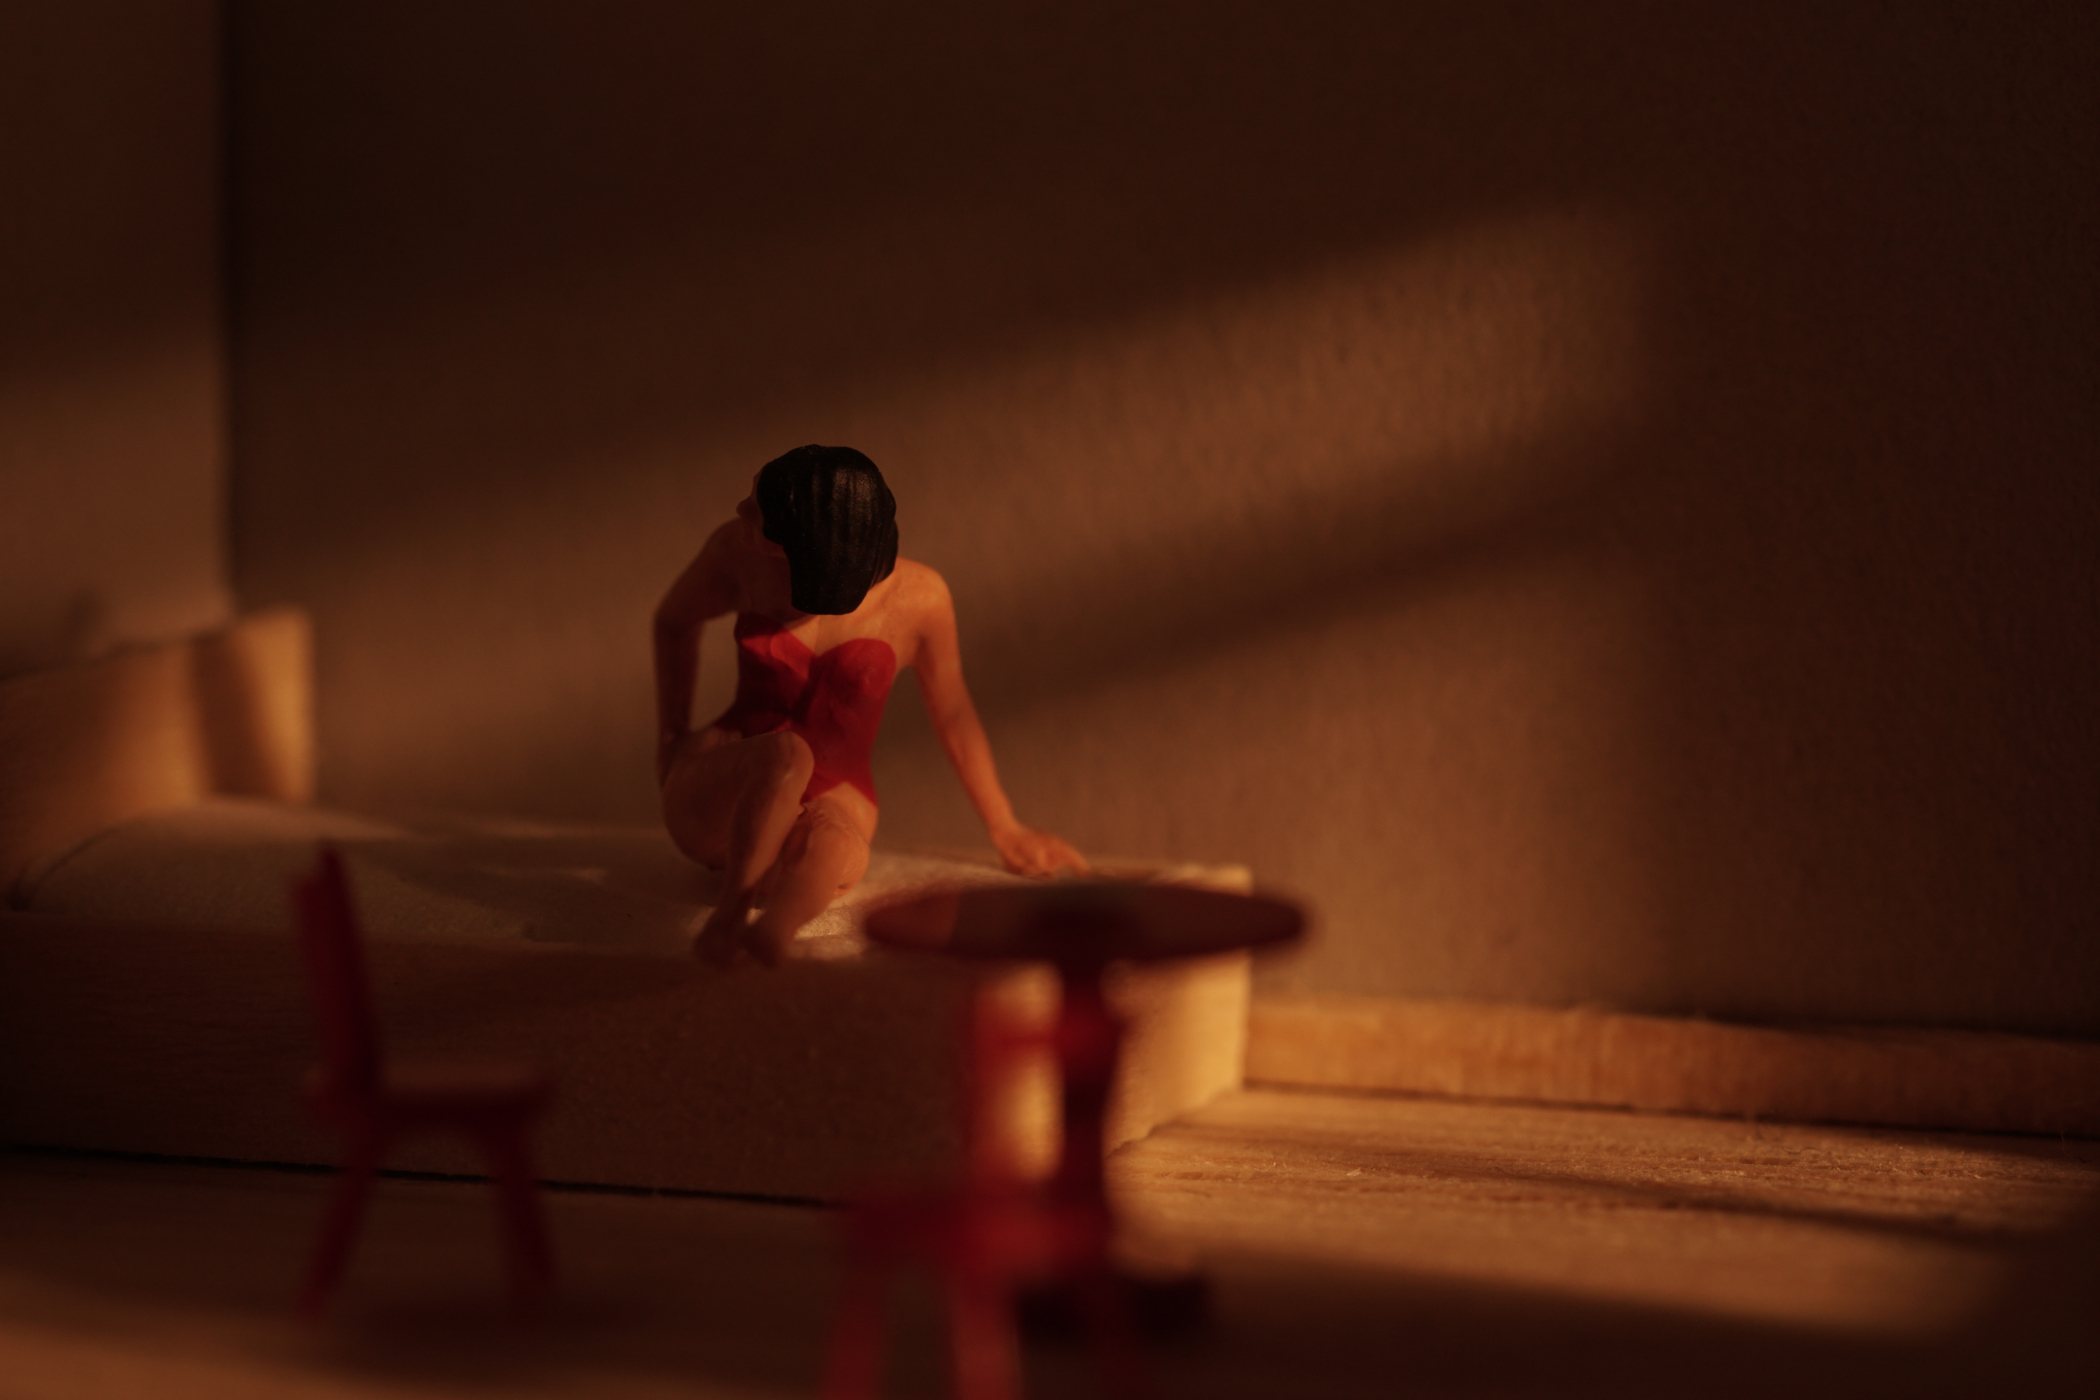
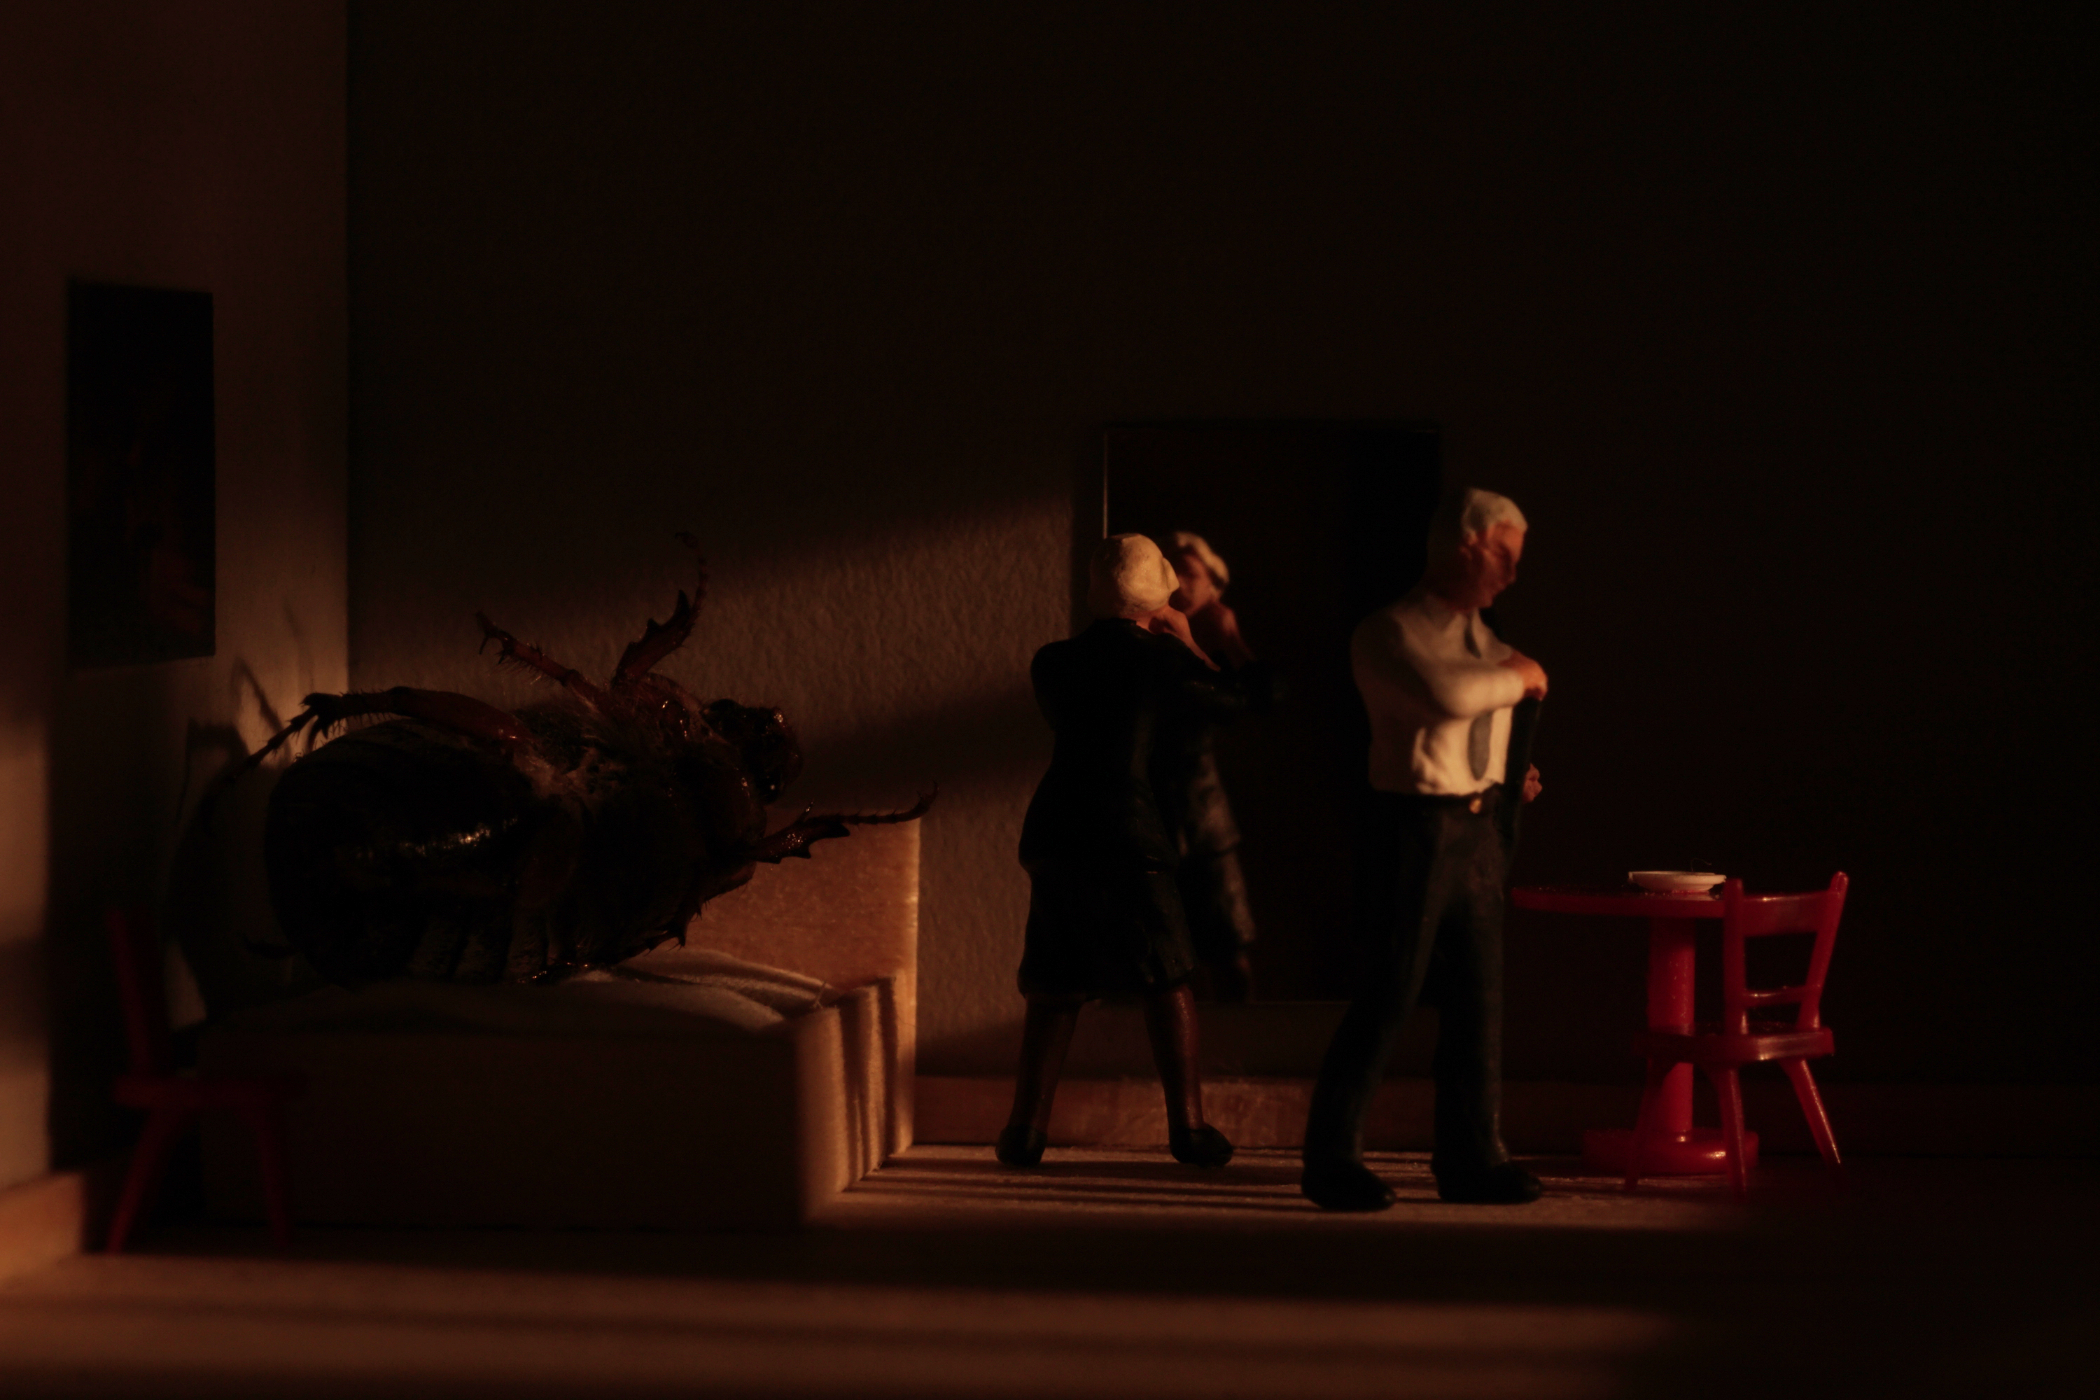
What I had was a red table, two red chairs (they came with a Preiser café scene) – and a vague idea about a giant beetle which obviously led to needing a bed. So I made one, and for lack of the beetle started to play around just to test the possibilities of the little cube. I wound up with Afternoon at the Seaside Hotel (see the very top of this post).
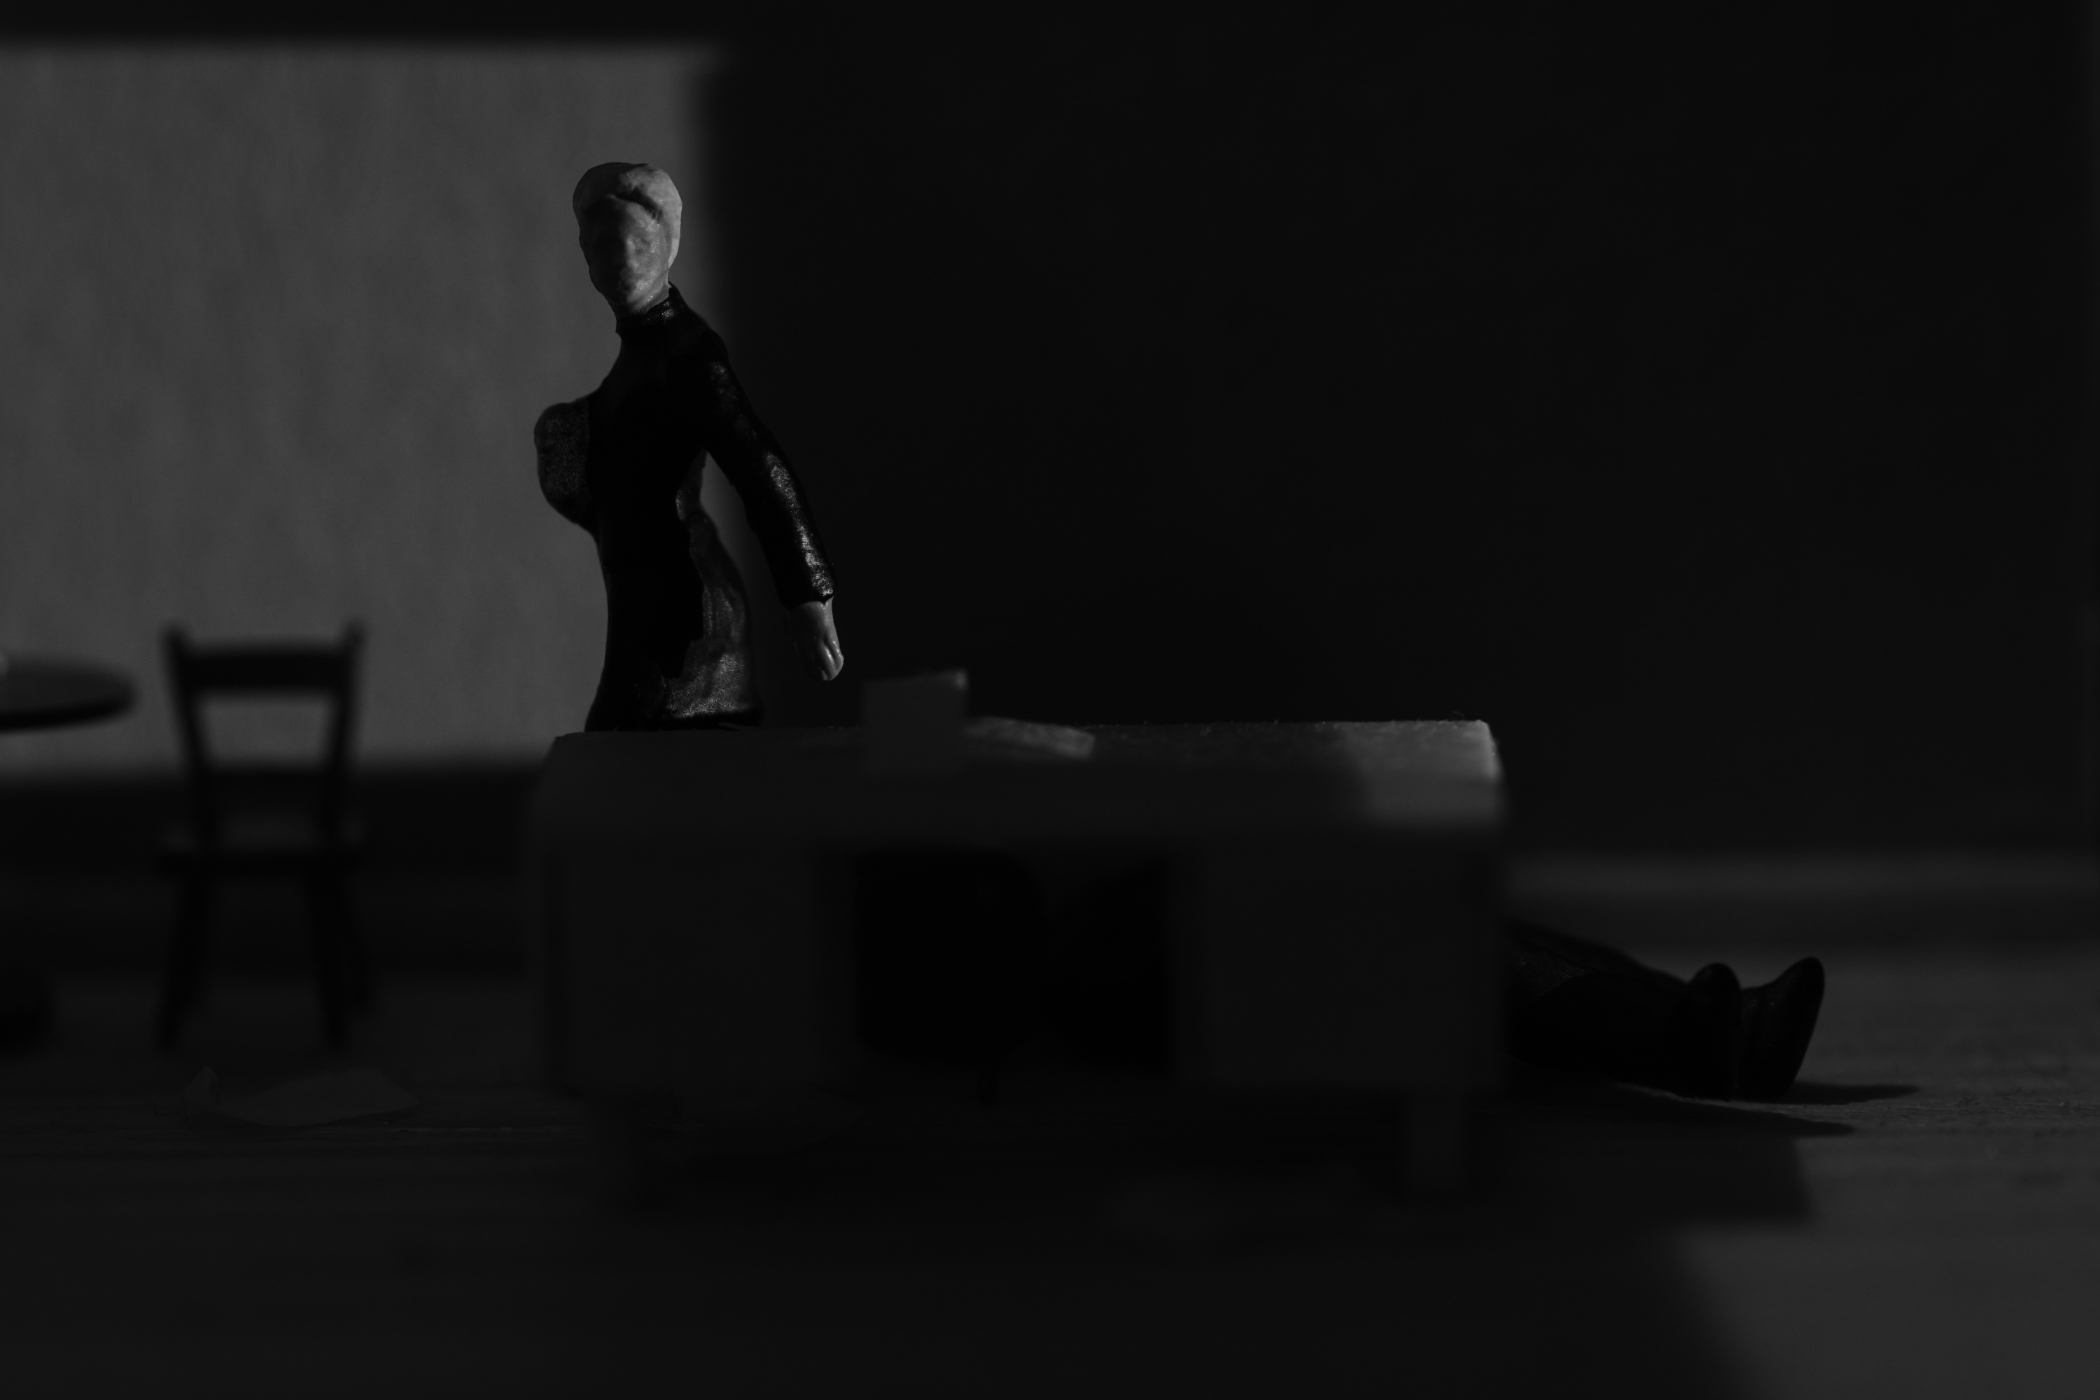
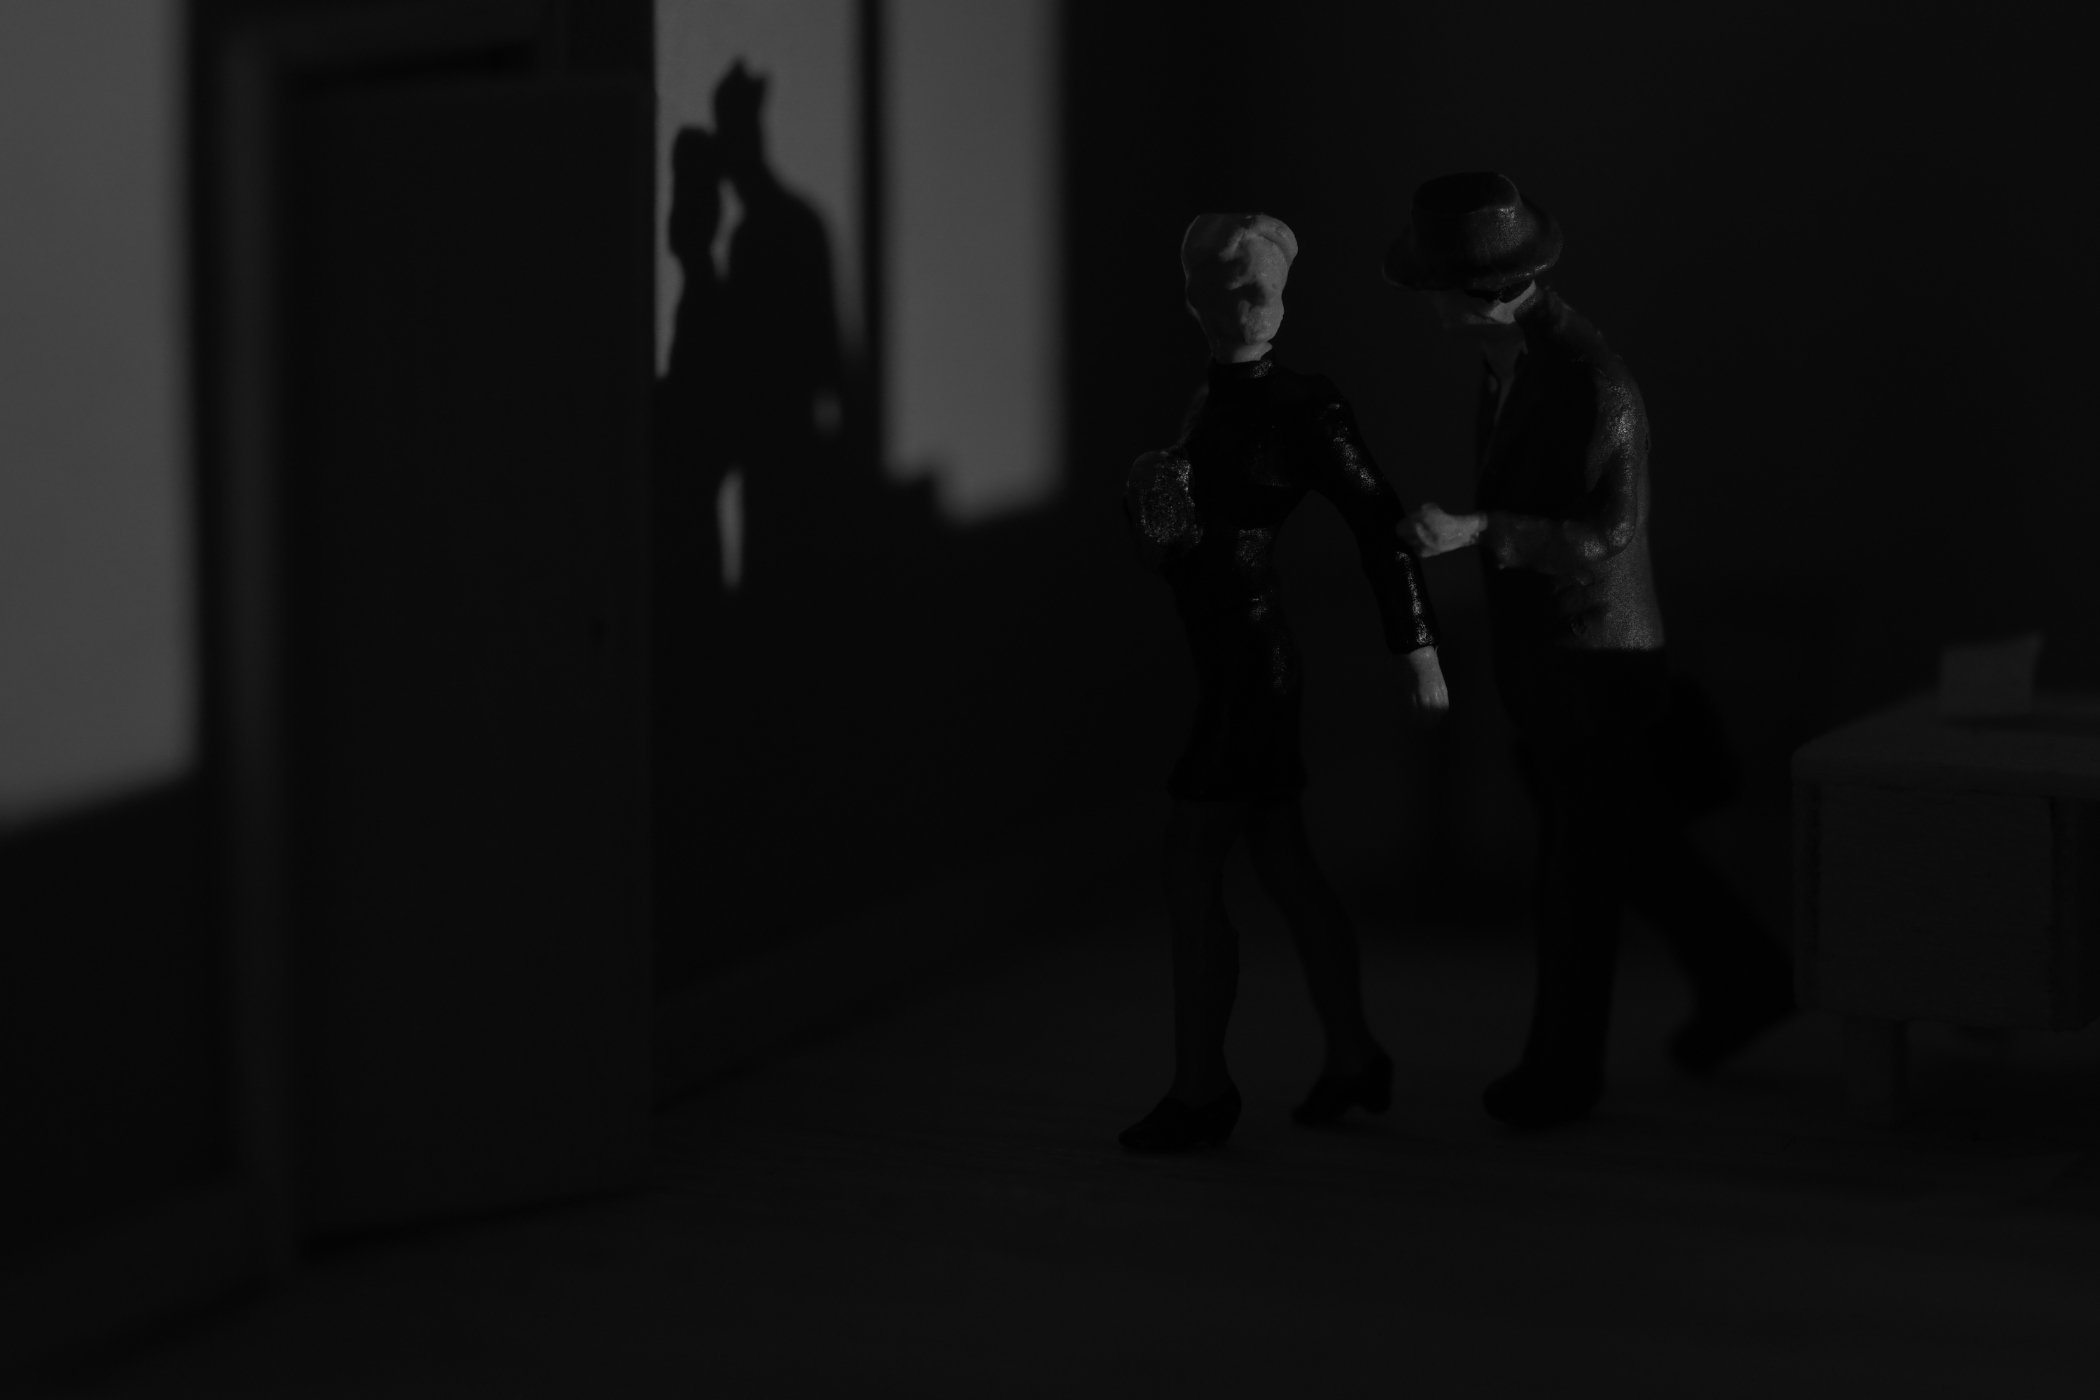
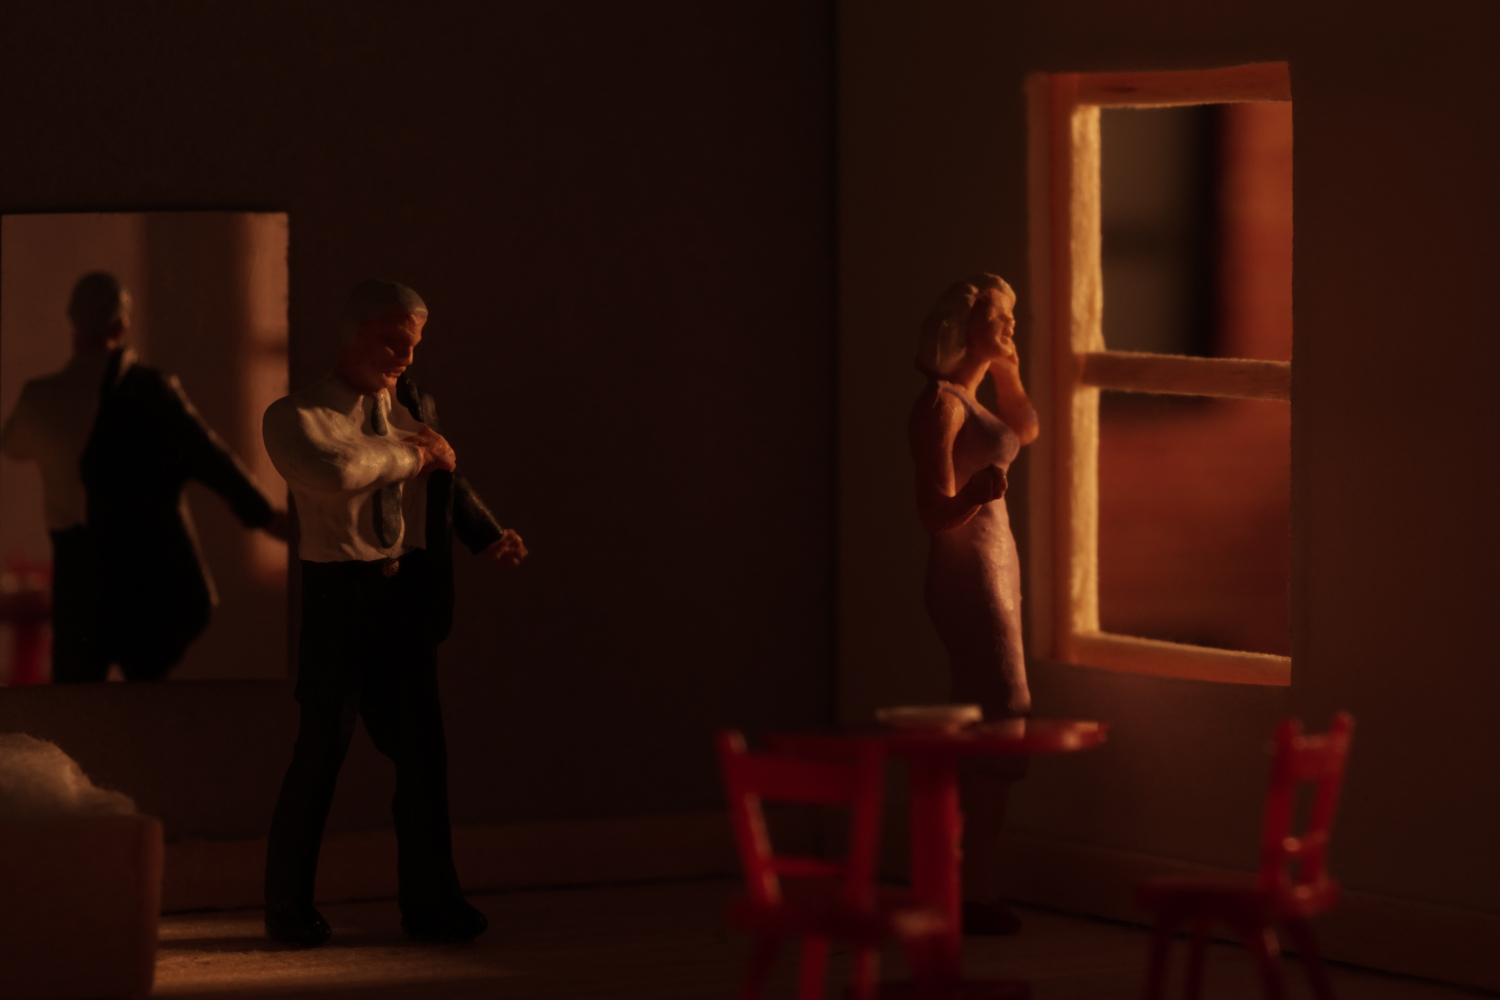
Once I had built the cube, I thought up new ideas. How about, for example, something for my black and white Noir series? I had just read Raymond Chandler’s Farewell my Lovely which ends with a shooting. Hence I thought that one of my villains not making it would be okay. So since we all know that a dead body is most effectively displayed lying behind a piece of furniture, the next piece to build was a desk.
And here’s the box as it looks in our reality:
After making all these pictures, I had a new idea involving more sets I had already built. But for that, the box needed prettier windows. The last picture shows how it evolved.
How about you? Do you keep the things you build for your photography around or do you destroy them? And if this does not really apply to your photography: Do you think it would be a good idea to discard old sets?




I really love H0 scale, i think it offers TONS of creative opportunities for photography.
I always wanted to take pictures of those tiny figures, which comes not for free, but i have (most of) all my budget eaten by LEGO, so, for now, is an idea placed in the “TODOs drawer”, but i really enjoy watching pictures of those subjects and yours are very good because of your minimalist style!
Great work Tobias!
Thank you! HO has it’s advantages and it’s limits. Maybe I should do a pros & cons list one day. On the pro side, there are the available props plus the relative ease of building sets. On the con side, they almost do not have faces (or blurred ones), and I cannot do head shots with my equipment. And you have to be very exact when building because the photo twill inevitably reveal things you did not see (e.g. droplets of glue).
What you achieve with so little is amazing!
This post should be on every toy photographers “must read” list.
The DIY ethics and the “making the most out of the minimal” thinking behind your builds and photos are truly inspiring. So often we think we need a big, elaborate, and often expensive sets to create wonderful photographs. This post proves that’s not the case.
Well done Tobias, and thanks for sharing this with us.
Thank you, Brett. There is just one other point I was not fully aware of when I wrote this post: The stuff you build yourself may not be perfect but you’re in control. You’re the architect, you can build things that suit your needs. And tha is worth a lot to me.
Thanks again for having me share my thoughts here!
I love your style Tobias, and method You use to achieve this effect fits so perfectly to the pictures. “Less is more” is so noir!
Yeah, and you can always ‘drown’ the stuff you do not like / need in shadows … one of the great advantages of ‘noir’! Thanks for your lines!
Simply stunning. Transforming the simple into multiple, immersive worlds is such a skill and something I most adore about toy photography.
Thanks, Jennifer! Much appreciated!
Tobias, you are such an inspiration! Thank you for sharing this amazing behind the scenes look at your process. Now I’m off to sharpen my X-acto knife. 😀