
If you don’t already have a smoke machine, you’re probably wondered where to start. What technique creates the best effect and how much will this set you back. In this post we’re going to explore a few of the most popular options for adding smoke or haze currently available to the toy photographer.
Adding a layer of atmospheric haze to an image is a popular way to bring dimension to the light in a scene. I became interested in this technique long before portable smoke machines hit the market. I had to go down a few dead ends before I found a technique that worked and technology caught up with me.
The Dark Ages
For my first attempt at creating a smoke effect I resorted to using hot water to create steam. I would place a pot of hot water beneath my setup, hoping the rising steam would mimic smoke and that I’d manage to capture it in a photo. Unfortunately, those experiments were unsuccessful.
Besides hot water I also experimented with an ultrasonic mist maker (ionizer). This is a cheap, easy-to-use device originally designed to create atmosphere haze, for example in floral arrangements. Similar to a dry ice effect. You simply place the atomizer in a container filled with water and turn it on.
While the device produces plenty of mist it also has several downsides: the water container takes up quite a bit of space and the unit splashes heavily (leaving everything around it wet). Plus the mist itself — although dense and compact — rarely goes exactly where I want it to. Any attempt to direct it usually resulted in it dispersing almost immediately. For now, the device has been retired and sits somewhere out of sight.
Current options
Fast forward nine years and small, fairly inexpensive options are available. The three most popular options are vaping (with only the base liquid), facial mister and hand held smoke machines. They each have their pros and cons. So let’s look at each option in detail.
Vaporware
First the disclaimer! A vape is a device intended exclusively for adults. By discussing this smoke producing option, I’m not encouraging or promoting its use for purposes other than as an benign smoke effect for toy photography. Remember: nicotine is highly addictive.
By using a vape I effectively turned myself into a human smoke machine. When I first saw how e-cigarettes could produce massive clouds I became intrigued. So I borrowed one from a friend to test it myself. It works better than I had hoped for. To generate only smoke, I use what’s called the base liquid. It’s created using propylene glycol and glycerin. Both substances are non-toxic and considered safe for the human body.
It’s important to point out that I don’t inhale the vapor — I simply hold it in my mouth for a moment and then blow it into the scene. Depending on the desired effect I can apply the smoke in two different ways:
- when I only need a general atmosphere across the entire scene, I blow the vapor directly from my mouth
- when I need a denser plume or want the smoke to appear in a specific spot, I blow out through a straw
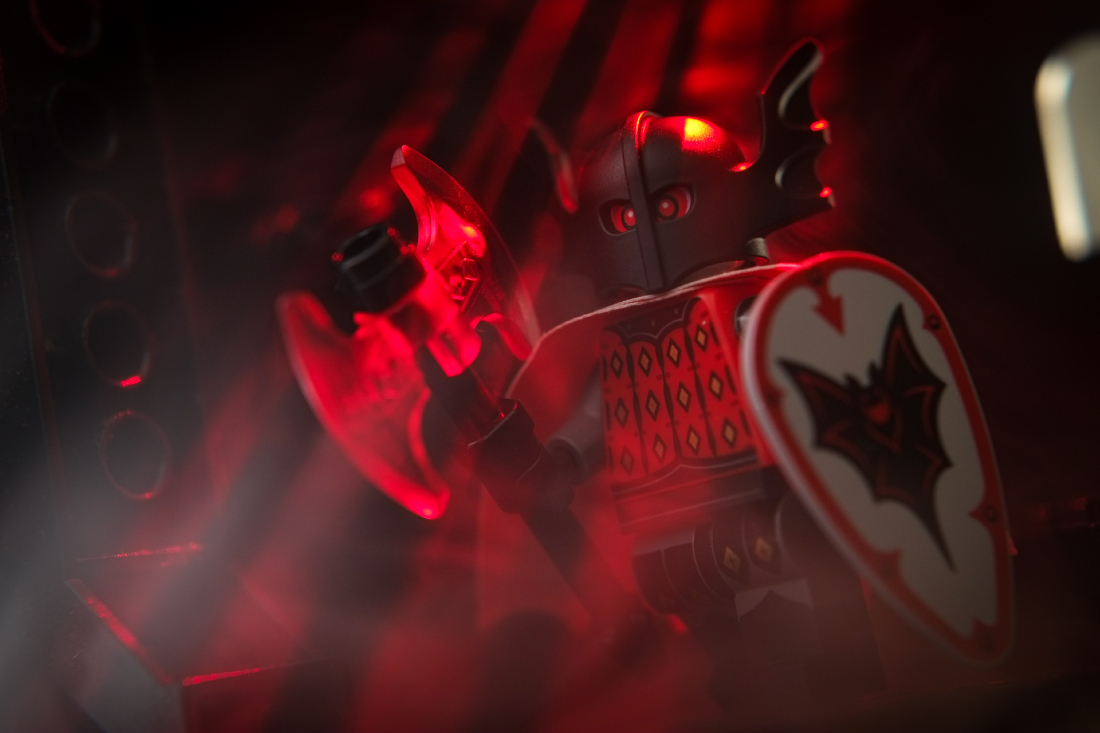

Example of picture with smoke carefully added through a straw.
I’ve noticed that smoke tends to “drift” towards the light source when there is practical lighting present. This can be due to either temperature differences or other physical factors. For whatever reason, it consistently happens. This behavior is something worth keeping in mind when setting up a shot — though in practice, it’s not always easy to account for.
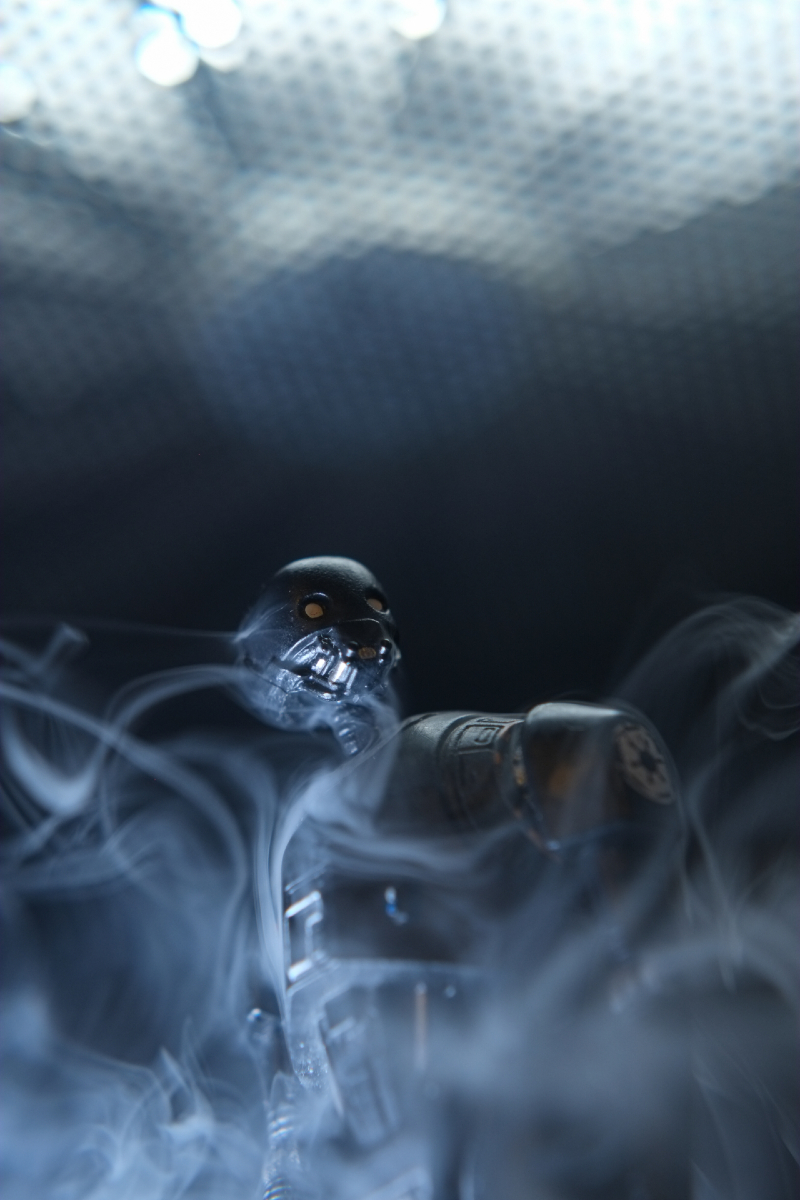
Example of picture with smoke added through a straw.
Vape pens and e-cigarets vary in price. You will need to do your own research to determine if this is the path for you. But if you already vape, this might be a great option for you.
Pros:
- a relatively cheap, accessible, and easy way to produce smoke if you already own a vaping device
- good control over where — and with a bit of practice, how much — smoke is applied
- rough control over the strength and dynamics of the vapor
- using a straw allows for a narrower, more focused smoke plume
- diluted vapor can also work well as general atmospheric haze
Cons:
- you will need to hold the vapor in your mouth
- a tripod is essential; this method doesn’t work well for handheld shooting
- using a self-timer is recommended, and timing the release of smoke takes practice
- you need to be careful not to choke
- after longer sessions, the glycol and glycerin in the liquid leave a distinct aftertaste on the tongue
Canned atmosphere
When Atmosphere Aerosal was first introduced it revolutionized the toy photography scene. Rather than using a bulky smoke machine, any toy photographer could add haze to any, windless scene. Adding haze to a scene is a great way to bring out the rays of sunlight. Give any scene a magical misty quality.
Pros:
- Convenient
- Inexpensive
Cons:
- Environmentally questionable
- Not reusable
- Will leave a residue which can be a concern for more expensive toys
- Only creates haze not a smoke effect
While haze in a can has its drawbacks – it cant be beat for convenience. If you want to have the option of creating haze while on location, this is your best travel option.
Facial mister
This small, compact device is primarily designed for facial hydration. But the creative toy photography community quickly found an alternative use for it. A facial mister works surprisingly well at producing a subtle airborne aerosol which creates added depth to the scene.

It’s important to note that a facial mister doesn’t produce smoke. It creates a fine mist that needs to be backlit to see. If you’re just starting out playing with atmosphere, a facial mister is a cheap place to start.
Pros:
- a cheap and easy way to create atmospheric haze
- good control over where the mist is applied
Cons:
- no adjustment of mist intensity
- with prolonged use, moisture settles on the surface of photographed objects
- If you use items like dirt, sugar or coffee for your ground…it will get soggy or muddy
You can easily pick up an inexpensive, rechargeable facial mister on line.
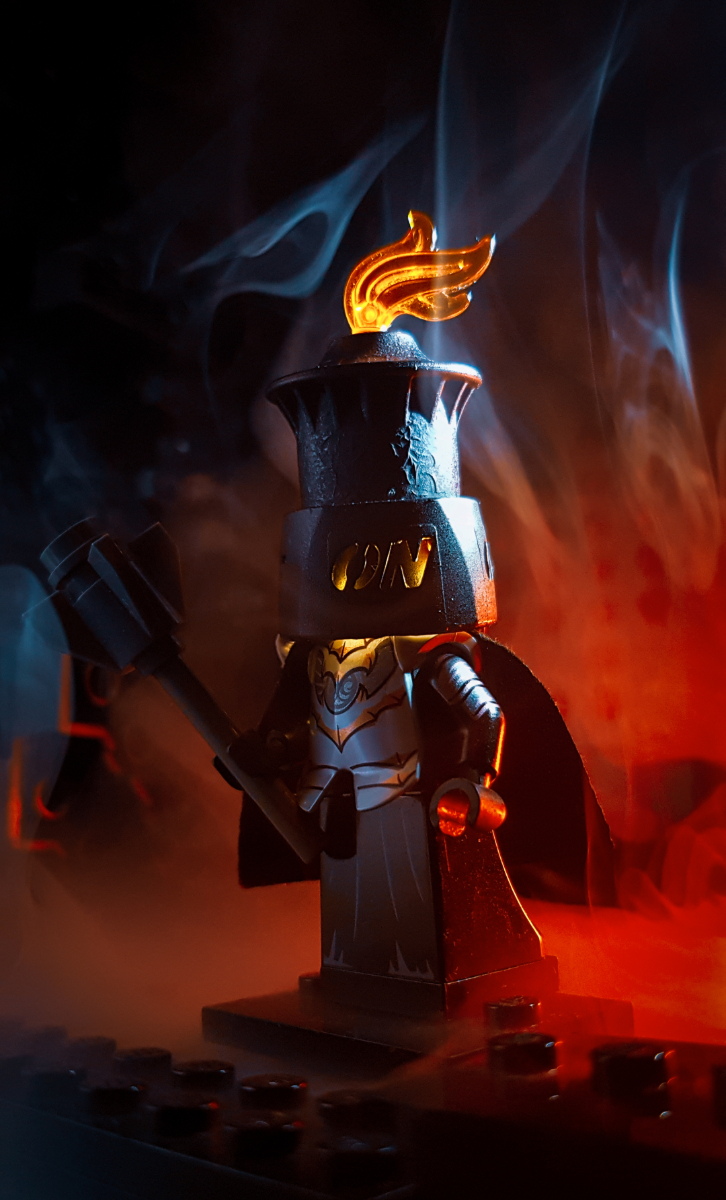
Hand held smoke machine
With the advent of an inexpensive hand-held smoke machine I’ve come a long way from those early hot water experiments. The portable smoke machine combines virtually all the advantages of the previous methods while eliminating many of their drawbacks. My model I own comes with several nozzles (including a sponge attachment). These allow me to create different type of smoke: thick or thin, diffused, directional and dry ice. It also comes with a remote control, which gives me even more control.
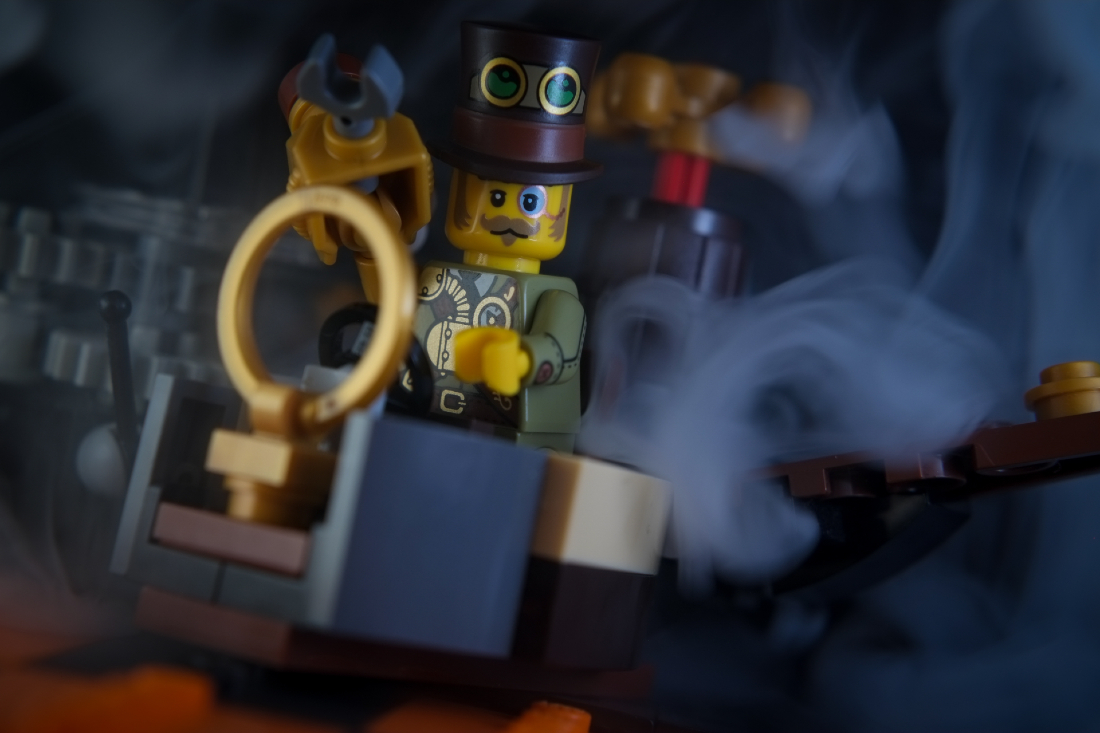
Example of picture with smoke added with a hand held smoke machine.
But like all the previous methods, there is a learning curve. Smoke and mist rarely lands where you want it to. Smoke isn’t like a toy subject. I cant blow smoke into my scene and expect it to stay put. No matter how precise my tool, smoke is dynamic and inherently unpredictable.
Even after a year of learning my device, one thing is already clear: just like the other methods, smoke will flow toward the light source. It’s also important to plan where you will add the smoke. I find its best to introduce it behind my subjects. When I add smoke above or next to them, all I accomplish is obscuring the scene.
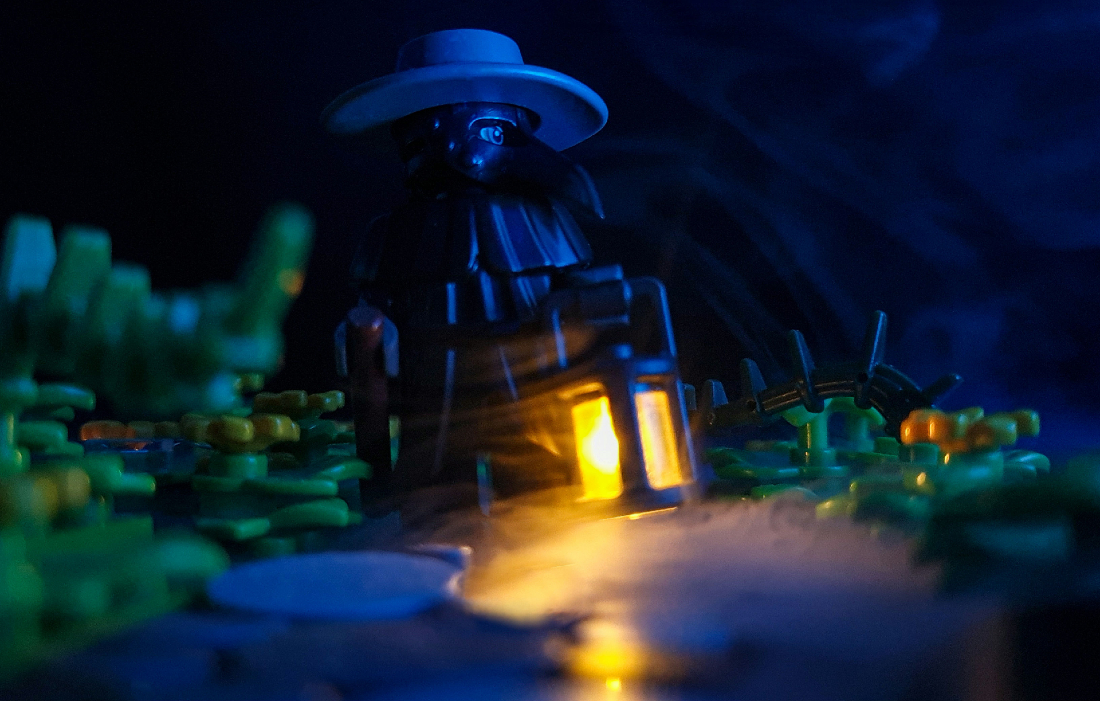
Sometimes I want the dense smoke to cling to my subjects and then form trailing, drifting strands. To create this effect I release the remote several seconds before I plan to press the shutter. This gives the smoke time to settle and wrap itself around the subject. An effect I like very much.
Using a small smoke machine is an exercise unpredictability. Be prepared to play and experiment. It took the Beatles almost 30 takes to record Strawberry Fields Forever in shape we know. Unless of course you get lucky and the smoke falls perfectly into place on the third try. Which I sincerely wish you all the best!
Pros:
- Realistic smoke effect
- Ability to create a dry ice effect when the sponge attachment is placed directly on the ground
- Creates a variety of smoke effects: from fine wisps to atmospheric haze
- Some models come with a remote control
Cons:
- Needs to be practiced in a well ventilated area (it will set off a smoke detector)
- Glycerin will leave a residue on toys and scene
- Will need to be cleaned, or parts replaced if glycerin dries out
Ulanzi and Lensgo currently make the most popular versions of the handheld smoke machine.
Conclusion
Adding smoke or haze to your toy photography is less about the tool and more about how you use it. From DIY experiments to compact handheld smoke machines, there are now more accessible options than ever — each offering a different balance of cost, control, convenience, and realism. The right choice depends on your shooting style, location, and how much flexibility you need on set.
No matter which method you choose, remember that smoke is a living, shifting element. It reacts to light, air movement, and temperature, and it rarely behaves exactly as planned. Embracing that unpredictability — and allowing yourself time to experiment — is part of the creative process!
Atmosphere can transform an ordinary scene into something cinematic and immersive. With a bit of patience and practice, you’ll find the approach that fits your workflow and helps bring your miniature worlds to life.
Because when it finally falls into place, even the simplest setup can feel alive.
Howdy! While you’re here, we invite you to sign up for our weekly Toy Photographers email roundup, where you’ll get a recap of all the week’s babbling. And while you’re at it, you should definitely join our MeWe community! We hold monthly contests with prizes and lots of other cool stuff.

![AI is ruining toy photography [a personal viewpoint]](https://toyphotographers.com/wp-content/uploads/2026/03/Together-As-One-Ultra-Magnus-revealed-scaled-500x383.jpg)


Excellent article Tomasz! Apart from the atomizer, I’ve tried all these methods too over the years. I got my Ulanzi smoke machine last year and it’s such an upgrade, been able to create some fantastic results with it.
Thank You Ian! Agreed, smoke machine is a game changer, altough sometimes I miss the vape too 😉 [I have some issues with charging and I’m not sure it will work]
Thank you for the tips!
thanks Beth! I hope they’ll be useful 🙂
Good article. I understand what you all are doing much better.
Lots of great info here, Tomek. Really helpful to hear about techniques I haven’t tried before!