
There is one tool in my studio toolbox that I would be hard pressed to give up: the plexiglass / perspex baseplate. I have one in white and one in black. Every photo I take starts with one of these flat reflective surfaces. I can add 3D printed accessories, recycled cardboard forms, rocks, plastic snow and greenery to add interest to this very flat surface. The more my work focuses on ideas, I find that I prefer this minimalist set up. You know what they say: less is more.
Of course a lovely sheet of plastic is also great for creating reflections. And I LOVE a good reflection!
The down and dirty
As I already mentioned I have two sheets that use, one white and one black. Every photo starts with choosing the one that best reflects the mood I want to capture in my photo. If my image will tend towards high key then I will opt for the white base. And if my image will be closer to a night image with low key lighting, then I will choose the black base.
With the addition of small props like greenery, trees, rocks other figures, I can break up the flatness of a machined piece of plastic. I’ve come to see these humble pieces of plastic as the Swiss army knife of my studio setup. They can be a dark forest, a spooky swamp, a river or a field of snow.
To give you some idea of the flexibility of these two simple base plates, I’ve taken two photos of roughly the same subject. I’ve changed the baseplate, background and accessories, but I’ve left the subject and the lighting the same.
Let’s see what that looks like when put into practice.
White vs black
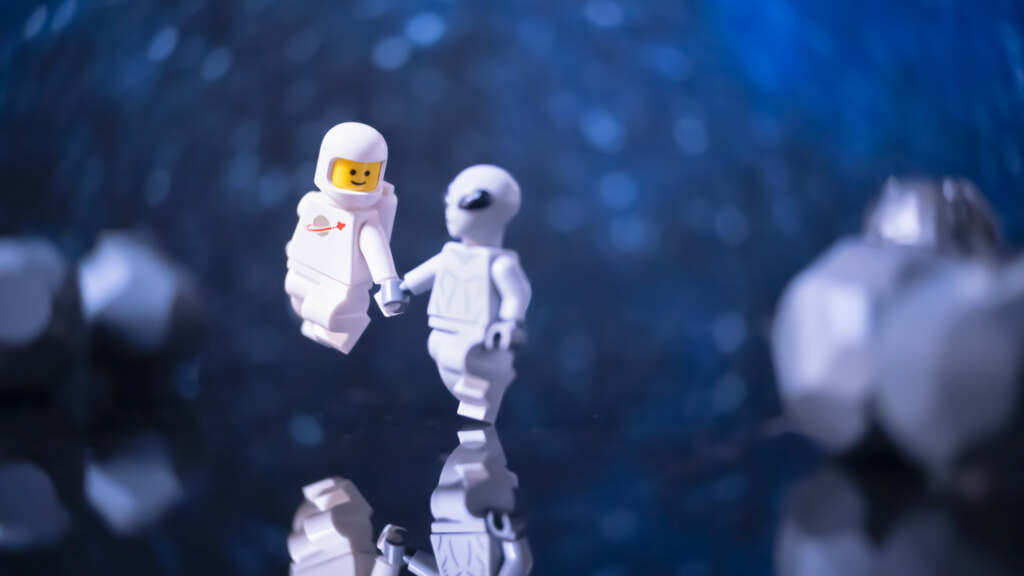
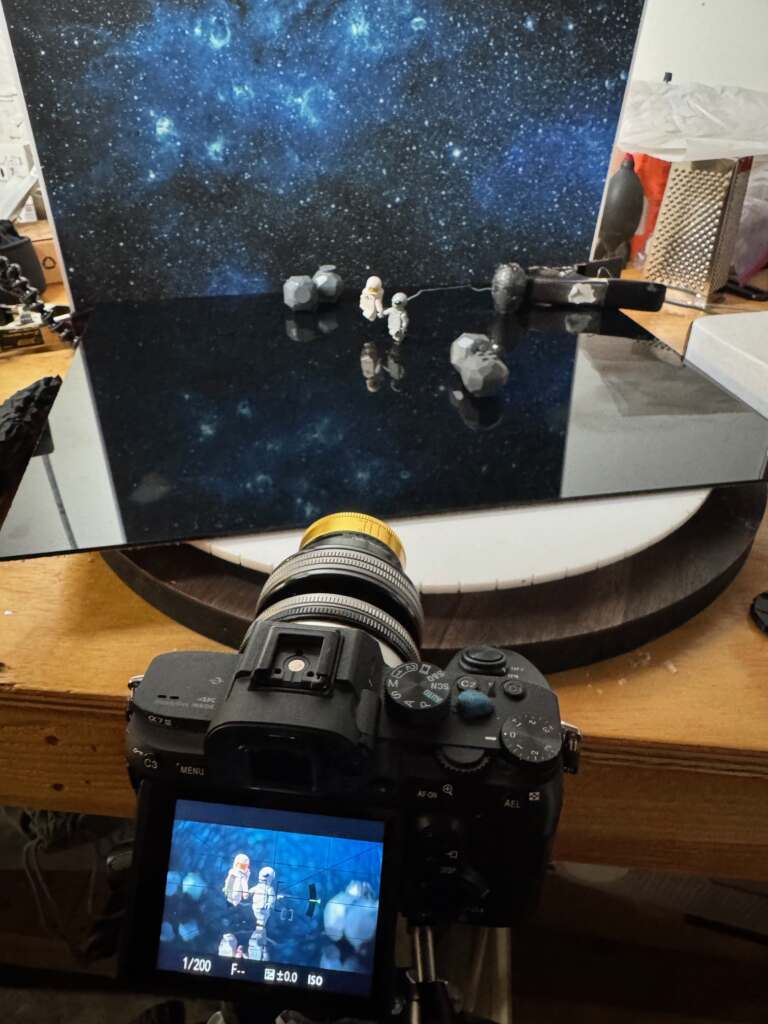
In this first example I used a simple star field paper backdrop in conjunction with a large piece of black reflective plastic. The figures are placed in the center, suspended by a single piece of wire. I added a few LEGO ‘rocks’ infront and behind the figures to give a sense of place and depth as well as an otherworldly feel.
I used a Lensbaby Twist 60 lens because I wanted a sense of spin in the background to reinforce the idea of being ‘in-love’. You know that feeling of infatuation when the world isn’t quite straight.
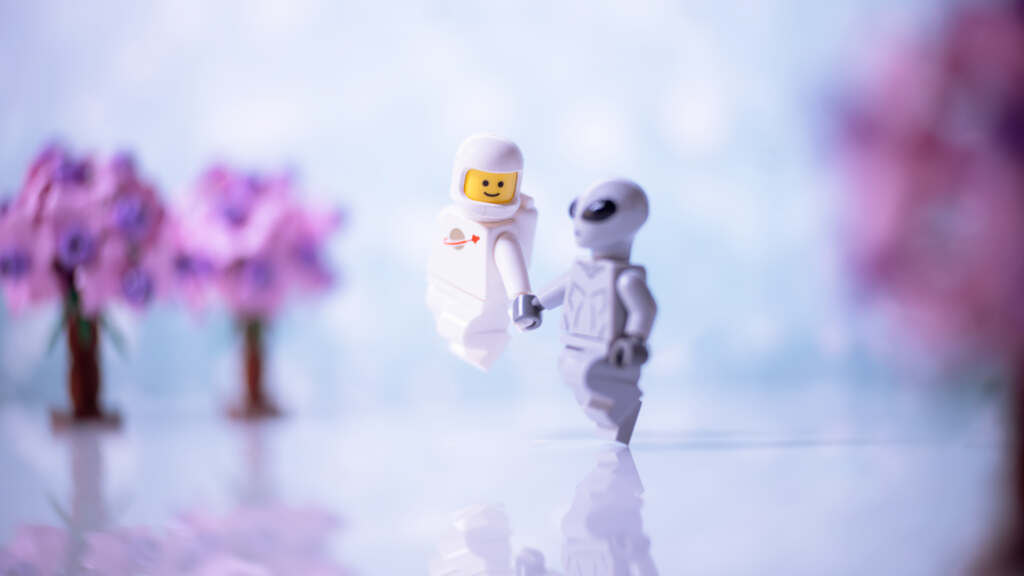
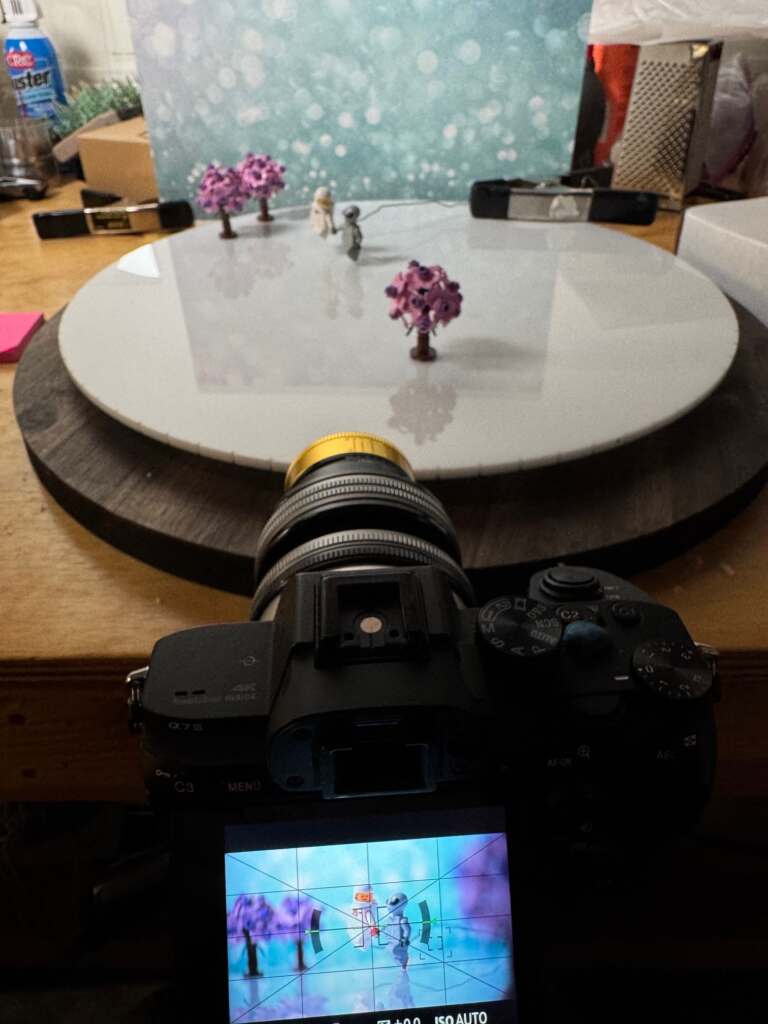
Change the color, change the mood. Now that I have a white base I changed up the background to a generic bokeh background and replaced the boulders with flowering trees. The lighting is still the same (one key light high and to the right) but the effect is completly different. Because the base is light, it acts as a reflector for the single light, bringing the image into a ‘high key’ range.
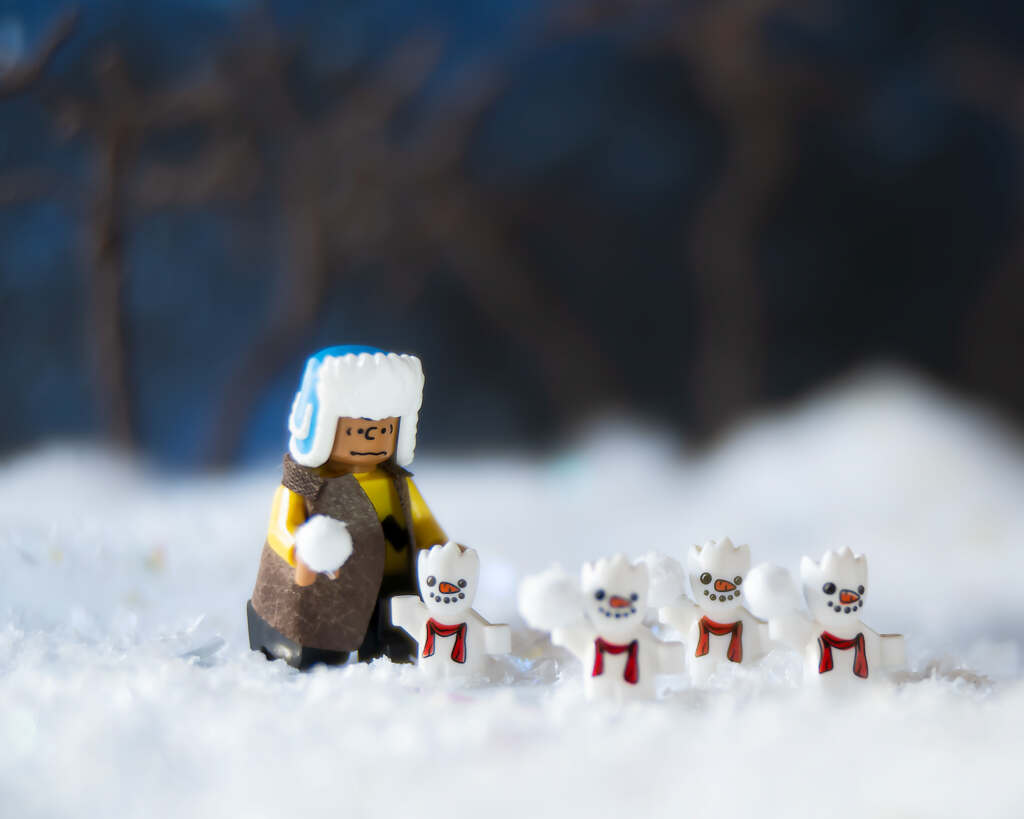
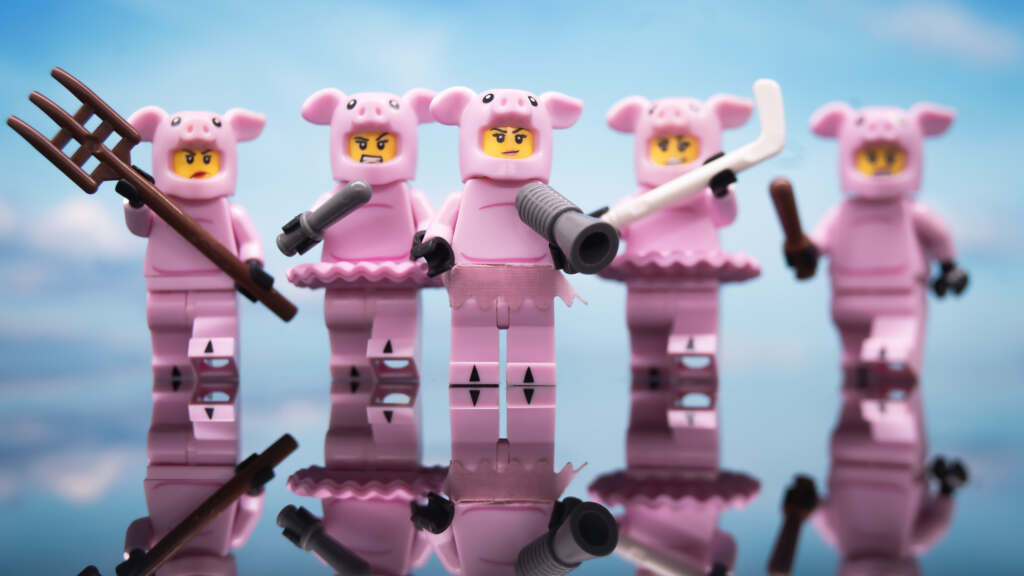
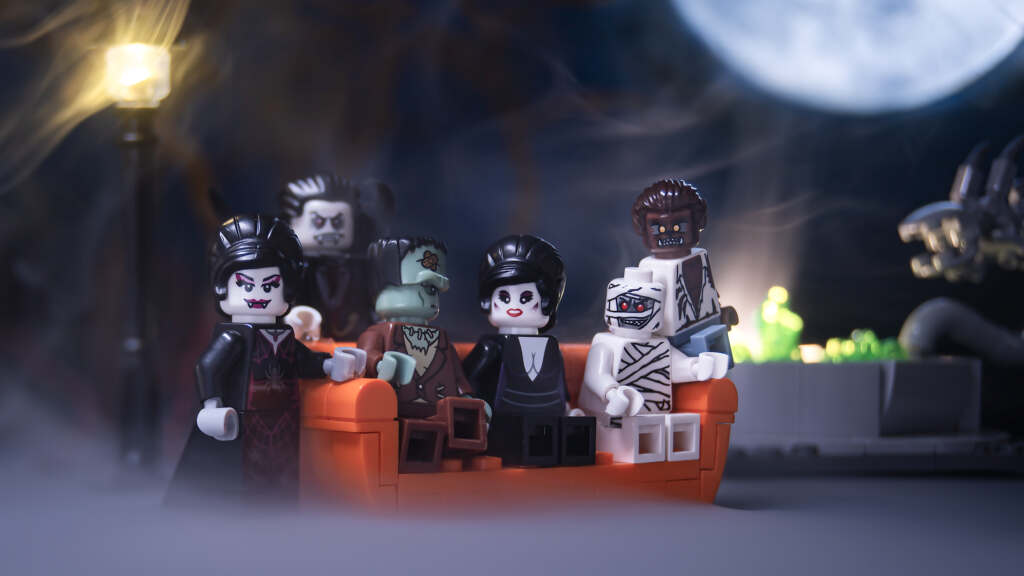
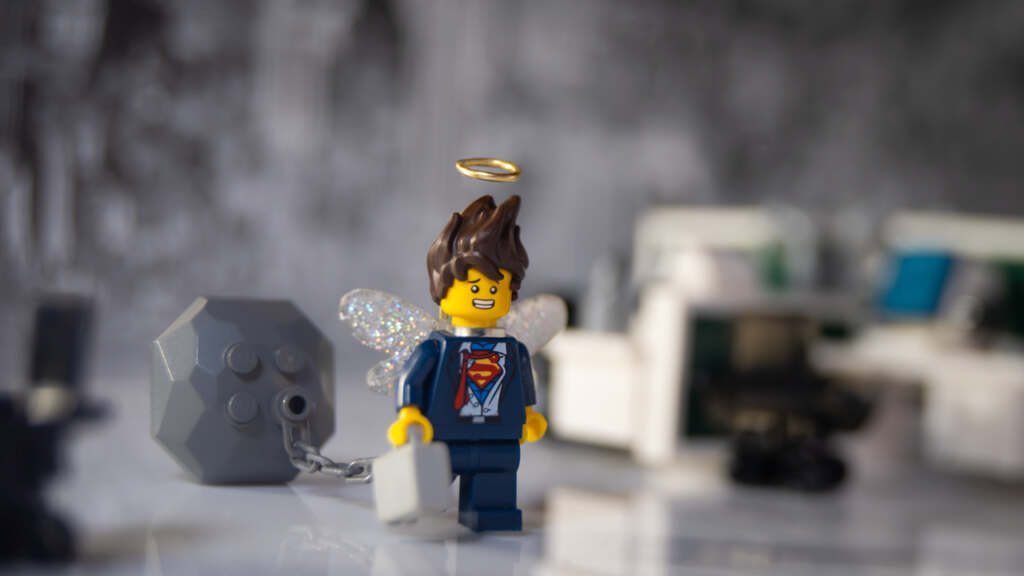
Other examples
Conclusion
I love using these simple plastic base plates as the foundation for an image. They are easy to store, clean and modify as needed. As I mentioned earlier, as my own tastes and style as changed, I find less is more. And I get the most creative boost with these simple and inexpensive baseplates. I can add a few rocks, greenery, plastic film or even gel to bring in even more texture and interest. Don’t be afraid to get creative and a little messy!
Of course, there are many creative bases that can be used to build up a scene with. I personally love the outer space felt Chris Whitlow described how to make here. And a well used cookie sheet can be put to all types of creative uses. I have a fondness for large sheets of grass to simulate rolling hills. Everyone has their favorite go-to starting point for building a scene. Of all the ones I’ve tried, the flat reflective surface of a sheet of plastic gives me the most flexibility as well as creative outcomes. If you’ve not added one to your studio bag of tricks, I highly recommend it!
Do you have a favorite base to use in your studio set-ups. Feel free to share your own idea of the perfect starting point in the comments below.
And if you’re interested in connecting with toy photographers of all skill levels, consider joining our MeWe community.


Love this, Shelly! Thanks for the information. I love what you can do with a few simple changes.
Thanks Beth for your comment. Thanks for appreciating the versatility of this type of base. It’s a simple solution for all types of situations and styles. I hope you find tips like these useful. Shelly
Great article, Shelly – one question I love the idea of the plexiglass plates. Any suggestions for where to find them? They sound easier to use than the old mirrors I like to use.
Mary I would figure out the size, color and thickness of the sheets you want and order online from Tap Plastics. They’re a NW company and it keeps you from purchasing from companies with questionable ethics. I hope that helps! Shelly
Great story, Shelly!
Thanks Oliver! Im finally reading “On writing well” that you recommended. I’m trying to get more intentional with the posts I write. I appreciate all you’ve done to help elevate the blog over the years. 😀