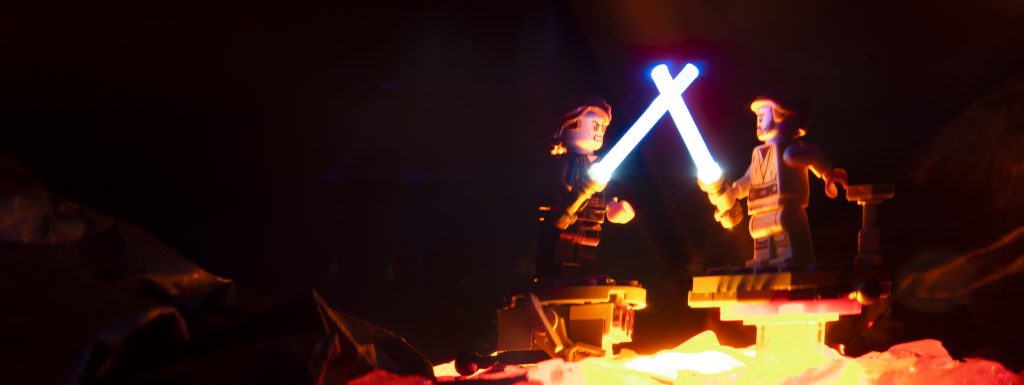
Over a few of my recent posts I’ve talked a bit about locations. From climbing mountains to disused spaces. But this time I thought I’d build my own location. Welcome to Mustafar, where the weather is always warm and you’re guaranteed to leave with a killer tan.
I bought the LEGO Duel on Mustafar set a little while ago with something of a plan. Wanting to create a river of lava as well as some higher ground (sorry I couldn’t help myself). But I wanted to do it on the super cheap. Creating my own version of the ending to Revenge of the Sith on a budget.
How to build a river of lava
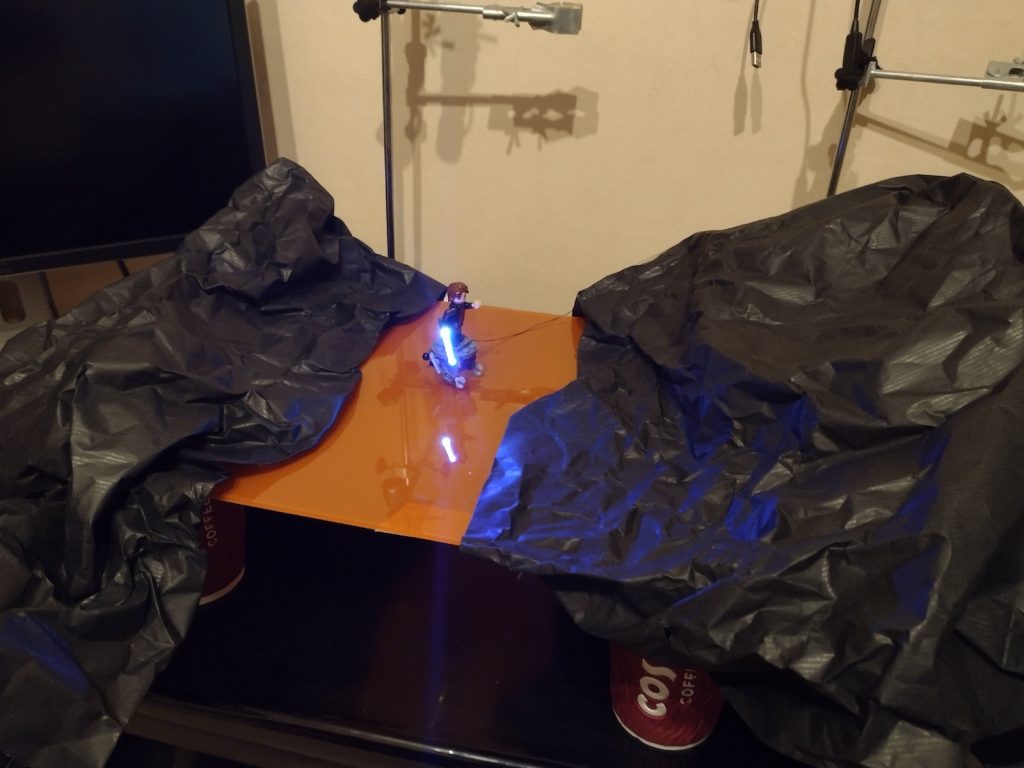
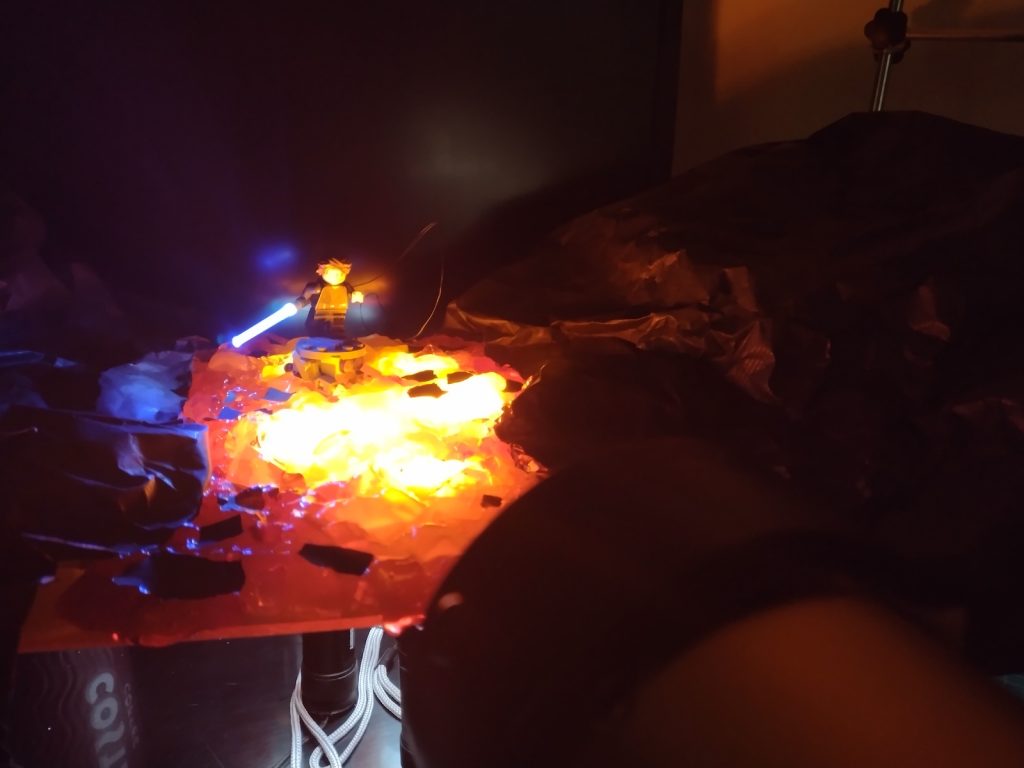
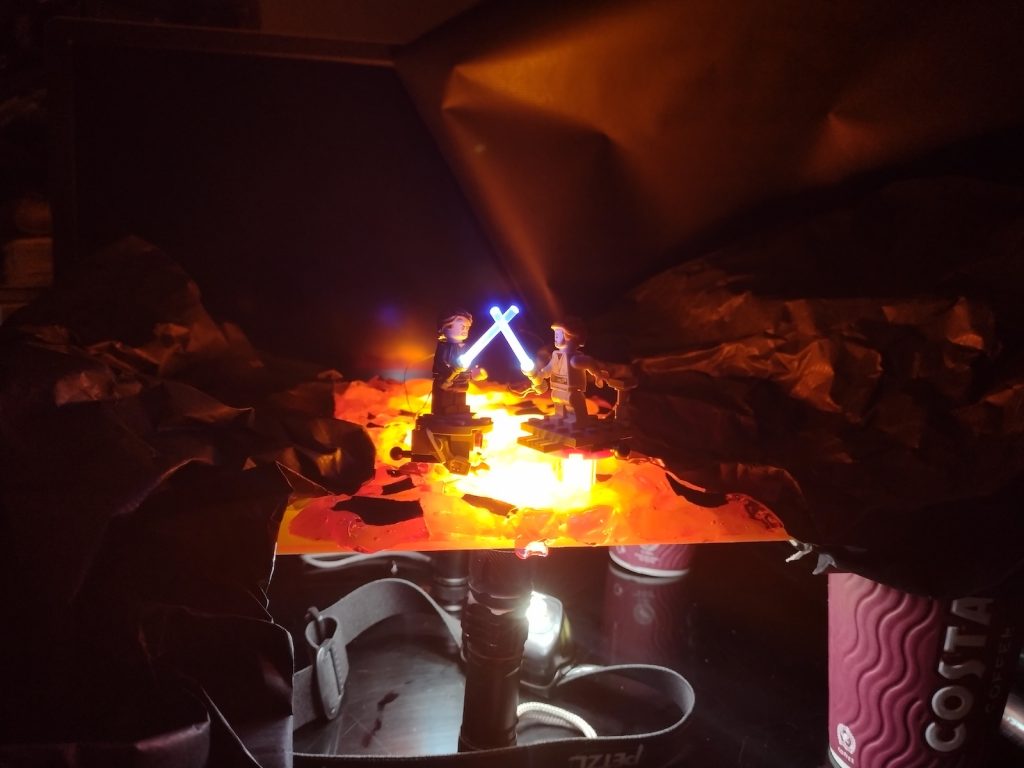
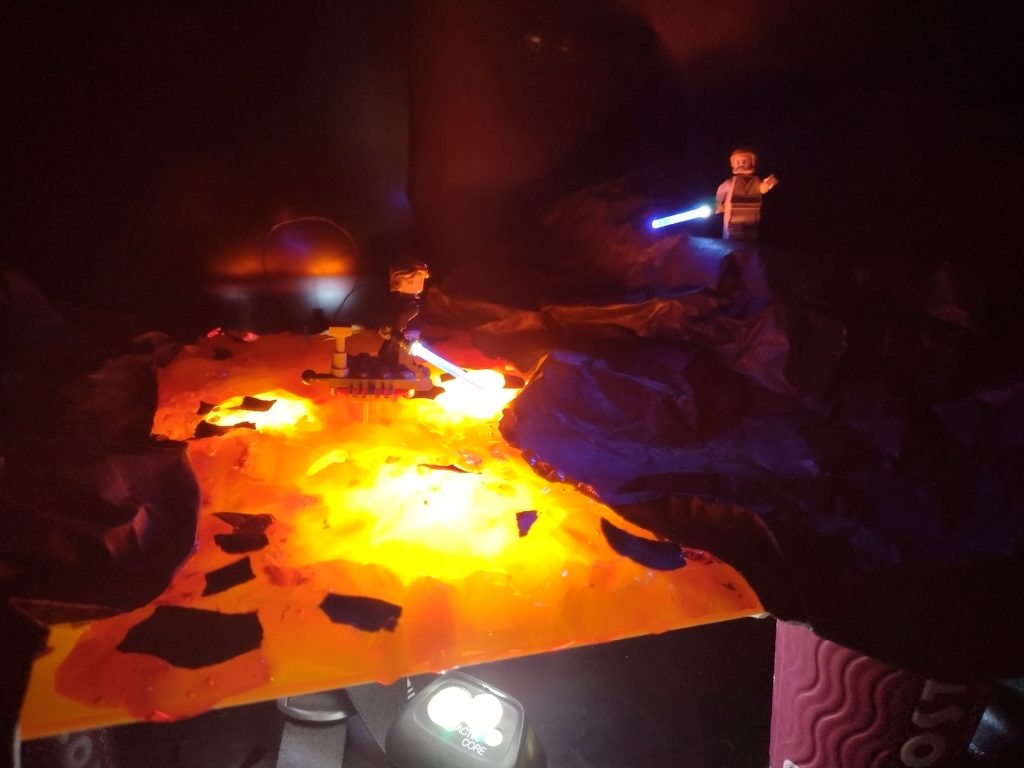
Step 1: I bought a sheet of clear orange acrylic from eBay. It was only £6. Combine that with a roll of black parcel paper for £3 and we’re certainly on the cheap side. I screwed the paper into various shapes to get all the creases and wrinkles in it before shaping it into the riverbanks and hillsides. I’ll explain why it’s sat on coffee cups in just a second.
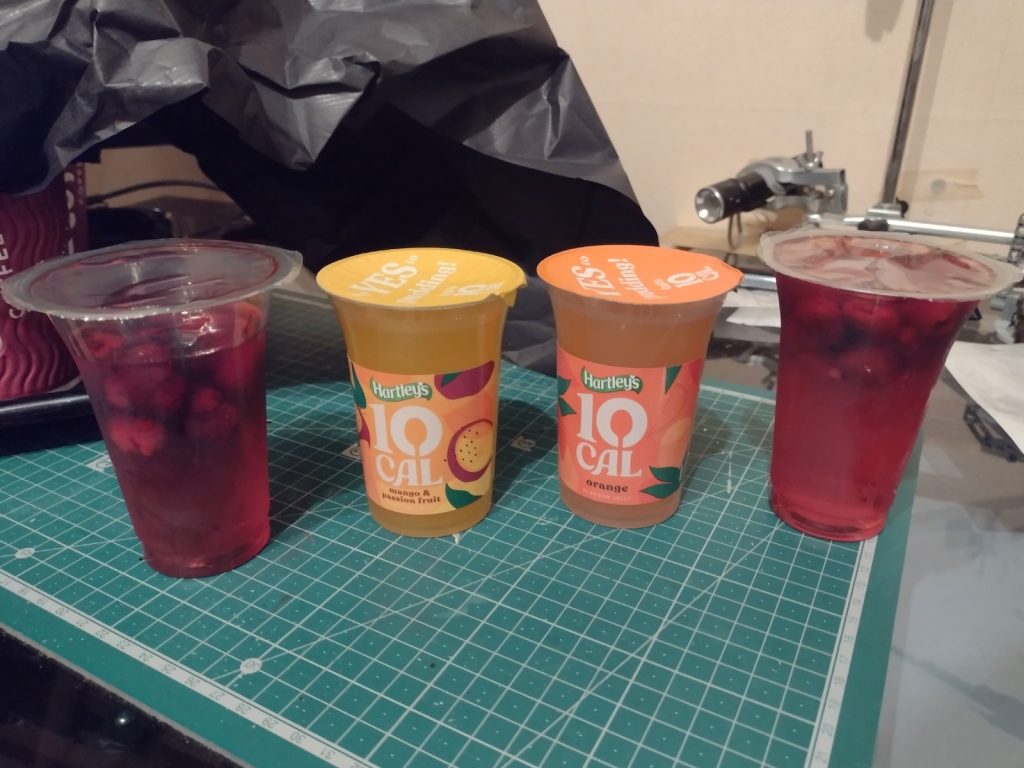
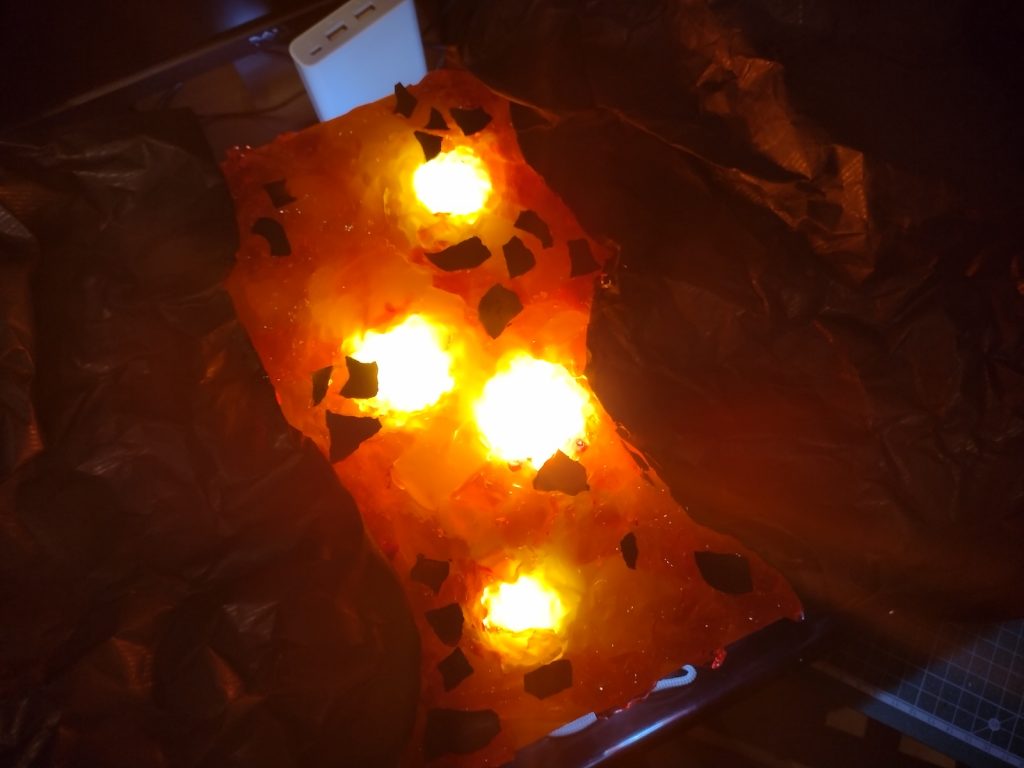
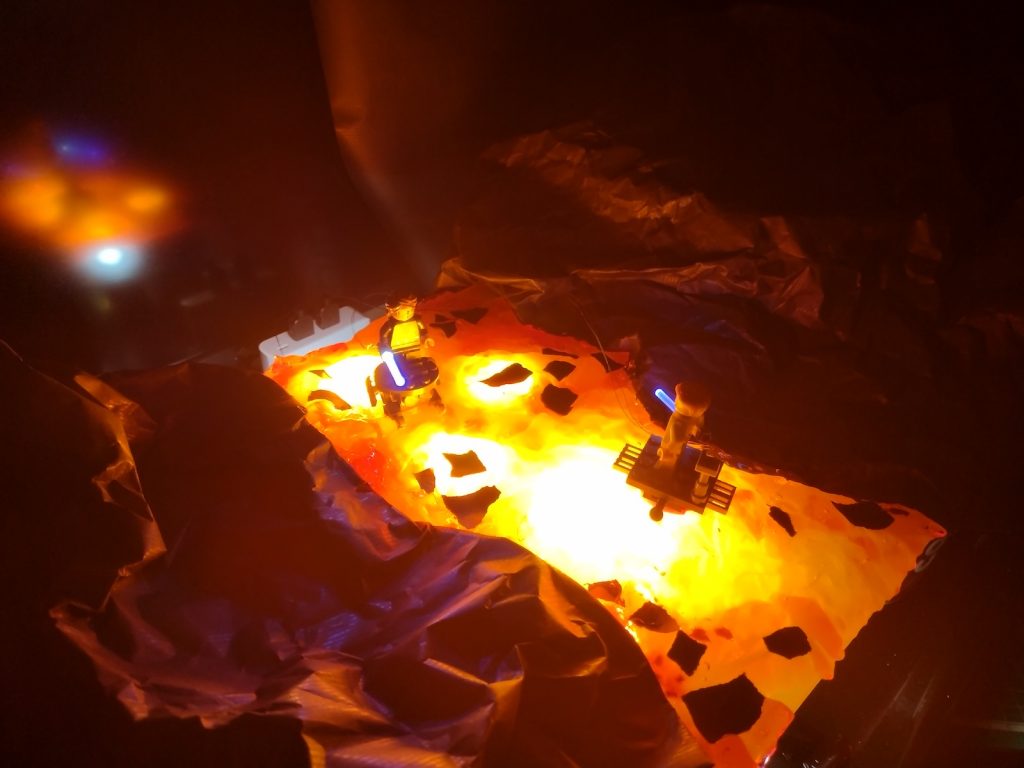
Step 2: To create the lava I got some jelly, or jello for my American friends. I got various colours to try creating the uneven flow of lava. The red jelly was fancier, so I did have to eat the fruit out of it before I started.
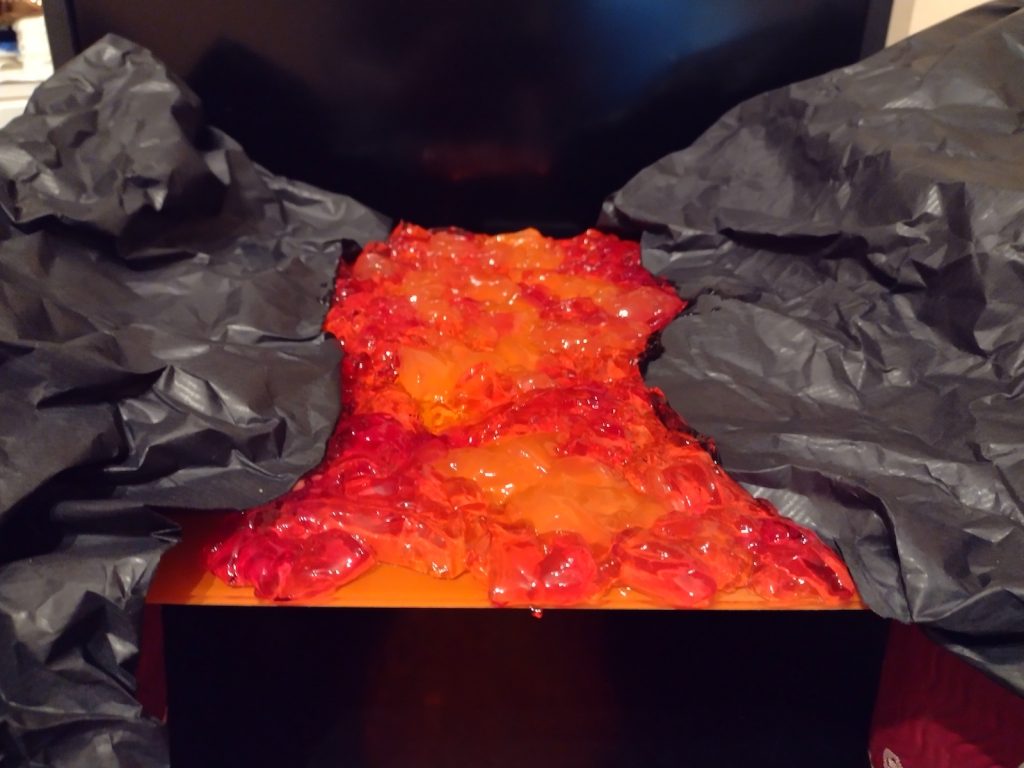
Step 3: Because the red jelly was a better quality, I used it around the edges. It was a little firmer and held its shape better, along with holding the yellow and orange jelly in the centre which was a little runnier.
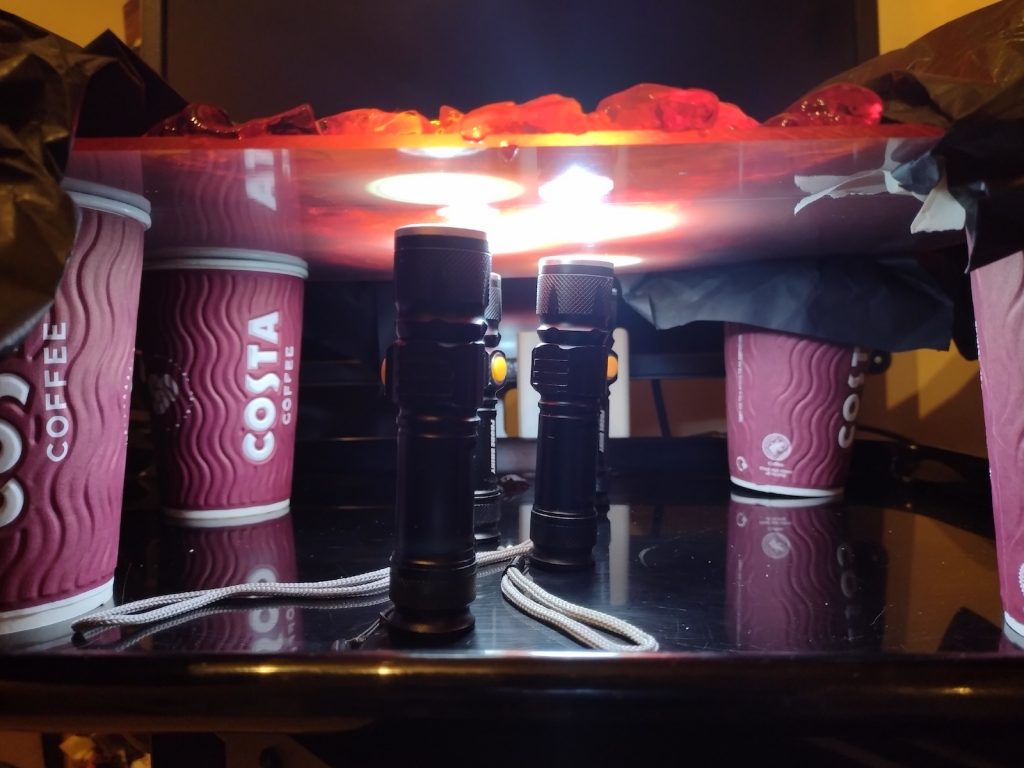
Step 4: Using my usual lighting technique of pretty basic LED torches underneath. I had to find a way to uniformly raise the base, hence the coffee cups. They were at hand and did the job, and they were free.
Thoughts
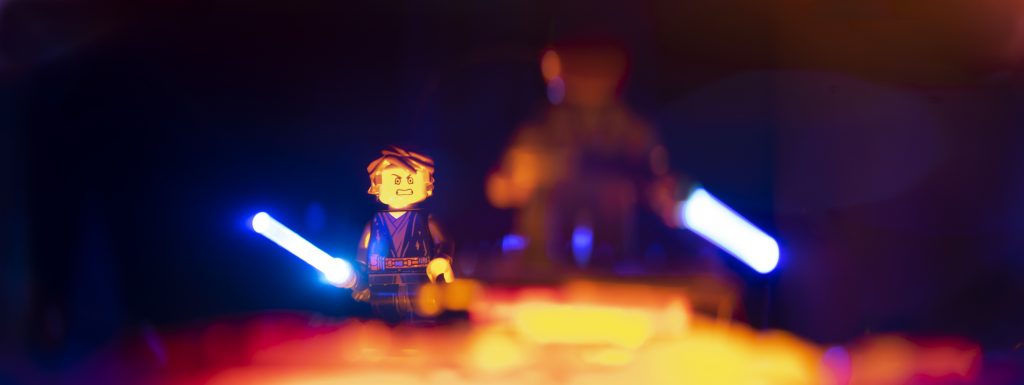
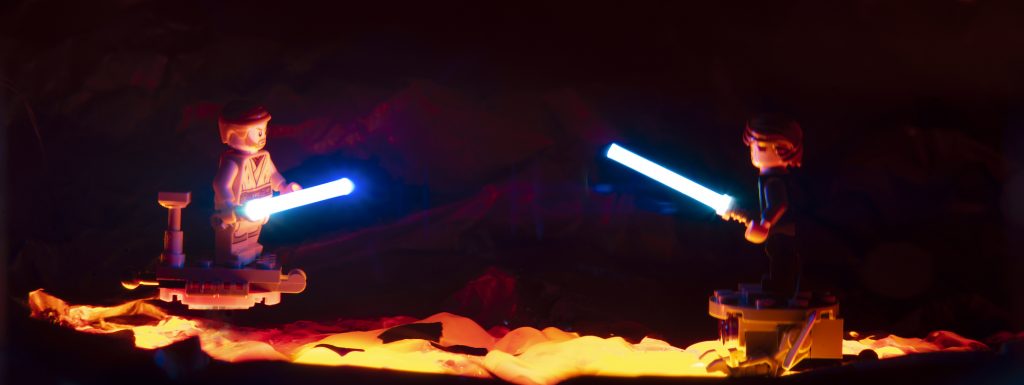
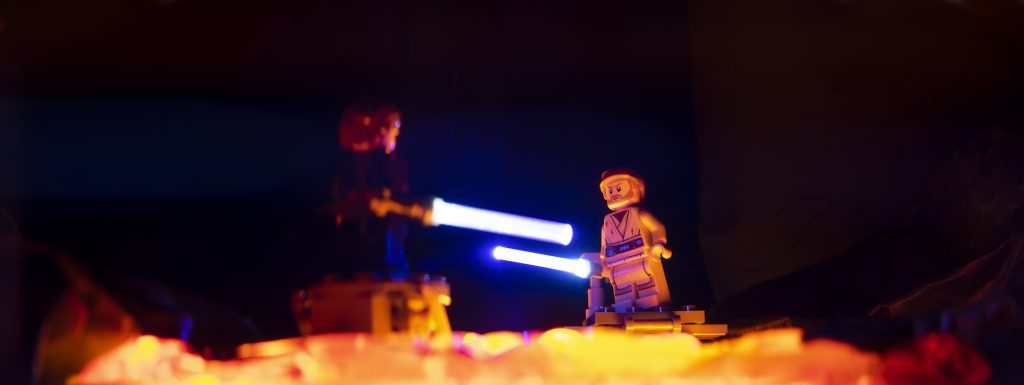
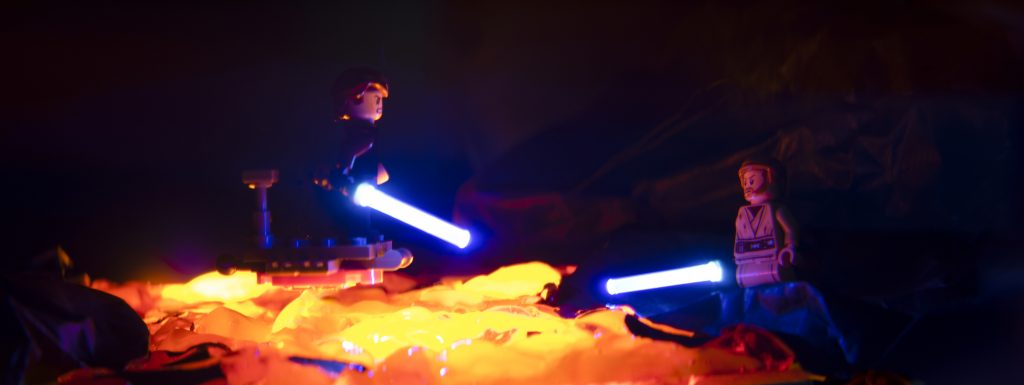
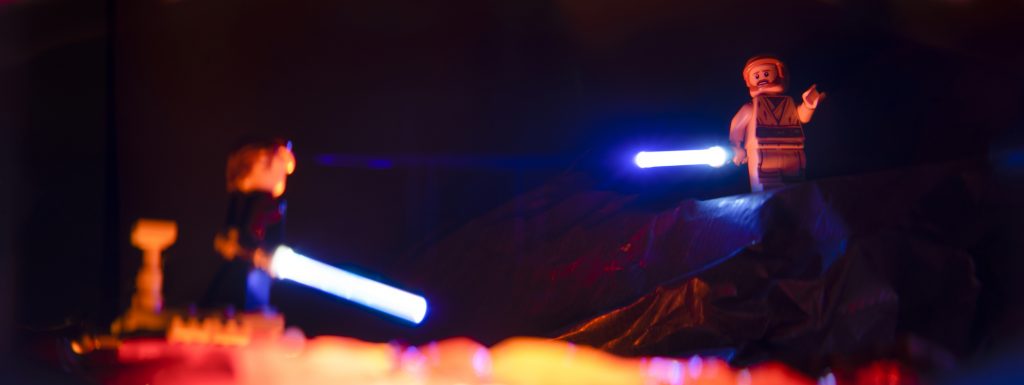
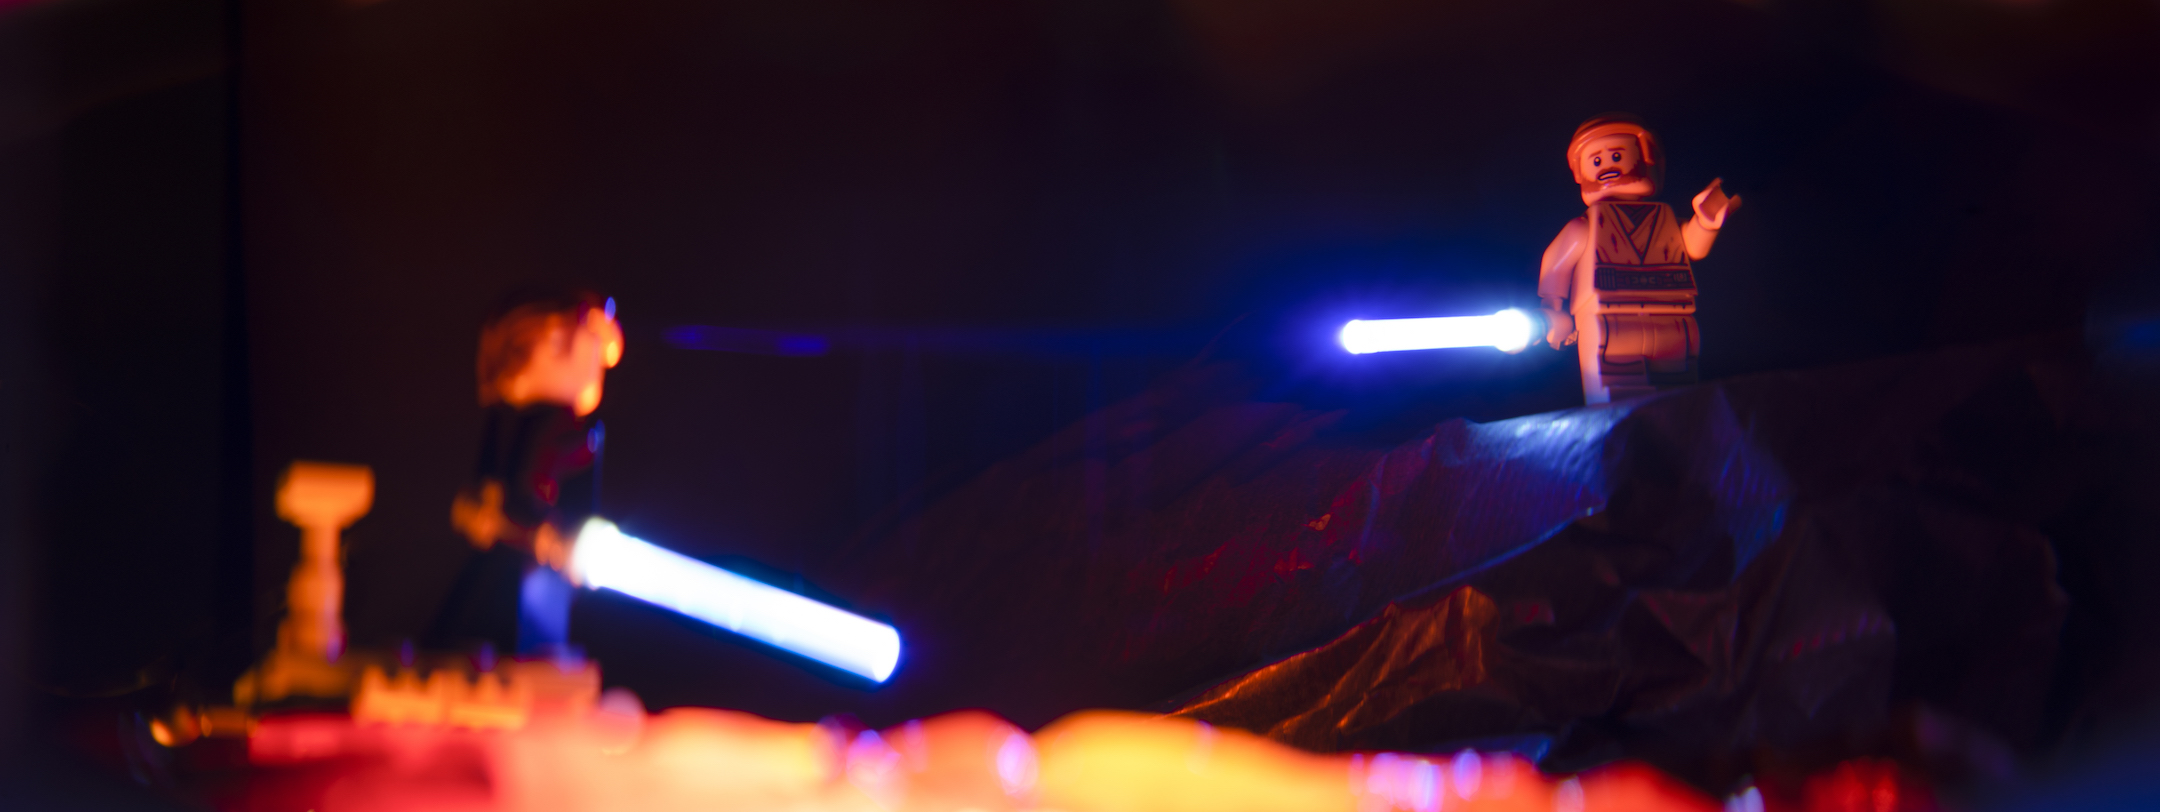
The lights did come through the jelly as spotlights, but with the angles of my photographs, that was actually a good thing as you’ll see. I was able to reposition the lights as the shots needed. If I’d had a larger light source it would have given less in the way of colours and tones in the “lava” and provided less in the way of highlights and shadows on the minifigures.
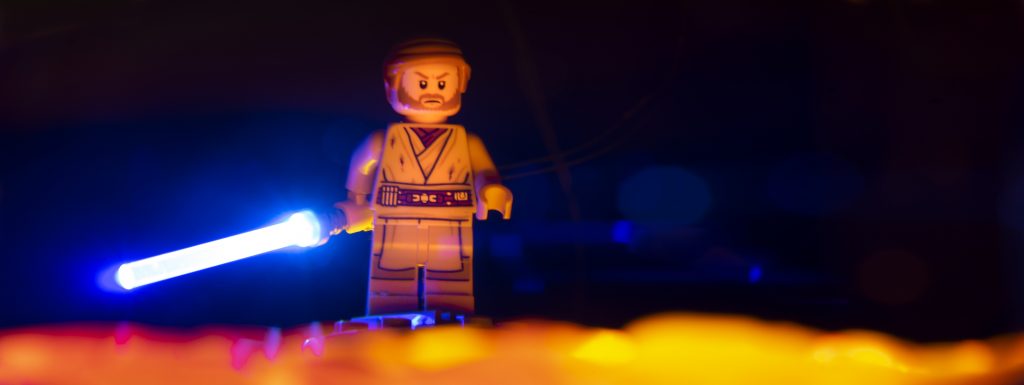
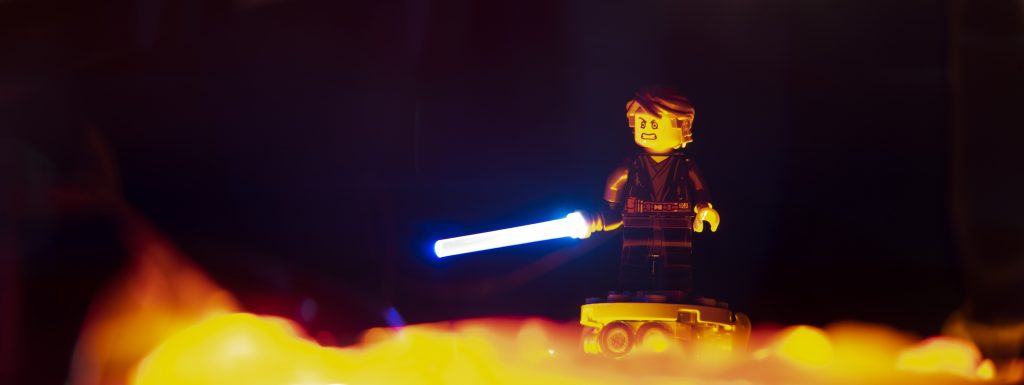
On top of all the yellows, reds and oranges of the jelly, I used my usual light-up lightsabers as a further lighting source. I was really happy with the contrasting colours that comes by including that blue light. The shoot was completed at night, so only the lights in the diorama itself are used in the resulting photos.
Other than the LEGO set itself, the diorama cost me less than £12. So I was really happy with the results for such a little cost. As Shelly has said to me a few times in the past, “Keep it simple, stupid.” I’m massively pleased with how the diorama came out with some pretty random elements used to build it. Where the idea to use the jelly as lava came from I can’t say, but it ended up being perfect for what I needed. Even if the house did smell a bit fruity for a little while.
The resulting photos
Behind the scenes


Great article and results! I’ve used jello for water before but never for lava! Awesome idea and one I will keep in mind!
Awesome pics, great BTS. I mean who would of thought jelly but looks great!
Can I ask how you lit the light sabers? They look great too!