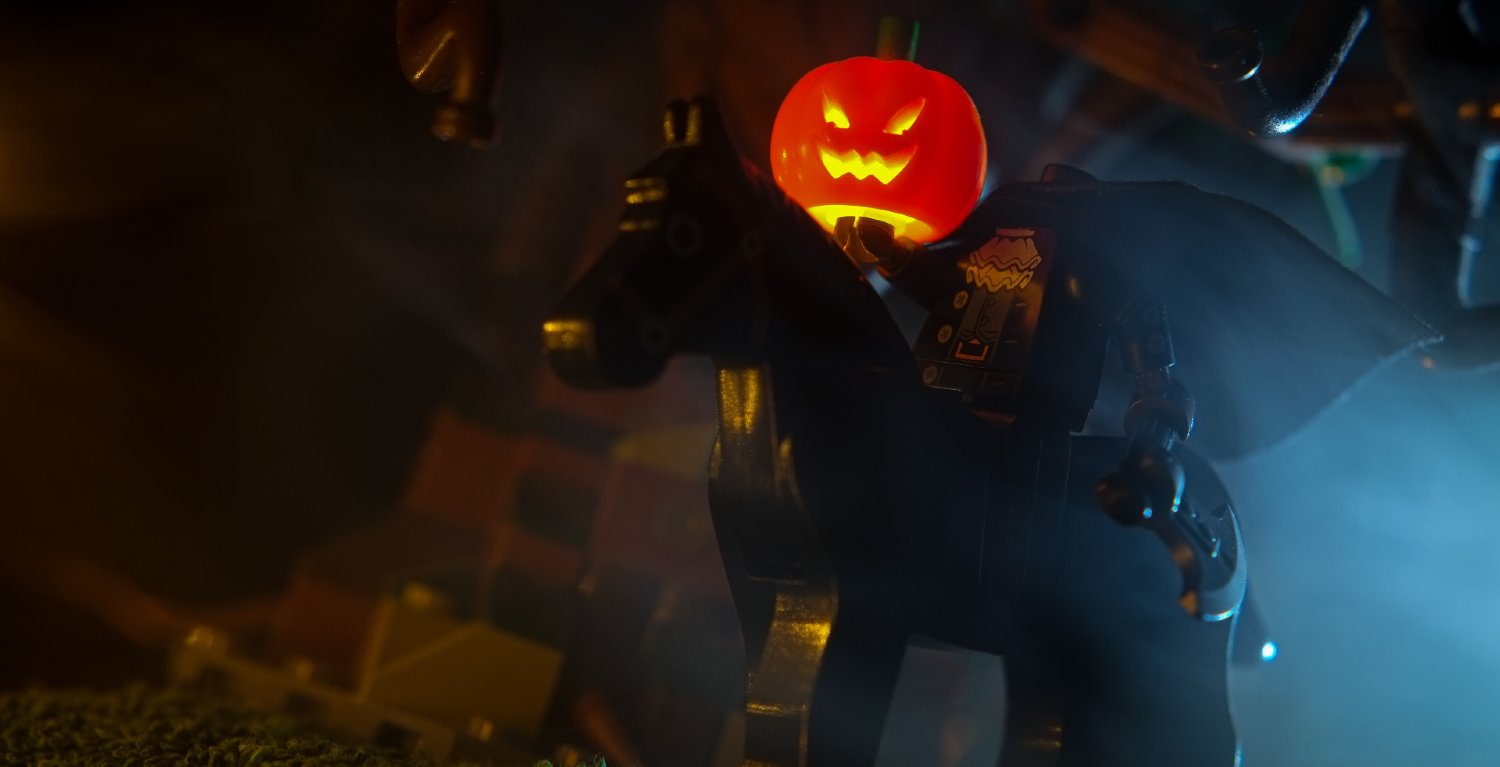
A sudden gust of strong wind breaks the rustling bunch of dead leaves from the ground and rushes the bare stumps of branches with an unpleasant crackle. The cold, white mist thickens, and somewhere in the distance, a roar of thunder sounds. Suddenly, out of nowhere, the dark silhouette of a mighty horse and a figure riding it, whose black cloak flutters like the wings of a raven, looms in front of your eyes. The very appearance of the character is frightening, but a closer look simply takes away the senses! For the figure is holding his hands twisted in a ghostly grimace of jack-o’-lantern, shining with an unhealthy glow, and where the head should be… there is nothing!
The horse rears up and starts to gallop, and the character swings his axe with a whistle.
Headless Horseman, head-to-toe
I see that image in my head every time I come across the slogan “Headless Horseman.” This is one of the most characteristic images that relates to Halloween. At least to someone like me, who didn’t grow up in the Anglo-Saxon culture, and got to know this culture through the scraps of Anglo-American folklore and mythology collected here and there.
The ubiquitous and distinctive image of the Horseman with a flaming/shining jack-o’-lantern is so fascinating that it has actually no motivation in the literary archetype – Washington Irving’s short story “The Legend of Sleepy Hollow.” This pumpkin-head isn’t even the leitmotif of the story—the pumpkin [not even carved!] appears at the very end. And the text suggests that the Headless Horseman was Brom Bones, a competitor of the main character—Ichabod Crane—to the hands of Katrina Van Tassel, who got rid of his superstitious rival, chasing him away from the area.
Headless Horseman’s head in cinema
The first film adaptation – The Headless Horseman (1922), a silent film directed by Edward Venturini goes even further. In this film, we can clearly see that Brom is Headless Horseman in the final scenes, and the pumpkin he throws is nothing like the ubiquitous Halloween item.
This scene with the pumpkin and the disguised Horseman is also present in perhaps the most famous adaptation, Sleepy Hollow (1999) by Tim Burton. Also in this movie, Brom Bones makes a prank of Ichabod [here: a policeman, not a teacher] by disguising himself as a Headless Horseman and throwing a flaming carved pumpkin. All these clues are head-splitting!
The real culprit of all the confusion is, in my opinion, paradoxically the shortest adaptation, and it’s animated: Disney’s Ichabod and Mr. Toad (1949). Not only is this the first film in which the Headless Horseman wields a huge, burning jack-o’-lantern, but several scenes also suggest that this time Ichabod really met a supernatural being.
So it may be that, as in the case of the most famous image of Santa Claus, created by Coca-Cola—another big corporation—Disney is responsible for the most enduring image of Headless Horseman.
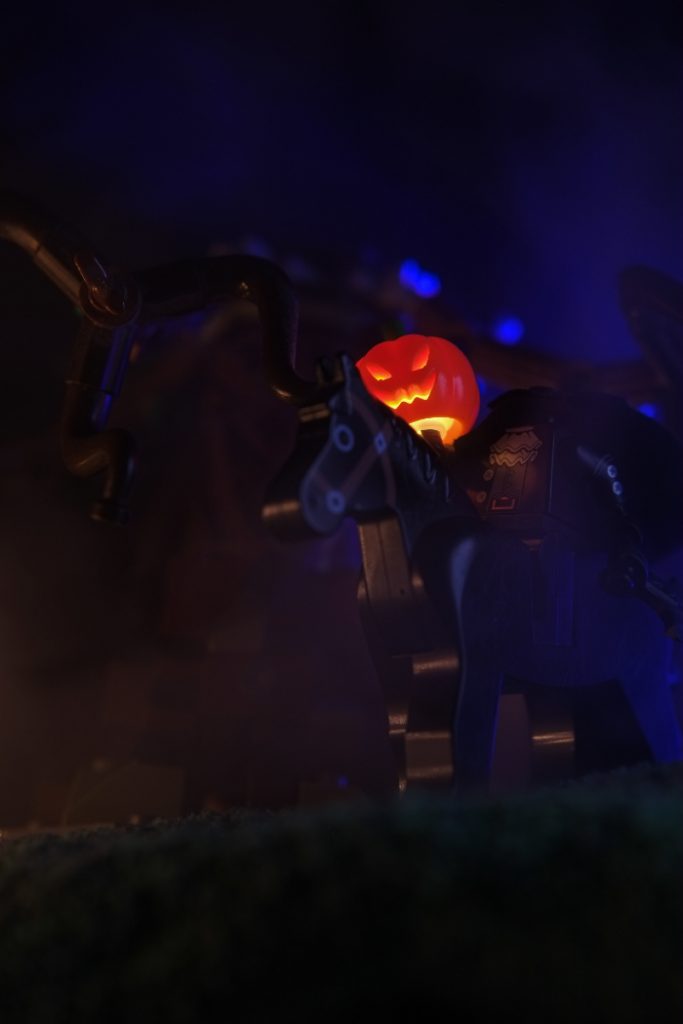
Headlights on!
And it is this image that I refer to in the presentation below. You don’t have to bother your head about how to light up the head of the LEGO Headless Horseman. I’m here to show you how. Of course, you can use digital effects, but we’re going to focus on old-school practical effects.
There are two, or actually three, ways to do this! Each of them requires specific tools and methods of operation, but they are not big head-scratchers.
Lifeless Looming Luminescence
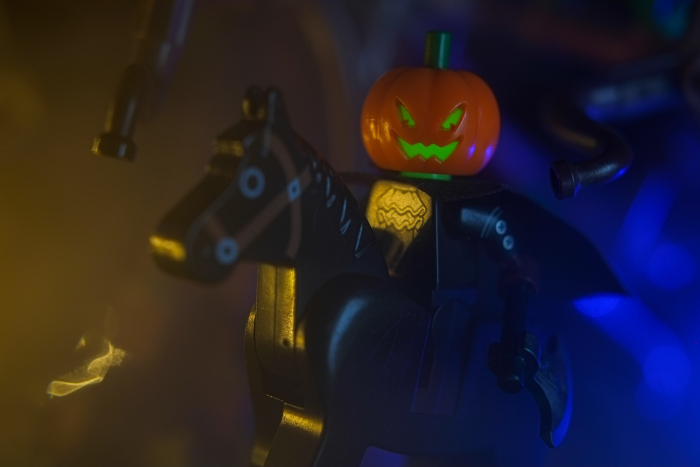
This is probably the simplest and most elegant way to illuminate a pumpkin head, because we stay only within the original LEGO parts and no wires are stuck around the set-up. We use the help of phosphorescence! LEGO has made a series of heads that glow in the dark. You can use, among other things, the Specter head from LEGO’s Collectible Minifigures Series 14, the Vampire Bride head from the Monster Fighters series or, like in my case, the glowing head of Professor Severus Snape.
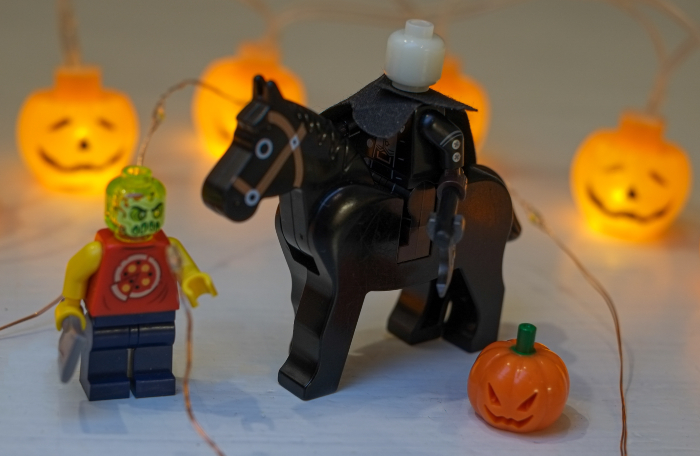
This method is demanding in that you have to be pretty quick. The glow-in-the-dark head must first be properly illuminated. It’s best to aim a strong beam of light directly onto the photosensitive material of the head. Of course, the camera, set for a long exposure, will “go crazy” from this excess of light, so from the moment you finish illumination, you have really little time to focus on the head and take a photo [pro tip: you should set the timer], because the head starts to fade quite quickly. Of course, the longer the exposure you set, the more you will “catch” the light from your head, but it’s worth keeping in mind not to overdo it with the exposure, so the whole scene is not too bright.
Ethereal Eerie Electrization
Don’t have glow-in-the-dark parts in your collection? Keep a cool head! There is another way! There are special single LED lights available, some of them are even specially designed for LEGO sets.
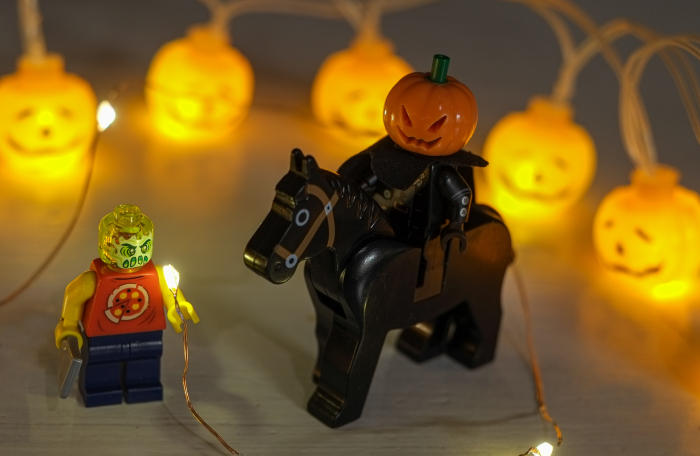
But all you really need is any small LED light at hand. I have an LED light chain, which also works well for highlighting individual elements.

You can illuminate the head with LEDs in two ways. The first is to simply place an LED in the pumpkin. It’s a good idea to use sticky tack here to keep the diode in the same place. The LED should be positioned so it illuminates the entire inside of the pumpkin and is not visible through the holes when framing.
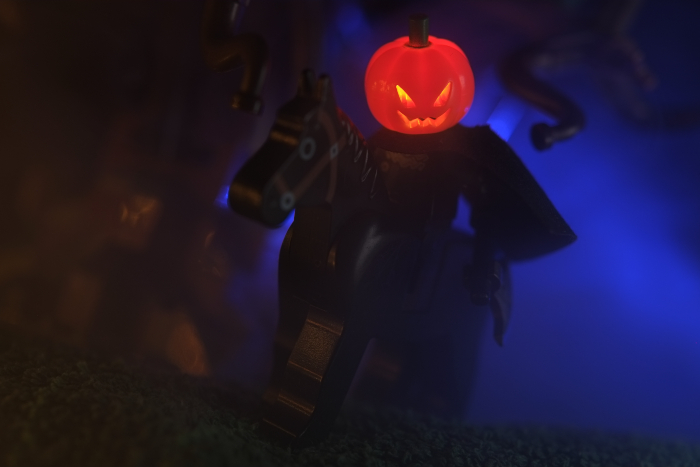
But if you look closely, you’ll see the darker edges of pumpkin’s mouth. What the heck! That’s the neck!
This method has several cons. As I mentioned, the diode must be stuck to the pumpkin. And the pumpkin itself must be stuck to the minifigure because, at least in my version, the wire is too thick to also put the head in the pumpkin. There is just not enough space between the minifigure’s head and neck for the wire. Second, the minifigure’s dark neck can be seen through the pumpkin’s mouth. But on the other hand, the lack of a head in the pumpkin allows for greater articulation. Articulation also helps to “hide” this dark minifigure neck, and gives the whole silhouette plasticity and character.
Paranormal Plasma Pate
This is a variation on Ethereal Eerie Electrization, but here we use the head to diffuse the light. And not just any head. It has to be a transparent head. I used a head from the supernatural Hidden Side series to keep the convention, but any transparent head piece will do.
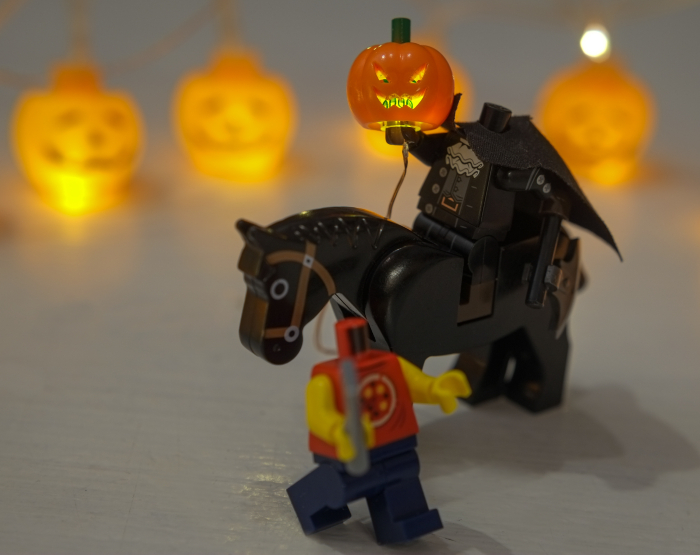
For the reasons I mentioned earlier, I only used the transparent head for the shot where Horseman holds a pumpkin in his hand. It’s much easier to put a pumpkin on the minifigure’s hand with a head inside. The LED lighting the head is also beautiful… erm, I mean eerie! It eerily illuminates the inside of this head! It’s also easier to run the wire through the minifigure’s hand, and with a little bit of effort you can plan the frame so that you don’t have to remove the wire while editing.
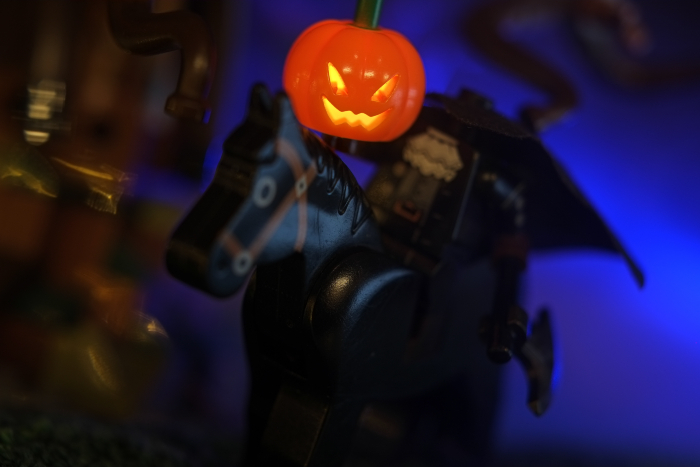
Heading to the end
I realize that for a headless post, there are surprisingly many heads here. But as they say in Poland, the head does not hurt from the excess. However, I leave it up to you to decide which method works best. Good luck!
Good morrow! While you’re here, we invite you to sign up to our weekly Toy Photographers email roundup where you’ll get a recap of all the week’s babbling. And while you’re at it, you should definitely join our MeWe community! We hold monthly contests with prizes and lots of other cool stuff. Hold your head high!



Cool post. I haven’t played with this sort of lighting so I can use ideas for the future.
thanks Mary!
I’m looking forward to see these ideas in action! 🙂
Hello what torso did you use?
Hi Ande!
It’s a Highwayman from 17th series of CMF:
https://brickset.com/sets/71018-16/Highwayman