This set review has been a long time coming on my part. But going back to when the opportunity came up to pick a set to review, I was really excited to choose something dramatically different from my usual efforts. Normally my toy photography is based around existing intellectual properties (IPs). That’s the issue with being a Star Wars nut, I suppose. So this was a refreshing change of pace for me (though I couldn’t behave myself in the end).
The LEGO Spring Lantern Festival set 80107 was released in celebration of the Chinese Lunar New Year and the start of the Year of the Ox. The set was originally released for this celebration back in February of 2021.
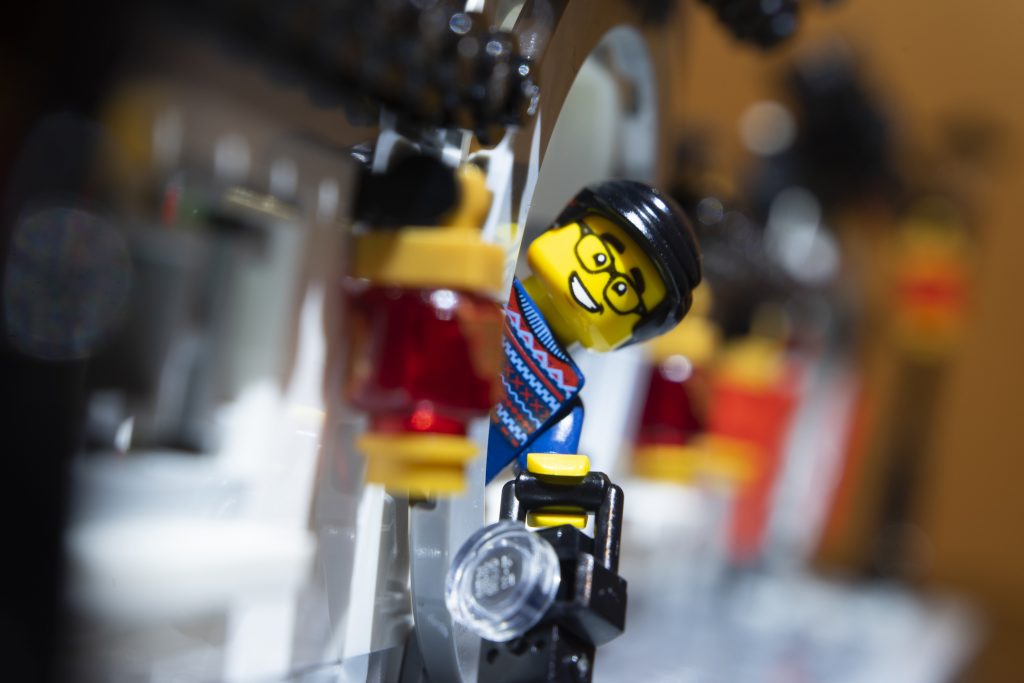
The build
Although not really promoted as such, this set can fit into a Creator Expert modular building setup. So it can clip onto a Detective’s Office or Assembly Square set. And would easily sit as part of any LEGO street setup that anyone was creating. The great thing, though, is that the set splits itself and can be set up in two different configurations—with a pair of Technic plugs on each side to clip the parts together.
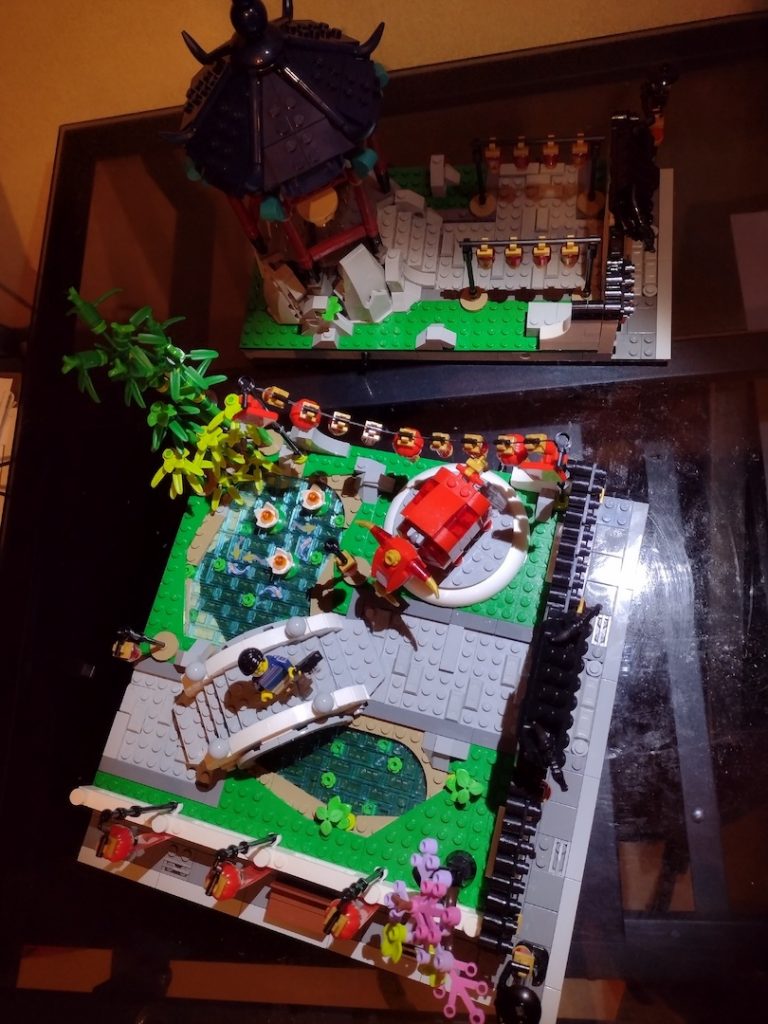
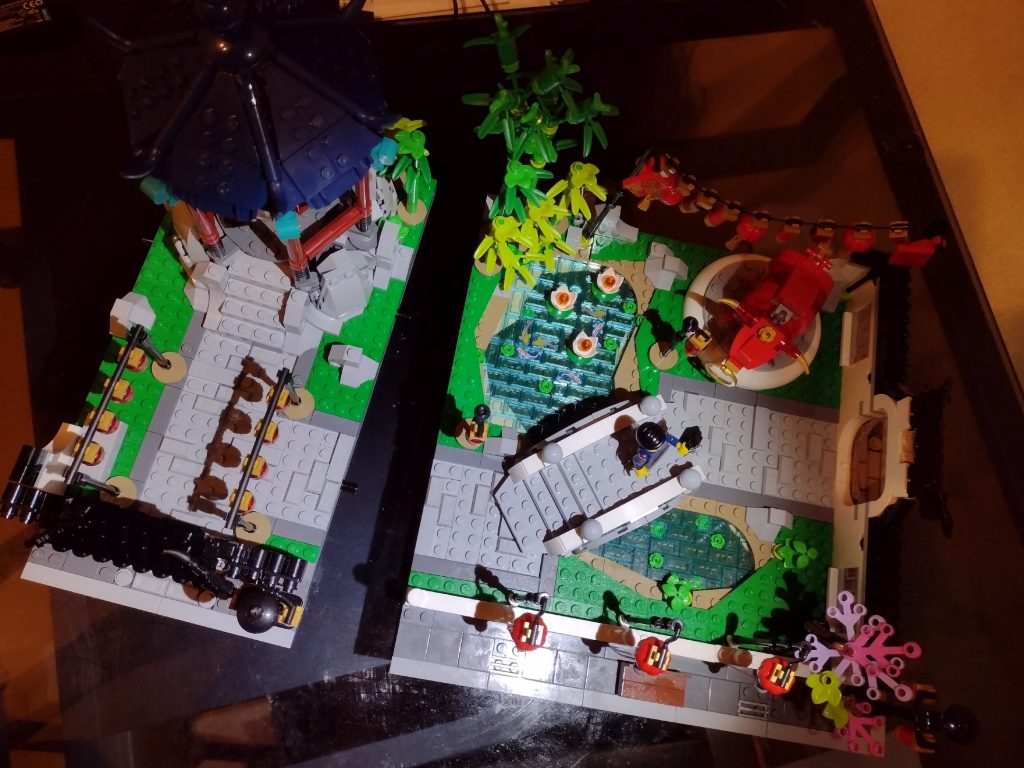
The build allows for a seamless fit in either configuration, with the garden walls or the paths providing continuity from one part to another, along with the outer footpath. From a photography point of view, the great thing I found was that separating the two parts means the other section could always be positioned in the background of the photo to give extra depth to the images I was taking. You might notice it throughout this review, especially as the pavilion in particular pops up in varyious places.
There are lots of features in this set, but rather than talk about them, let me show you.
Join us on a photography tour
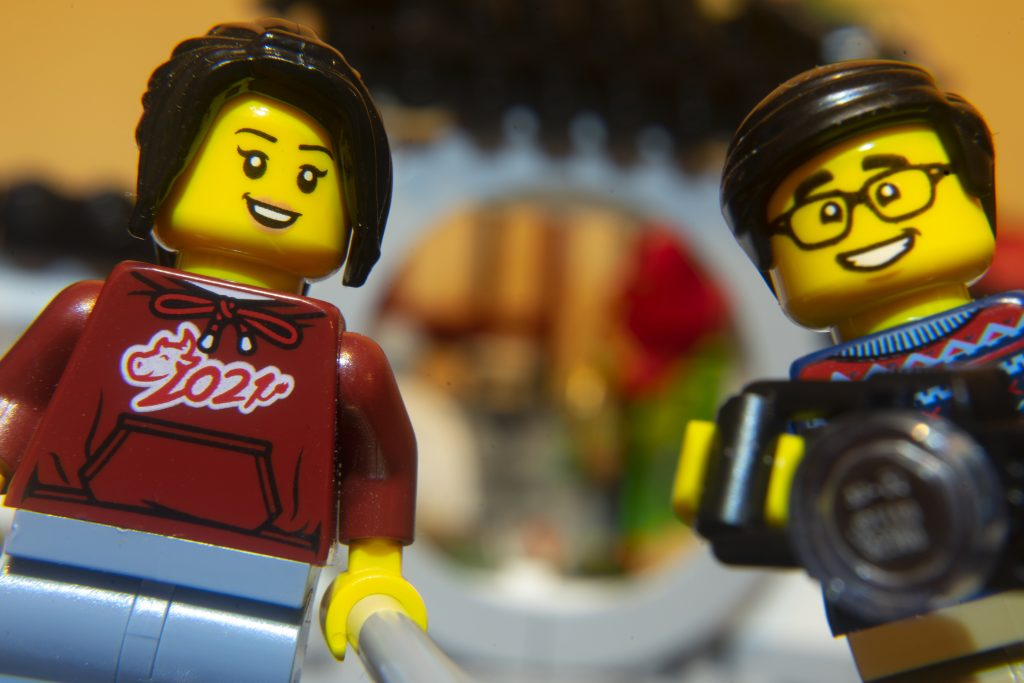
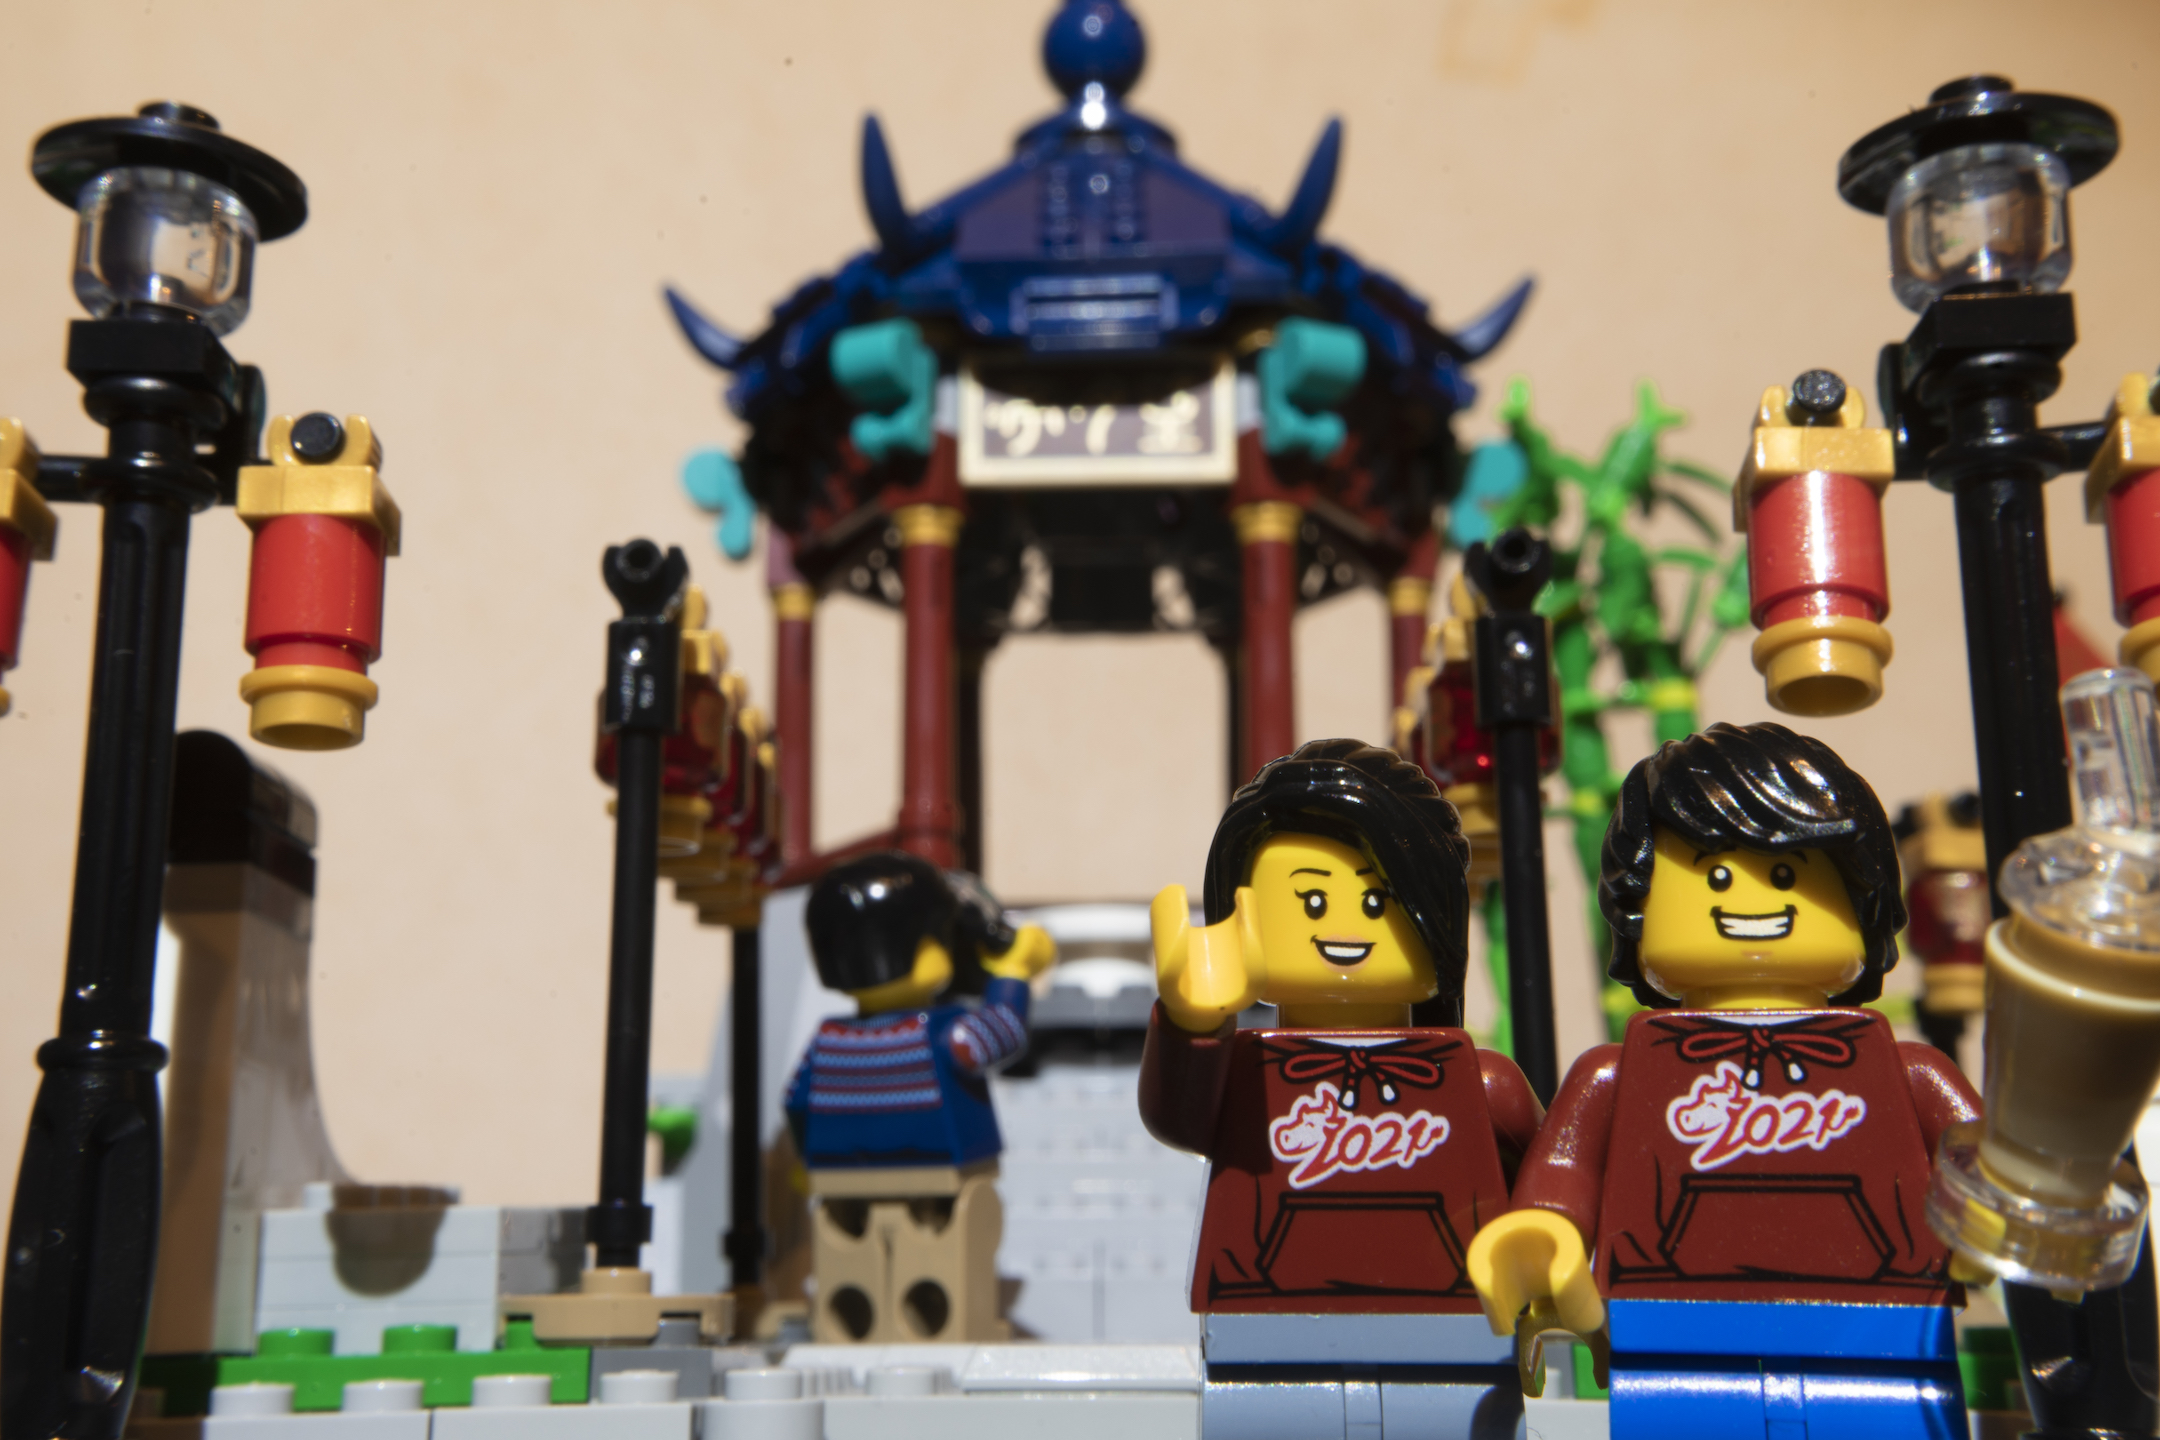
As this is a review from a toy photography point of view, I thought it might be appropriate to give a tour of the set from the perspective of the included photographers. Among the mixture of minifigs in the set are two photographers, one with her phone on a selfie stick and another with his camera. Let’s see what they found and got up to doing.
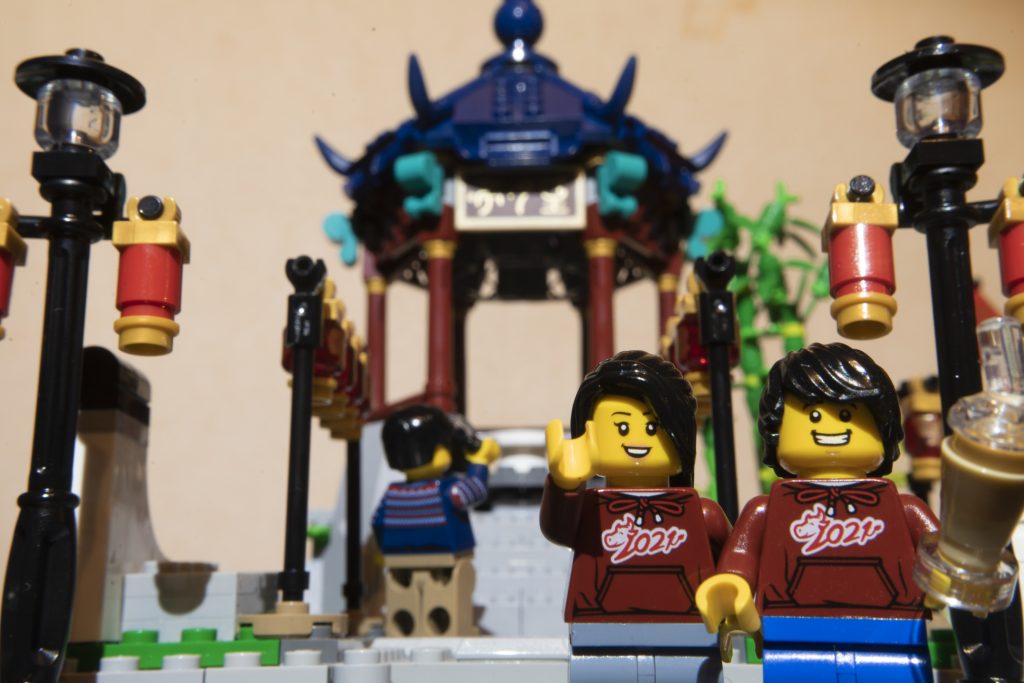
The pavilion is probably the biggest feature of the set, purely due to its height, as it towers over the rest of the garden. From a minifigure’s point of view, it is always worth getting a snap of the pavilion, even if you end up in someone else’s shot. From a building point of view, I do have to point out the brilliant use of blue bananas to create the horns on the roof of the pavilion. I really enjoyed that particular detail. For this photo, I took the wall away from the front of the set just to give more space to get the walkway and lanterns leading up to the pavilion.
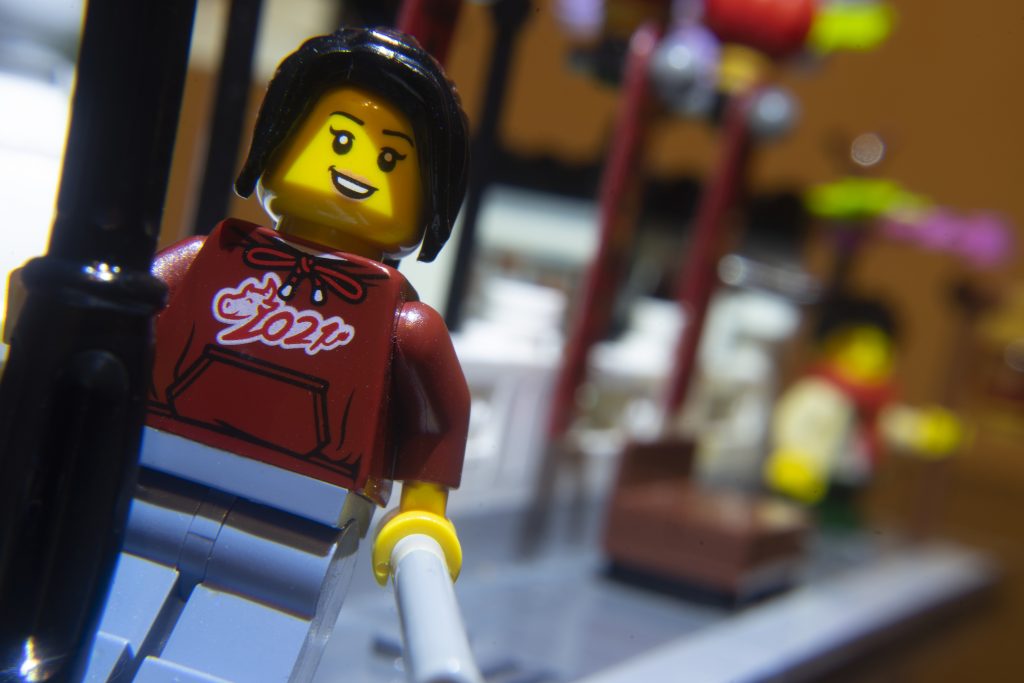
Speaking of the wall around the garden. It’s built in a striking white and then topped with a black tiled “roof” in certain sections. Each wall is lined with various Chun Lian banners and lanterns. The banners are made of a thin plastic, but hang similar to a minifigure’s cape. The lanterns vary in their build, from clear, red minifig heads, to red pumpkin pieces, with various gold details added. This particular photo resulted in an unintentional nod toward Singin’ in the Rain.
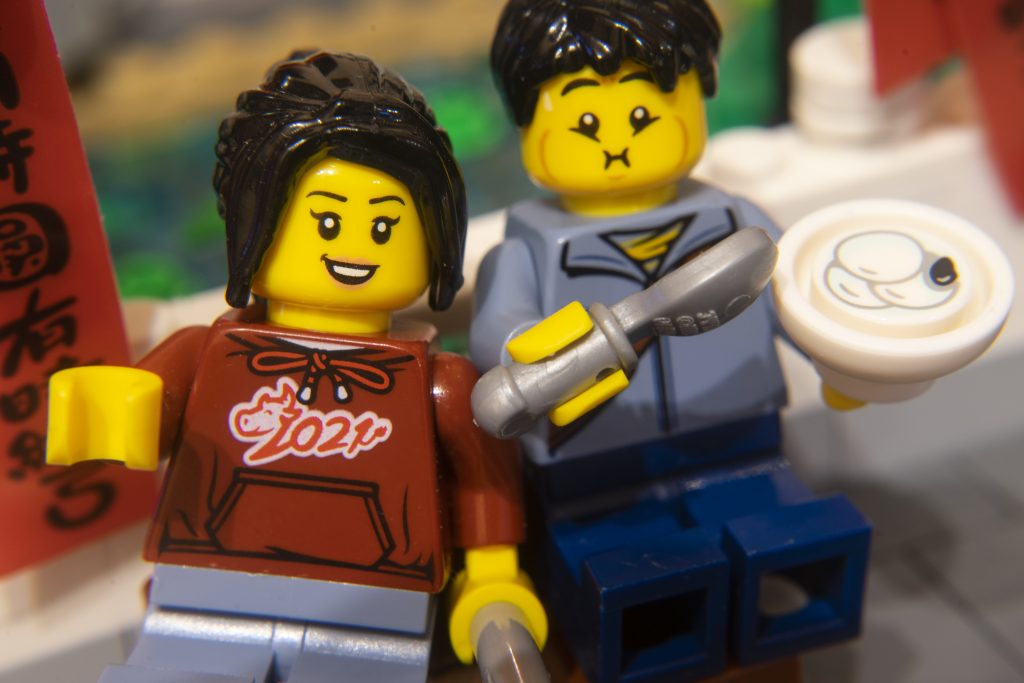
This guy is a favourite of mine, with his facial expression giving a real snapshot moment as he eats his dinner. It gave me the idea for the photobomb, as she catches him in the middle of a mouthful to get her shot The food itself is on a 1×1 dot and just floats in the bowl, so you have to be very specific when you place it, and you need to make sure it doesn’t get lost in the “Carpet Monster” every time you move the set. You can also see some of the banners in the background.
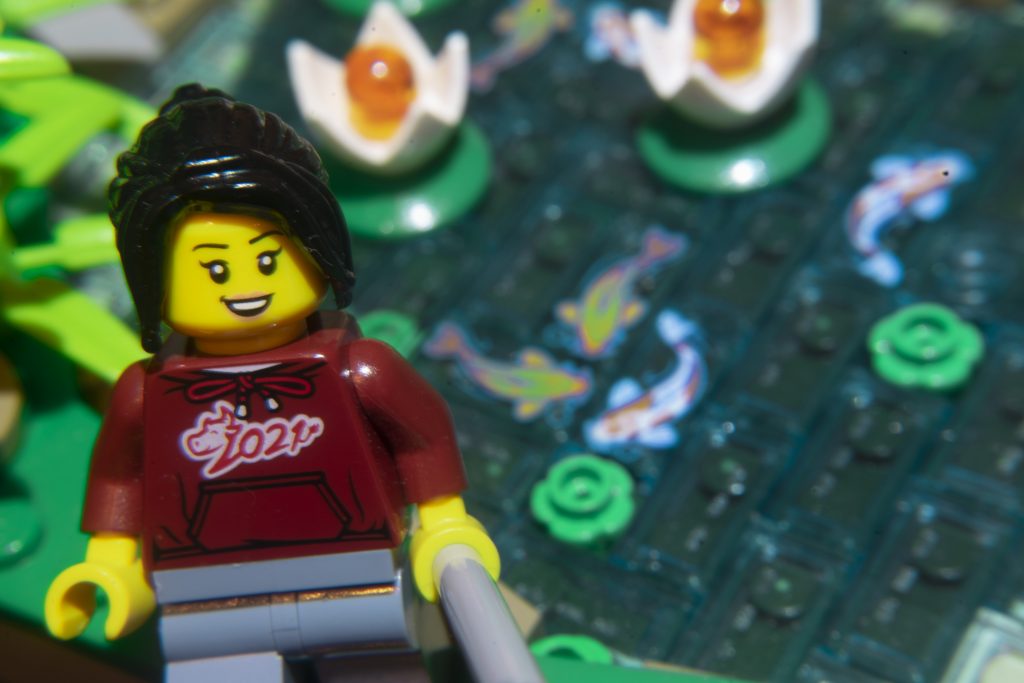
The fish pond stretches across the larger base section of the set, flowing under the brick-built bridge. It was something of a therapeutic build with the water constructed from many clear, blue 2×1 tiles. Some of these tiles also come with printed koi fish on them to bring life to the pond, along with another a secret surprise under the bridge. In addition to the fish, there are a few floating lanterns and some water plants. The pond is deeply layered with details but can be something of a challenge to photograph due to its location in the set with its banks and the other features of the set rising up around it.
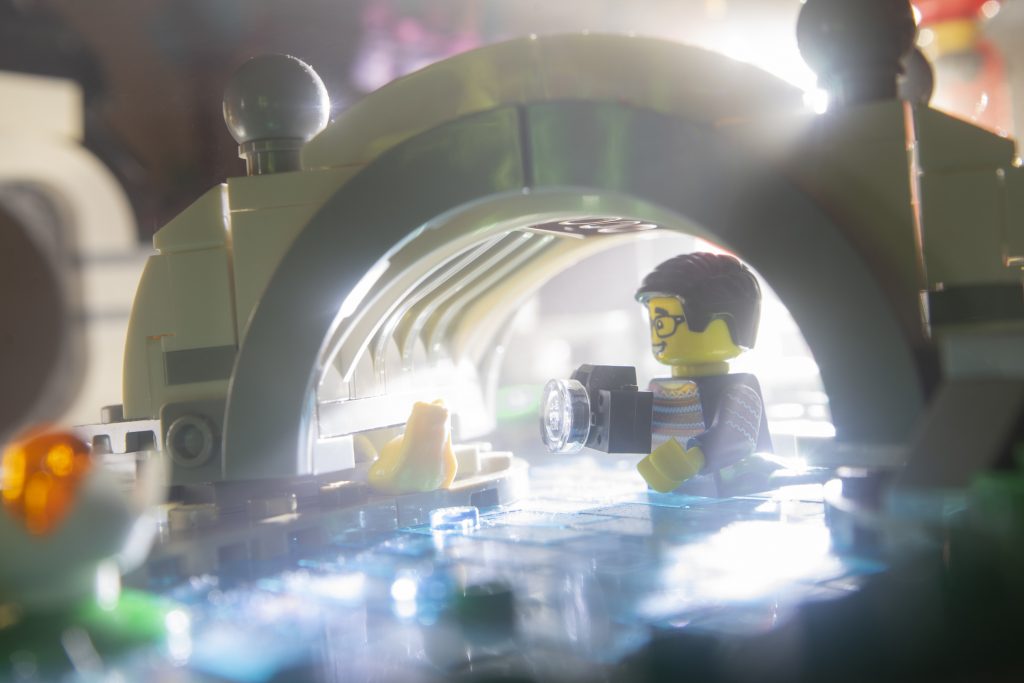
But just because something in challenging, doesn’t mean you can’t make it work. The backlighting on this image and the reflective glow off the water gives a wonderful shimmer. And, as I mentioned, there was a little surprise to be found under the bridge. A frog might not be a toy, but I can’t deny I’ve stood in a few streams myself, taking toy photos. As usual, with most of my backlit photos, a bit of Atmosphere Aerosol always adds a little extra depth to the image.
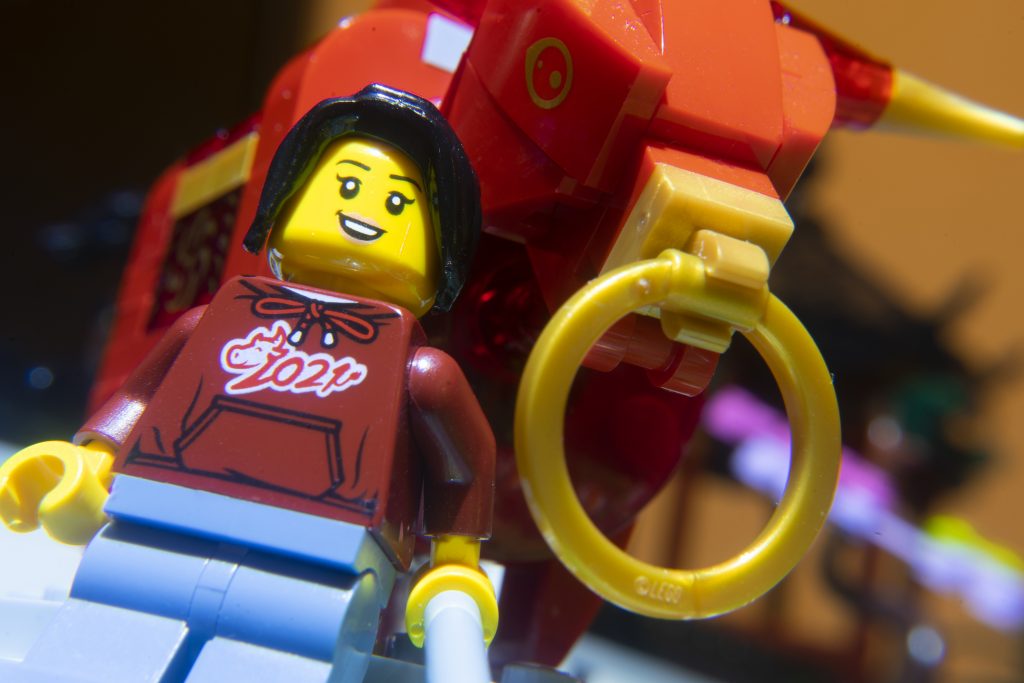
I would probably say the key feature of the set is the brick-built bull statue. Set on a plinth, it stands proud in celebration of the Lunar New Year. And with its deep red and gold colouring, this bull shares its tones with the various lanterns found across the set. And as you’ll see in a moment, it lights up with a built-in light brick.
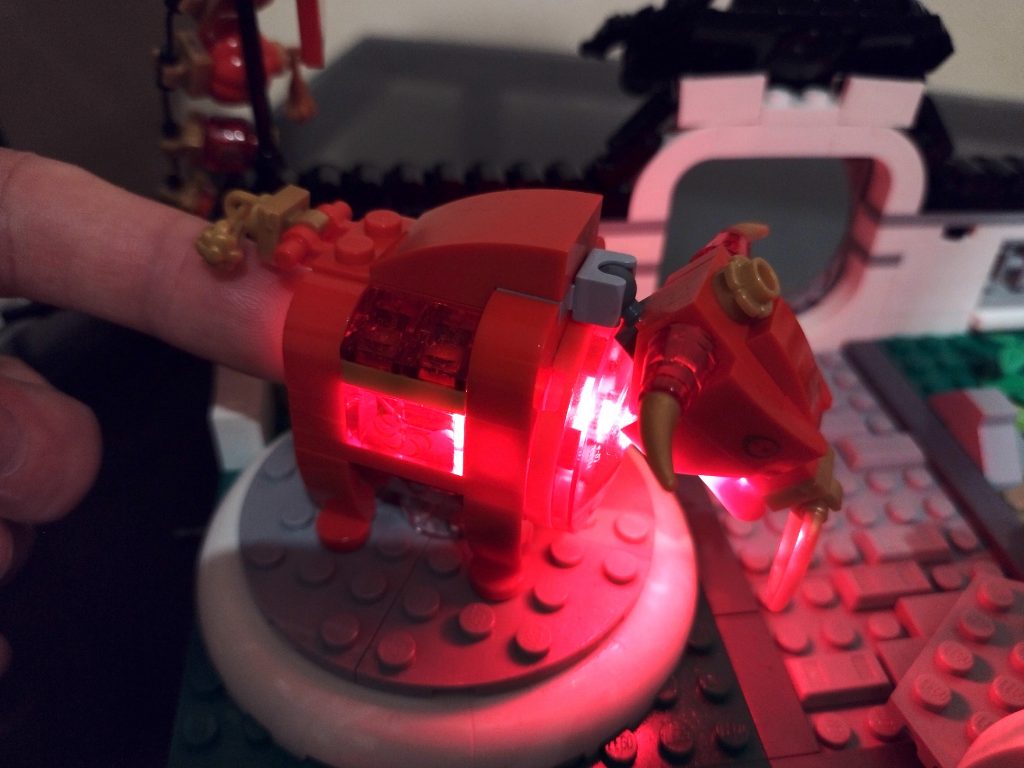
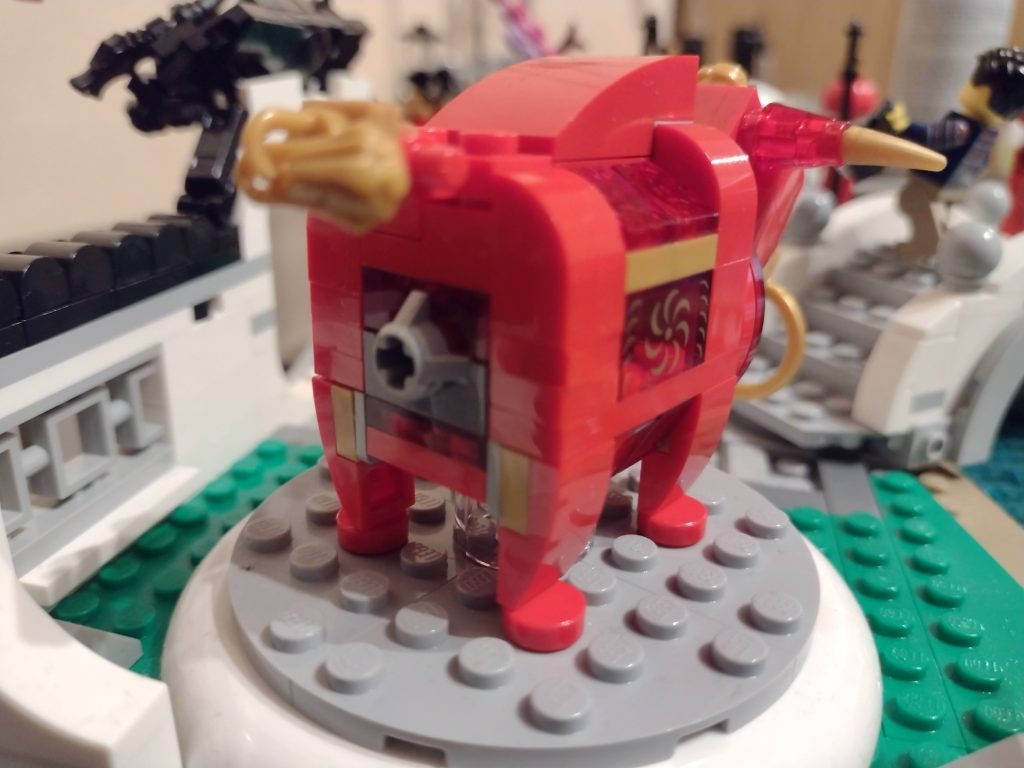
The question I have regarding this light up feature, is how much fun did the designer have in making it? As you can see, the bull’s tail must be lifted to access the “button” for the light. It’s quite the design choice, but did give the inner child in me something of a chuckle.
Some of my own photos with the set
Good. Your training begins at dawn
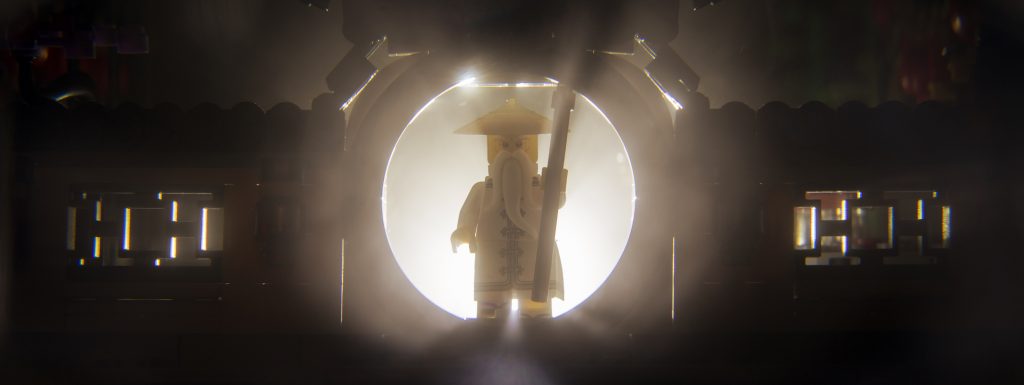
I was very happy with this photo. My favourite detail is the light catching the ornate detailing in the walls on either side of the round entranceway. Stretching the interest out from the opening and filling the width of the photo. I used a simple backlighting setup along with some Atmosphere Aerosol to give a dramatic entrance for Master Wu.
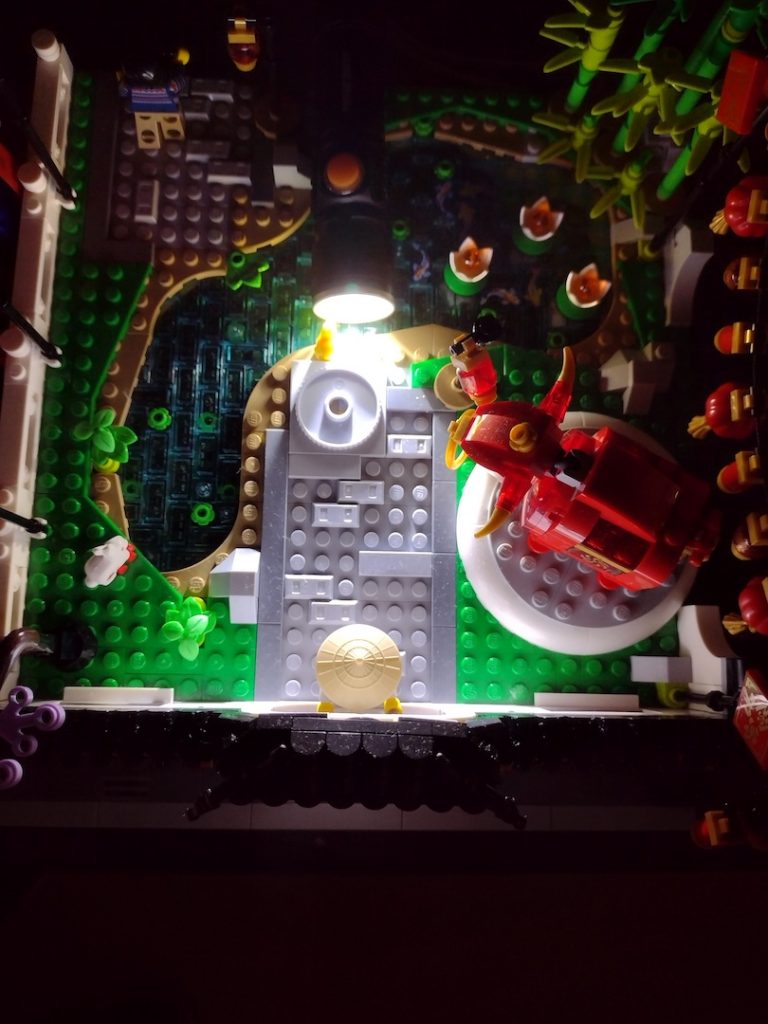
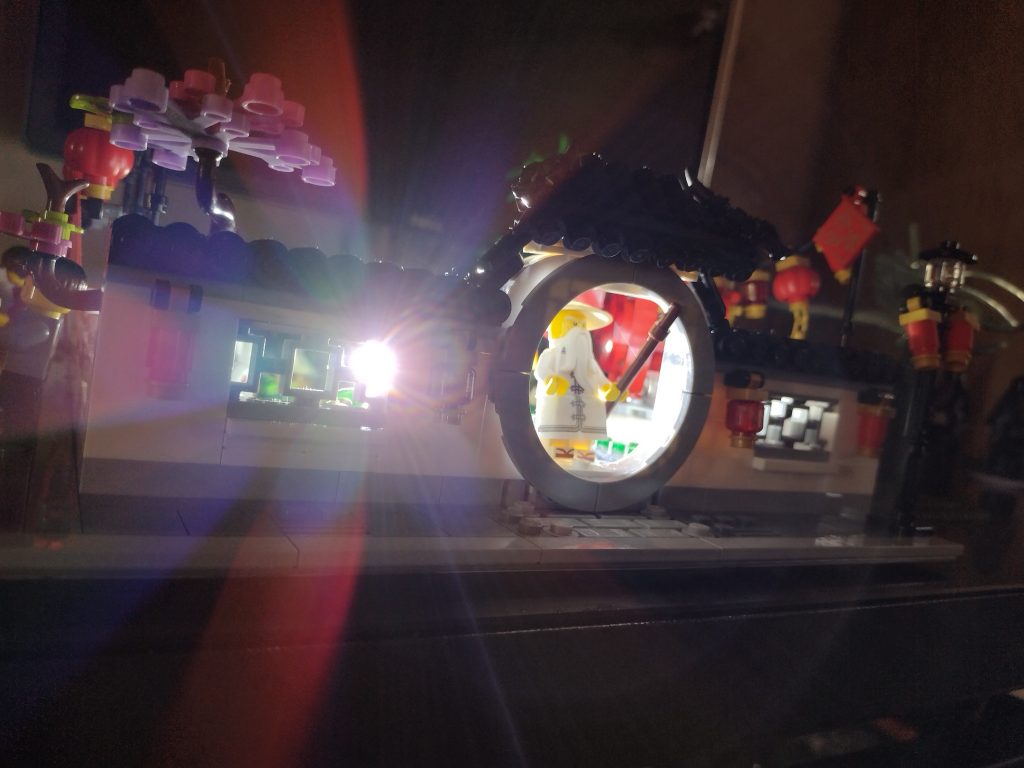
Obviously Master Wu doesn’t come with the set, but as I said at the beginning, I couldn’t help but bring some outside elements into the photos. In this case, he just cuts a unique silhouette against the backlighting.
Put your heart into everything you do
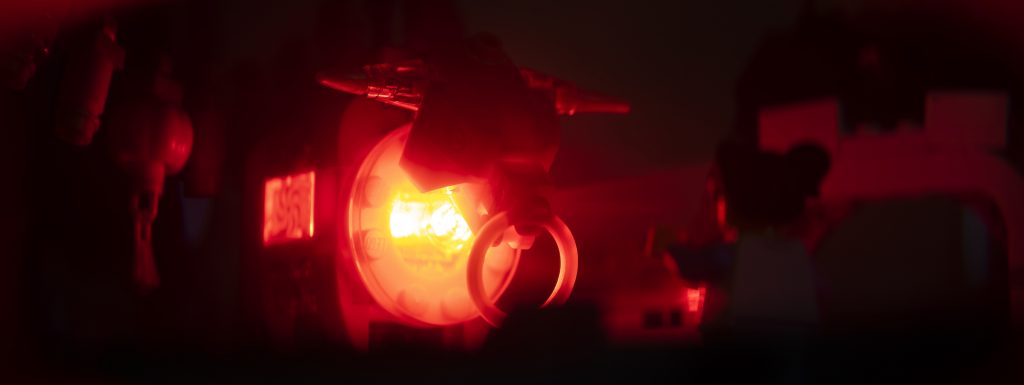
With this whole set being about lanterns, I had to get a photo of the light-up feature. I really like the ominous glow of the bull. Originally it was just a photo of the bull itself, but putting a minifigure in the shot allowed it to stand over a character and create a dialogue between two subjects. I used the girl that came with the set due to her shorter legs, which in turn gave it something of a Pan’s Labyrinth feel, as the small child is confronted by the fantasy beast.
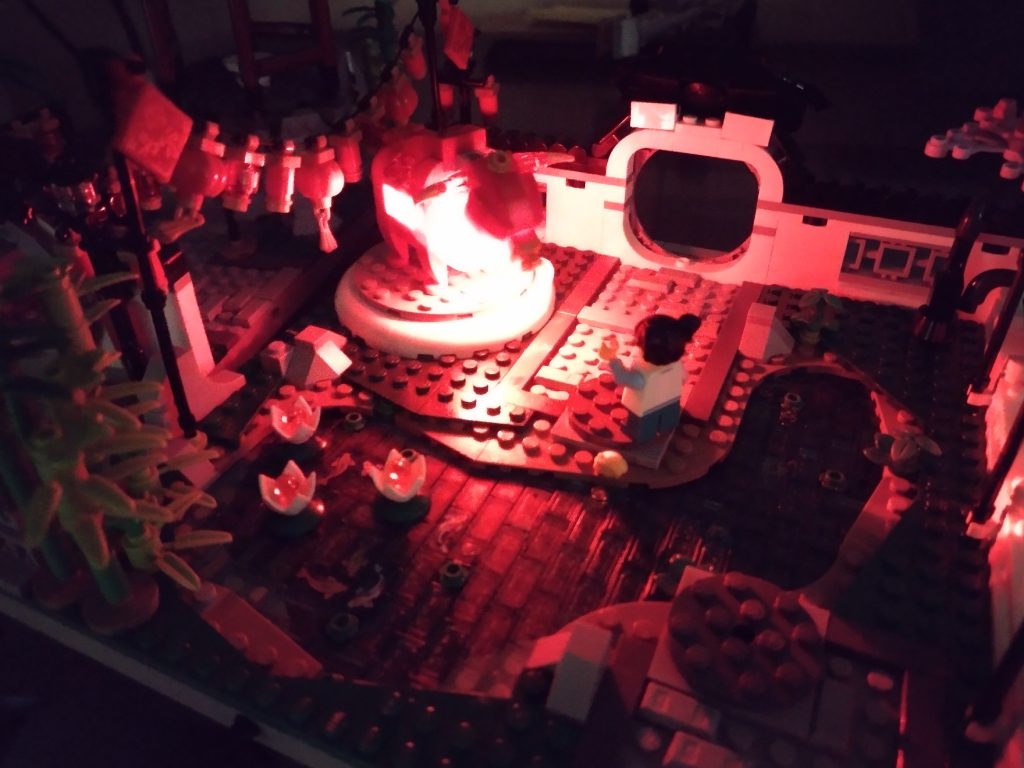
In this case I used some tack to hold the button down while I took a long exposure of the setup. I didn’t want to keep my finger in that position for too long, if you know what I mean. I also had to remove the bridge on the set just so I could get the camera and the little girl lined up and into place.
The pine and bamboo will always be beautiful
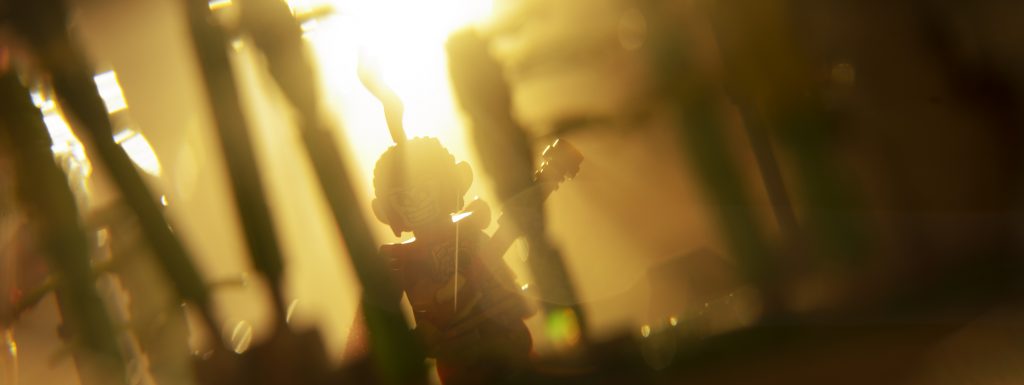
There is a tiny forest of bamboo in the corner of the larger base. It just needed a bit of creativity to make it feel a lot bigger than it was. Specifically, I used a backlight and some atmosphere along with a shallower depth of field. This gave the hazier qualities of the image. And just like with Master Wu, I snuck in another minifigure from outside the set. This time in the form of the Monkey King—I just couldn’t help myself with how he fit in with the set and this photo.
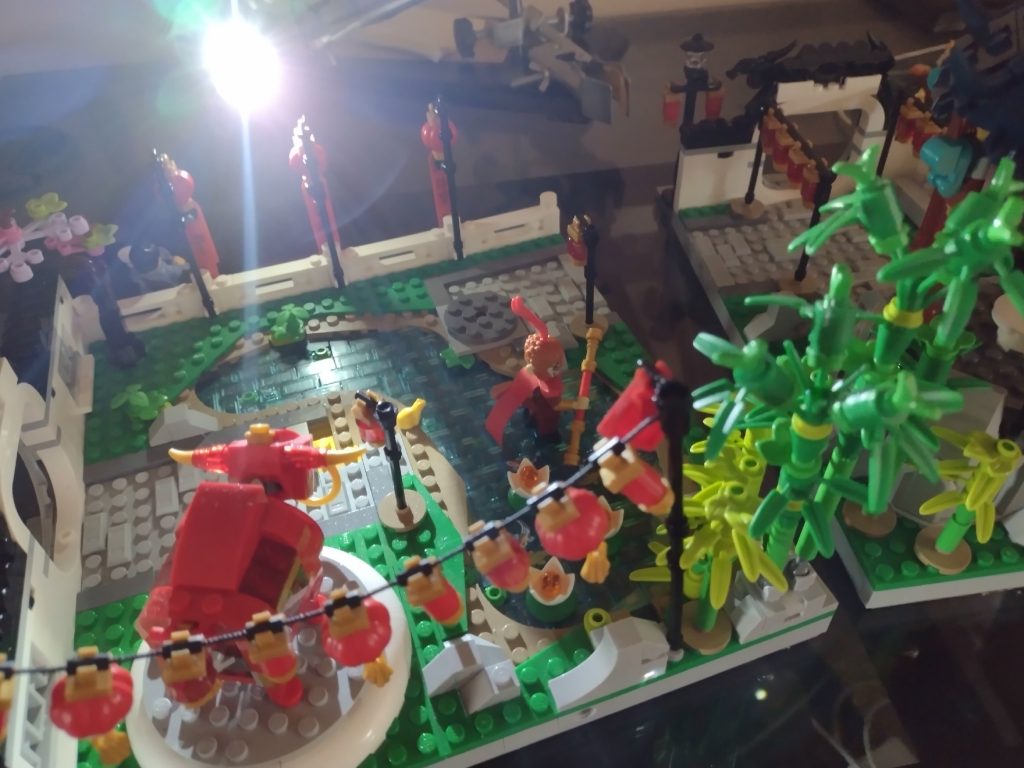
As you can see from the above image, I actually split the back for this setup. The camera in this case is just out of shot to the bottom right, where I was taking the shot through the slightly wider gap in the bamboo created by the split of the bases.
What goes up every year, but never comes back down?
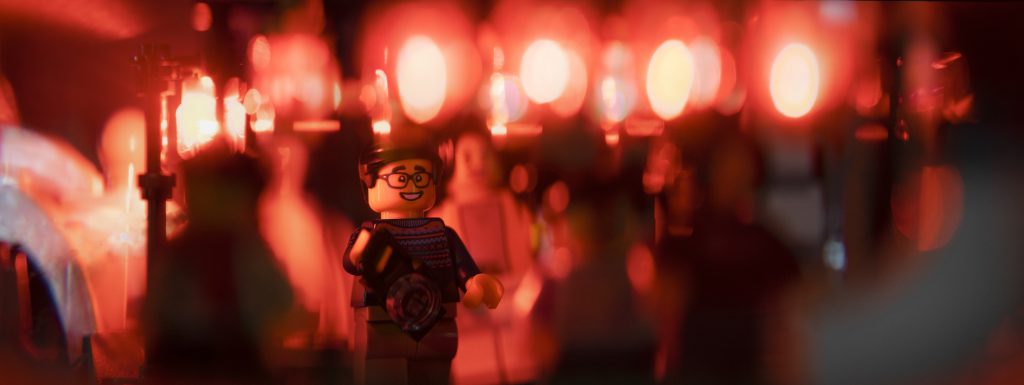
In lantern festival tradition is to hang a riddle to each lantern. For those who answer correctly they get a small gift.
With this photo I wanted to really create the feeling of being in a kind of festival. Unfortunately I forgot to take any BTS photos to show how I did it. So to explain, with the set’s various strings of lanterns, I hung them across the setup at different depths within the photo. The lanterns have a wired LED inside each of them to create all the lights practically. I actually took four separate shots with lighting along those different levels of lanterns from front to back of the setup (I don’t have enough LEDs to do it all at once). But with a bit of layering and masking in Photoshop I was able to combine all the photos together. I wanted to give the feeling of the minifigure in the middle of a crowd and all the excitement.
What follows you around all day every day, but disappears when the sun goes down?
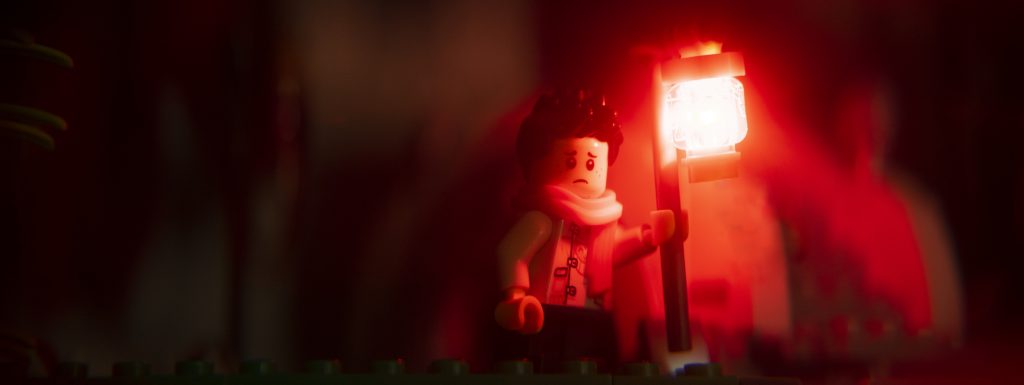
The mix of this little guy’s face and his scarf just seemed to give him a very nervous expression. And it seemed like the perfect combination to go with his staff and lantern—the contrast of the glow of the lantern and the darkness surrounding it. HIs nerves go hand in hand with the light and dark tension, and the lantern is there to protect him in the dark.
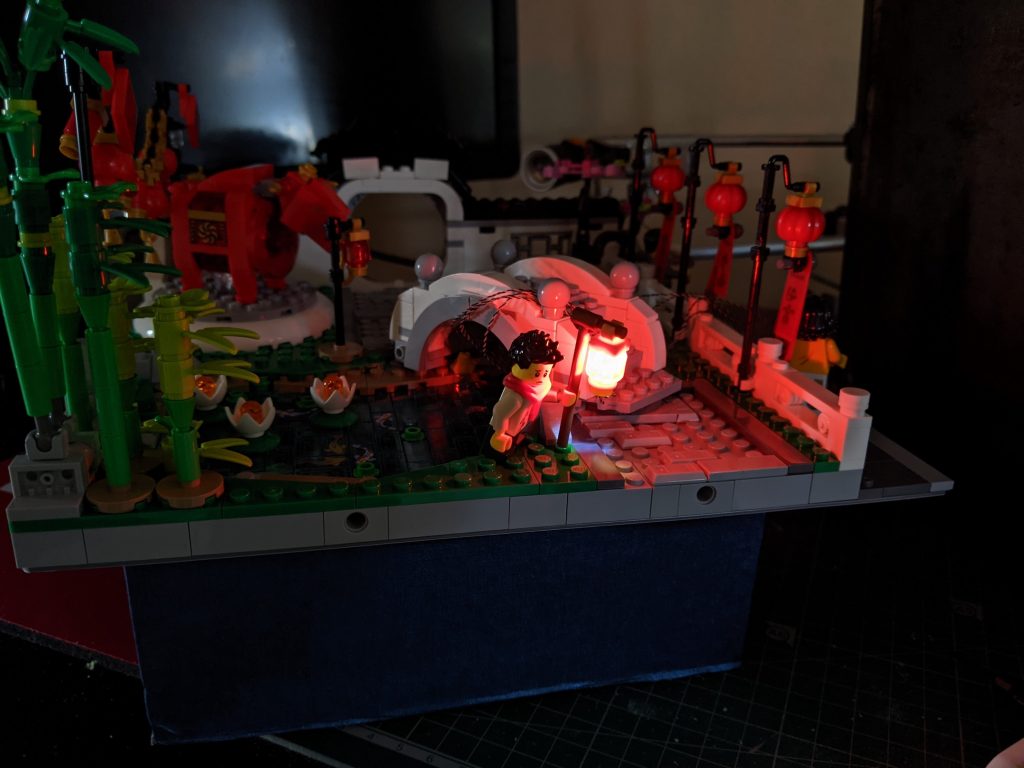
With this setup I wired micro LEDs into the lantern again. In this case I put several LEDs into the one lantern to give a really strong glow. The wires disappear under the bridge to a power pack out of frame.
You can’t outrun who you really are

The final photo I took with this set was another spur of the moment effort, with one more minifigure from outside the set. I’m sorry I keep adding outside elements to this set review. We’ve just got the Shang-Chi sets at home and I couldn’t resist. He was just standing there begging to be placed into this shot. I also went back to shooting through one of the entranceways, they are a wonderful feature of the set and give a great framing device within the photographs. It really reminds me of the Hobbit poster as Bilbo heads out of his front door.
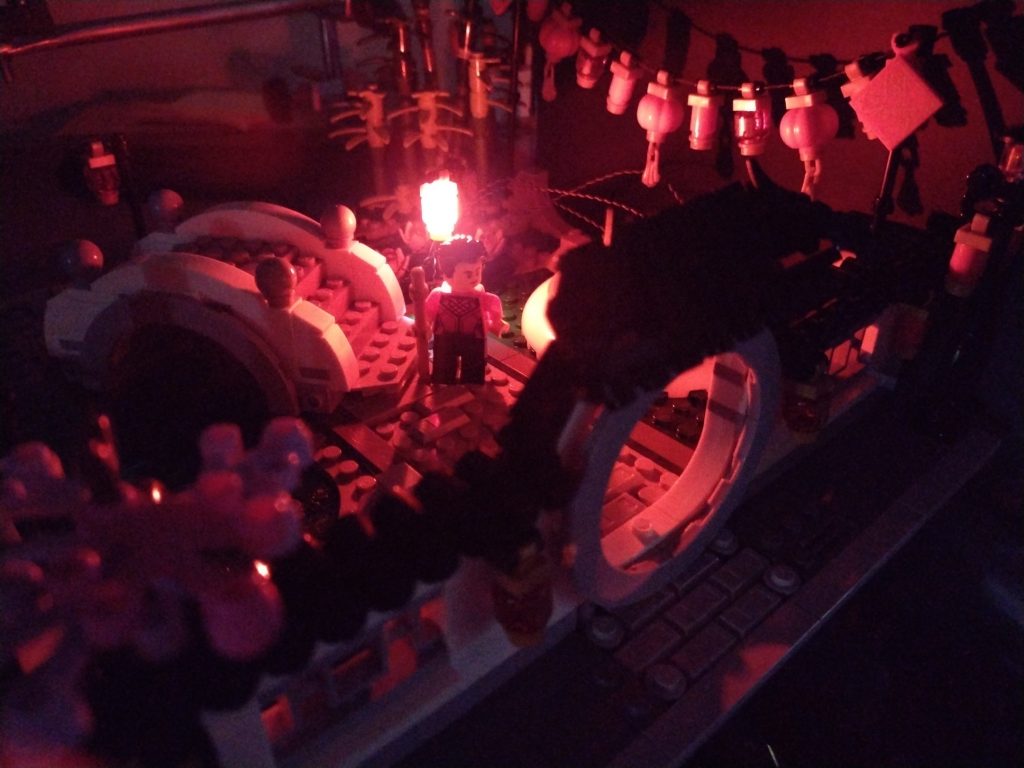
The setup for this photo is very similar to the pervious one with several LEDs placed inside one of the set’s fixed lanterns this time. And combined with the entrance to the garden, creating a frame within a frame, it makes the red circle of the light shining from the lantern in the middle of the photo. And as the white wall reflects the light back at the minifigure from the other areas, Shang-Chi is shown backlit by the lantern, but he isn’t a completely blacked-out silhouette.
Final thoughts
Having played with and photographed this set over the past few weeks, I can safely say it is great from a toy photographer’s perspective. There are so many elements to work with, from the bull statue, to the pond, to the bamboo forest and more. I’ve found the opportunity to create so many little vignettes and views through this garden to take different photos—and with many more ideas yet to come. I will admit I did take a few liberties in adding extra minifigures for some of the photos, and I hope that doesn’t detract from the review. But I think that is part of the set’s beauty, it gives an amazing setting to explore and for ideas to grow.
I’ve loved playing with the lanterns, and the challenge of adding the practical lighting I like to include in my photos. Obviously I had this in mind when I took on the review, but it’s still great fun to try new things, and wiring LEDs into the set is something I’ve enjoyed trying. I’m particularly proud of the photograph with the stacked lanterns all lit up from front to back, and I’m a little gutted I didn’t get any behind the scenes to show the setup. Or to show how the combination of raw photographs came together to make the finished result. Perhaps that’s something for another blog post?
As I mentioned at the beginning, I was drawn to reviewing this set to try something a little different from my usual efforts. I would say with a lot of confidence that I would not have bought this set myself at the time. But I have thoroughly enjoyed my time in the spring lantern garden and the possibilities it brought as a photographer. I will definitely be looking farther afield in the future when I consider the toys I buy to photograph. And I think that’s the biggest lesson I’d take from this experience: Keep looking for new angles and perspectives in new places—you never know what you’ll find.
P.S. It’s all about being a toy photographer
As I mentioned right at the beginning of this review, finding my own sigfig was a welcome surprise. And while he might need a new sweater in my opinion, I couldn’t help but feel an affinity with the little guy. It seems we’ve got a few things in common.
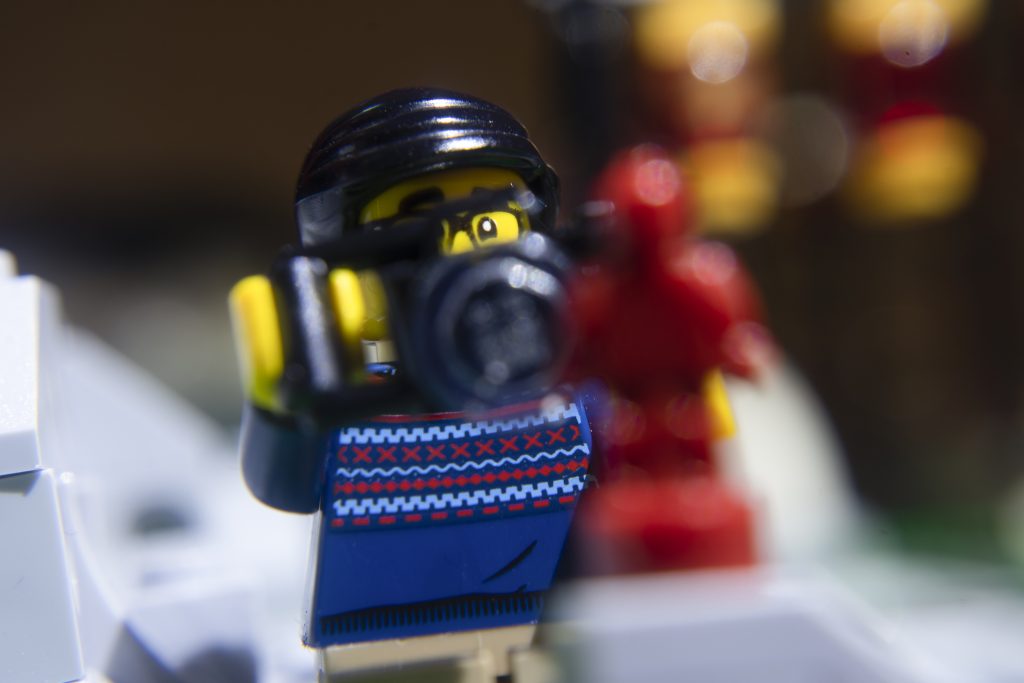
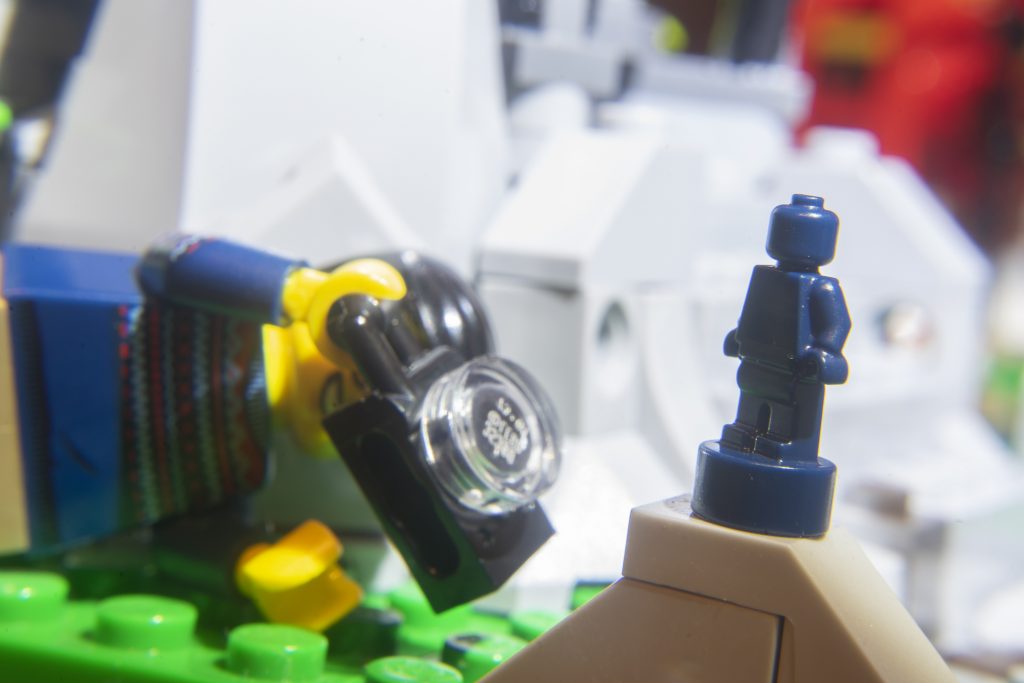
Even doing some toy photography yoga!



Awesome review – thanks for showing so many ways to take advantage of the set! Love your pictures And congrats on finding your sig figure!
Wow! What an exhaustive review! And I learned lots from your BTS shots, thank you! I have the set and I totally agree, it’s awesome for toy photography, so many angles and so many options. And it looks also good just displayed on a shelf 🙂 Really great set.
Thanks Jana, you are welcome. It’s a wonderful set with so many possibilities and details to photograph. I think I’ll get many more photos from it even after the review.
Love this review Tom! You really have a way of bringing out the best in a set. You’ve shown there are many great ways to play and photograph with this set. Inspiring!
Thanks Shelly. The photography characters were a real inspiration to take slightly different photos than I usually do, but I hoped they’d allow me to show more of the set for people to see, alongside my usual dark and moody affairs ?