Welcome to our first Feature Friday! This week we are showcasing the work of Jeremy Rider aka @jezbags on Instagram. Dive in to the Q&A and his toy photography artwork below.
How long have you been a toy photographer and what attracted you to this hobby?
I have been doing photography for around 10 years and evolved to toy photography just over five years ago. I love the dynamic and imaginative world of toy photography. I find that escaping into these fantasy adventures keeps my creative mind alive and feeds my inquisitive monster. There is so much you can do with the genre, the possibilities are endless.
Where do you get your best photography ideas?
A couple of years ago, I started making a content calendar to help inspire me with ideas. So a shoot could include an elephant firing water out of its trunk for World Elephant Day, and the next shoot could be for Spider-Man Day with Peter Parker swinging through some rooftops. It really helps keep the ideas flowing and is something that I always add to overtime. I would highly recommend it for people struggling with ideas.
What is your current equipment setup and why?
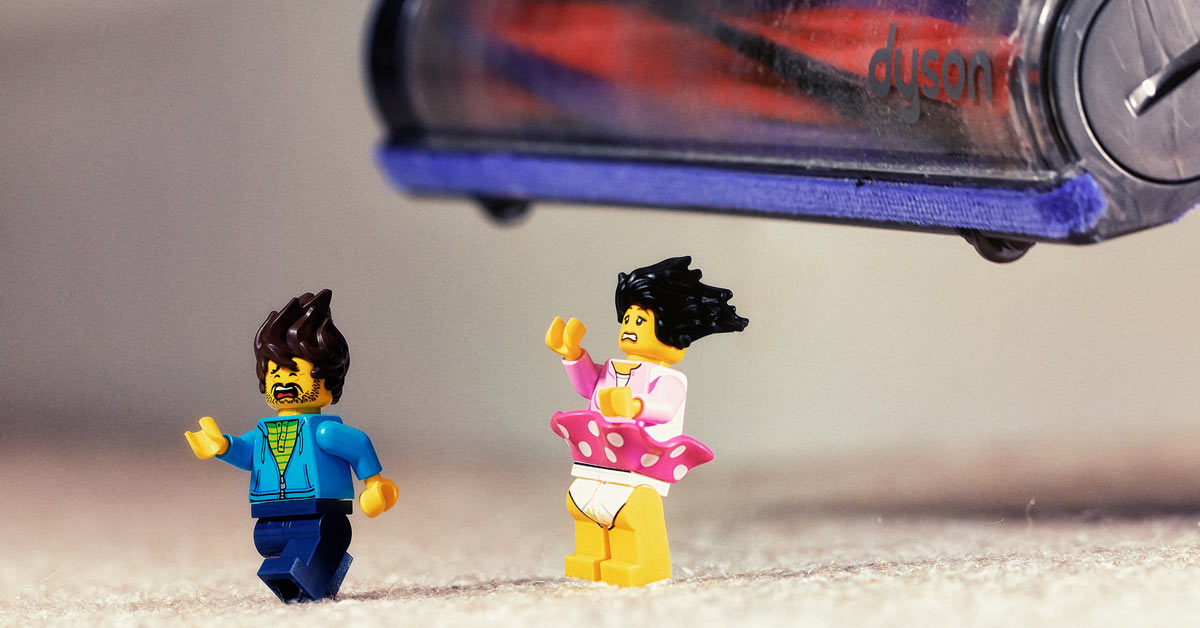
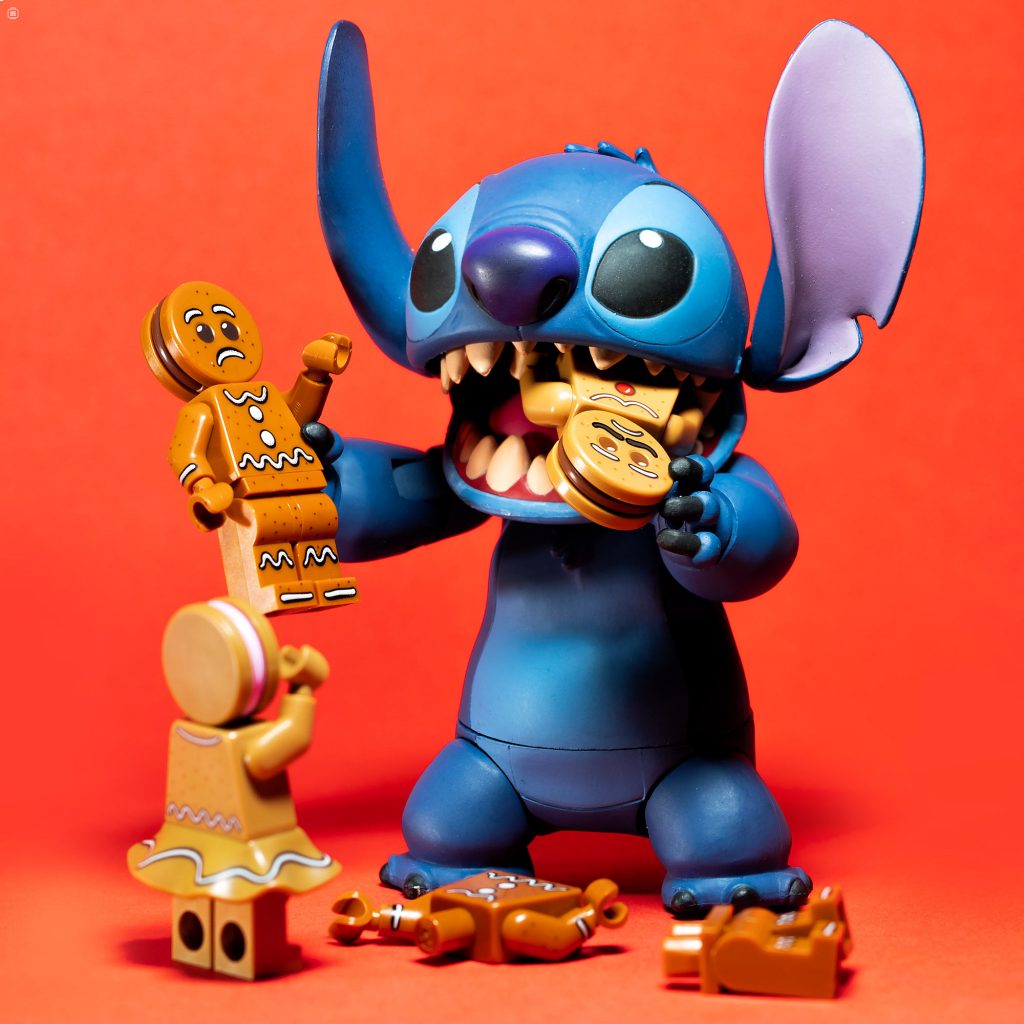
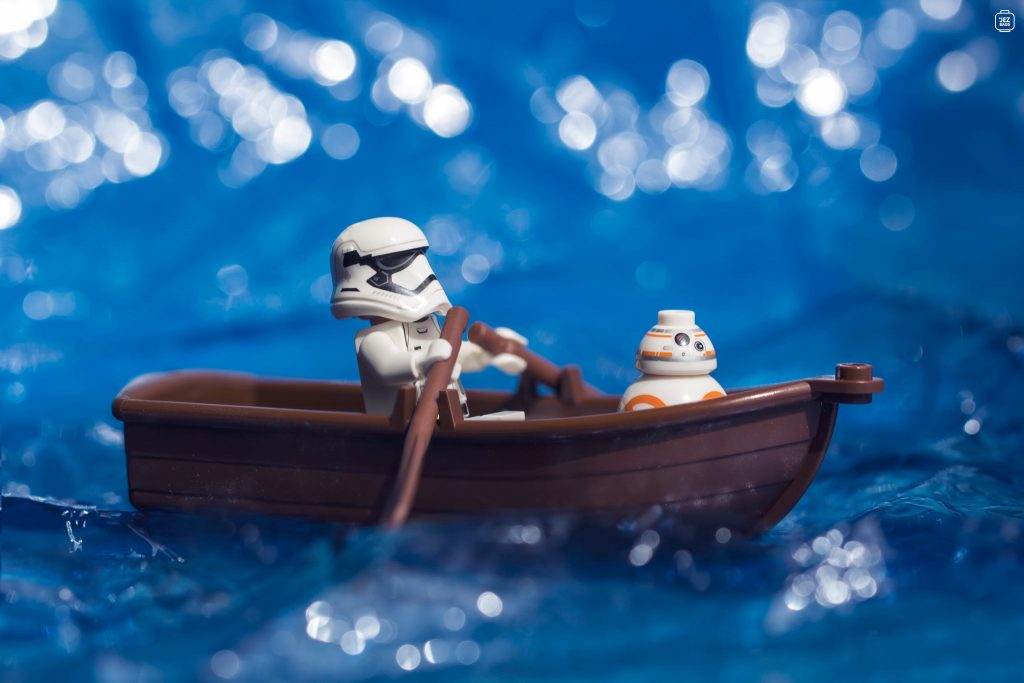
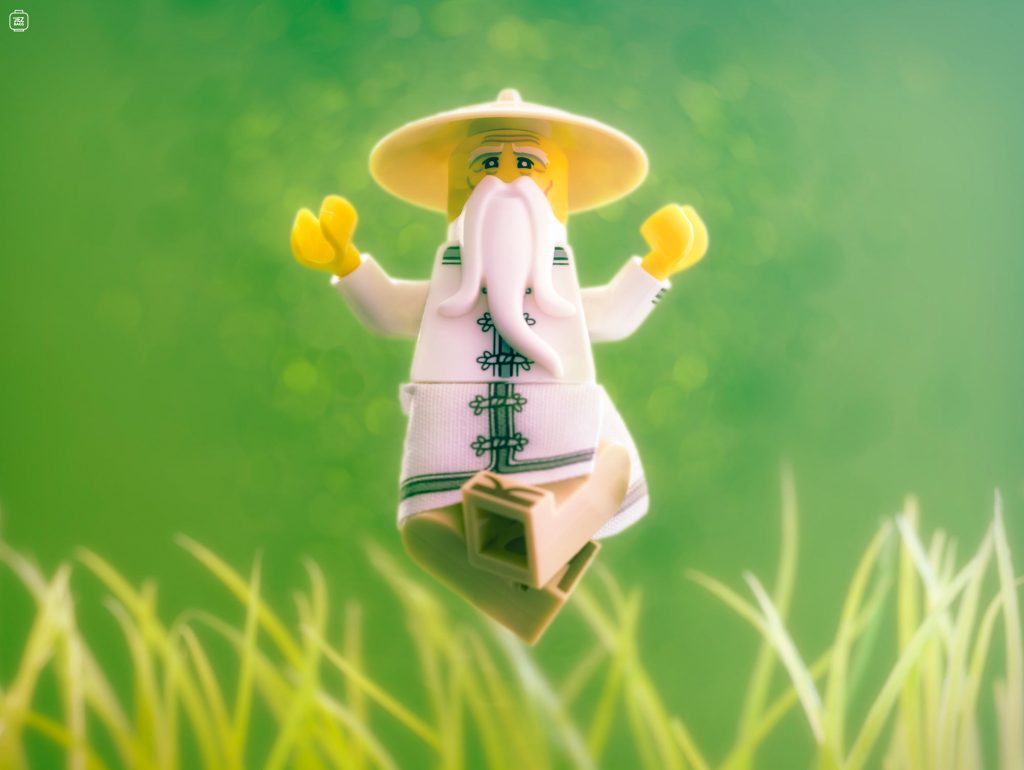
Most recently I have noticed that doing simple shots on colored card backgrounds can be very effective, and with COVID restricting me from doing photography outside, it has been my go-to setup. I have a plethora of different colored cards, and to create the shot, I set up my scene on two pieces of card, one piece for the floor and one piece for the background. I then have two adjustable lights that sit above and in front of the scene. I then move my Canon 80D camera with 100mm macro lens into place, attached to my Manfrotto tripod with a three-way head. Depending on the scene complexity, it would take about 30 minutes for a shot like this.
What are the essential tools in your toy photography arsenal and what might we find surprising in your tool kit (i.e. bubble gum, peacock feathers, etc.)?
EQUIPMENT
- Canon 80D
- 100mm macro lens
- Laowa fisheye lens
- Manfrotto tripod
- Manfrotto three-way head
- Lume Cube light + filters
- Remote trigger
TRICKS OF THE TRADE
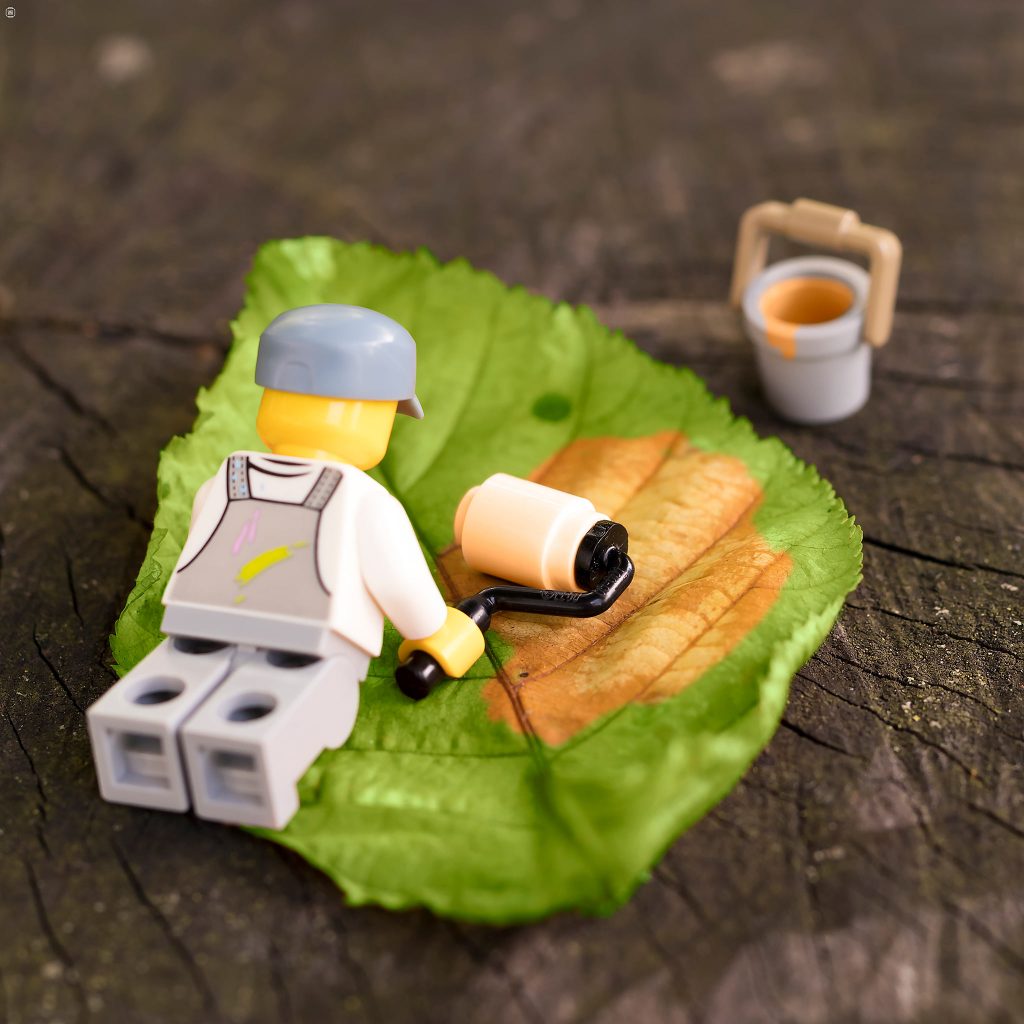
- Coloured card (for simple backgrounds)
- Aluminium modelling wire (for keeping things in the air)
- Multi-purpose tack (for keeping things in place)
- Blue acetate (great for creating bokeh water effects)
- Air blaster (great for blowing things up)
What kind of reaction are you looking for from your viewers?
For me, I love taking the shots, editing them and then posting and seeing people’s reactions, I just want to make people laugh, smile and generally be happy. I hope some of my shots can do that. I get so many nice comments and it’s great to see people taking an interest in my hobby.
What has been your most treasured feedback?
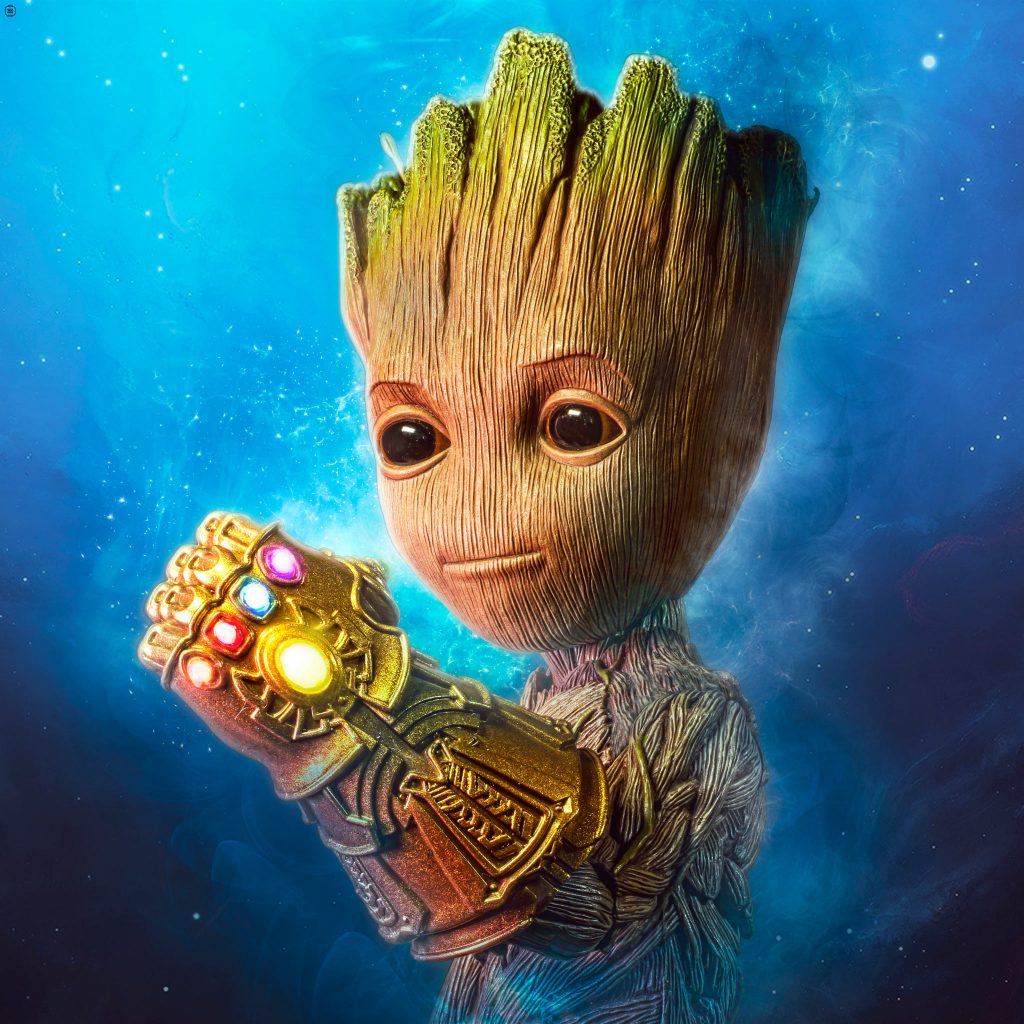
My most treasured reaction was when James Gunn (Director of Guardians of the Galaxy) re-shared my Groot’s Gauntlet picture on his Instagram. That was pretty WOW for me.
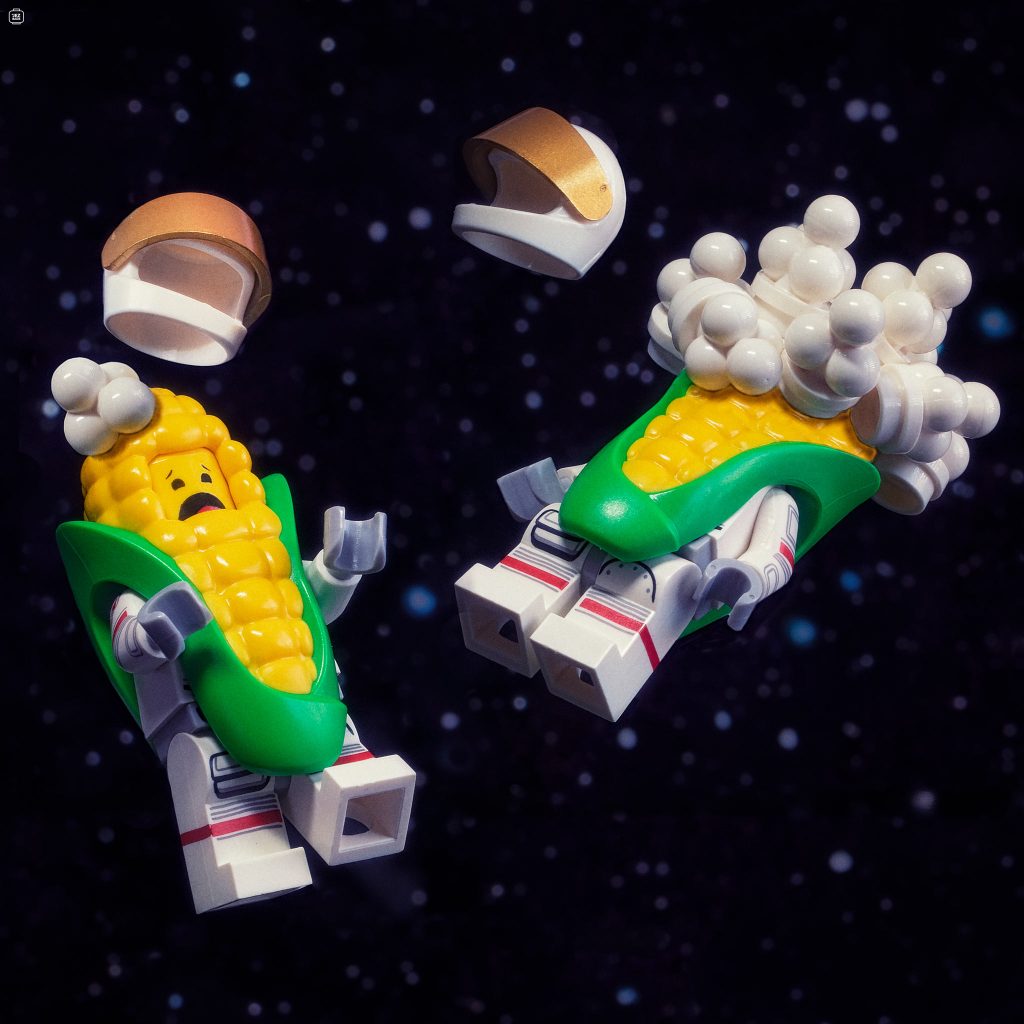
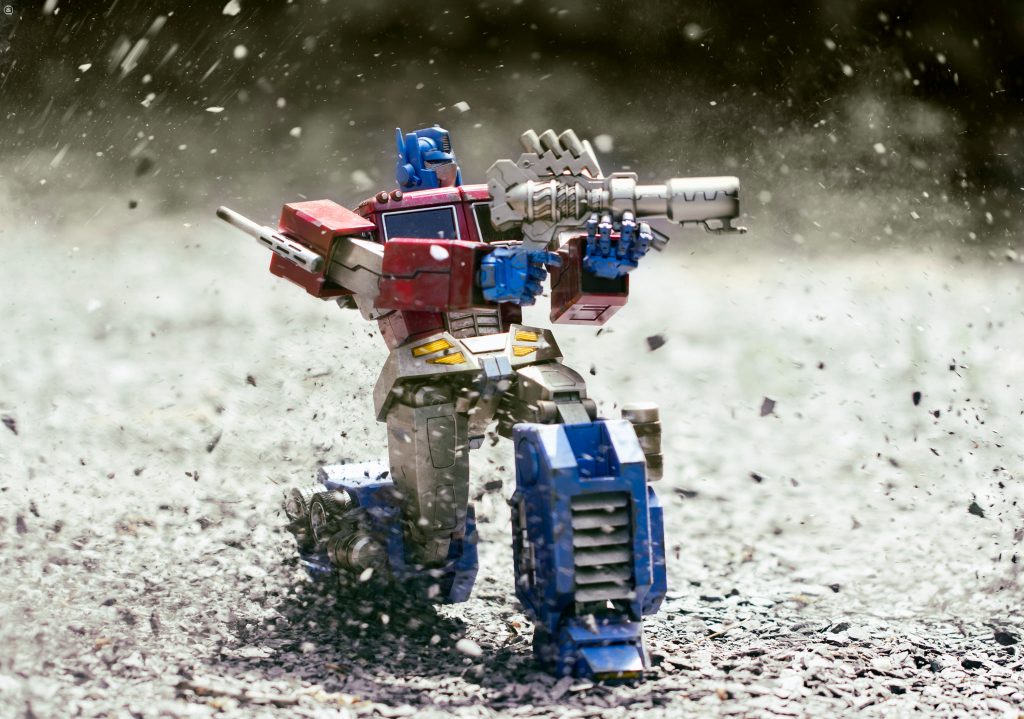
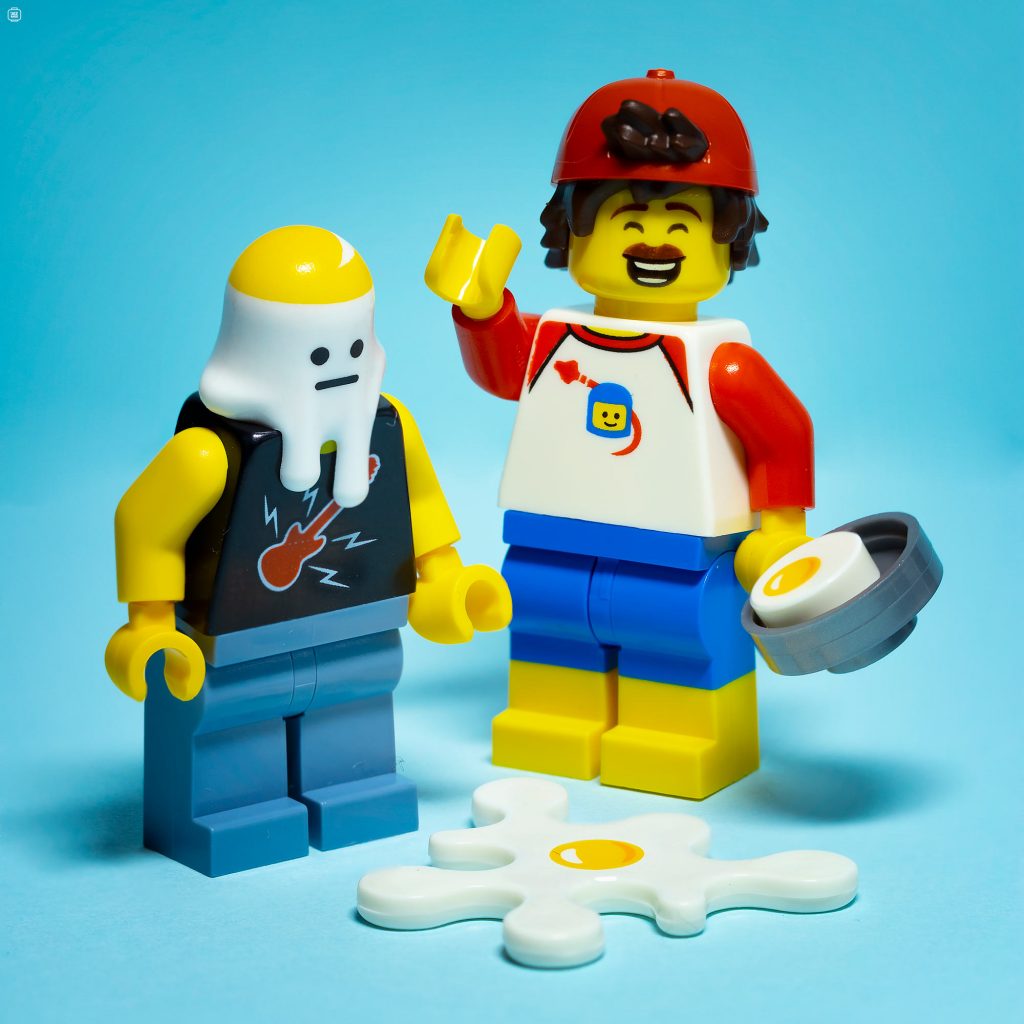
There are a lot of toys out there to photograph. What is your favorite toy line and why?
LEGO is my go-to toy line, mainly because of the variety of shots you can do and the amount of content there is to play with. I do love jumping up to the big figures as well, though. I have a growing collection of Hot Toys action figures with the life-size Baby Groot being my favorite to photograph.
If you could go back in time and talk to your young self, what would you make sure you knew on day one of your toy photography journies?
For me, lighting is key. Getting this correct can make or break a photograph, you can never truly fix that in Photoshop if it has gone wrong. Another thing is to always keep post-production in mind when setting up the scene. Remember to use a brush to clean a minifigure before shooting, make sure not to use too much white tack, and check if the modeling wire isn’t making too much of a shadow. The amount of time I have wasted in Photoshop having to remove little hairs off a figure or having to re-draw a minifigures arm back in—yeah, lessons learned there.


Great feature! I think we met in London on a toy safari, right? 🙂 I love your photos of Groot too! It’s one of the cutest figures ever 🙂
Looking forward to meeting others via similar feature posts 🙂
Great interview, guys! It just reminded me how much I like reading interviews – a great way to get to know the artist. Last, not least, I really enjoyed the variety of pictures you displayed here. Thanks for the insights!
Awesome interview. I always love getting to know the photographers behind the accounts I follow. I can’t wait for more Featured Fridays. It’s really cool that James Gunn re-shared your work Jeremy.
Awesome pics and awesome tricks! New to this over lockdown but I’ve been so inspired by @jezbags photos!
Awesome interview. I love getting to know other toy photographers better and Jeremy shared some great tips! Im off to get myself some blue acetate! Thanks so much for sharing! 😀
Such beautiful images Jeremy and great to know you better here. Also, high fives to a fellow Canon 80D user!