May the Fourth Be with You
May 4, affectionately known as Star Wars Day to fans, has come and gone, but for a brief window, LEGO shoppers had the opportunity to take home an exclusive Star Wars set with their purchases. In this post, we take a closer look at that exclusive set and build it for some photos.
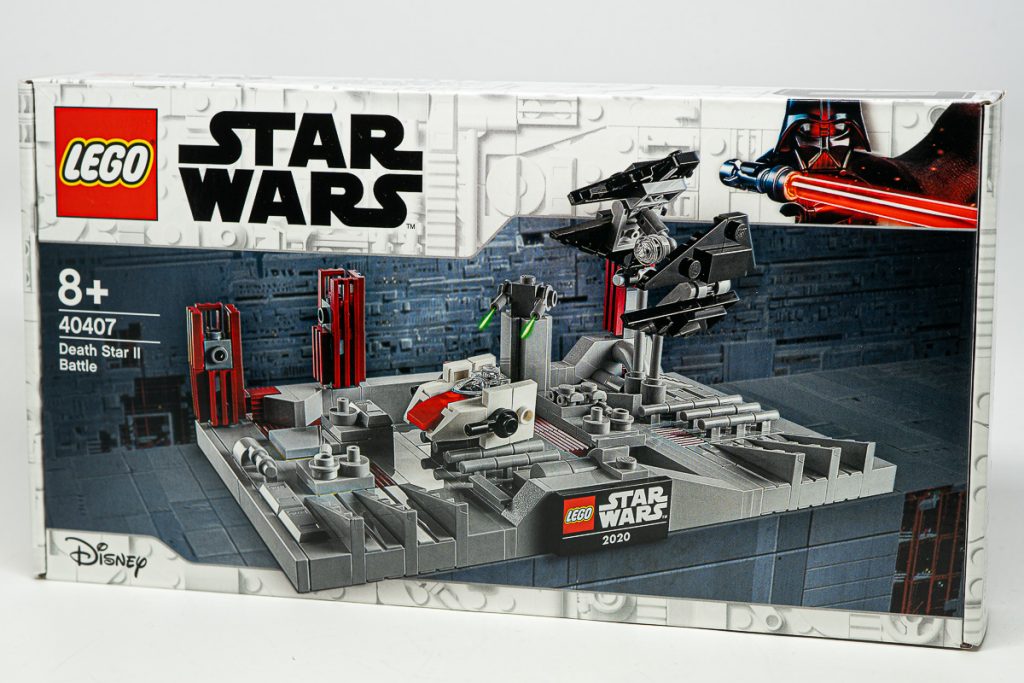
Death Star II Battle (set 40407) was available for free from Shop.LEGO.com with qualifying Star Wars purchases of $75 USD or more. The set is comprises more than 230 pieces and depicts the epic, Return of the Jedi battle over the Empire’s under-construction Death Star.
Fully operational
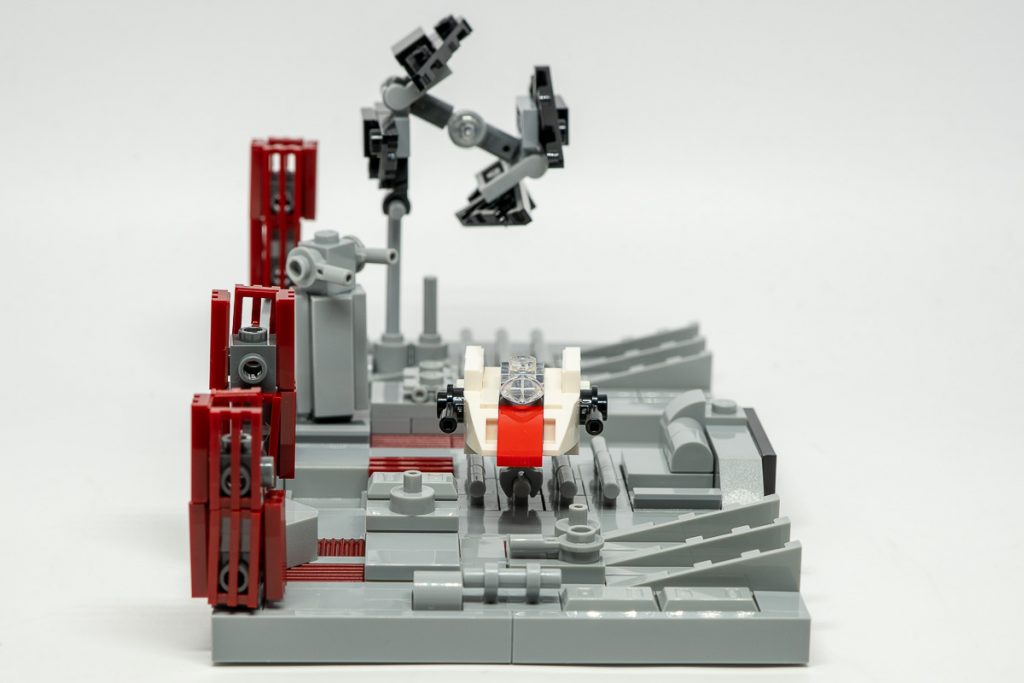
The Death Star II Battle will be immediately recognizable for Star Wars fans, and LEGO has done a wonderful job recreating this scene in micro-scale form.
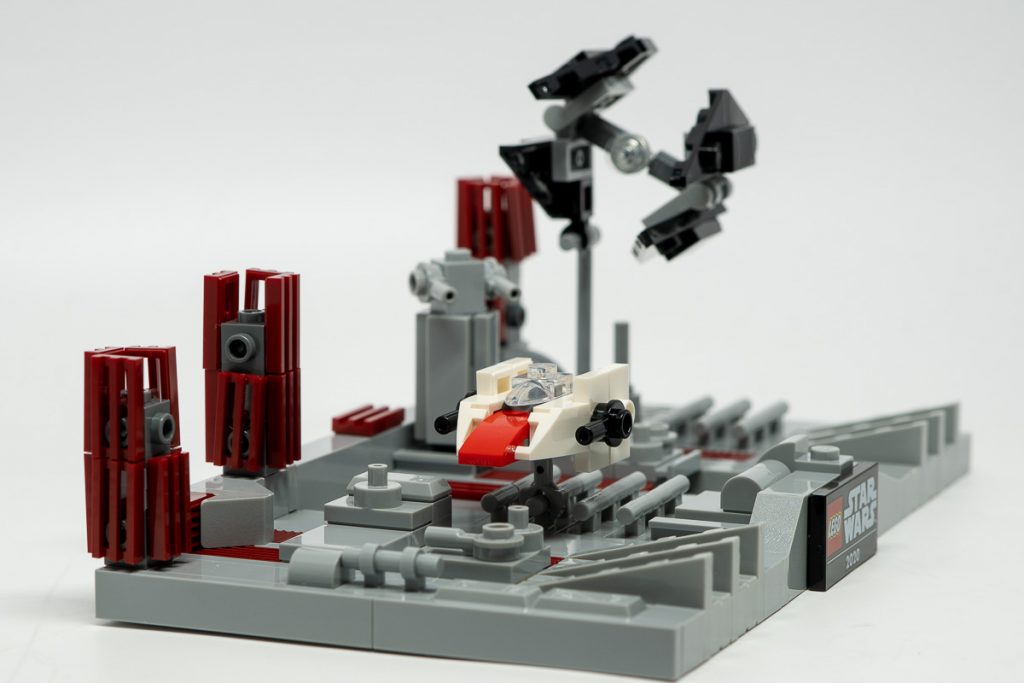
Death Star II Battle features minimal yet creative parts usage to recreate the surface of the Death Star with splashes of color to highlight the active construction zones. A mini A-wing races just above the Death Star’s exterior while being pursued by a fearsome, TIE/IN interceptor.

Not entirely stable
This is the first Star Wars micro build I’ve ever assembled, and these things take a delicate hand. The surface of the build is solid, but the ships and protruding pillars are a bit fragile.
While I was building the A-wing it exploded in my hands because I accidentally applied a bit too much pressure. Several pieces in the set are held in place by a single stud, so while not difficult to assemble, they can be easily knocked off.
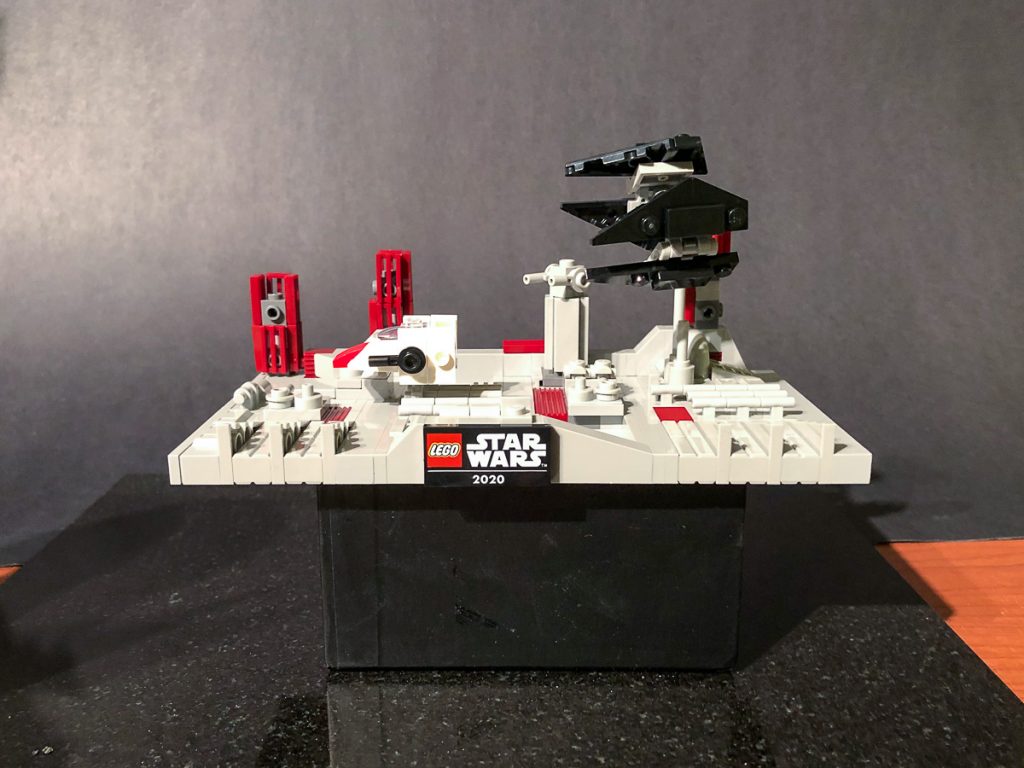
Once assembled, the finished set looked great. It’s impressive what talented designers can create on such a small scale with only a handful of LEGO elements.
Shooting the set
As someone who focuses on minifigures 99.9% of the time, I was perplexed about how to shoot this set. The micro scale and minimal parts usage concerned me, as I knew my parts placement would be under scrutiny when viewed through a macro lens.
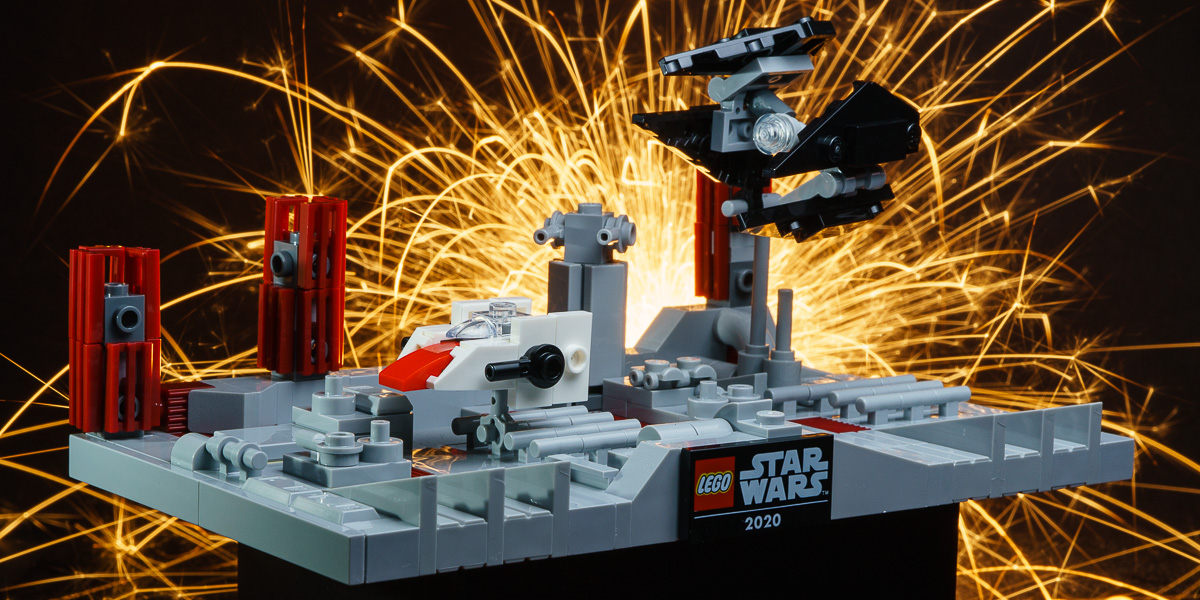
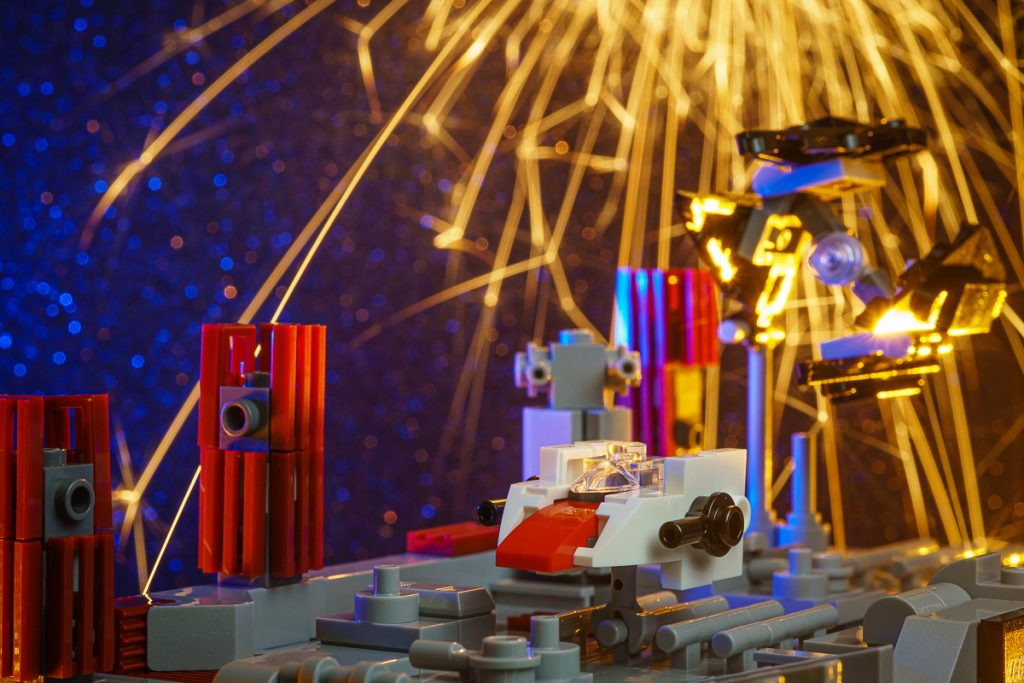
As I looked at the set, I got the idea to try recreating the intensity of the second Death Star battle as the Rebel Alliance desperately fought to destroy the Empire’s deadly space station. I wanted to make the scene exciting and chaotic, and what better way to do this, than with the use of sparklers and long exposures.
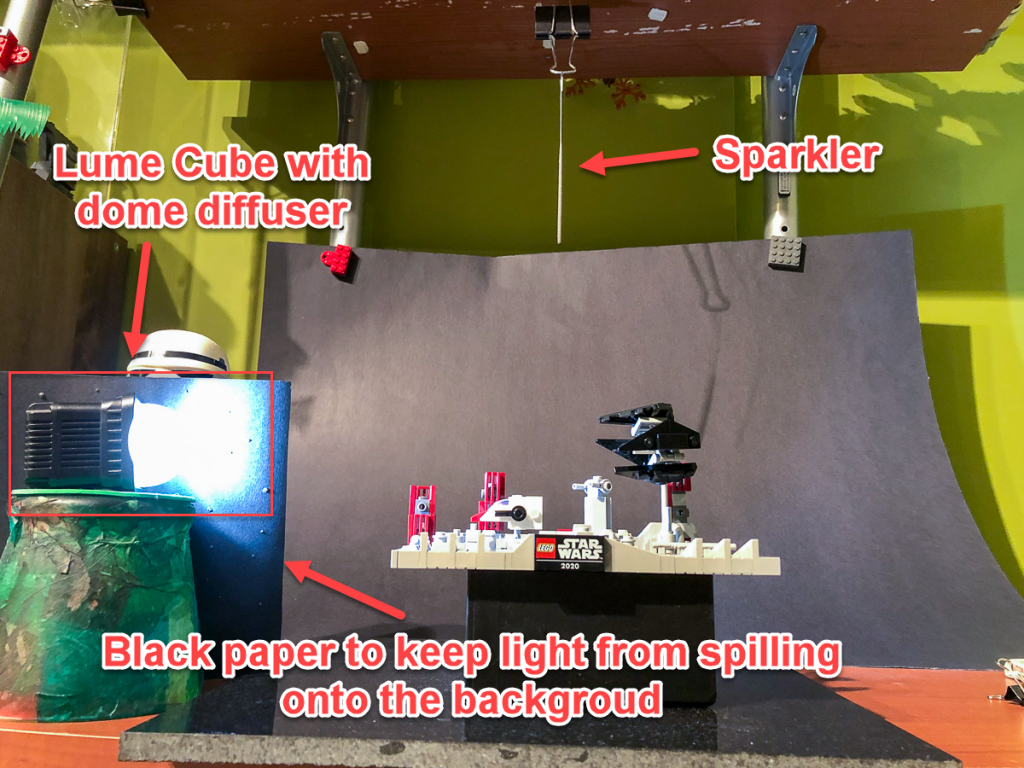
I went with a simple setup, using a Lume Cube to throw some light on the set, as well as an overhead flash and homemade lightbox. I suspended the sparkler from above so the sparks would rain down just behind the set.
I focused on the A-wing, set my shutter speed to 1.6 seconds in order to get some nice streaks from the sparkler. Then, I shut off the lights, lit the sparkler, and took as many exposures as I could before the sparkler fizzled out.
Initial results were promising, so I adjusted the position of the set and sparkler and kept shooting.
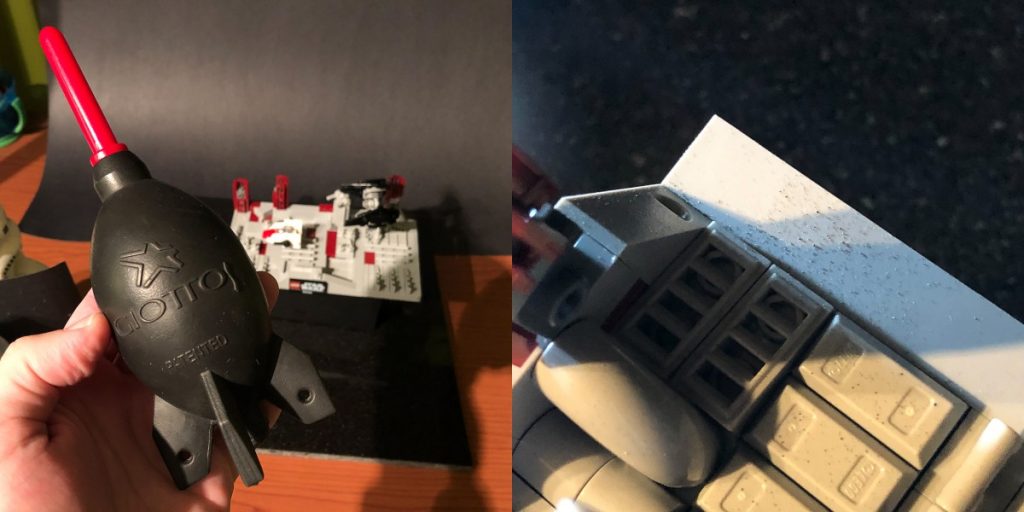
One downside to working with sparklers (aside from the potential fire hazard) is that they leave a lot of black debris where they fall. In between shoots, I had to use a rocket blower to clean the black specs away.
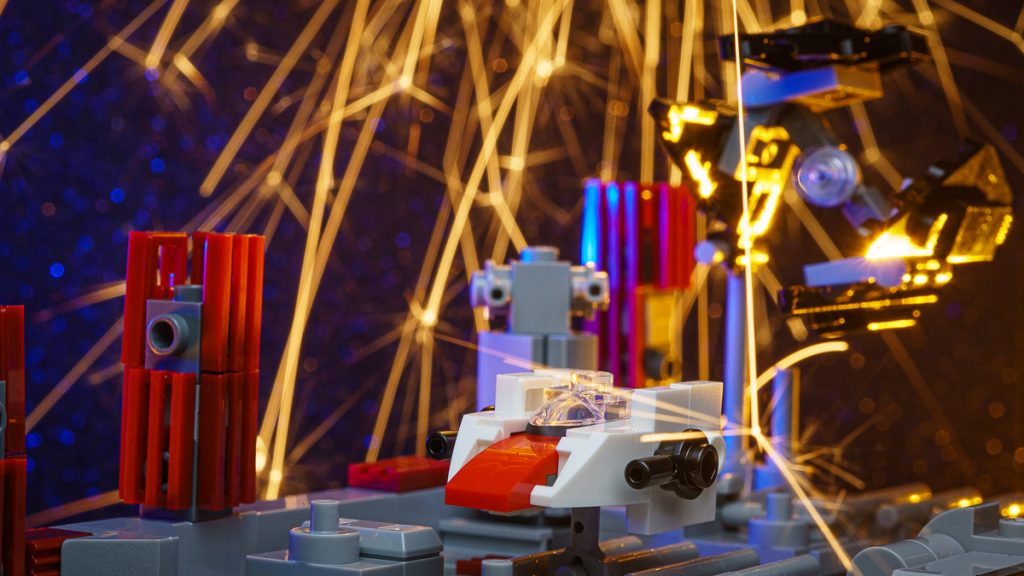
The shots were looking good, but I wasn’t entirely happy with the way the sparks were falling—as if they were coming from something offscreen, not from the actual battle on the surface.

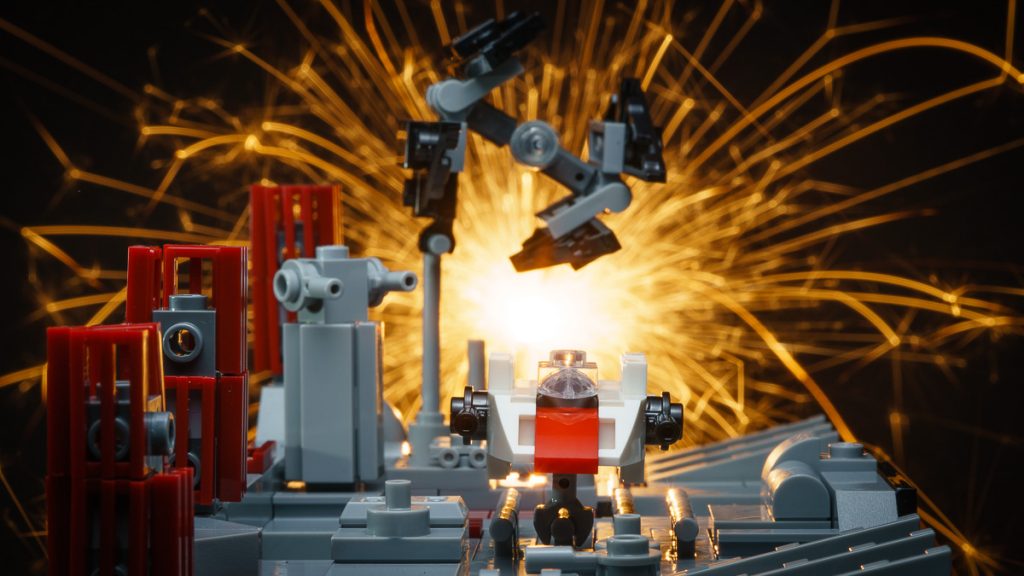
I tried repositioning the sparkler directly behind the set and started shooting again. Now I was getting the results I was after. I wanted to make the sparkler appear more explosive, so I slowed my shutter speed down to 3.2 seconds. I also wanted to black out the background as much as possible, so I stopped my lens down to f/16.

Combining sparklers with long exposures can be a ton of fun, just please do so at your own risk—especially when working around toys. I’ve had more than my share of mishaps, so be careful.
This was a fun set to build and shoot. Thanks to LEGO for providing ToyPhotographers.com a copy to play with.
May the Fourth Be With You… Always…


Leave A Comment