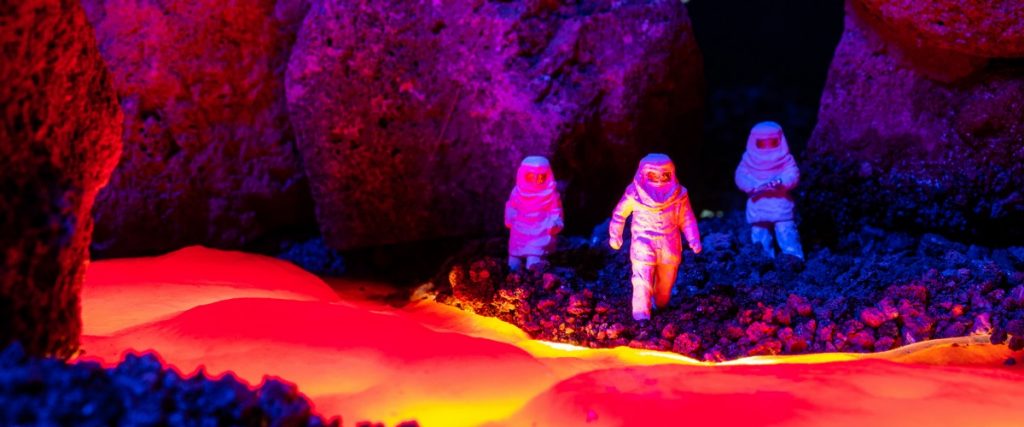
Remember that game played as kids? “THE FLOOR IS LAVA!!!” Furniture became the high ground. Play, fantasy and ingenuity ruled the day. One of the reasons I (and I’ll assume many other toy photographers) do this type of photography is for those same reasons. This is entirely detached from my career as a professional creative—though it does make use of those skills. Toy photography is a chance to create just for fun. And it is a rabbit hole…
Inspiration from anywhere and everywhere
This set of images is inspired by two different things. The first was a sci-fi pic reposted by someone I follow on social media. It was outside of my normal internet eye candy and caught my imagination. I did some digging (à la Google Images reverse search) and located the original image, created by Gary Sanchez, a concept designer out of France with fantastic sci-fi and space illustrations. The initial inspiration for the pillars and lava are based here.
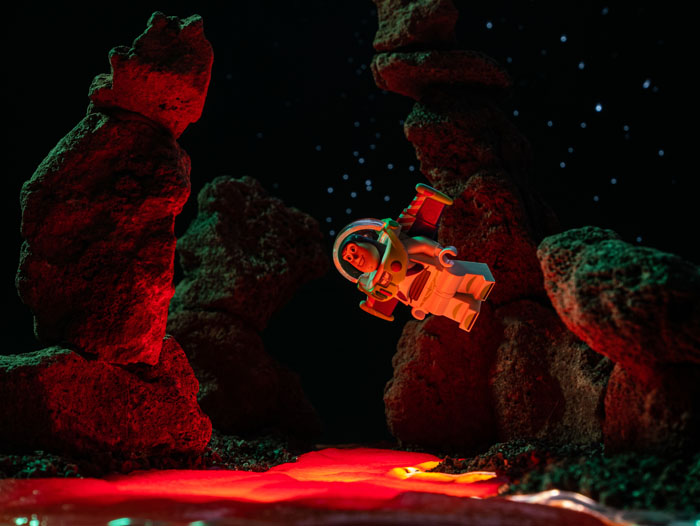
A couple of days later, I listened to Episode 79 of the Toy Photographers Podcast on my commute. James and Kristina were discussing the color red and its related photo challenges. That was the second point of inspiration.
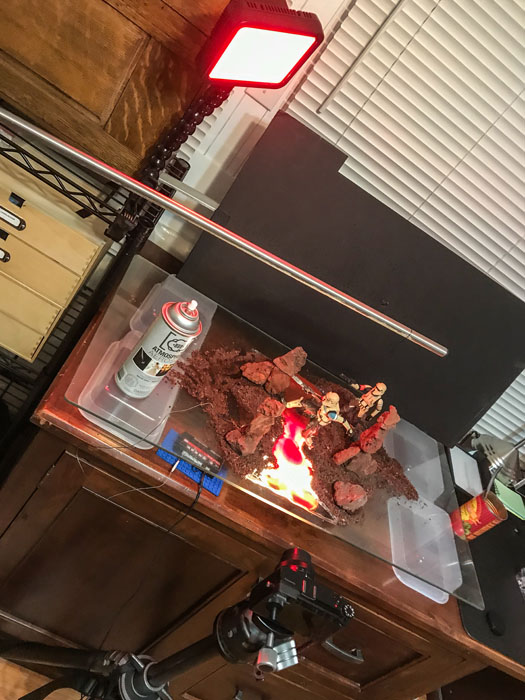
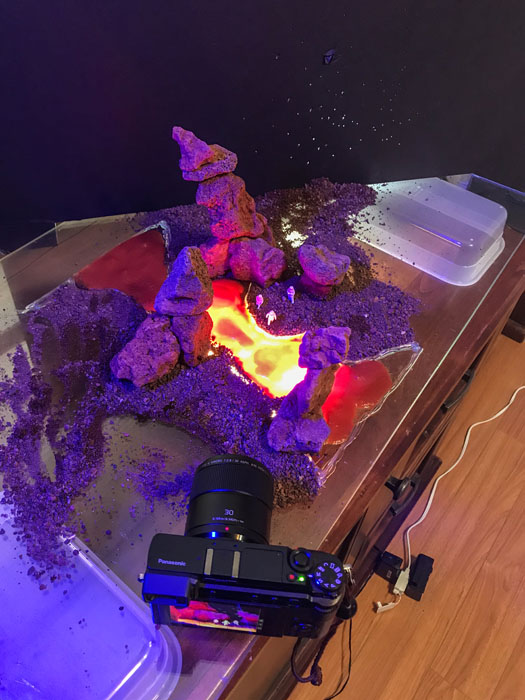
The diorama setup
It would take a bit of setup and I wanted to make the most of my time. I paused for a few days to think about the setup and for the opportunity to shoot without feeling hurried. One of my goals is to shoot subjects of multiple scales in the same environment. This gives my images more variety and helps produce more scenes within a given timeframe.
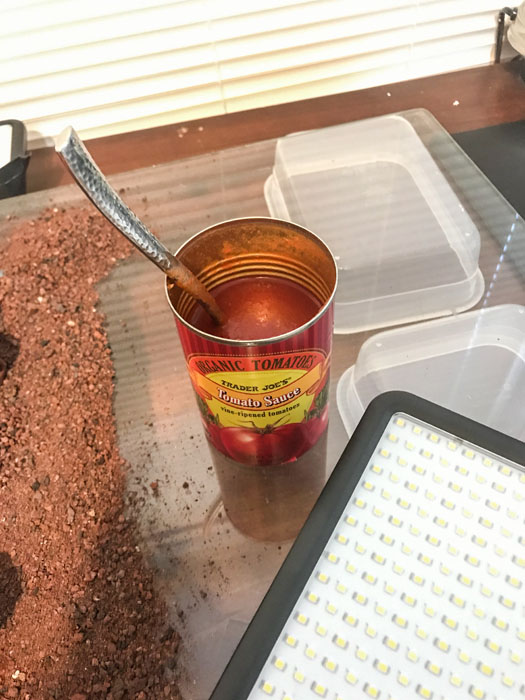
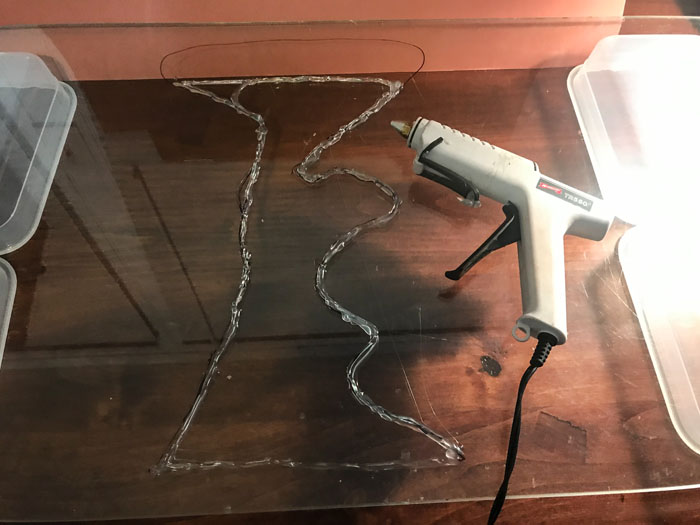
I began by hot-gluing BBQ lava rocks together to make towers and setting aside a can of tomato sauce with hopes that it would transmit enough light and keep its texture. Next, I added an outline of hot glue to hopefully keep the sauce from running everywhere. Now I was ready to start building the set. On with the LAVA!
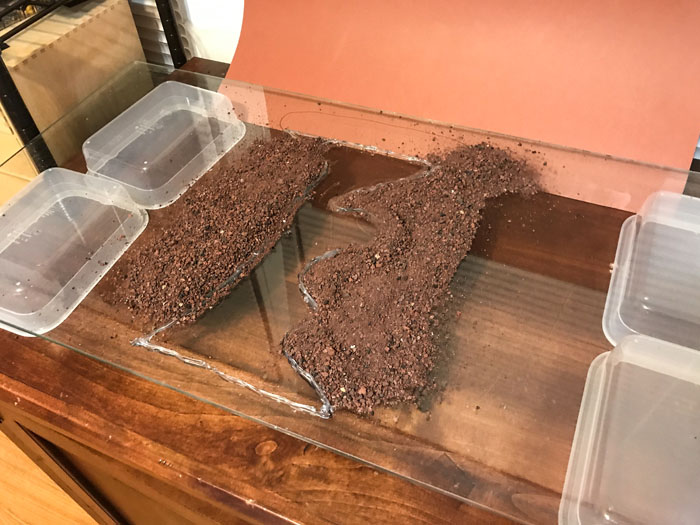
Volcanic cinder for the ground. 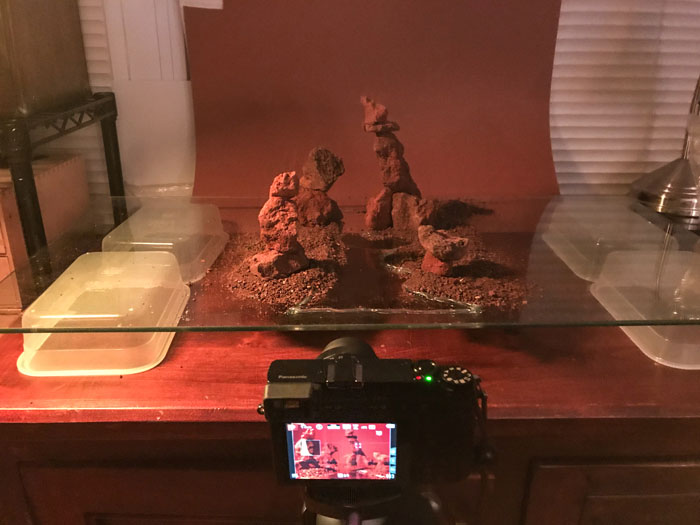
Early test shot for framing.
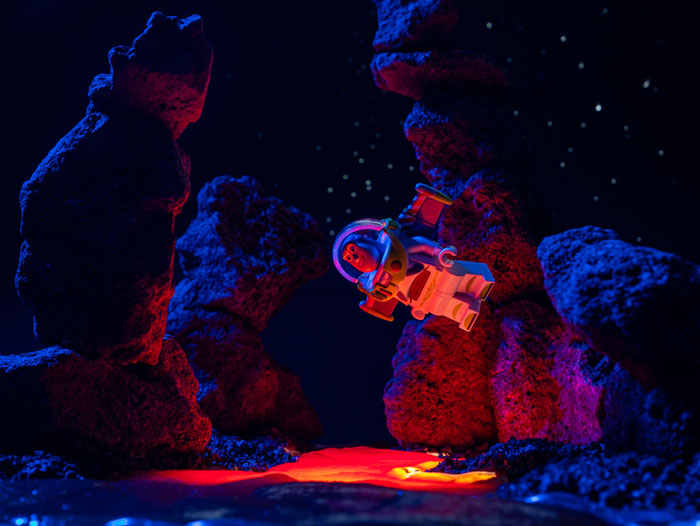
I’ve shot with some gels previously and knew there were better options out there then taping a gel over the Lume Cube(s). (I may have melted a gel or three in previous experiments.) So I wandered down to the local camera store and purchased a Savage RBG360 light. It outputs selectable and consistent colored light and is powered by a standard video camera/light battery, the venerable NP-F.
The images
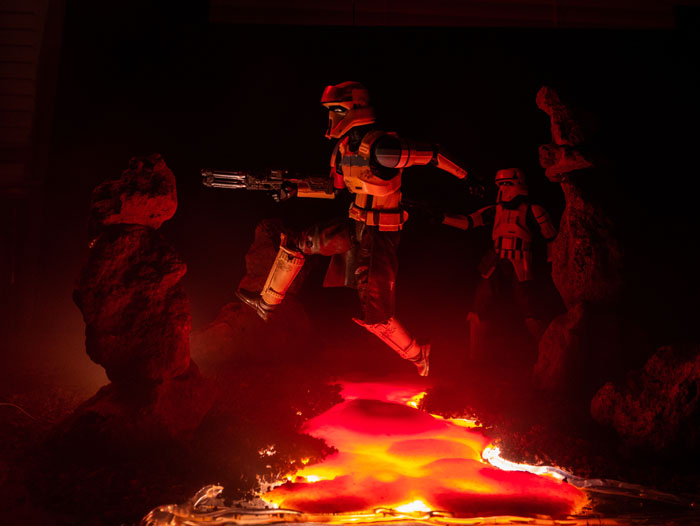
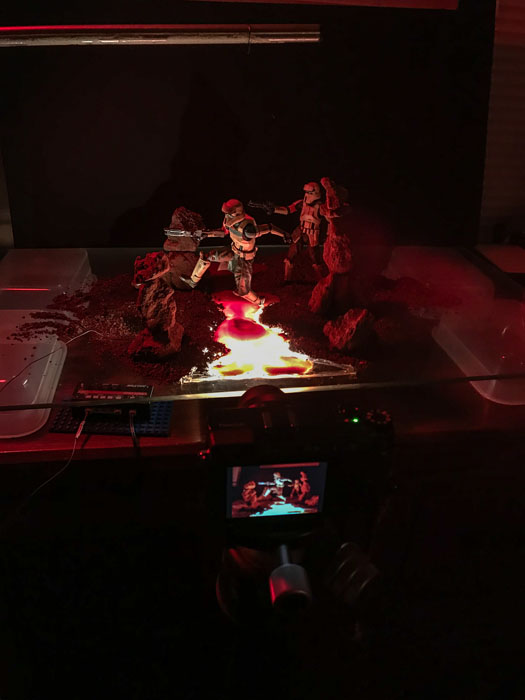
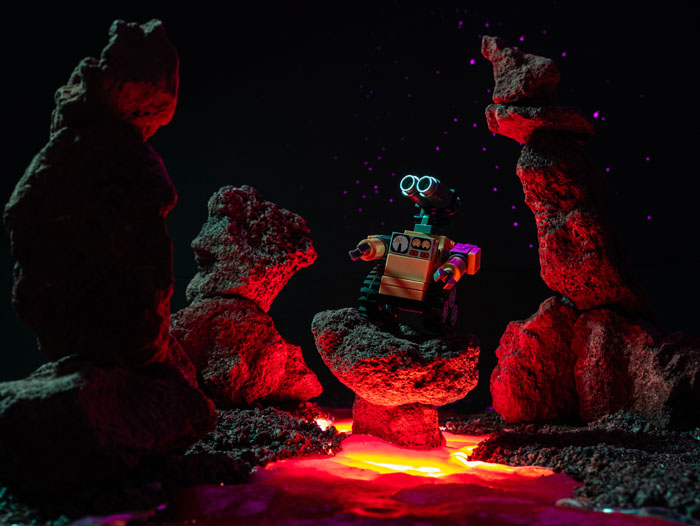
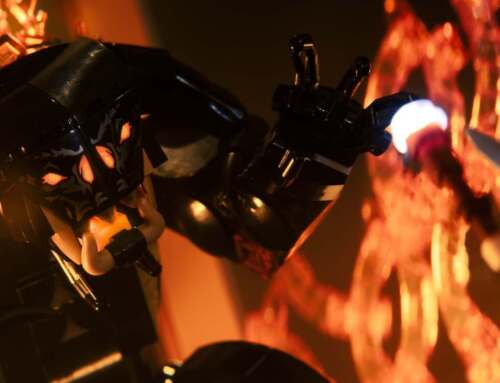
Everything was captured in-camera in these images. The only touch-ups I made were to remove wire supports and a cut mark in the background.
Matt
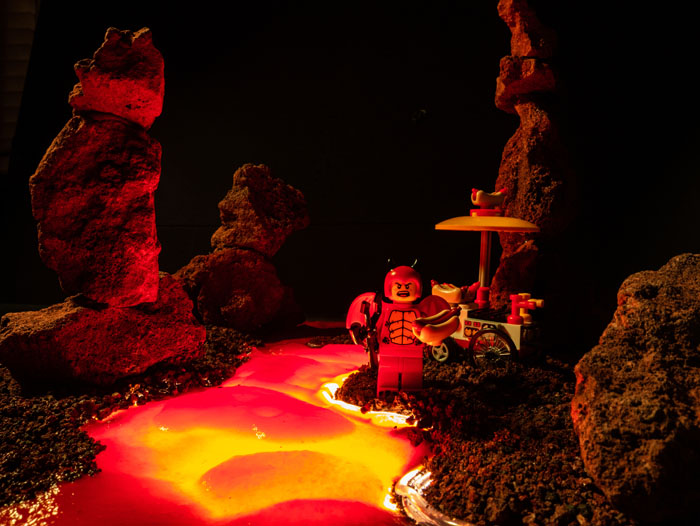
My favorites
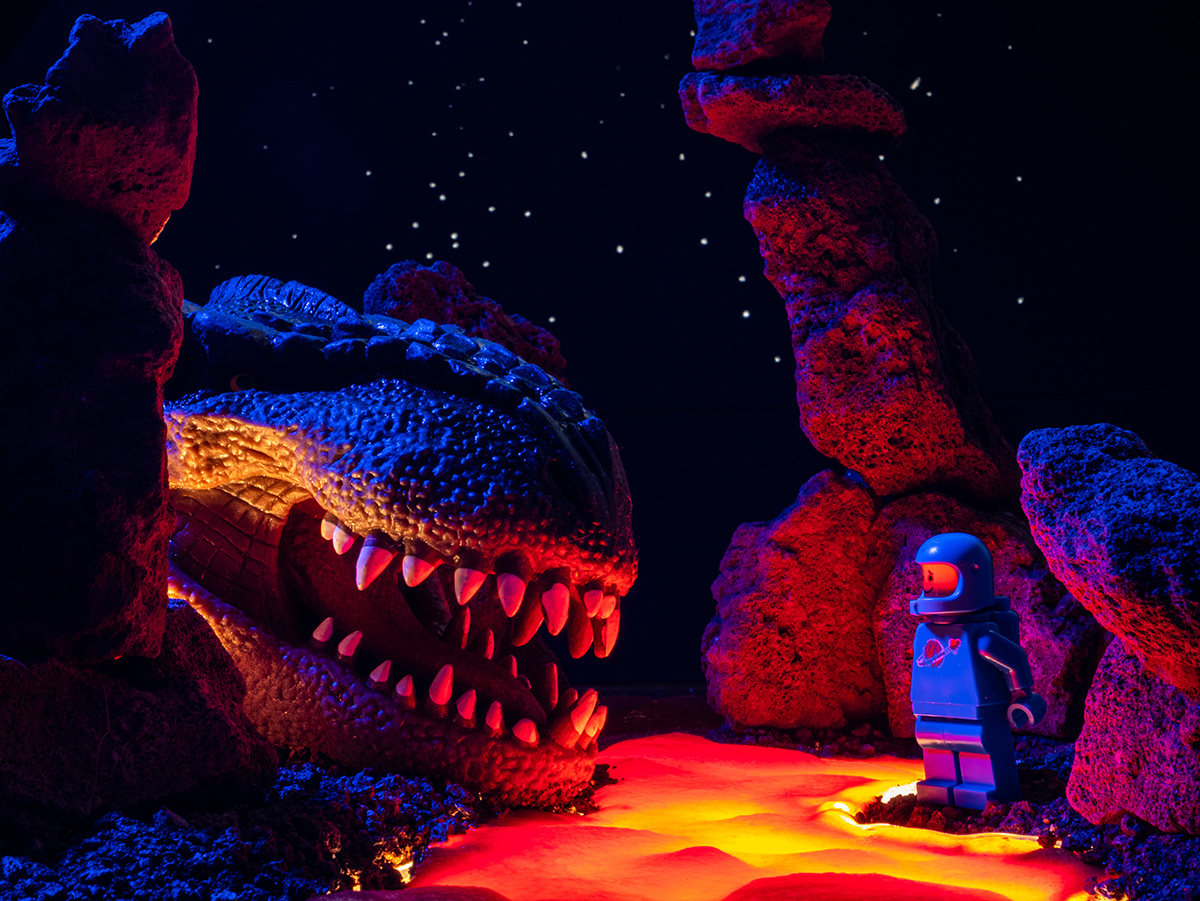
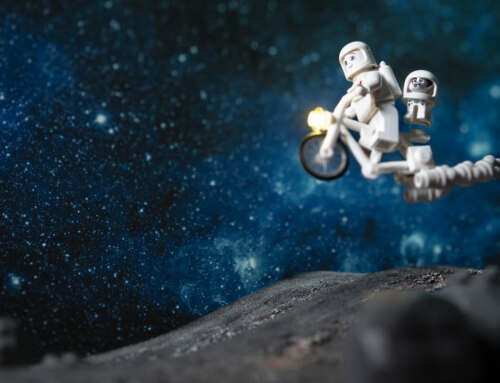
This last scene below is what I initially had in my imagination, and I’m really pleased with how the photos came out. The HO-scale figures can be a bit challenging to position, but I love the contrast of scale.
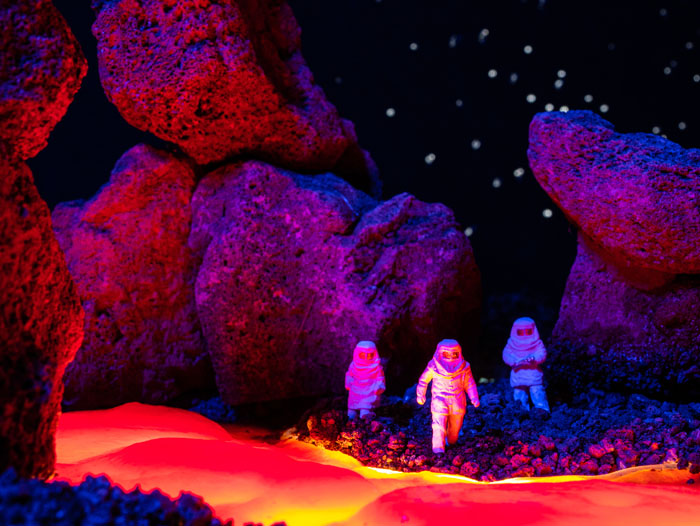
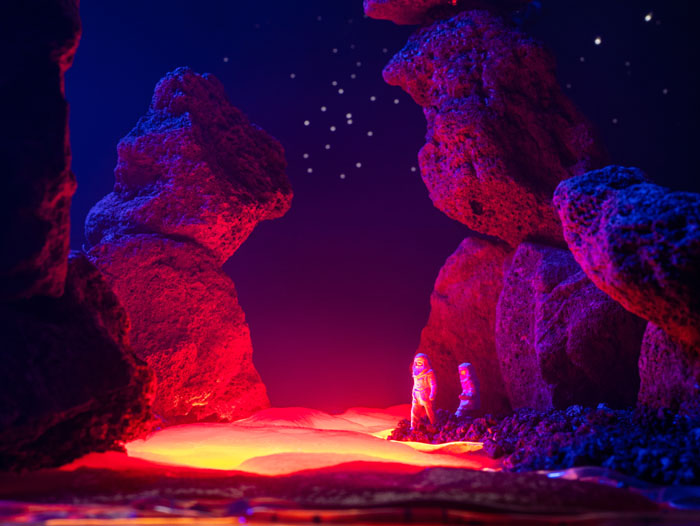
I hope you enjoyed this peek behind the shutter and I look forward to finding more inspiration in new places!
Matt



This is stunning work, Matt! Thanks so much for sharing. Super impressive, and amazing results. Kudos!
Nice work Matt as always
Love the shots, new to the diorama aspect of toy photography. This looks like a simple way to start, thanks for sharing.
I love this post. Such great shots and an excellent how-to.
I’ve never ever thought of tomato sauce as lava. This opens furterly my eyes, thanks for posting!