A few weeks ago I shared a link in the email newsletter (have you signed up yet?) to an article called Bokeh Photography: Everything you ever wanted to know.
It inspired me to do a little experimentation with bokeh. I thought I would share what I did and the resulting photos.
I will point out up-front that this was a big learning process for me and actually, the results are not really what I wanted when I started. But by sharing the experiment at this point, I hope I might encourage a few others to try playing around with their bokeh and perhaps get some tips from those of you who already have tried this kind of thing out! If you do have any advice on this, please let me know in the comments!
First things first: make the shapes!
First up was to create my shapes to cover the lens. I did this by cutting out a disk that fit into my lens. I then used some craft punches to make the shape. Mine are not quite central, which I think would have helped. So mark out the middle of your cover before punching the shape!
I’ve seen other ways of doing this, such as this one, but this is what I went with to start with.
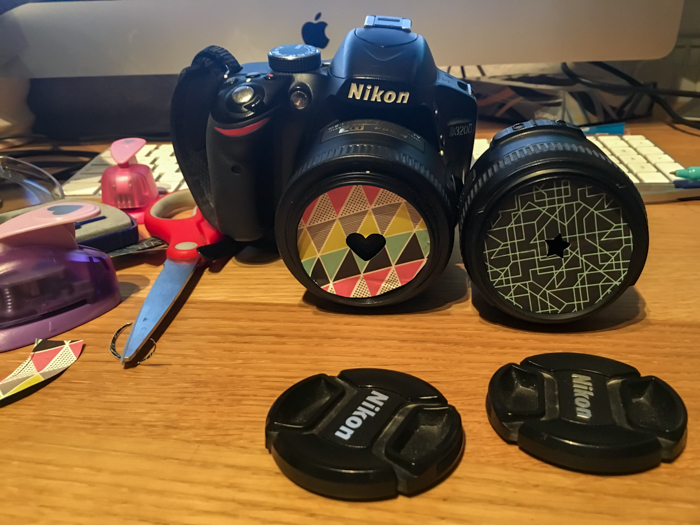
Looks pretty cool right? Let’s take a look at the resulting photos I took.
Let’s call this ‘baby steps’ towards shaped bokeh
I created my covers at night and whilst I wanted these to work with outdoors, I couldn’t resist grabbing some fairy lights for some quick indoor photography to test the idea.
Using manual focus, I got some pretty creepy, interesting results with my Pose Skeletons.
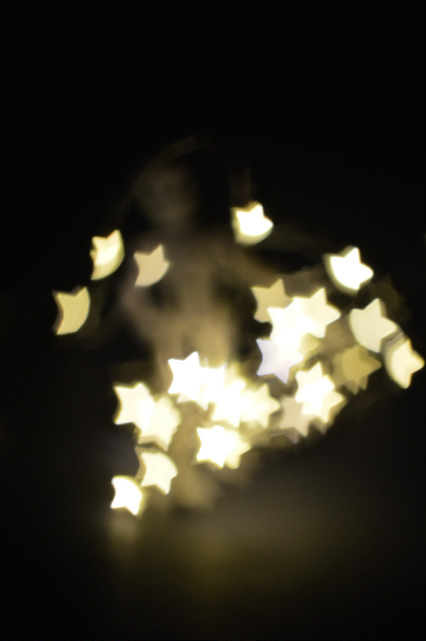
Hiding in the stars
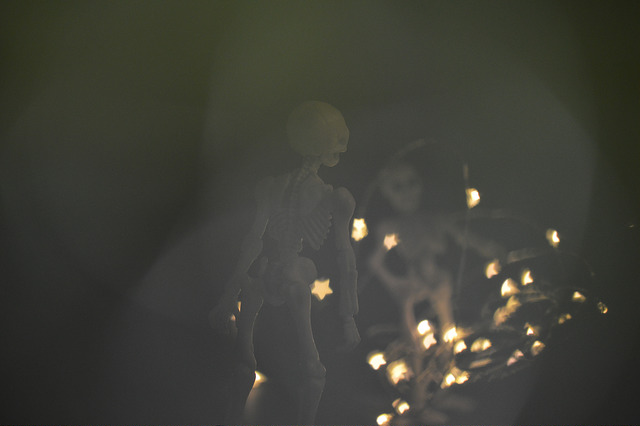
A tangled friend
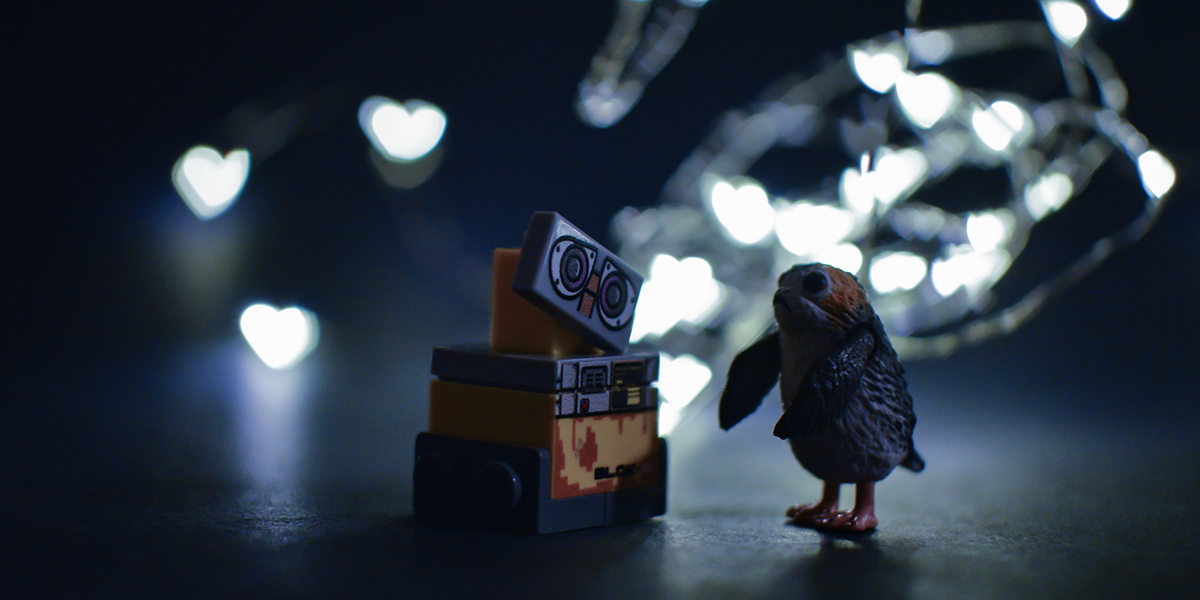
And I got this kind of adorable shot of Wall-E with a Porg.
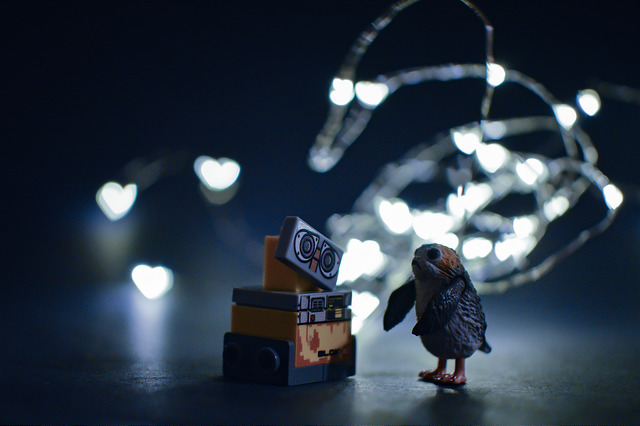
Could it be true love?
So far, so good. Weird but very interesting at least.
How about some natural light?
What I really wanted was to see how this worked outside. But I needed to wait for some daylight for that. With more time over the weekend, and some vague (really vague; it’s been a bit miserable here in the UK) sunshine, I took my covered lenses outside.
I decided to try shooting my 52 weeks project photo using my 35mm lens covered with the heart shape.
The effect did work, but you really have to kind of squint to spot the hearts. I think once there is more tree cover in the spring, the bokeh effect will be more noticeable as the light falls through it.
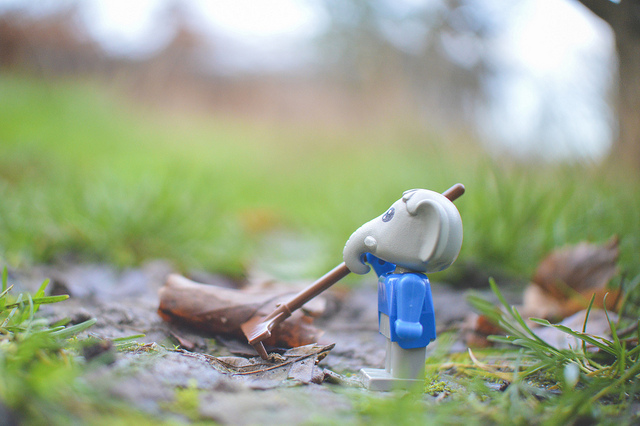
Winter gardening with Bert
Also, top tip: make sure the heart is the right way up when you shoot. I took a lot of portrait shots and forgot that the heart would be sideways! Opps!
Besides the shaped bokeh, I got some really cool effects just by covering the lens partially. This one you can see the black right hand side from the cardboard. You also can see the star pattern in the tree quite well.

Star light
Venturing into higher f stops also gave this pretty cool effect where you could see the outline of the star itself. Kind of like a window into another world. I can see the heart shape being used like this being a great way to take some Valentine’s Day photos over the next couple of weeks!
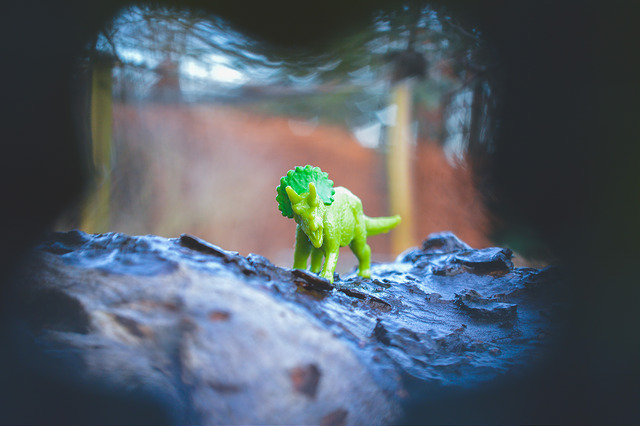
How many worlds are out there?
I learnt a lot by playing around with these two cardboard cut-outs. I think the concept works really well for toy photography, adding a little more magic to photos. I certainly got inspired by some of these effects and can’t wait to try it again with a little more understanding of how it works!
Have you ever played around with the shape of your bokeh? If you have, let me know in the comments how you got on! I’d love some tips! Let me know if you give it a go after reading this post as well!
Want to stay in the loop with all things Toy Photographers? Subscribe to our weekly email round up so that you never miss a post, and subscribe to the podcast! You can also continue the discussion in our new communities on MeWe and Flickr.



Great tips Lizzi, so much fun and easy to do!!
Great post Lizzi! Ive seen this done before and I even have a few of these filters around but Ive never tried this myself. I love how subtle and effective the outdoor photos were. Nice work!!
Lizzi – this is great! Of course, I’m still working on getting bokeh on purpose. I love the look. So much to learn, so little time! ?
I first witnessed this bokeh withcraft at the Oregon Toy Photo Safari. Jess (@actionfigureworkout) brought a bunch of her “aperture discs/bokeh filters” for everyone to experiment with. I got to observe the process and the results and left Oregon with a couple of her filters, still scratching my head with bewilderment!
When I got home I experimented in my backyard with my favourite bokeh producing Magnolia tree in the background. I seriously did a “double take” at the results! I still don’t fully understand how this all works, but sometimes a bit of mystery adds to the magic!
I’ve shot a bunch of these for fun before and have done it only a few times with LEGO photography:
https://www.instagram.com/p/BcBb0mdBsho/
That was printed on transparency sheets for obvious reasons and you can see the mottled ink in the bokeh shapes.
But I have one of those paper cutter printer looking things just to make custom bokeh discs for crisper shapes. (People talk about GAS – I have something on a different level.)