As we rush towards the end of the year, I thought I’d share some Lightroom tips and tricks that I’ve learned this year. Yes, some of them might sound obvious, or they might be already known to you, but these handful of tips and tricks have become part of my everyday editing arsenal. And as seemingly simple as some of them are, I can’t believe I’d been using Lightroom for so long without knowing some of them.
Griddy Up!
Sure, we’ve all seen the grid overlay when we crop a photo in Lightroom. By pressing “R” on the keyboard, this shortcut brings up the crop grid overlay. The out of the box “rule of thirds” grid is vital for composing photos. But wait, there’s more. Once the grid is shown, hitting “O” toggles through all the grid overlays that come with Lightroom. Grid, Thirds, Diagonal, Triangle, Golden Ratio, Golden Spiral, and Aspect Ratios.

grid overlay – golden ratio
And by hitting shift and “O”, you can rotate these overlays by 90 degrees!
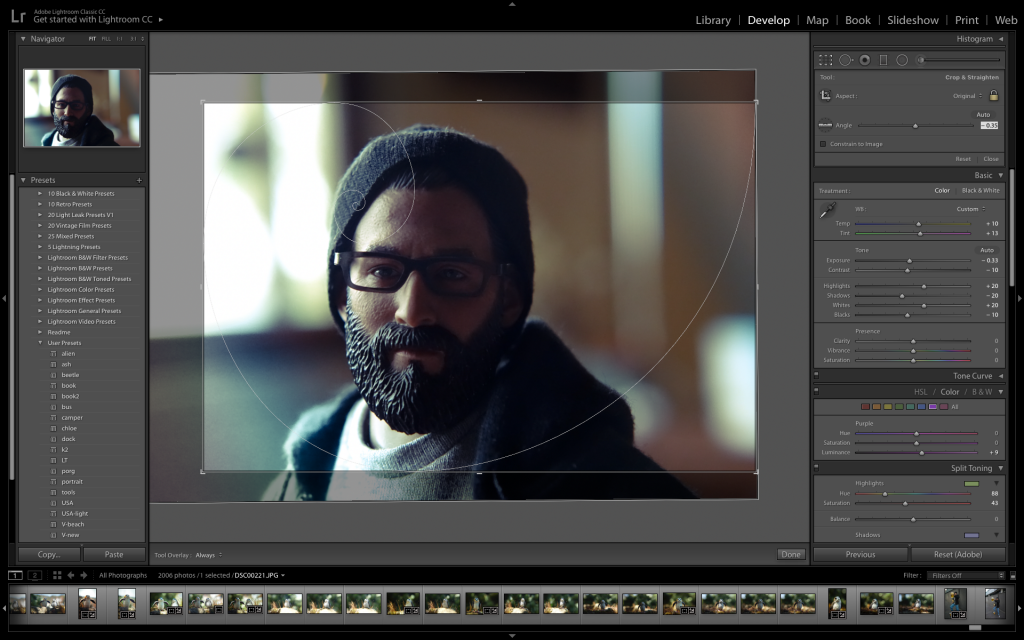
grid overlay – golden spiral
In the menu Tools > Crop Grid Overlay > Choose Aspect Ratios… allows you to specify with Aspect Ratios you want to see when using this grid overlay. Perfect for seeing how different crops will impact your photo!
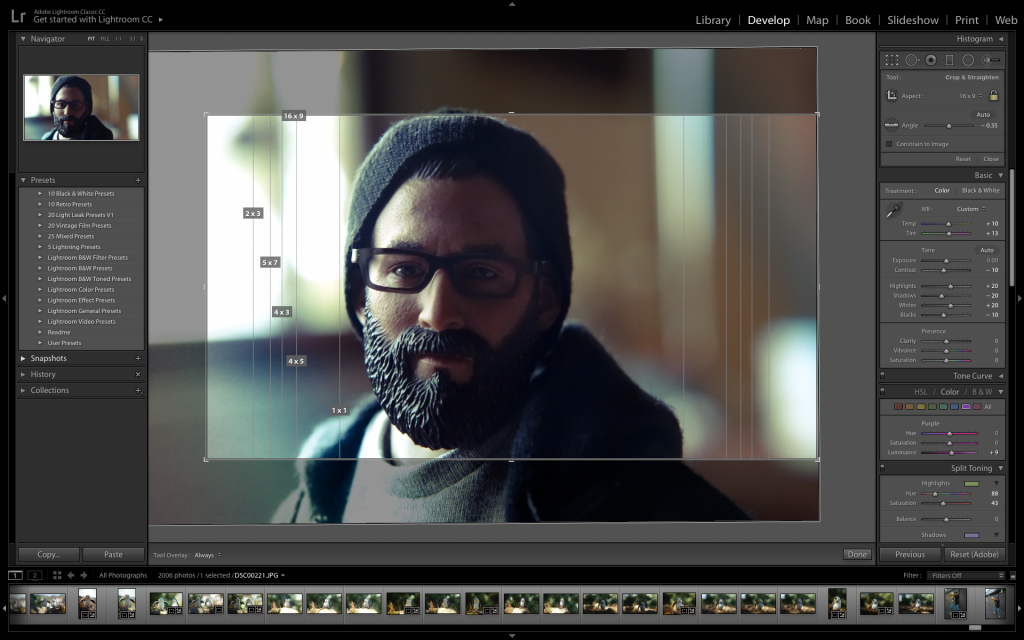
grid overlay – aspect ratios
Isolatation
Hitting “L” isolates the photo you’re editing, fading out the Lightroom interface. Hitting “L” again completely blacks out all of the Lightroom interface.
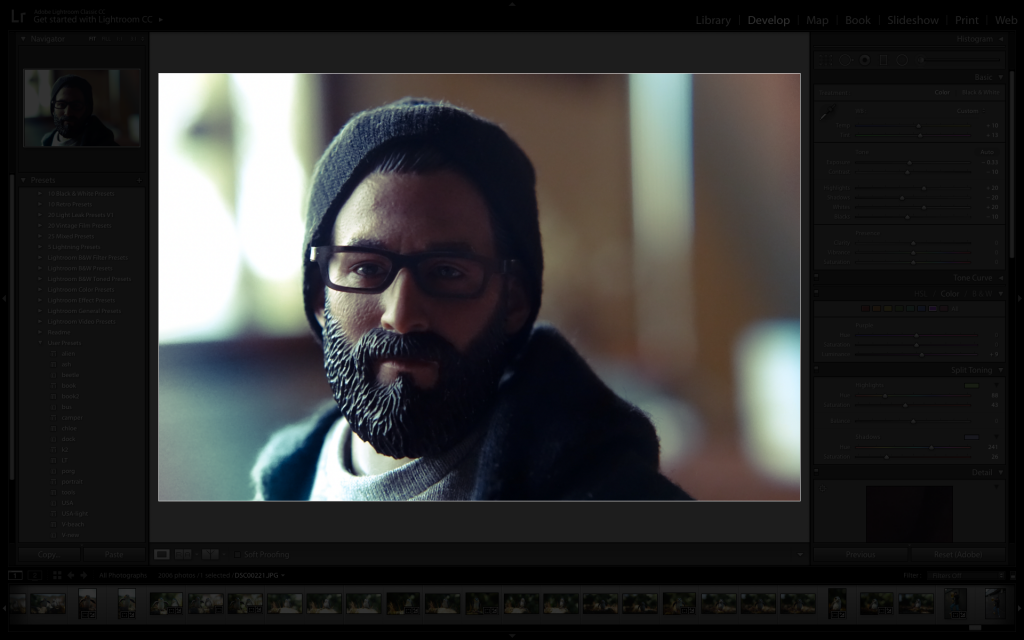
isolate
And if you hit “F”, you get a full screen preview of your edit. Both these tricks are great to check out you edits in isolation, allowing you to focus on the photo with the distractions of the Lightroom interface.
Before/After
Hitting the “\” key on the keyboard quickly toggles between your edited photo, and the unedited original.
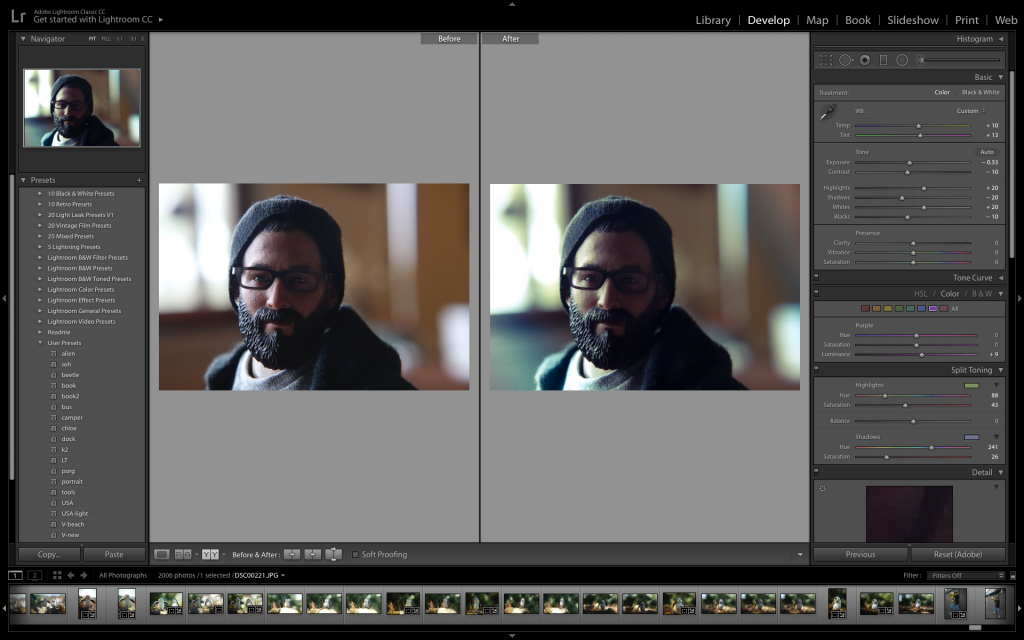
Hitting “Y” before:after
And by hitting “Y” gives you a side by side comparison of before and after. Shift + “Y“ gives you a split before and after of the same photo.
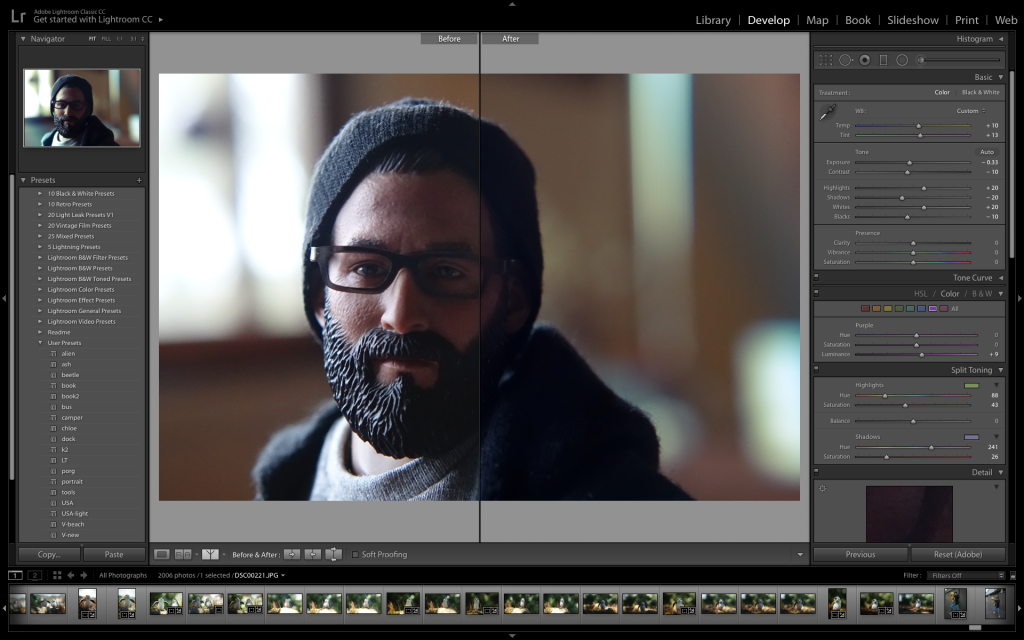
Hitting shift + “Y” before:after split
Resetting
Yes, there’s a big old “Reset” button below the right-hand panel in Lightroom. But maybe you don’t want to reset everything you’ve done? What if you just want to reset the exposure? Or maybe just the Saturation? Well you could drag the slider back and forwards trying to land it on ‘0’. Or you could click on the number and type in a zero. But who’s got time for that? By double clicking the Treatment word, it quickly resets just that one to zero. No dragging, and no typing needed.
What a Drag!
OK, this one sounds simple, but it’s one that took me ages to discover, and I can’t imagine working with Lightroom without doing it now! By default the two side Panels in Lightroom are quite narrow. Sure, it’s the photo we’re editing that should be the focus.
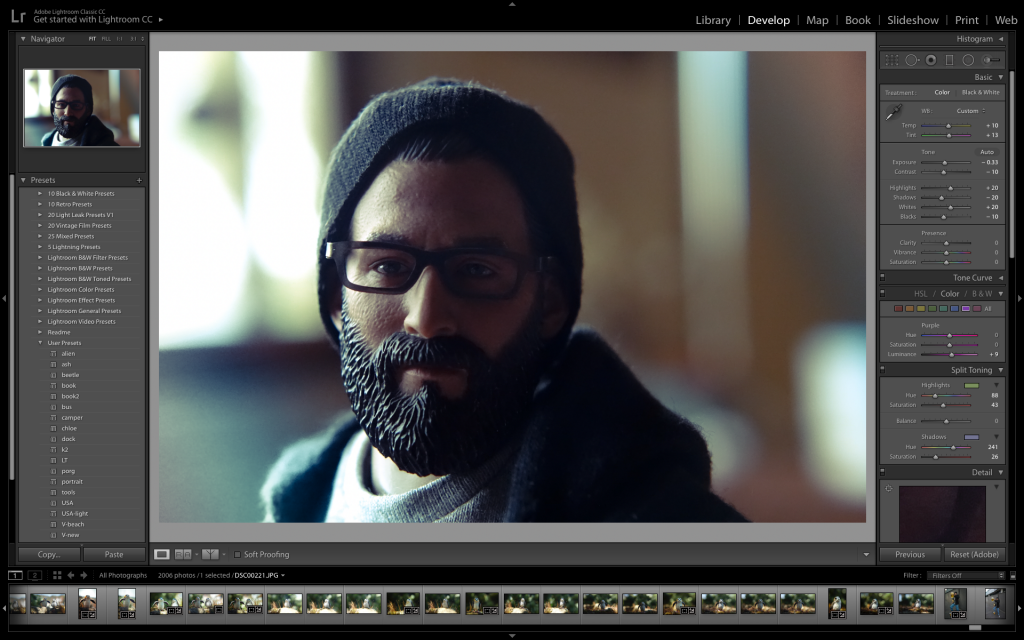
The standard panel view
But, by dragging out the right-hand panel, it gives more flexibility for adjusting the exposure, contrast, highlights etc. by simply giving you a wider slider to drag.
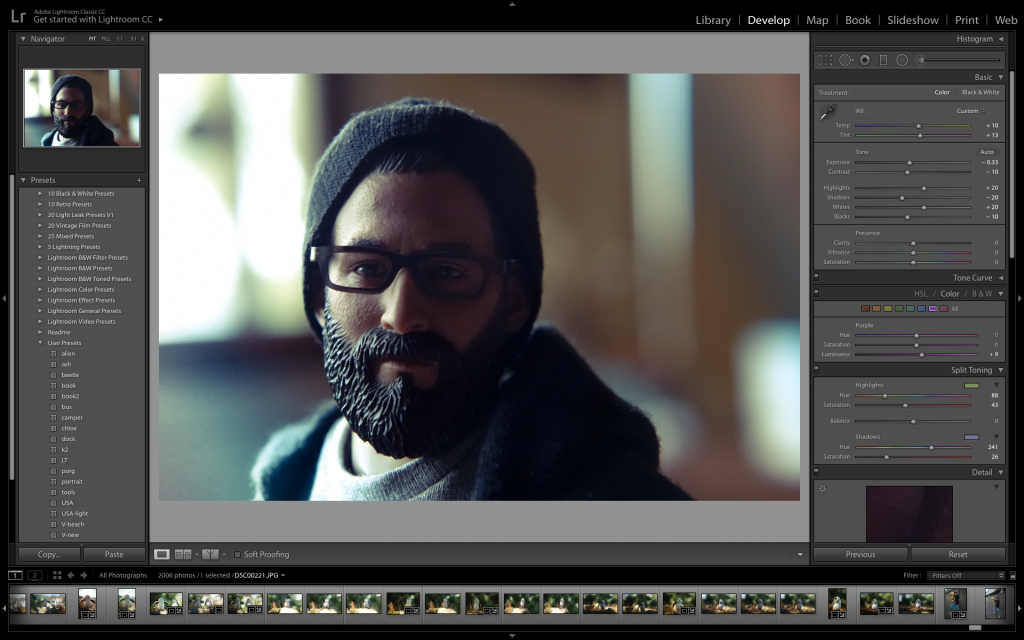
Dragged out expanded panel view
Simple? Yeah! But that extra slider length makes a big difference to adjusting the settings.
So there you have it. Some seemingly simple tips and tricks I discovered this year. Hopefully there’s something new in there to help you with your toy photography editing.
– Brett
What Lightroom editing tips and tricks do you have to share? I’d love to hear them in the comments!
If you’re looking for a cool new place to hang out with other toy photographers, check out the Toy Photographers MeWe group!
You’ve made through all my blathering and ended up here, you should sign up to our weekly email round up where you’ll get a recap of all the babbling from the week.



![AI is ruining toy photography [a personal viewpoint]](https://toyphotographers.com/wp-content/uploads/2026/03/Together-As-One-Ultra-Magnus-revealed-scaled-500x383.jpg)


Good advice. Thanks Brett.
Thanks Tony!
These are awesome tips Brett. I really need to get Lightroom some day. I’m still using an ancient version of Photoshop Elements (and Nik Software) and I’m slow to change 🙂 It looks like Lightroom has some great tools, so I really should try it 🙂
Lynn
Oh this is just the tip of the iceberg! Lightroom is super cool!
Great tips, I had not discovered all the different grid overlays yet. I’ll check them out!
The grid overlays are super helpful when editing!
That overlay tip is amazing! Can’t wait to try it out! 😀
Griddy up Lizzi!
These are all excellent tips! And despite using Lightroom just about every day, I had no idea they existed. Thanks for sharing!
Same! there are so many shortcuts and hidden surprises that I constantly discovering!
Thanks for the quick tips! I’ve been using lightroom for a few years & hadn’t known about any of these shortcuts ?
Same here mate! I was super happy with the “out of the box” Lightroom, but all these hidden gems just makes it so much more powerful!