Just yesterday, Shelly wrote about the power of the number three in photography. Little did she know, I was writing an article centered on the number three as well! I wasn’t thinking of how magical it can be, but about how there are three stages to taking a photo: the Idea, the Setup, and the Execution.
The idea actually came from my wife! She was looking over some of my recent pictures when she mused, “I love how you have to constantly problem solve before you get to the final product!” When I asked her what she meant, she explained that the three aforementioned stages each have unique problems to be solved. Some require a hat trick to complete; others may only have one or two hurdles to clear. As I applied this way of thinking to my catalog of images I realized that every single one had at least one problem I successfully solved.
No matter what you’re shooting as a toy photographer – be it an explosive shot with the latest action figure from Hot Toys, or a minifigure taking a stroll through the woods – you have to pass each of these three levels to wind up with a complete shot.
Let’s break them down!
The Idea
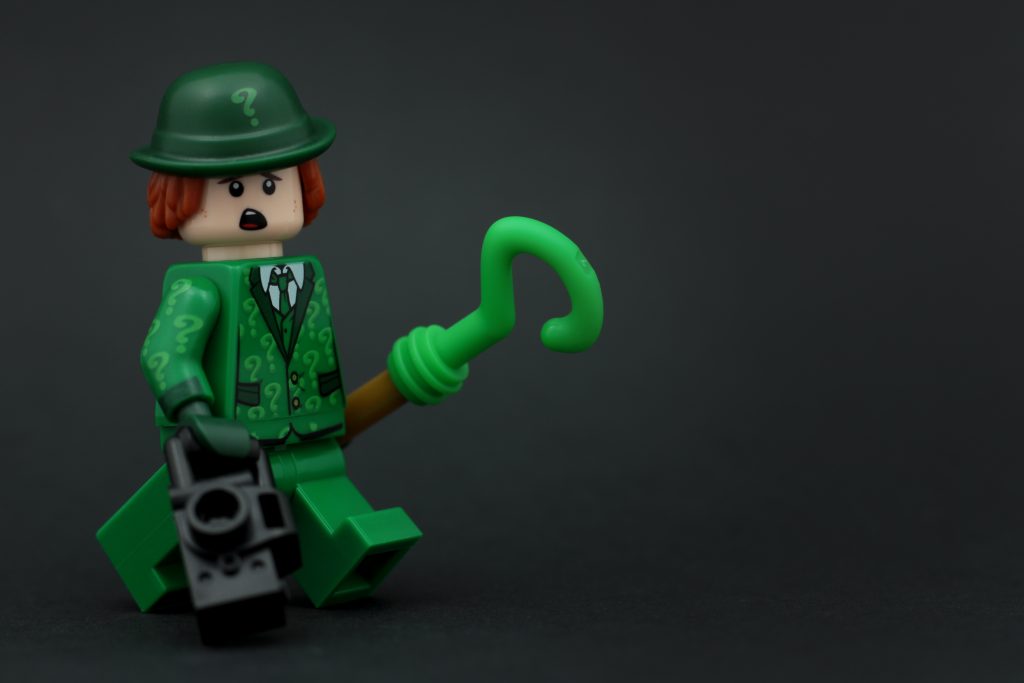
Riddle me this… What should I shoot today??
The first step of taking any photo is thinking of an idea! We’ve talked a lot on this site about creativity, inspiration, and staying motivated. The thoughts behind these articles always stem from the simple question we all have to solve before taking any picture: “What am I going to shoot?”
Sometimes ideas come freely and without prompting. I love when that happens. Unfortunately, that’s not always the case, so we’re tasked with finding new ideas or inspiration elsewhere, whether it be through literature, photo contests, or more obscure places.
The Setup
How am I going to shoot my idea?
Once you have an idea, you’re only a third of the way there. Now you have to make it happen! Sometimes this is as simple as setting a minifigure down, snapping the perfect shot, and moving on to step three. Other times, photos require some creative problem solving to setup.
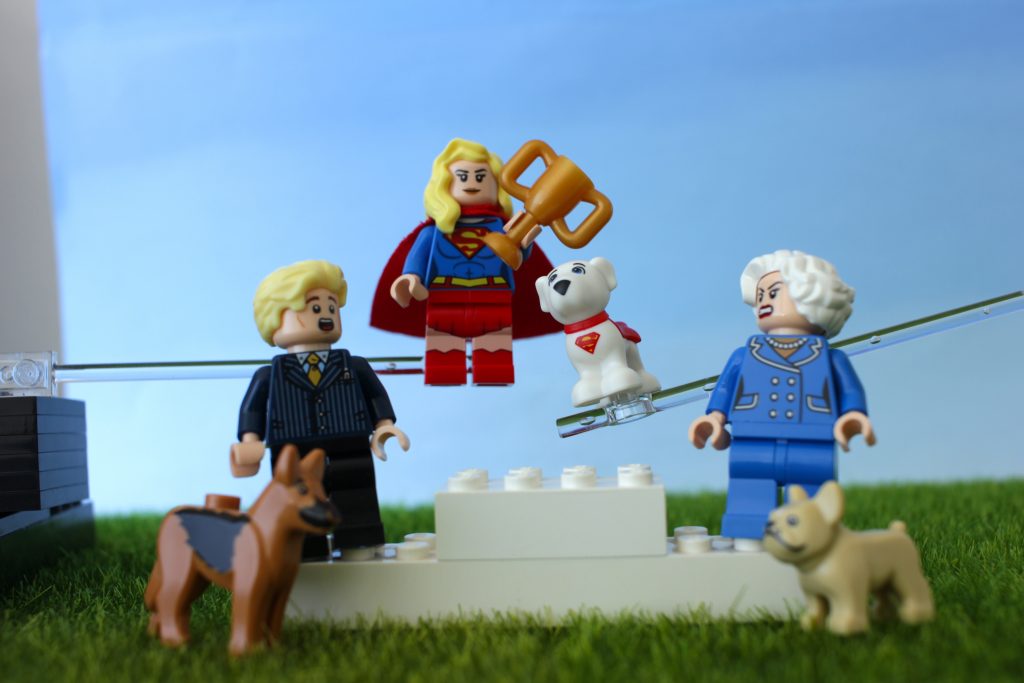
Kryptonians may be able to fly, but Supergirl and Krypto needed a little assistance.
Depending on the complexity of the shot, you could be using a wide variety of tools or tricks to make it happen the way you envisioned it. Do you need to build the surrounding scene out of LEGO? How’s your lighting? Should you use a reflector? Do any of your figures need to be suspended in midair or held in place using clamps, clear rods, sticky tac, etc.?
This is perhaps my personal favorite phase. I love figuring out how I’m going to create a shot the way I see it in my head. It can sometimes be extremely frustrating, but it always feels great when I succeed.
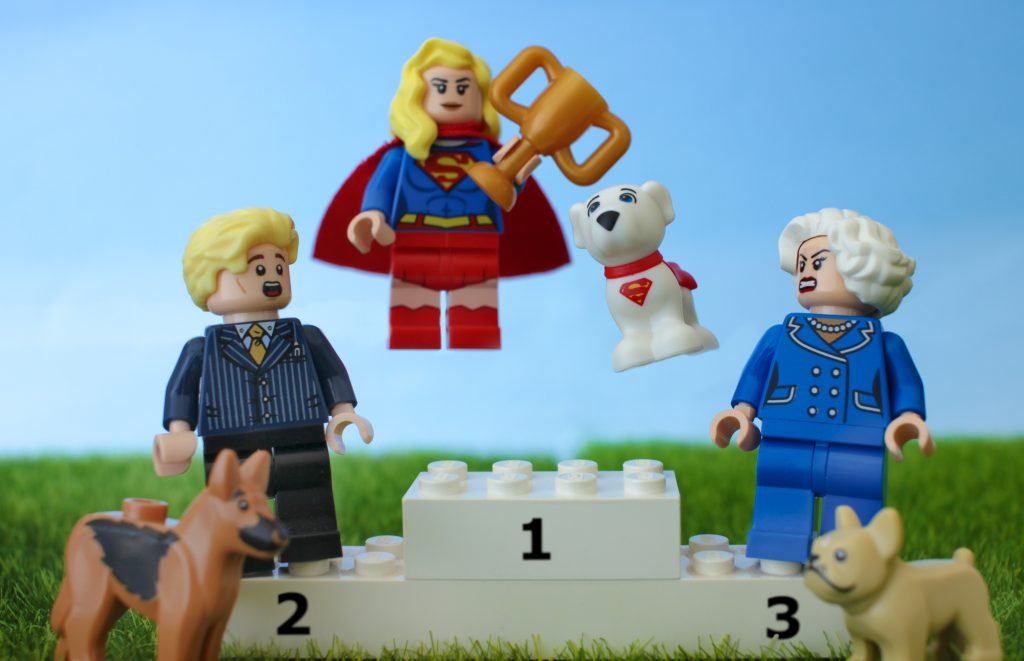
Best in Show
The Execution
How am I going to finish strong?
Like the other two phases, this can either be a breeze, or extremely difficult to pull off. If you managed to have a great idea that was easy to shoot, then go ahead and pass Go, collect your $200, and post your shot! Of course, the more complicated your setup, the more time you’ll likely spend in this stage.
I often spend time on Execution whether or not my setup was elaborate. Even simple shots can benefit from a bit of post-processing. Other times, making a shot work is entirely dependent on me nailing the post-processing step. It can literally make or break a photo.
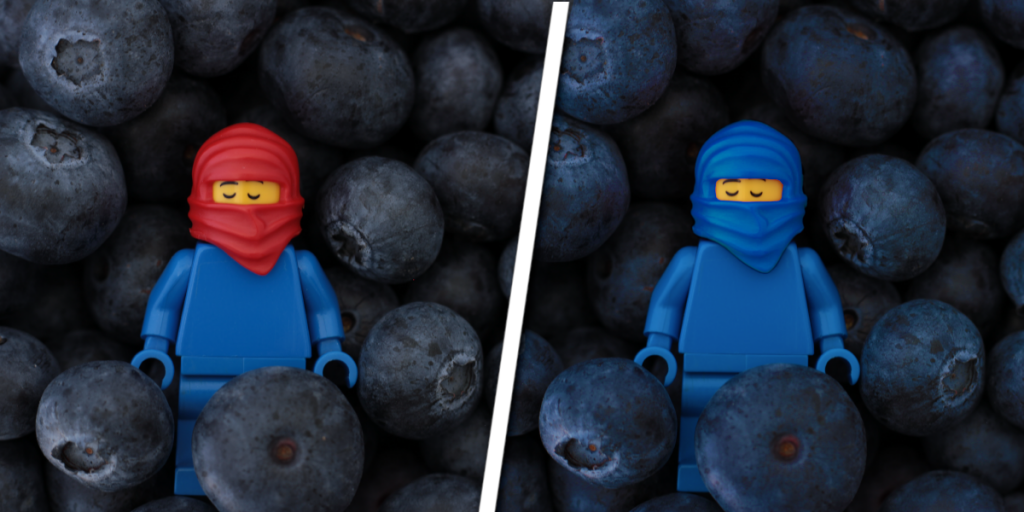
Take this recent shot from our Ninjago contest. I needed the ninja’s hood to be blue, but – unbeknownst to me when I got the blueberries out to shoot – I don’t actually own a blue ninja hood! I only had black, white, and red. Which meant that I’d be relying on my ol’ pal Photoshop to help. Without a bit of color correcting, this shot simply doesn’t work.
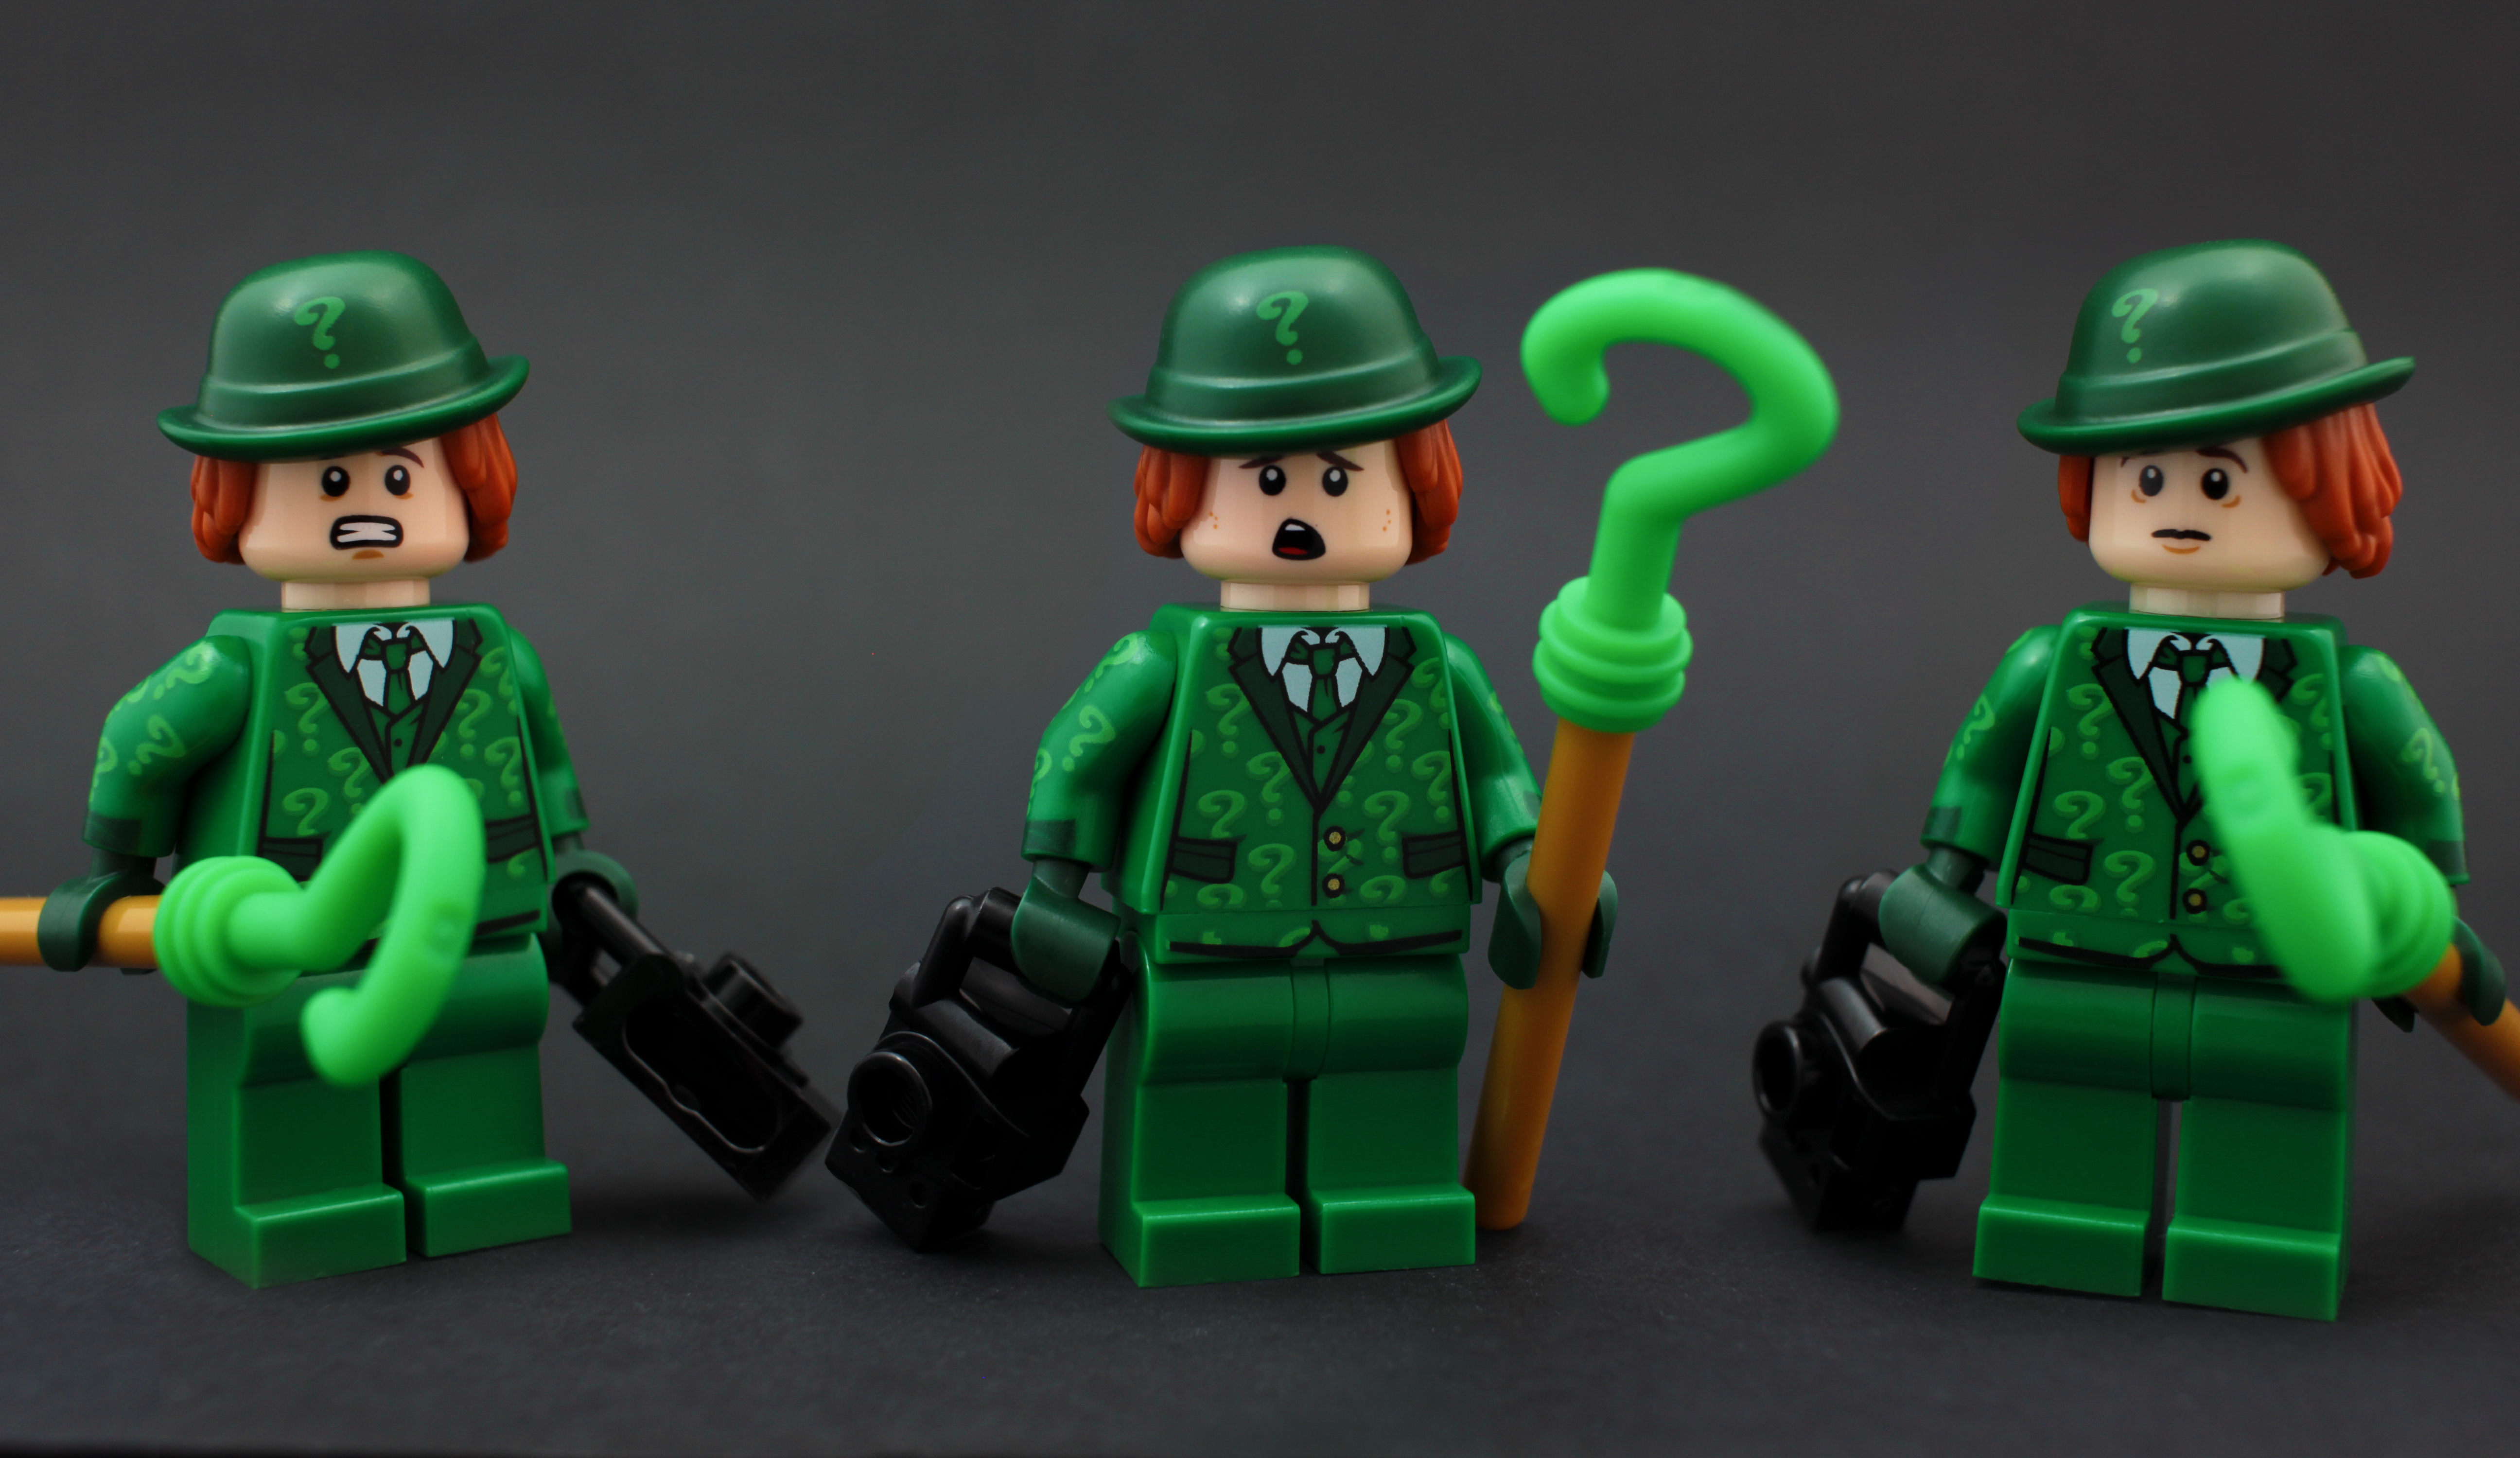
Oh, and the header photo of this post? I only own one Riddler… but that’s a story for another post 😉
When my wife brought this whole idea up, she was saying it in such a positive way. She wasn’t talking about how many opportunities there are to fail in a photo, but rather how many chances there are to be creative and stretch your skills. Problem solving and executing my ideas is part of the fun, and I find that my approach to each phase has changed over the years. I suspect it’ll only continue to do so as I grow as a photographer and as an artist.
The best stories aren’t in the perfectly executed photos. They’re in the ones that required ingenuity, creativity, and sometimes a little bit of luck to pull off.
What do you think of these three stages? Are there specific instances of them that you can find in your own work? Sound off in the comments!
James
If you’ve made it this far I encourage you to sign up for our weekly email round-up. Or join our awesome G+ Community where we hold monthly contests with prizes for the winner!



Wonderful post James! I completely agree with you and your wife about the three stages! Lately I keep getting stuck on Stage 2 “The Setup”. I have lots of ideas in my head that I can’t figure out how to set up. This is when I wish I was a more experienced LEGO builder 🙂
I love how you changed the ninja’s hood from red to blue. That’s some fantastic editing! I enjoyed that whole series of the food ninjas photos 🙂
Lynn
Thanks, Lynn! Stage 2 might be my favorite, but I can really get stuck on it too. I’m not much of a builder myself (outside of the instructions, of course!) so while I can make a decent background or a few background pieces to make a scene, I’m nowhere near skilled enough to do EVERYTHING I want to or can picture in my head.
Awesome! I enjoyed so much your post! I totally agre with you, the second phase is the most funny for me. It challenges me to find creative solutions, sometimes using tools that i know very well, other times learning from zero.
That’s one of the funniest ways to improve!
Thanks, Marco! It is a lot of fun to learn new ways to make shots happen. I learn new tricks all the time, usually by following other people and getting inspired by what they’re doing.
The number three is getting a lot of love lately!
I’m intrigued that you find the set up your favourite. Like you, I often find it frustrating, trying to set up a shot that I have in mind.
I like that you’ve broken it down into three, equally important, phases.
Great post mate. And that ninja hood “repaint” is flawless mate. Maybe there’s another post in that?
Thanks Brett! I will definitely write a post in the future about Photoshop, I’ve been utilizing it more and more lately for little things like this and have been finding it extremely helpful.
Stage 2 might be my favorite, but it’s definitely the most frustrating. I can’t tell you how many photos I’ve shelved because I just can’t make it work the way I want it to. Luckily I’m learning more and more all the time though!
Cheers
What a great post to follow the magic of three!
I personally enjoy doing all these steps at some point. I have found set-up to be rather difficult as most of my shots are outside and can be affected adversly from elements out of my control. Blu tac doesn’t work well on dirt… and I usually forget about some way to secure my scene. Toys end up blowing over or falling after many attempts to balance them. Sometimes I feel like I could do those rock balancing sculptures!?
Anyways – great post!
Haha, oh I know all too well how frustrating balance can be. You definitely shoot outdoors more than I do, but I’ve dealt with my fair share of wind or very simple balancing problems. And I usually forget about it too until I get to where I’m shooting!
James – what a great post to follow Three is a Magic Number. Great minds DO think alike!!
I like how you broke down the photo process into its essential elements. I’ve often imagined the whole process like a rubiks cube. I have an idea and I keep twisting and turning it in my mind until it works. Or at least works enough to take it to the next level – the set up. Then there are a few more twists and execution takes place.
And I echo what Brett said, maybe a post explaining a few of your photo shop tricks? I know I would find this interesting!
Thanks, Shelly! I swear it was a total coincidence, I went to write my post and saw yours and thought, “Oh no did she write a similar topic??” Luckily I was able to use yours as a great jumping off point 😉
I love your Rubiks cube analogy. It really is like that. I tend to do a lot of experimenting in the setup phase, or take the photo into Lightroom only to then think of a new way I can shoot my idea or spot something I’ve missed; then it’s back to the drawing board and the cycle repeats. Sometimes that can be a blast though.
As I told Brett, I’ll definitely dive into Photoshop in a future article. Maybe my next one, I’ve been playing around with it more and more and am picking up little tricks I’d love to discuss.