Behind every good photo there is always a good shower.
Or at least that’s what happened to me.
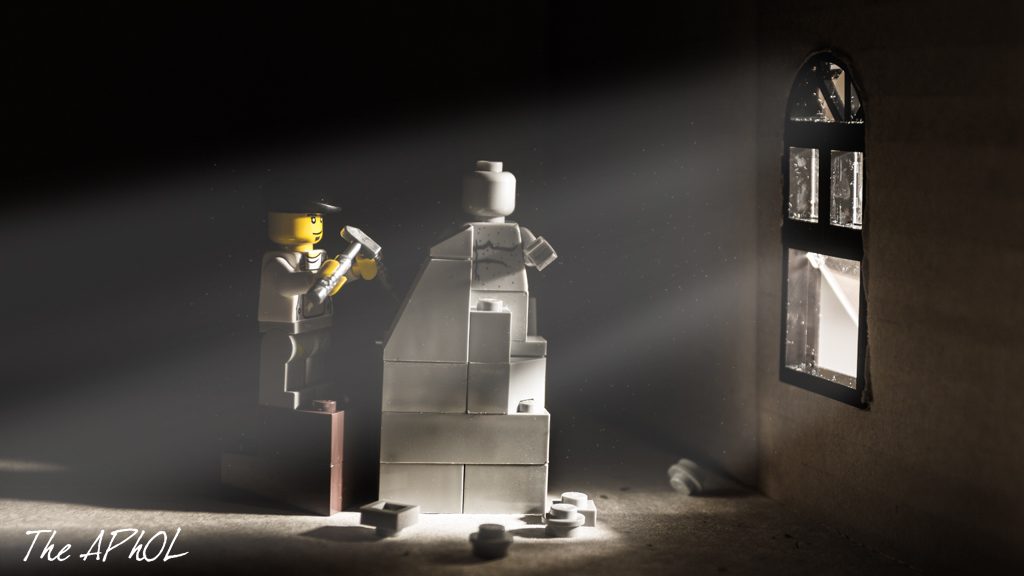
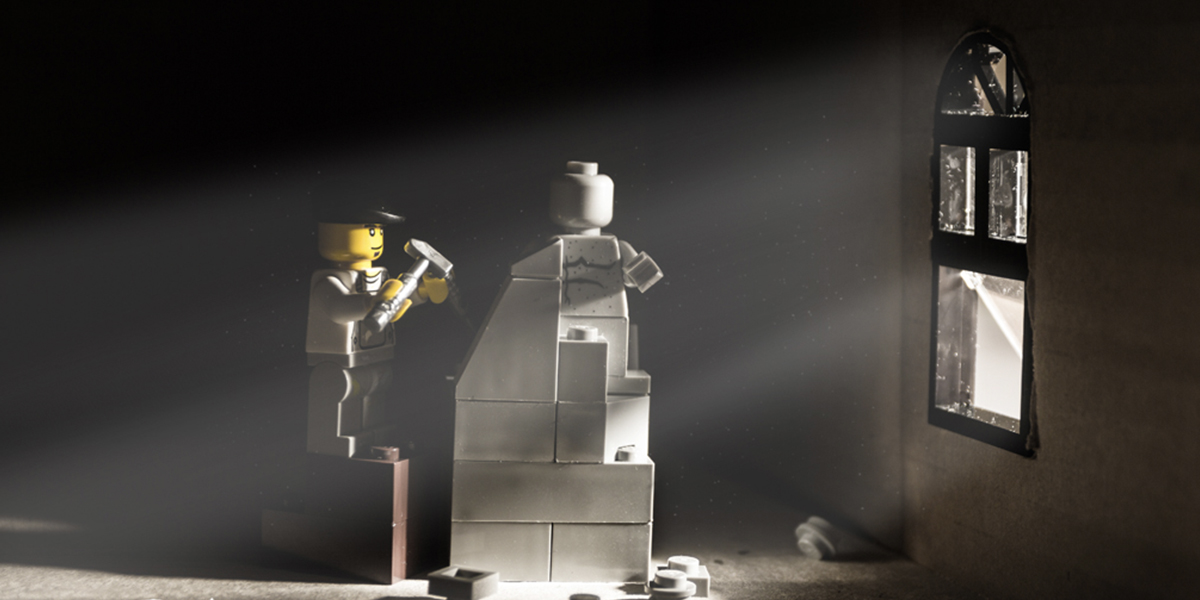
I want to tell you how the sculptor’s photo was born, which happen to be my most liked and commented picture.
At least for now.
After a particularly tiring day, the first day of work after the holidays, I was enjoying a relaxing shower, and as I often do, I let my mind wander in search of photographic ideas.
I wanted to pay homage to the creativity itself, because is the engine of our hobby (or work, for you lucky photographers!), then I started to think about different ways to represent it.
The first I thought was wood carving, which is in my ever growing list of “things-to-do-sometimes-in-the-future”, but I was not able to thought a satisfying way to do it in LEGO; then I thought immediately about sculpture and the first image that came to my mind was this sculptor in his studio, working on a statue, lighted up only from a window.
That should be pretty easy to build: a big grey rock, a sculptor, a window and a wall.
SCULPTING THE SCULPTURE

The unnamed work of art
I started with the sculpture.
I found some light bluish grey slope pieces and the perfect minifig torso, stealing it from the CMF series 14 gargoyle.
The hands came from the series 15 astronaut.
I tried to give it an “unfinished” look.
Then I searched for the sculptor, which was an easy choice: the decorator was made for this.
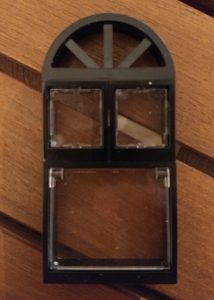
The light modifier
The window too was easy, I wanted a large glass on the bottom and two couples of smaller ones on the top, then I decided to replace a couple with an half round radial window.
That window looked so beautiful!
I just had to build a wall around it, so I started to pile up all the dark flesh 1×2 pattern masonry bricks that i had.
AND THEN CAME THE CHALLENGE
I had not enough pieces to complete a large wall and, most of all, I didn’t have anything to surround the half rounded top.
That was a major issue for me, since I wanted to stay with that window design, so I started to search for alternatives.
At that moment I remembered an article that James wrote about the hurdles of a photo, and I can say that it’s all true.
Taking a picture also means finding creative solutions.
What I was needing was something to stick that window on.
A piece of paper…or maybe a cardboard.
Why don’t use directly all the cardboard box? I had one recently that could have been perfect as room. It was dark enough, I could had cut it and could contain the smoke that I was going to blow in order to make the light rays visible.
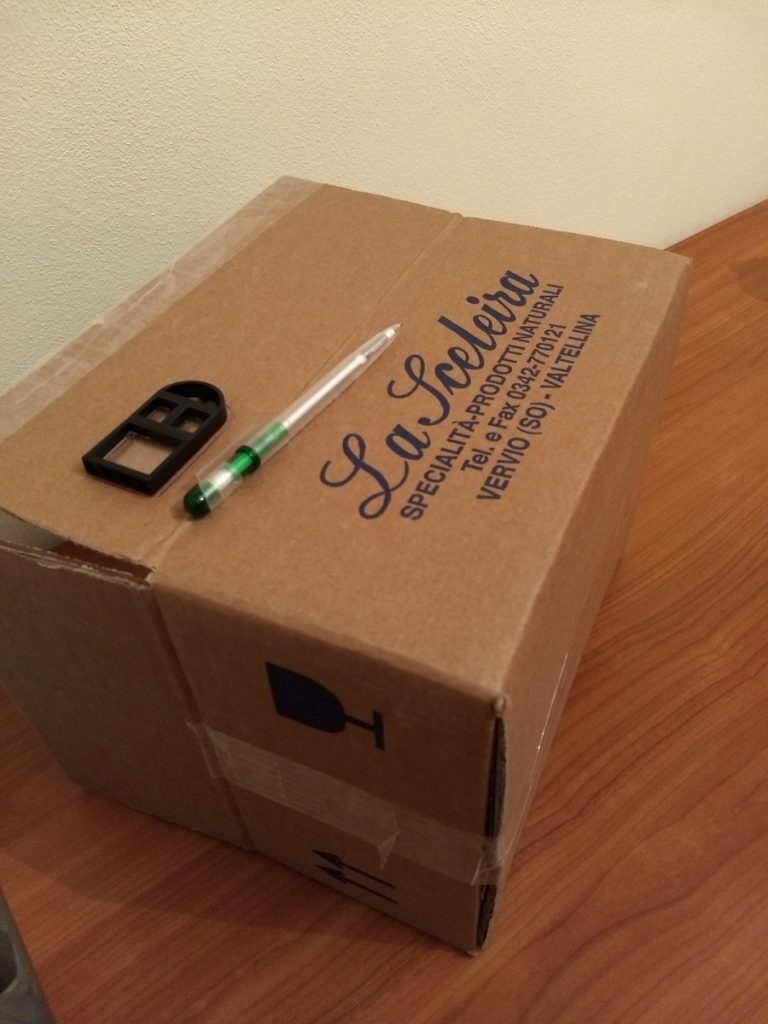
What was the content of the box? That’s a mistery…
So I cut a recess a little smaller than the exact size of the window, so that it could have fitted well without passing light.
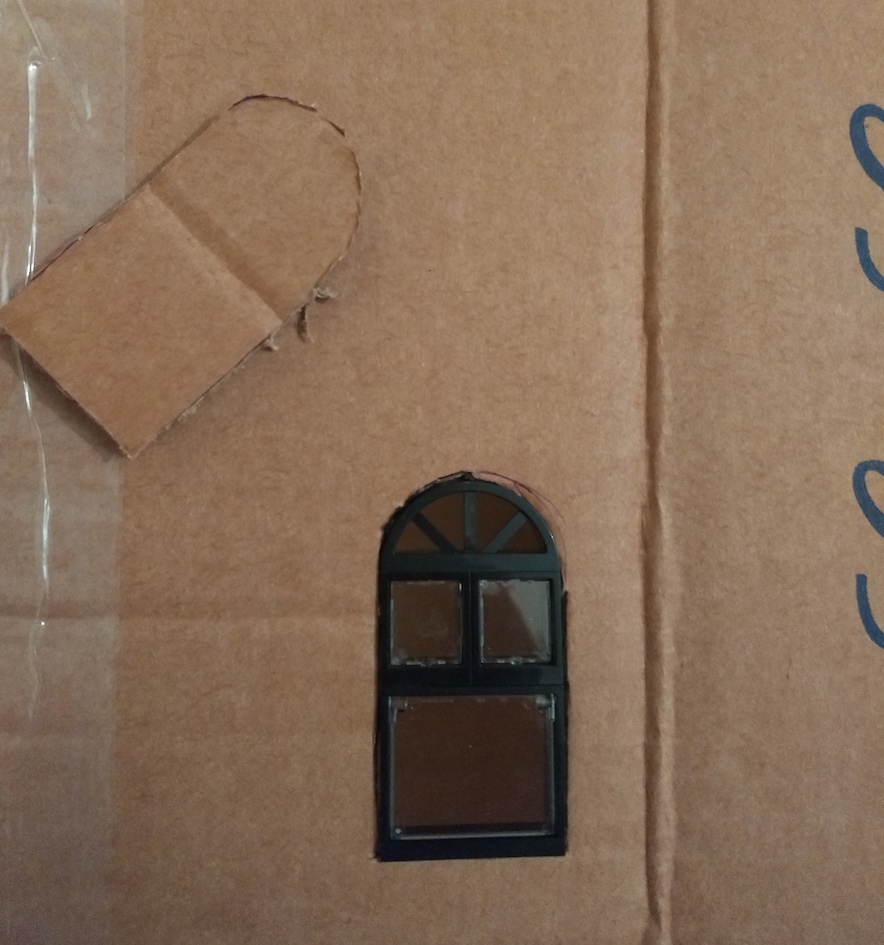
Once I set it all up I placed a lamp on the side so that it could illuminated the statue and the sculptor.
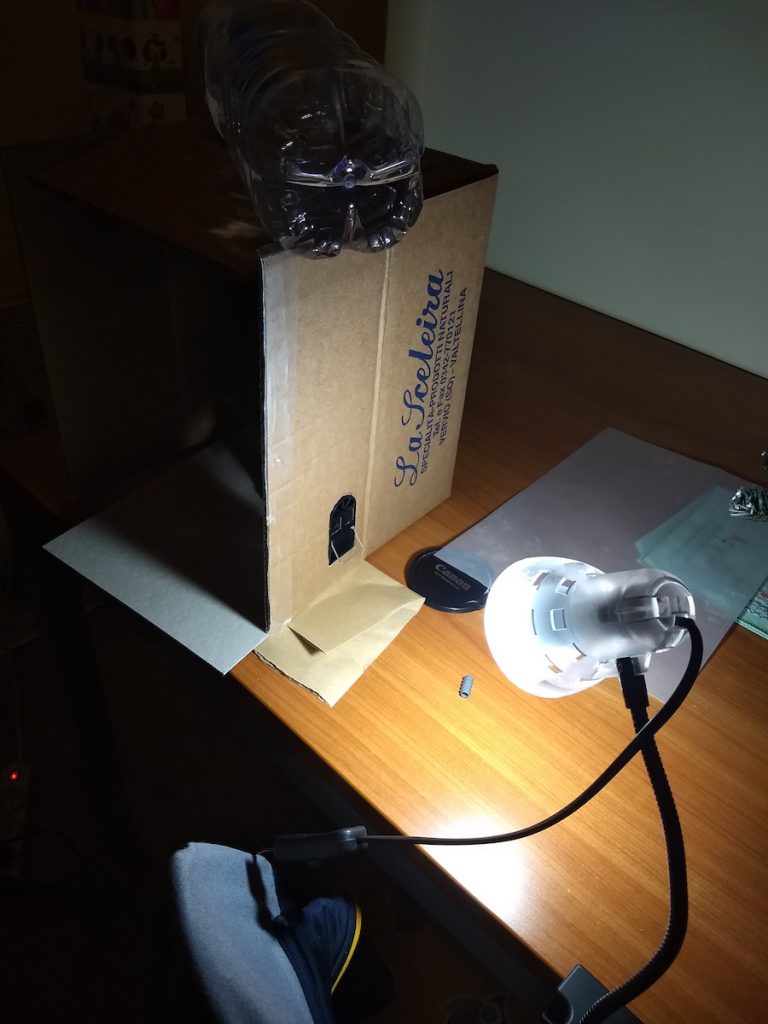
The bottle was fundamental to block the light under the box
SMOKED
Now the most complex part: the smoke to show the light.
I boiled some water.
Failure.
I lit some toothpicks.
Failure.
I set fire to some paper.
Failure.
I burned a cotton ball.
Hey this worked! It generated enough smoke to show something!
It was enough for me.
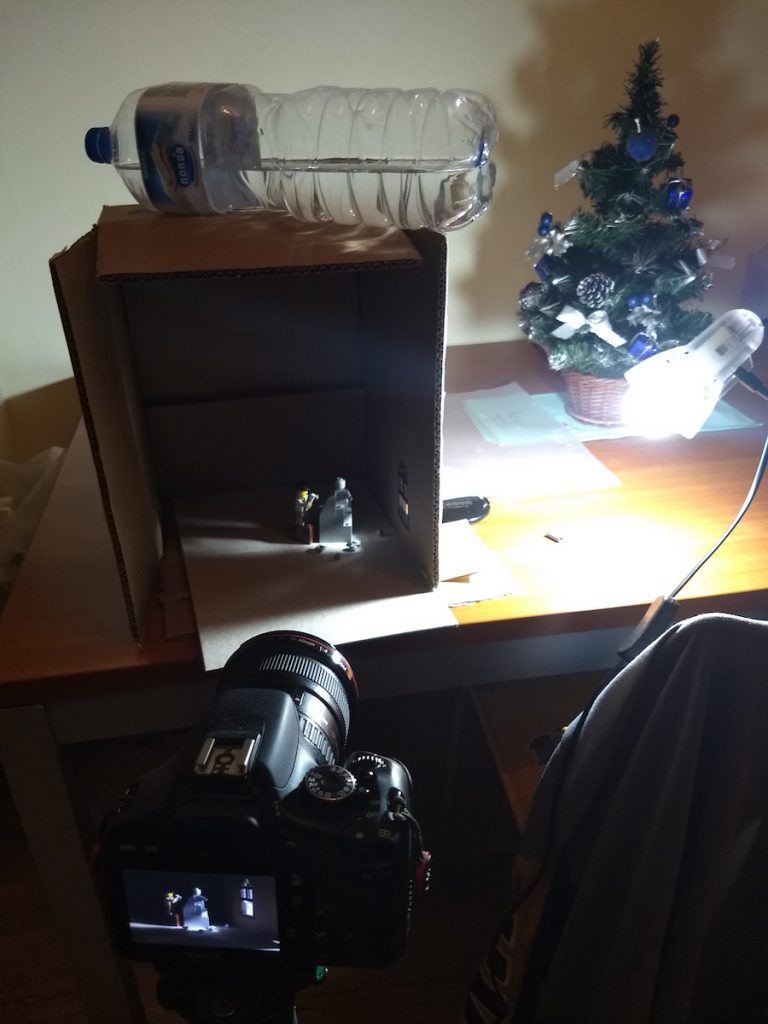
Then I moved to post-production to better highlight the rays and to put some dust particles.
The final result was so good for me because it pictured exactly what I had in mind initially, and we know that this rarely happens!
Marco (The APhOL)




This image is fantastic, and the behind the scenes description of how it was done is great. I really enjoyed this post
Thank you Dave, i’m glad you appreciate it!
This is seriously one of the best Lego photos I have EVER seen. Thank you so much for sharing the behind the scenes! I admire how you problem solved the whole way through and managed to capture exactly what you were going for, despite some trial and error.
Thank you SO much James! i really enjoy the “problem-solving” part of my hobby, it challenges me every time and you can still find different solutions to reach the same goal
Thanks for sharing the BTS. This pic of your is one of my favorite picture!
Thank you, i’m glad i’ve been able to make this picture worthy of those kind comments!!
Great post, Thank you!
Especially the bit about the smoke.
I tried so many things but none of them really worked (except for one… but it stinks soo much that I can’t use it inside the house :P)
I might try the burning a cotton-bal. Do you have an indication how much time this gives you until the smoke doesn’t show up in the frame anymore?
I think it was a matter of minutes, i’ve also blown the smoke a bit but now i’ve found a different solution that is working for me!! I’m pumping up the hype so maybe i can write a post about it…
Oh haha.
Well… I’ll be waiting 🙂
This is amazing Marco! I love your idea to make a cardboard “wall” instead of trying to find enough of the right bricks 🙂 I’m curious to hear more about burning a cotton ball for smoke. Hopefully you’ll write another post soon 🙂
Lynn
Yeah, i’ve promised to be more “active” on the blog this year, so if Shelly&Brett find it useful, i could write something about “smoked LEGO” 😀
Marco – this is also one of my all time favorite LEGO photos – by anyone! You are a master at your craft. The fact that it is also so simple makes it even more inspiring. The door is always open to you for more blog posts. We love your work and want to support you. If you want to share your process about creating smoke with burning cotton balls, then we will happily publish it. Thanks again for taking the time to share the process behind this truly beautiful image.
Thank you so much Shelly for your words! I will prepare something for a future post 😀
Congratulations on:
A) a brilliant image;
B) the outcome matching the vision.
Thank you Tony, yes, i’m pretty happy about the match with my vision! 🙂