When I first got started in toy photography one of the biggest challenges was determining how to create a scene for my photos. At first, it all revolved around the toys. It is “toy” photography after all. Which LEGO figures do I want to be together in this scene? Or to be more specific, what torso, legs, head etc do I want to use on a minifigure to portray the emotion or tell the right story?
However, after your main character/s are set, setting up a the surroundings becomes the challenge. Do I want the surrounding scene to be constructed of LEGO as well? Do I want to make paper art creations for the scene? LEGO can get really expensive when you are building different scenes all the time. It can also be time consuming to build custom scenes. Many photographers take 10x the amount of time creating scenes as they do taking photos. There is no problem with this when you feel like building an elaborate set. However, what about when you don’t have the time?
This is where props and lighting tools come in handy. One simple prop or light can take your photo to the next level or add a cool effect. Here are 5 of my favorite tools that are $15 or less. These props and lights can add a lot of interest to a photo. They are some of my go to items when I don’t have the time to set up a more complex scene. They can also be awesome additions to more complex scenes for when I do have the time.
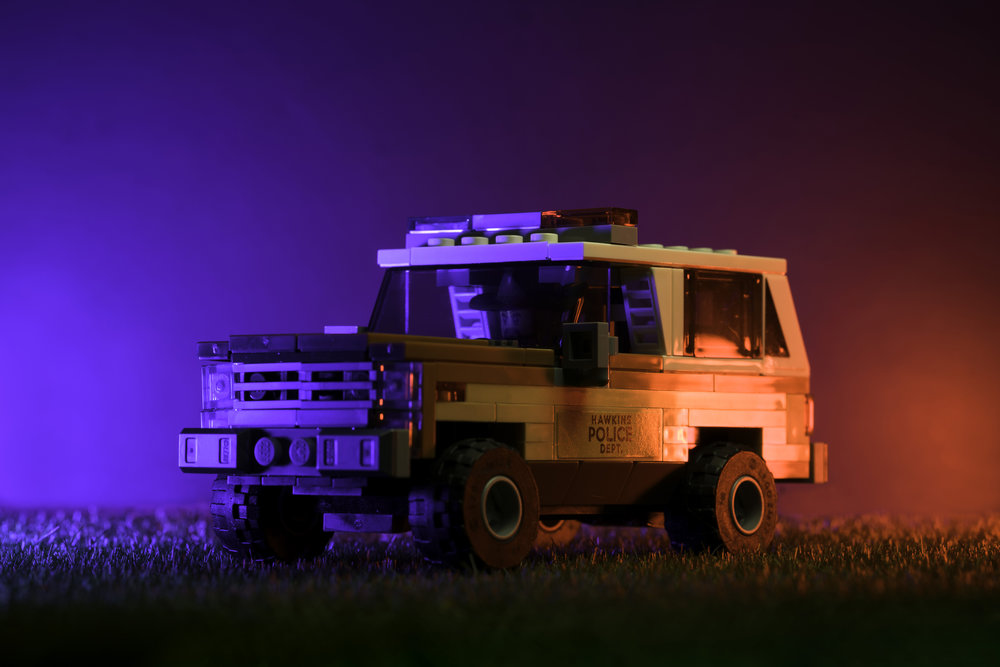
Fake Grass
I bought this 3 pack on Amazon for about $10.
I like my scenes to be more than just a LEGO figure on a table or shelf. I like them to look like they are in their own world. Obviously scenes made of LEGO are an easy way to make them look like they are in their own miniature world. When you don’t have the time to build a scene out of LEGO though, you can get some fake grass. It’s created for modeling or to use in mini gardens, so it’s scaled down and I find it looks great with LEGO figures.
LED 1×1 Light
I bought some from Aliexpress for $1.50 a light.
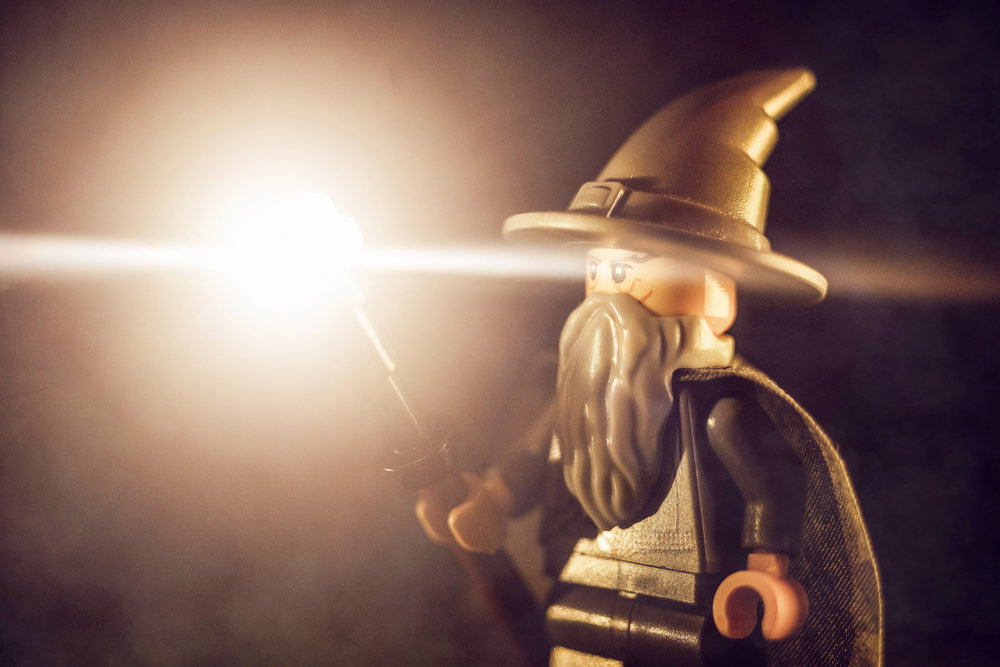
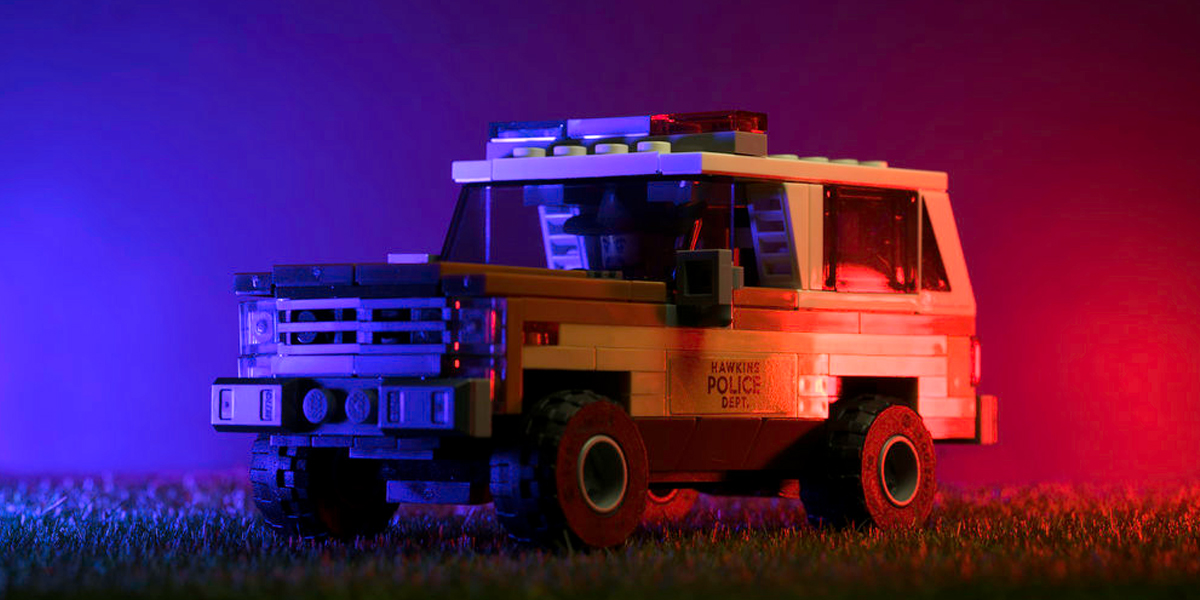
These tiny little LED lights that are made with LEGO 1×1 round pieces are awesome! They come in a variety of colors and are great for adding a single dramatic light to a scene or a variety of lights in key places. They don’t cost much at all either. I’ve done shots like this where they are pretty much the single light source. It does require a minute in photoshop to edit out the cable, but that’s usually pretty quick and easy.
Or shots like this where a few of them are strategically placed in the background as well.

Modeling Talus
I bought something kind of like this from Amazon.
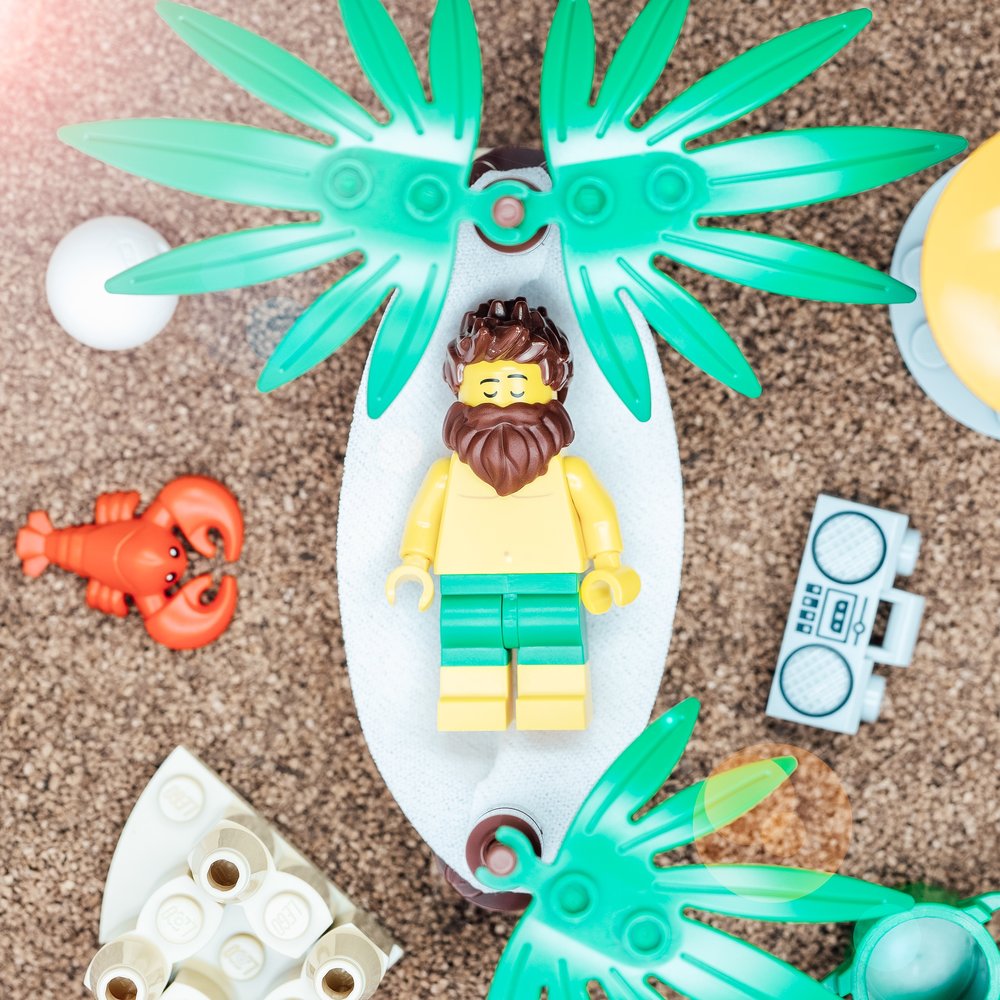
Talus is basically just a fancy word for modeling rock or sand. You can buy a bag of really fine or really coarse talus depending on what sort of scene you are building. Here is a photo that I set up very quickly by pouring out a bag of talus on top of a LEGO road baseplate.

LED Moon Light
I bought this one from Amazon for $13
This night light is so fun for my kids! They sleep with it every night, but every once in a while I steal it for a photo.


Atmosphere Aerosol
You can find this on their website for $12 a can.
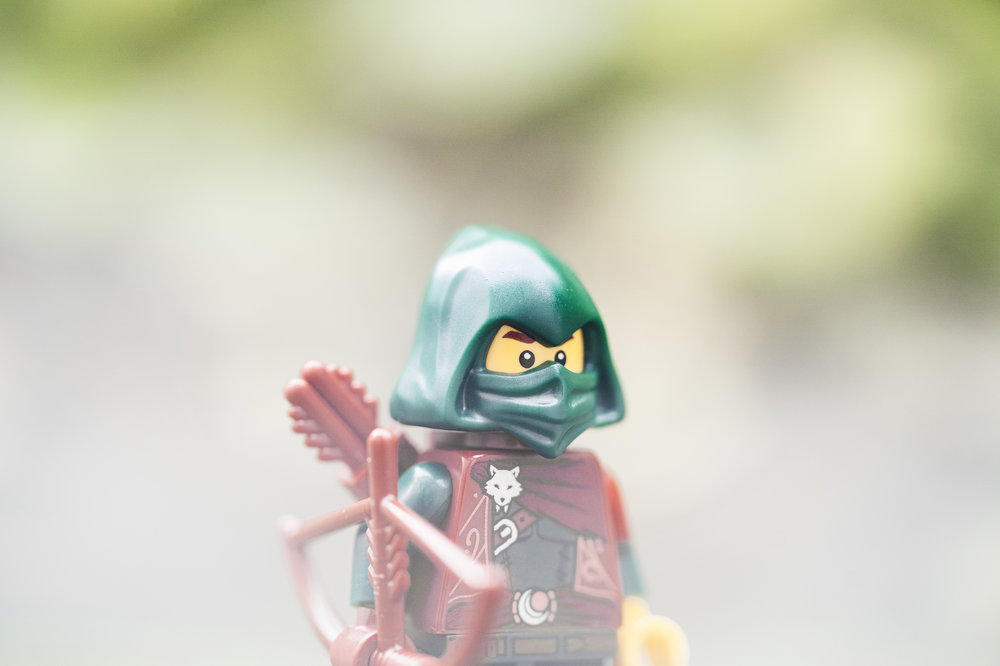
If you have never heard of atmosphere aerosol, then you are in for a treat. Atmosphere Aerosol is used to quickly, easily and safely create a fog-like atmosphere. This will take your toy photos from flat to dramatic in seconds. Just spray some into the scene and let it work its magic!

Your Favorite Tools?
These 5 tools are just 5 of many things that toy photographers can use creatively. They are things I keep finding myself using again and again and are also relatively cheap. What are some of your favorite tools?



Coconut sugar has been my go to for sand. It works pretty well. 😀
Some brilliant ideas here! I have atmosphere aerosol but I’ve never been able to get it to work. Will have to have another go!
It can be a little tricky to figure our the right times to use it. In the wrong circumstances it can not really make an impact at all.
Thanks for the grass tip! I’ve been wondering how to do that for a while.
Excellent tips! I’m definitely going to get one (or maybe most) of the tools listed here.
I have been looking at fake grass and this post is what is going to get me to pull the trigger! Charcoal eraser is a great way to get things to stick in hard places without getting residue on the toy that I use all the time .
Great tips Kenton. These tiny lights are really awesome.