When rumours of this set were making the rounds late last year and earlier this year I knew I’d be interested in what was to come. When it then started to leak and was subsequently revealed back in February I was immediately all in. I stayed up late on the day of VIP release to make sure I got it ordered just after midnight from LEGO.com. No way I wanted to end up on a waiting list with this one.
I’ve had the set for about three weeks now. And I can say wholeheartedly that my expectations were not high enough.
Simply put, this is one of the best Lego sets I’ve ever owned. The build is incredible, with wonderful details and expansive settings. The model is a mix of creative architecture and leafy brick built vegetation. And I now find myself wanting more of those trees.
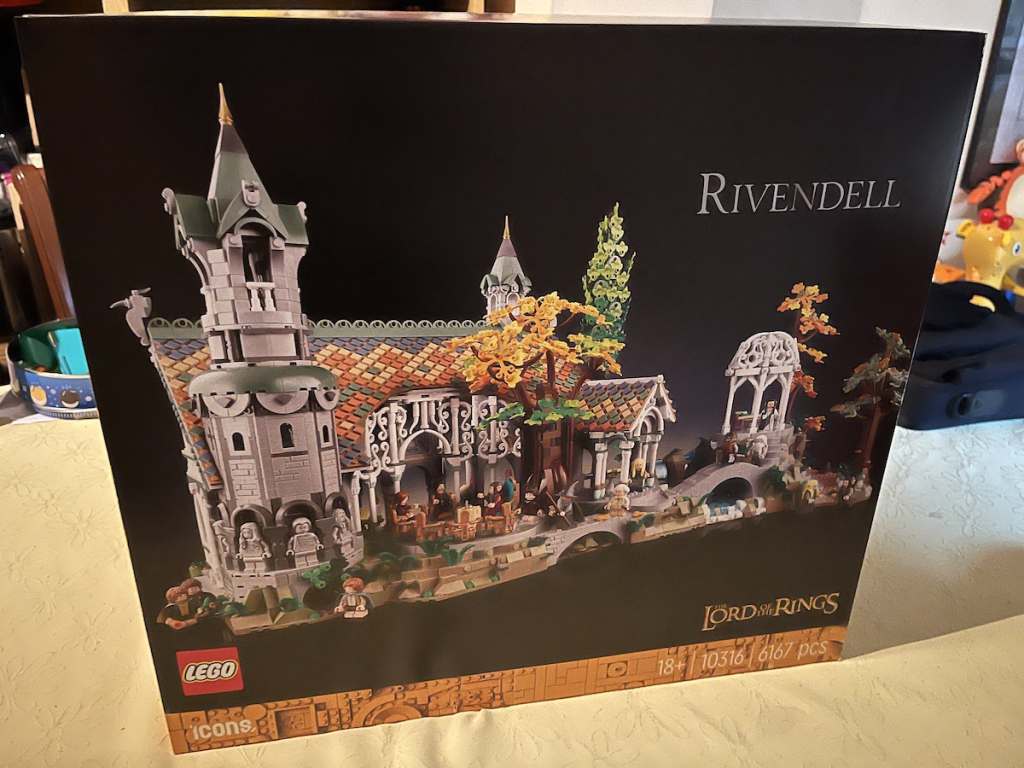
The Build
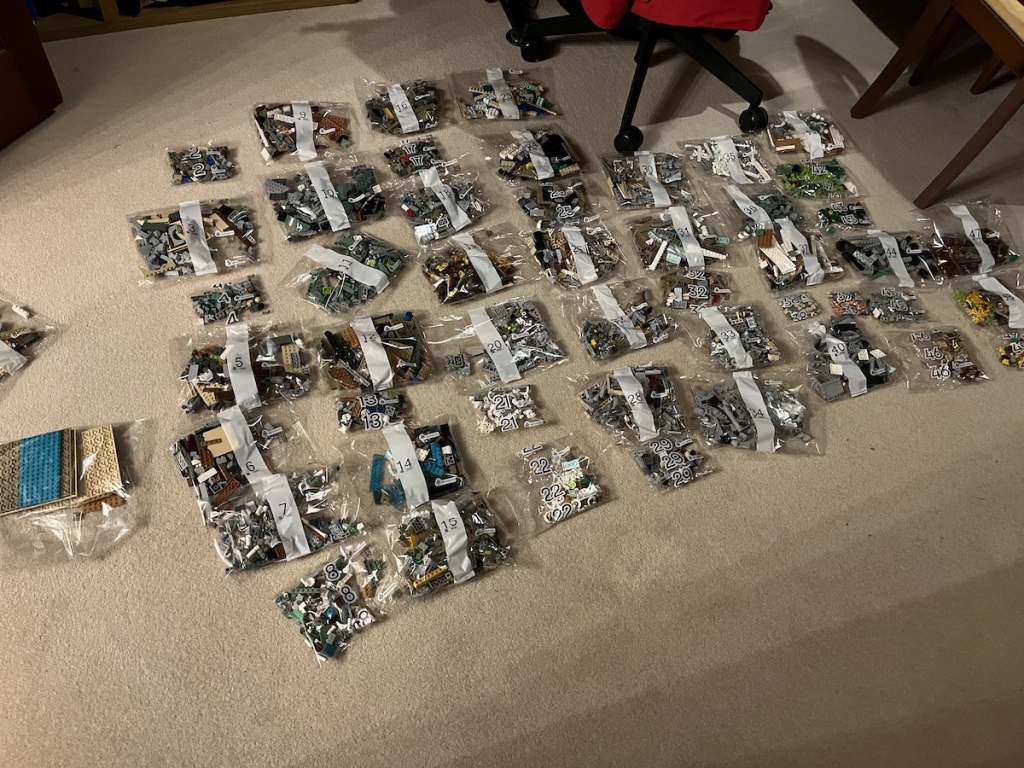
At 6167 pieces this is a huge set. My fingertips were genuinely sore when I finished building. It took me two days to complete the model. So the key points here, are you’re going to need a large space to store or display it, not only is it super wide but it’s also quite deep and tall at the same time. And you’ll need a good chunk of time to put it together.
Don’t take these things as negatives though. It works at the scale that it is, for the type of set that it is. Part of me wishes it was even bigger, with more trees, grander halls and rooms, more pillars and pergolas. And a whole forest of trees. But now I’m teetering into a MOC world of thinking and I know I don’t have the space, money or imagination for that.
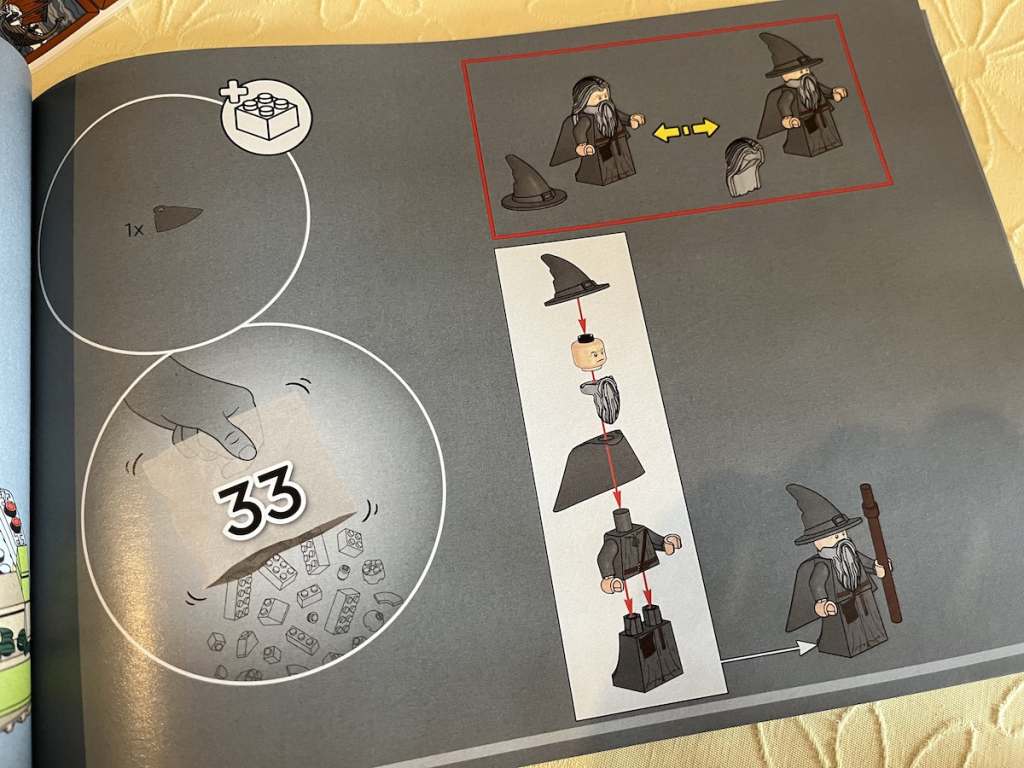
Right, I’m not letting this one slide. Bag 33 is pretty late in my book Gandalf, even if you meant to turn up at that point because you’re a wizard. I feel someone might just be hiding their bad timekeeping.
Favourite bits of the build
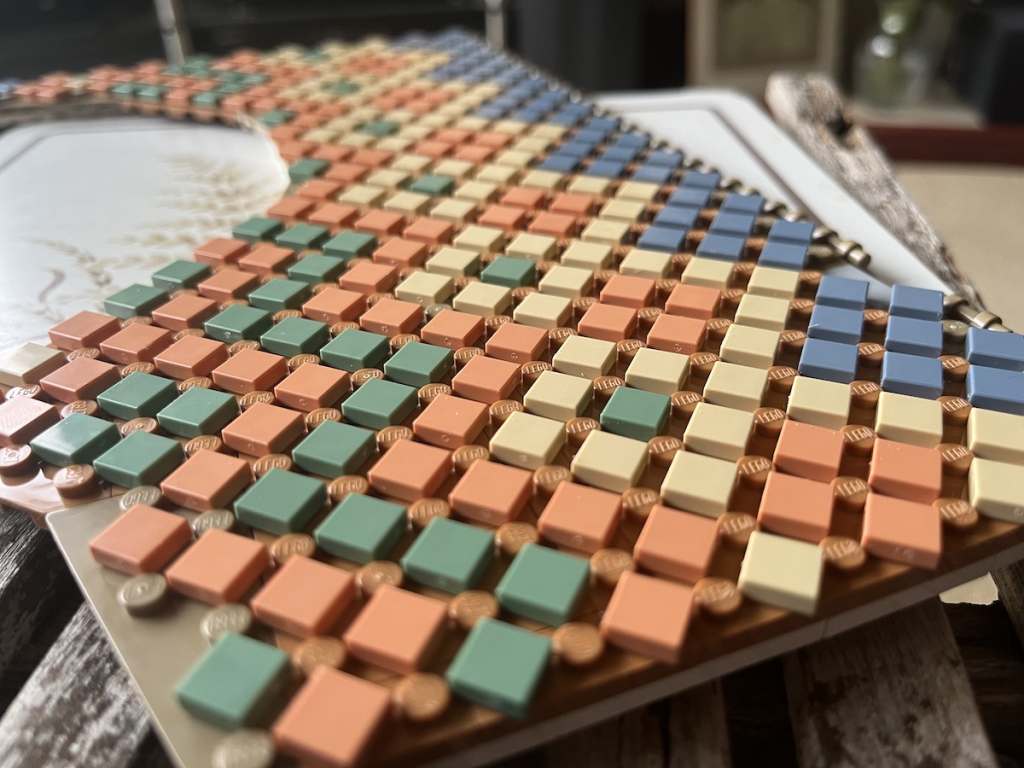
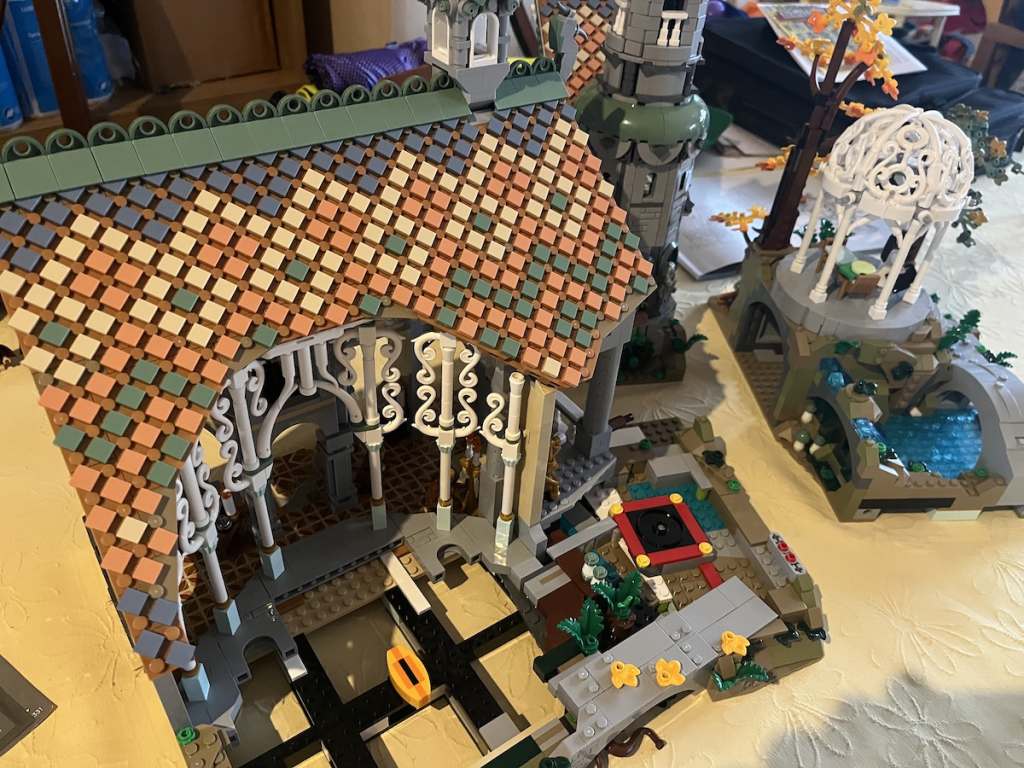
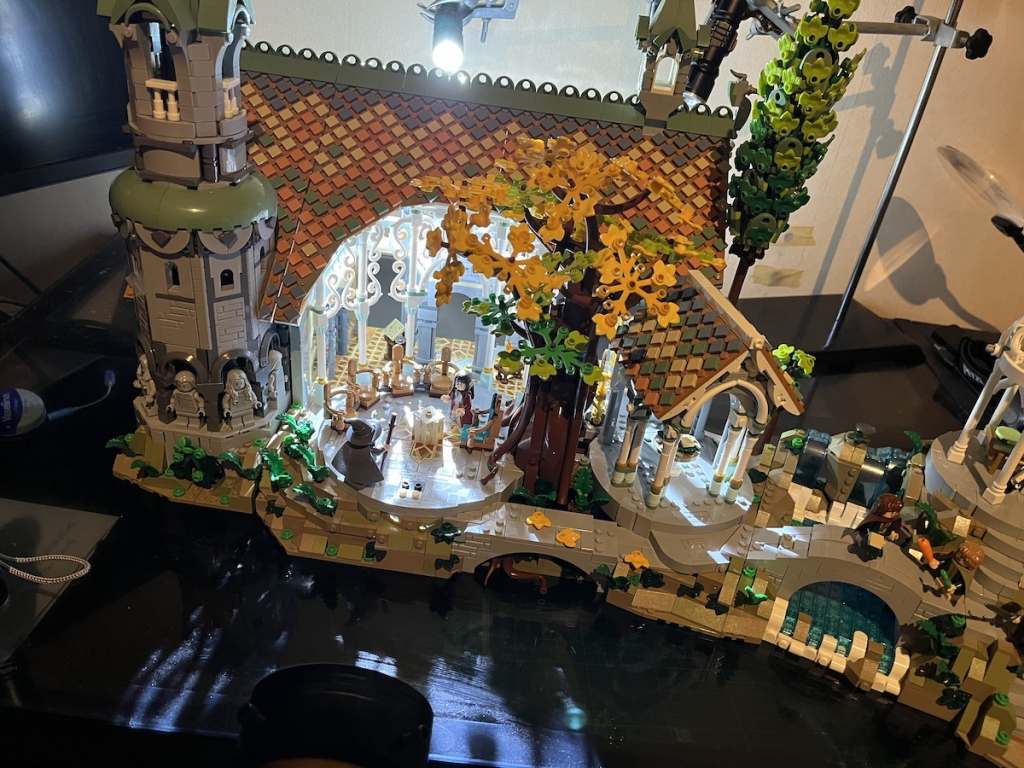
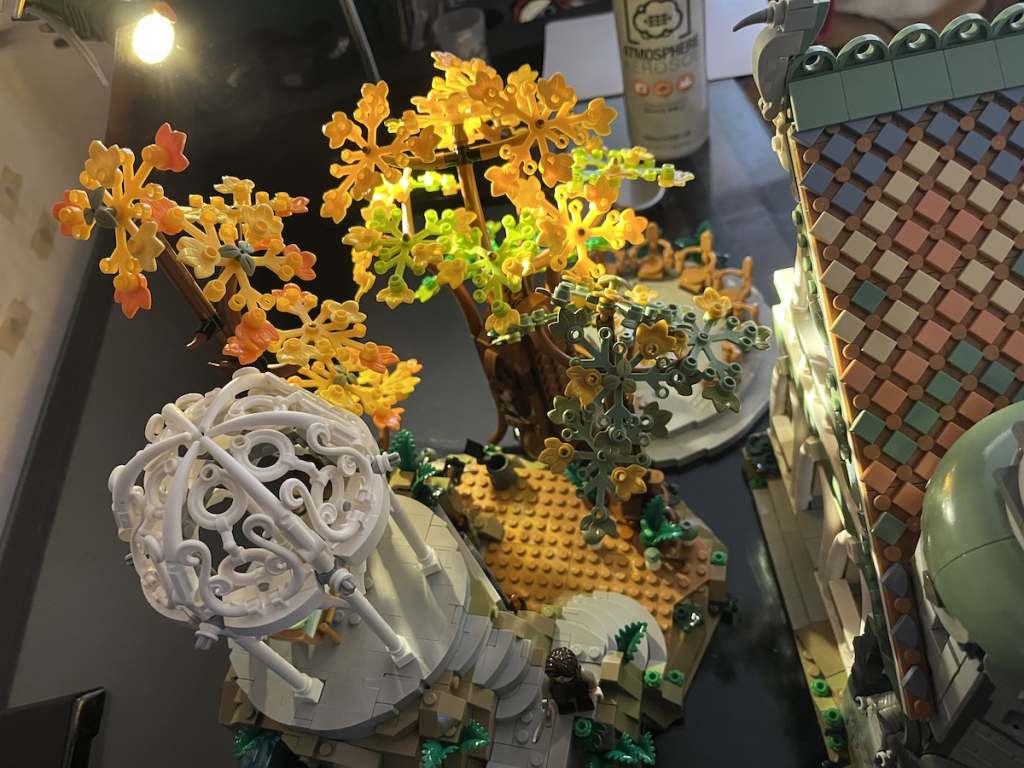
I have two favourite parts of the build and that would be the roof as well as the pergola that you can see in the image below. Both require a great deal of precision and accuracy, so I was in my element putting these together and having to be so particular.
For the tiles, and following the instructions, you use a long edged plate and slide the edge between all the square tiles to get them straight. It’s very satisfying once they are all lined up, and a clever, if temporary use of another piece by Lego’s design team. I actually went and got an even bigger plate than the one available in the bag as suggested. This definitely makes things easier and even more accurate.
The white pergola is something else entirely, while still being about absolute precision. Cleverly designed, bones, swirls, life preservers, robot arms and teeth come together to make a beautifully designed section of the build. And the fact the white life preserver piece which doubles as a toilet seat in most sets is used just makes me happy. I’m quite childish you see.
The Model
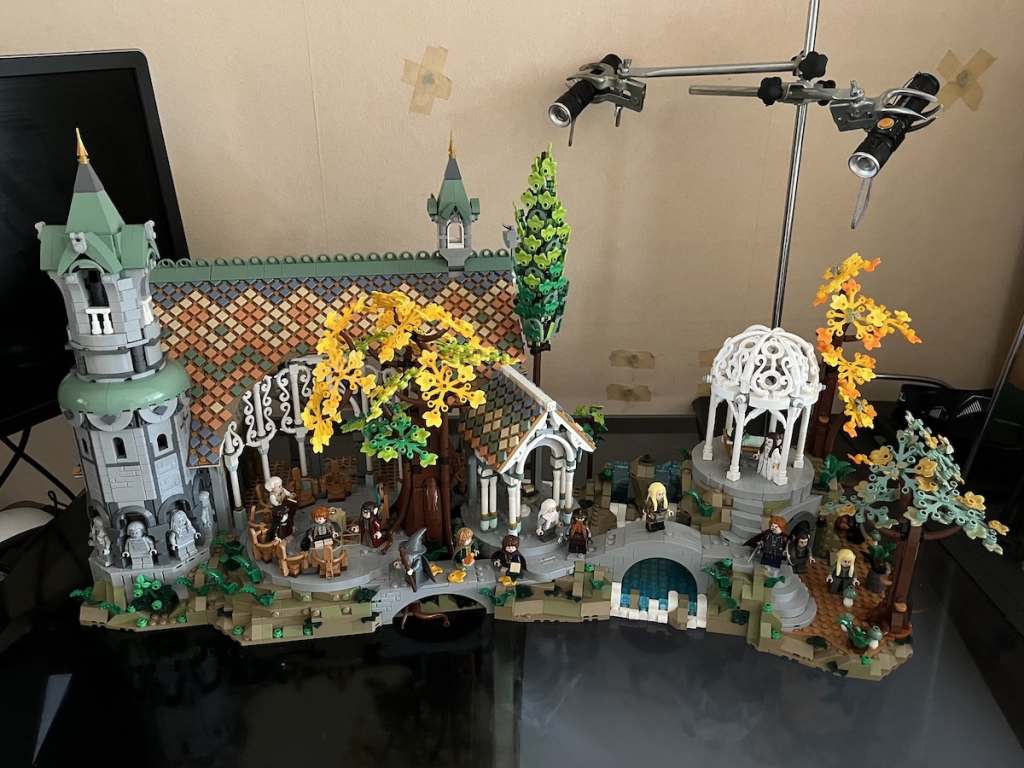
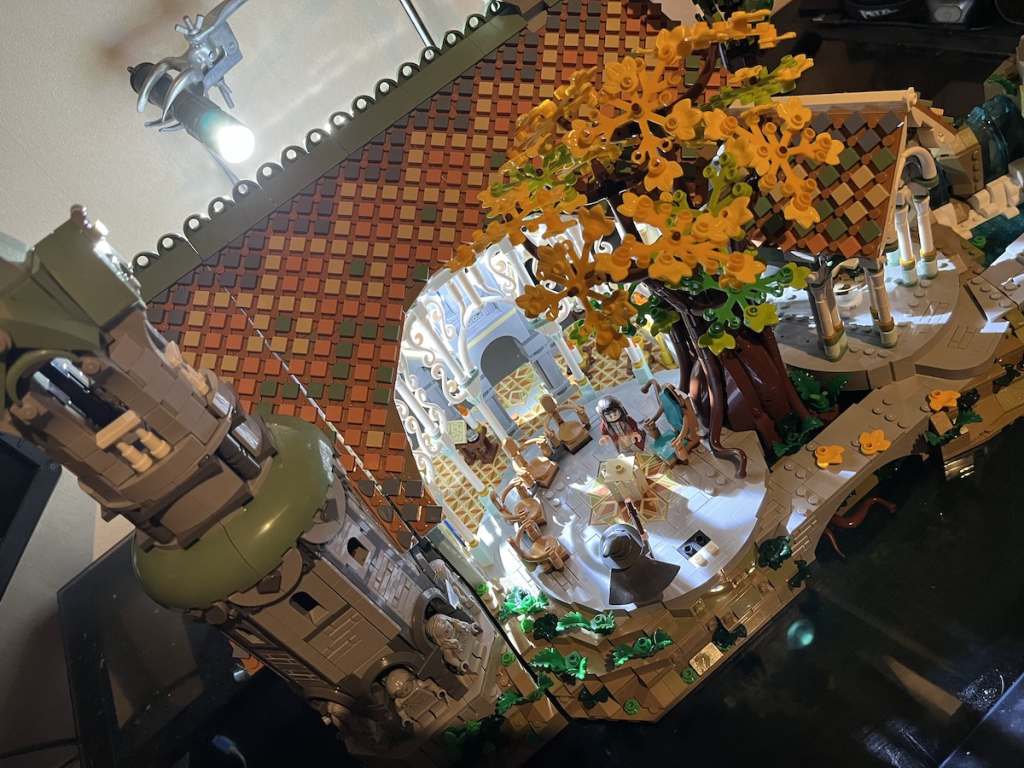
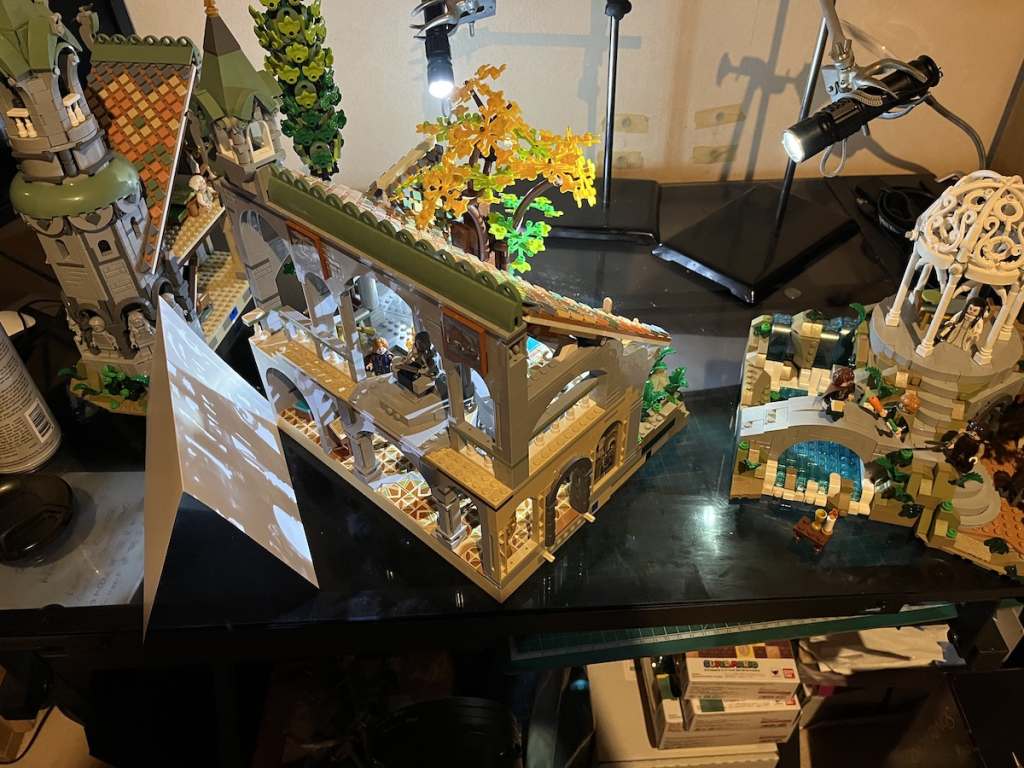
When finished the final model is split into three sections. The first being the tower on the left. This also includes a study and bedroom for Bilbo, it would seem none of the elves sleep in a bed. The second section is the river, pergola and the elven forge on the right (Gimli is pretty much on the join in the image above). The final and largest part of the build it Elrond’s office and the council seating area. With the council circle and large tree being removable as a smaller diorama element, which you’ll see throughout the behind the scenes images..
Now to the photography. As I mentioned before, this set is huge. And for someone like me, with a stupid camera setup that is a really good thing. Because I use an anamorphic lens (read more about it here) my photos are very, very wide. One issue I have with many Lego sets, is that they are just not big enough to fill the frame of the photo. But at 70 cm wide that certainly is not an issue with Rivendell.
Mordor, Gandalf, is it left or right?
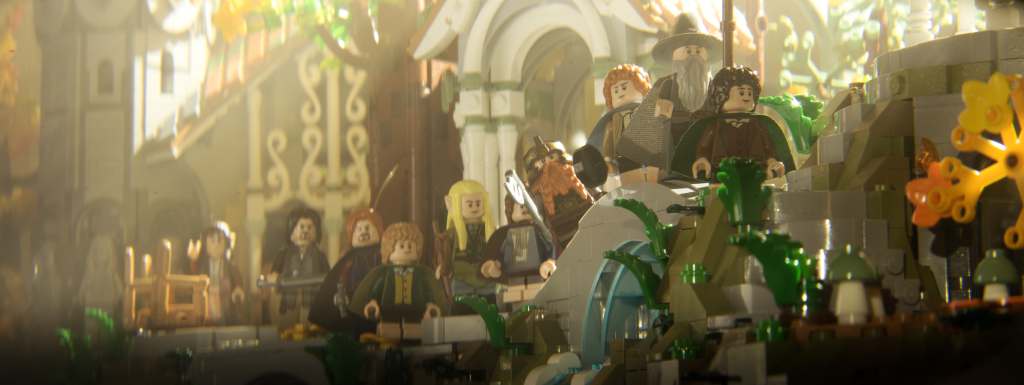
While I lit the set from behind with the two spot lights. I also used a bounce card and a very dim light propped on top of the camera. These were used to just fill out the shadows and bring some light to the characters faces.
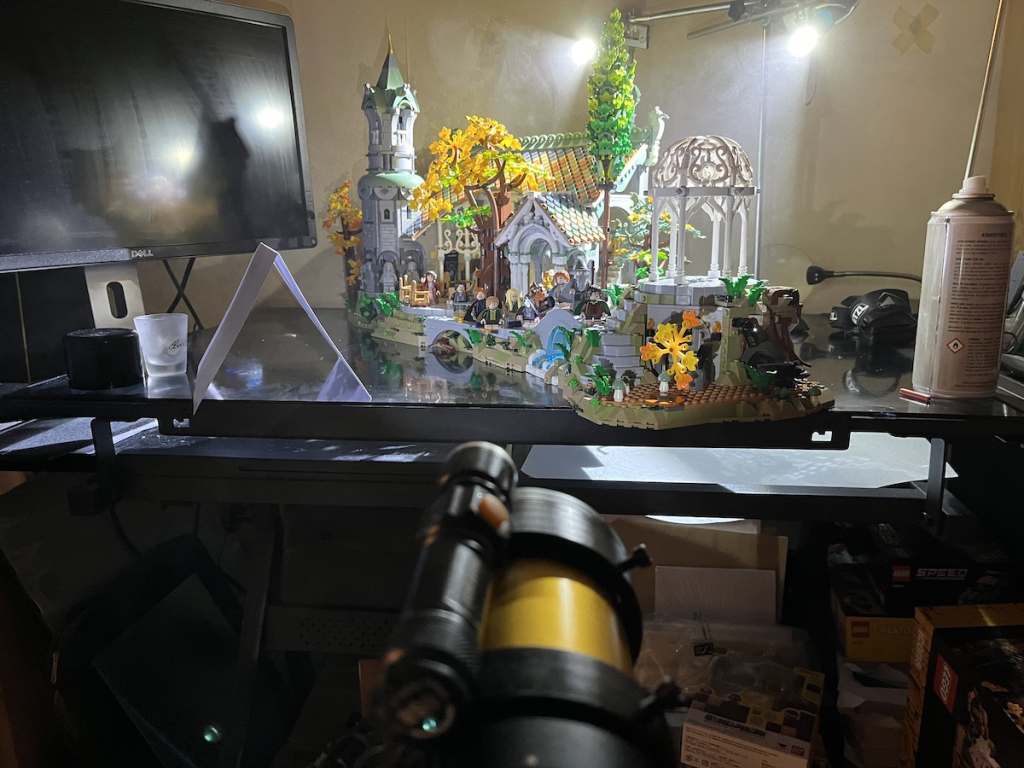
I stole the trees from the right hand side of the set. One is behind the waterfall. While the other is stood to the far left of the tower. Both helped fill blank spaces in the frame. And the fact they pop on and off easily was very convenient. If the geometry of the set becomes confusing, I apologise. Moving elements around will be something of a running theme in many of these photos.
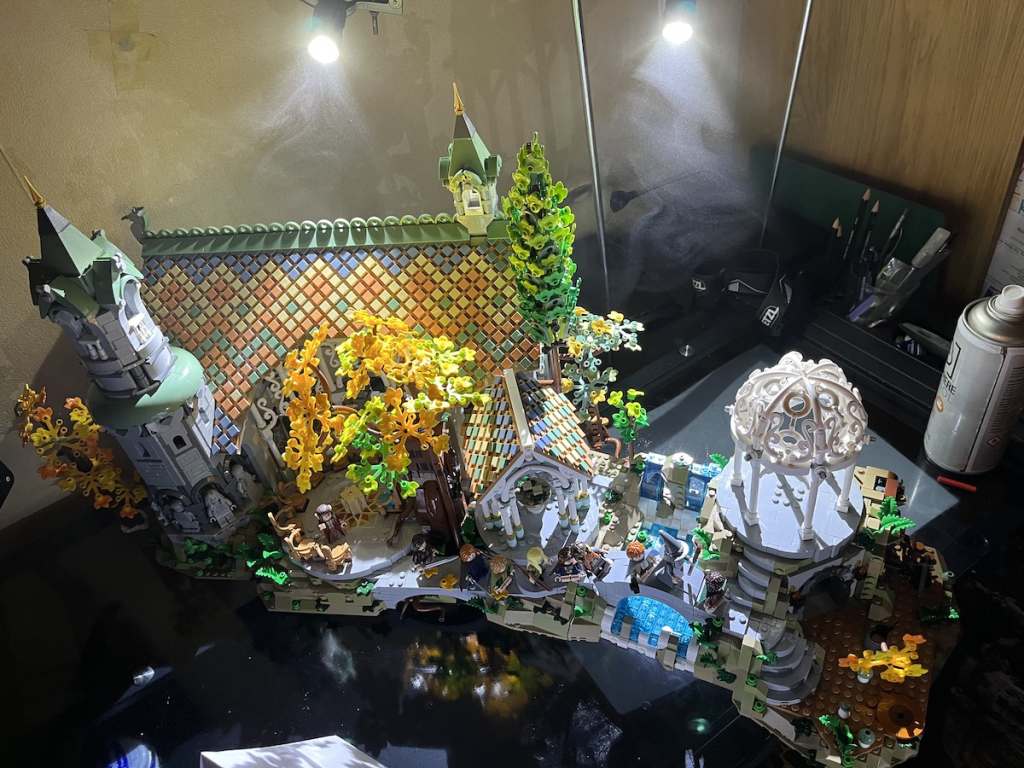
BTS – Mordor, Gandalf, is it left or right?
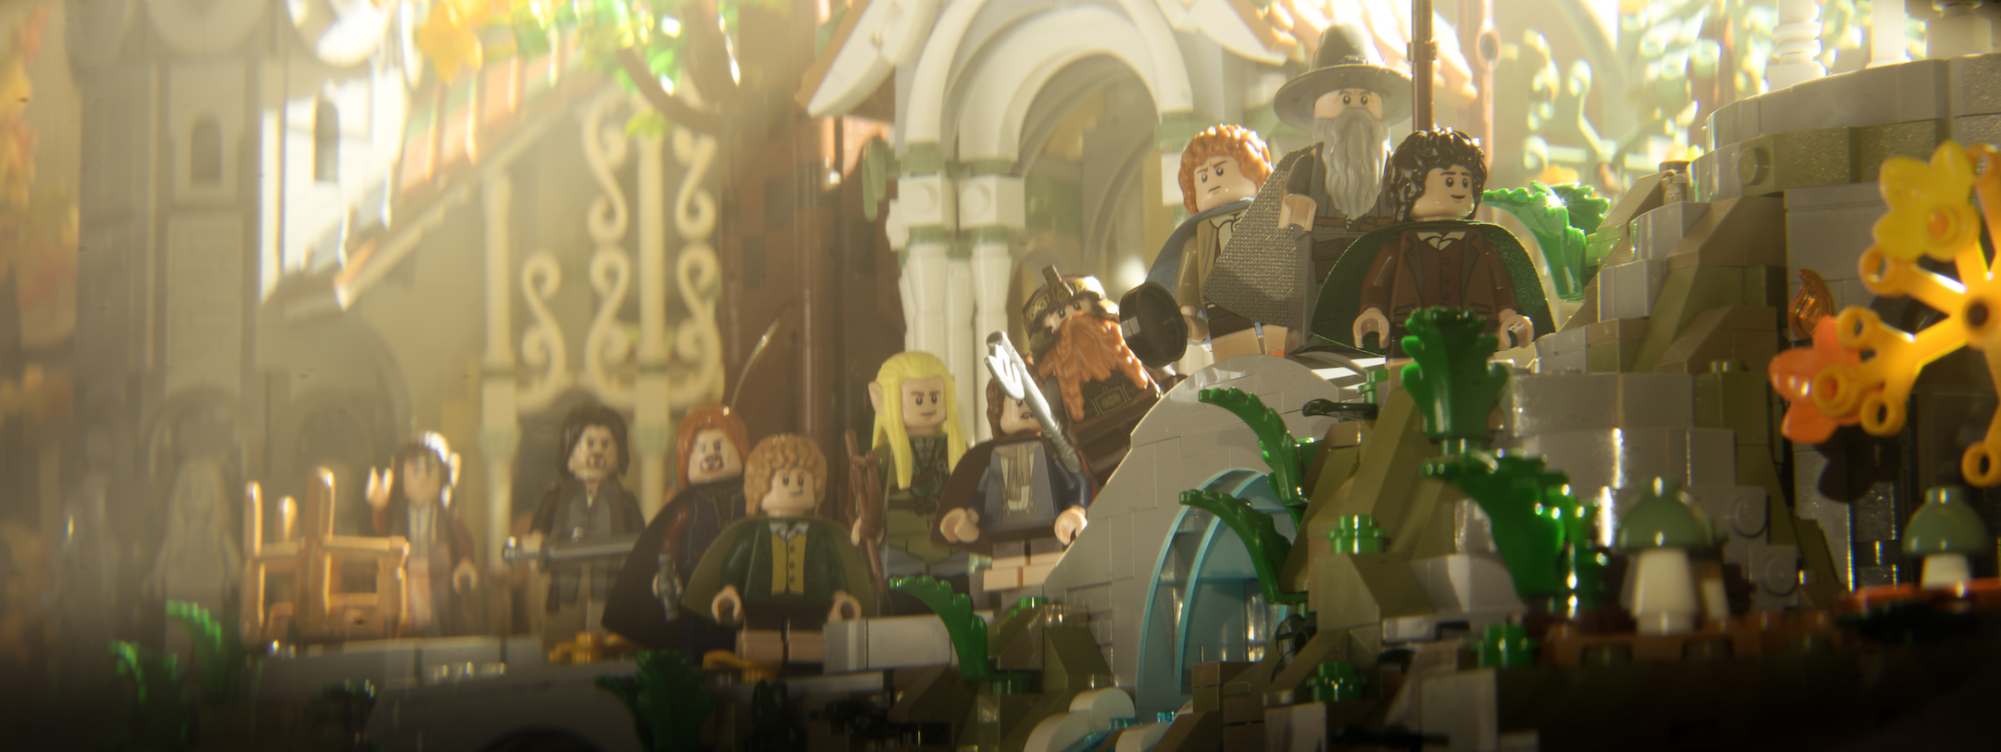
A bit of tack was required on a few of the minifigures, especially with the curve of the bridge. Just so all the characters would be in shot. It also seemed fitting to have Elrond waving goodbye, now that he’s finally got his house back. I did have to substitute my old Aragorn minifigure in to give him the right clothes. As this set depicts him in his fancier, council attending attire.
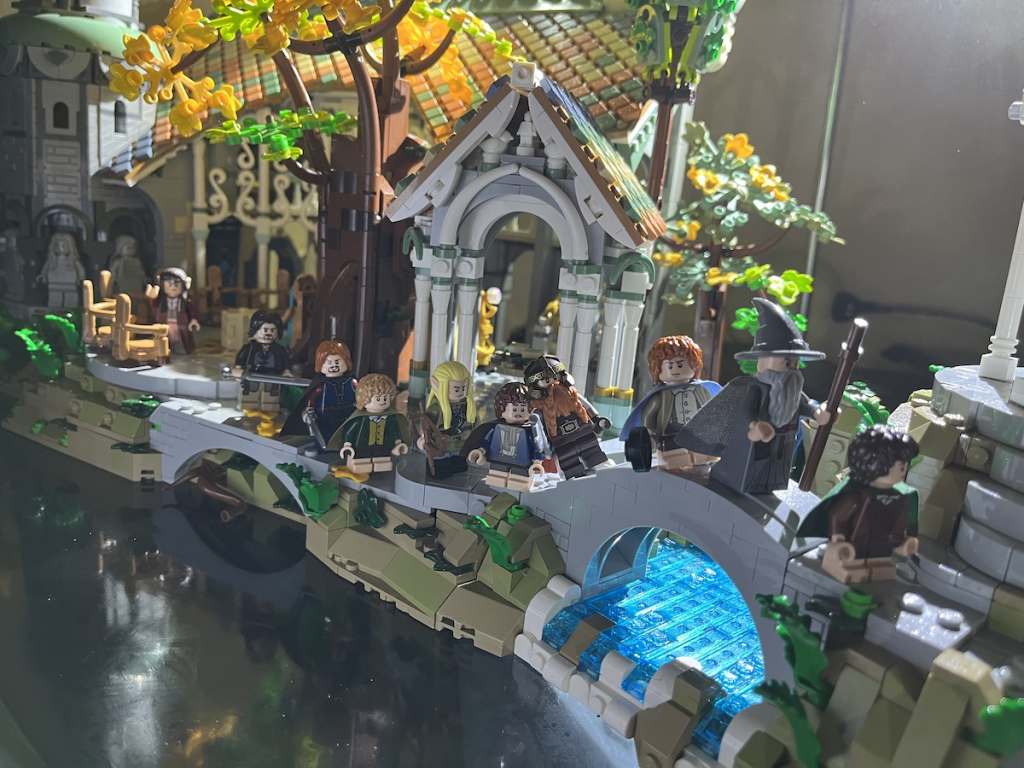
BTS – Mordor, Gandalf, is it left or right?
With any set based on a movie, tv series or other intellectual property the habit can become to recreate the various scenes we already know and love. Which is exactly what I’ve done here. But what I found with this set was the opportunity to explore and discover new opportunities throughout the model. So expect lots of different setups as we progress.
Hope is never mere, even when it is meager
If any of you have read my previous review of the Galaxy Explorer, I’m sure you can imagine my first thought was where can I take this to photograph. Let’s get to some woodland as quickly as possible.
But as I was building the set my thoughts moved towards vignettes. This model is absolutely full of them. There are scenes to be found throughout, with more and more to discover. As you will see.
One day this set, or parts of this set will travel with me. But not quite yet. I’ve got to think about the logistics of moving it. But also as it is spring in the UK at the moment which just means there is lots of rain in this part of the world right now.
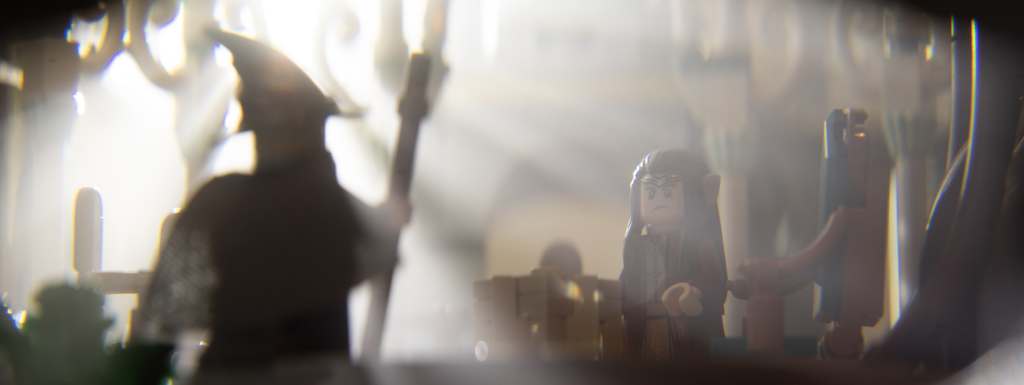
The other element of this set that caught my eye as I built it was the layers within the elven architecture. There are lots of opportunities to look through and see new frames for photographs. And for someone like me who likes a bit of backlight it’s a great opportunity to add depth.
The setup for this one was fairly simple, the light shines through the swirls of the decorative architecture, creating the light beams. Originally I just had Elrond in the scene, but added Gandalf in at the last minute. He was more interesting than the chairs he replaced.
Have you Seen (Sean) Bean
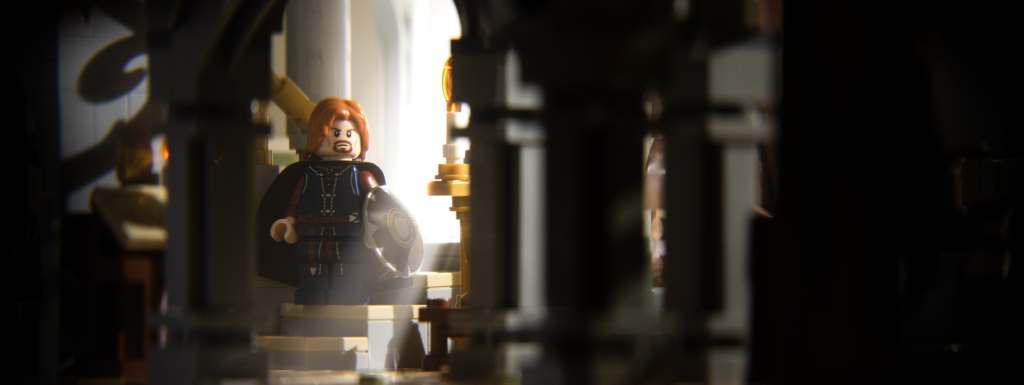
Everyone knows the fellowship consisted of Frodo, Sam, Merry, Pippin, Gandalf, Legolas, Gimli, Aragorn and Sean Bean. In my house this minifigure is Sean Bean, not Boromir. This comes from our love for Sharpe, and although it always happens, we’re always sad when Sean meets his expected demise.
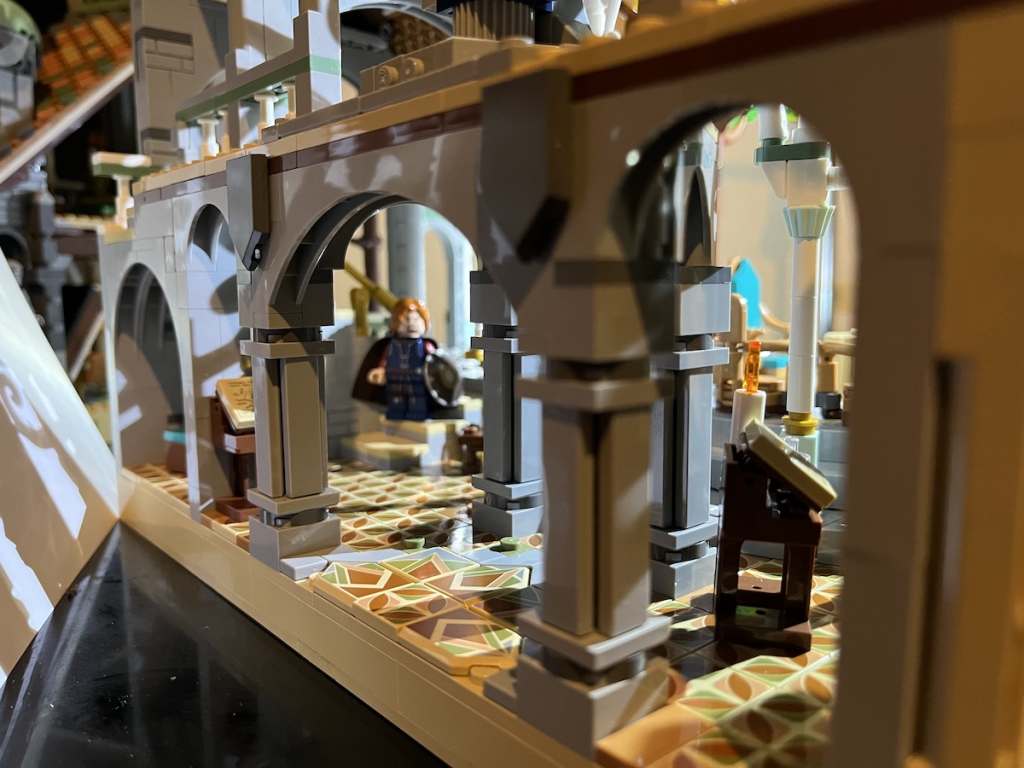
Two lights in this setup, one from directly behind, and one from Sean’s left to help light his features and the walls behind him as he comes down the stairs. The bounce card also gives a little fill to the shadowed side of his face.
The camera then shoots through the pillars on the back of the set. When the ambient light was off this cast them into darkness. Creating the framing with in the photo. In the movie Boromir is somewhat a solitary character until his redemption, I wanted to bring that to the photo as he navigates the halls of a foreign place.
There and back again
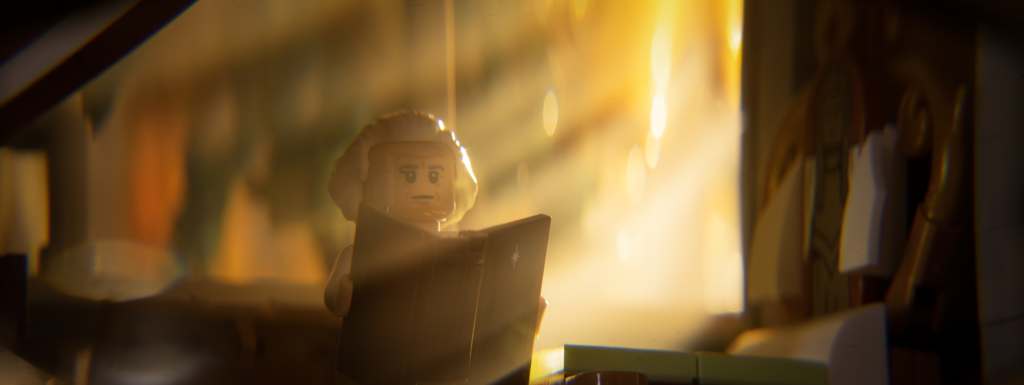
Bilbo comes with his book. It even has a sticker for the inside inscribed with ‘There and back again’. In this scene we find Bilbo sat in his room at the foot of his bed taking in a bit of light reading.
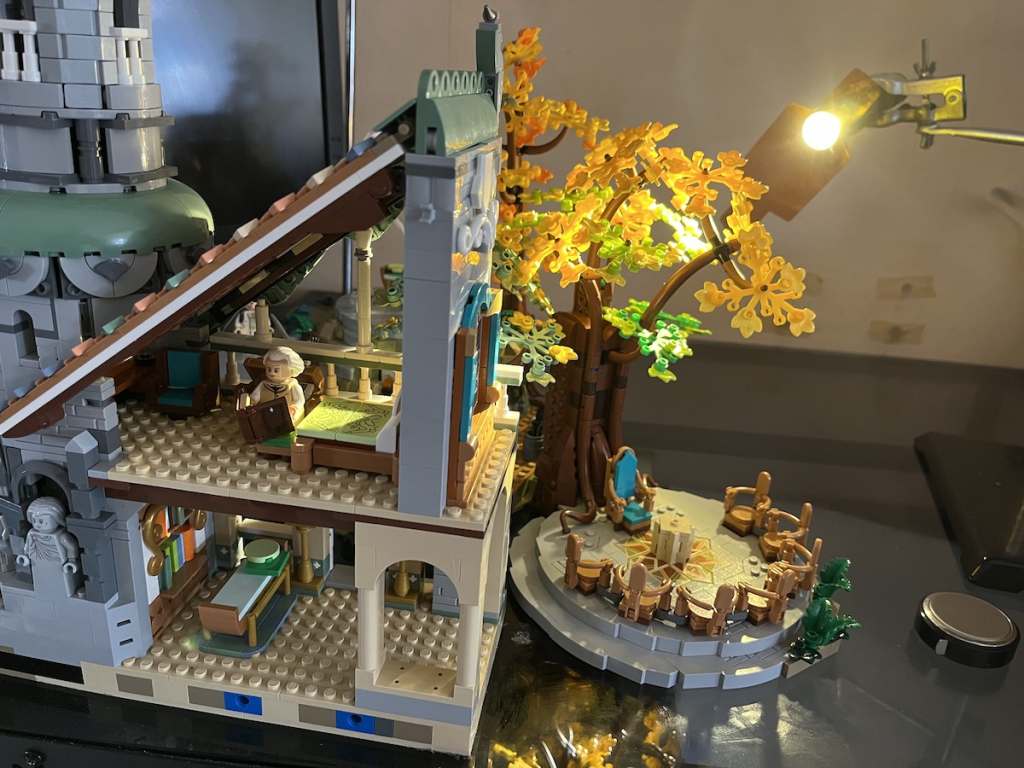
I added a coloured filter to the backlight for this one, giving that golden light across Bilbo’s shoulder. I also stole lots of the trees from around the model to stand outside his window and create the woodland effect. A great example of using modular components it the “wrong” order. It created an almost natural dappled light effect from behind in the final photo.
And my axe
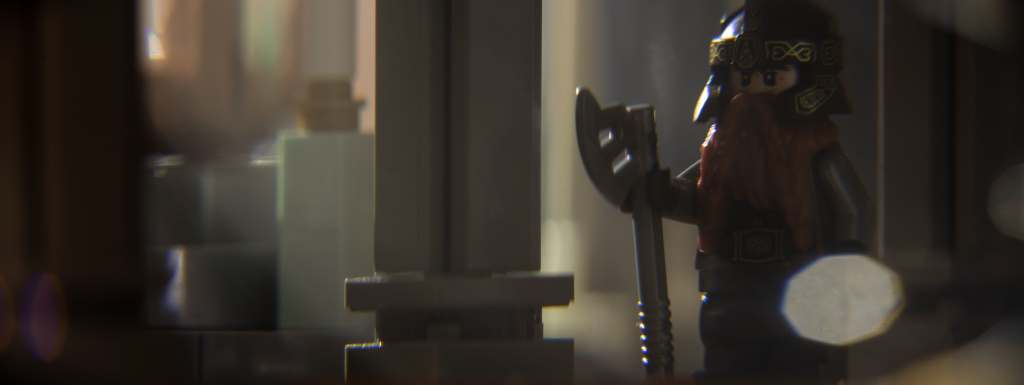
A simple portrait for this one. With Gimli, I wanted to get in quite close to see all of the detailed printing on his helmet. I also wanted it to be a bit moody, like it could be a scene from a dwarves’ mine. The muted colour pallet gives this feel. And the pillars on the backside could certainly stand in for a bit of dwarf crafted architecture. Using a backlight, Gimli’s mighty axe cuts a dynamic silhouette, for some added drama.
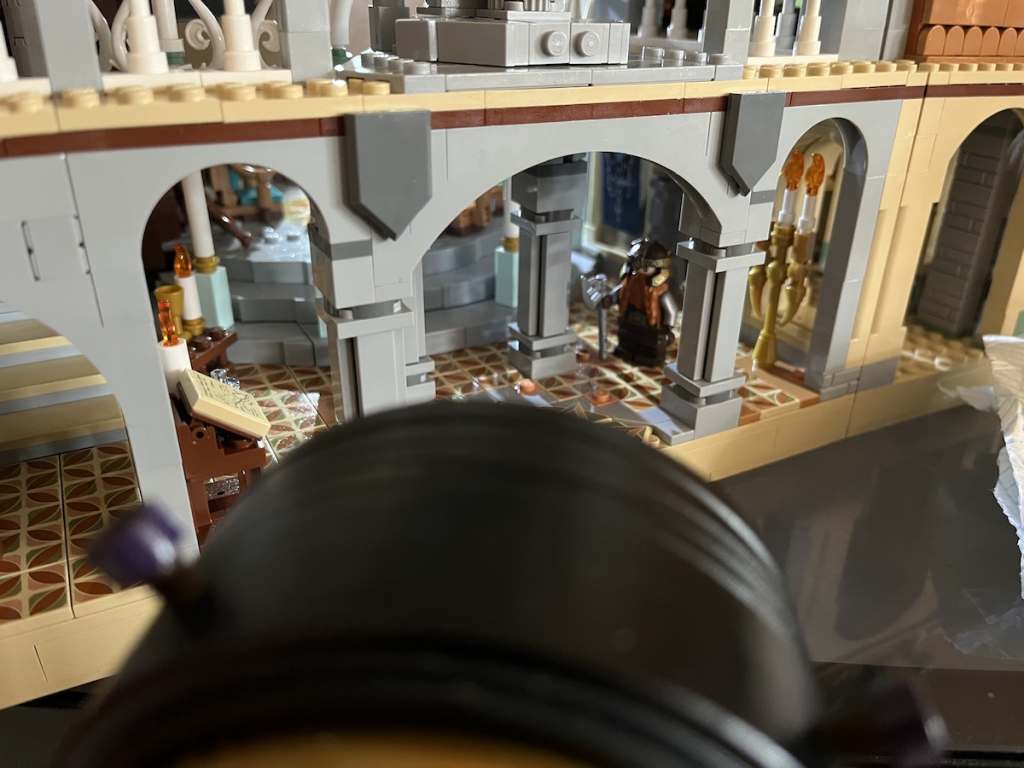
I found myself drawn to the backside of the model again and again. The pillars and structure gave lots of interesting angles to shoot through.
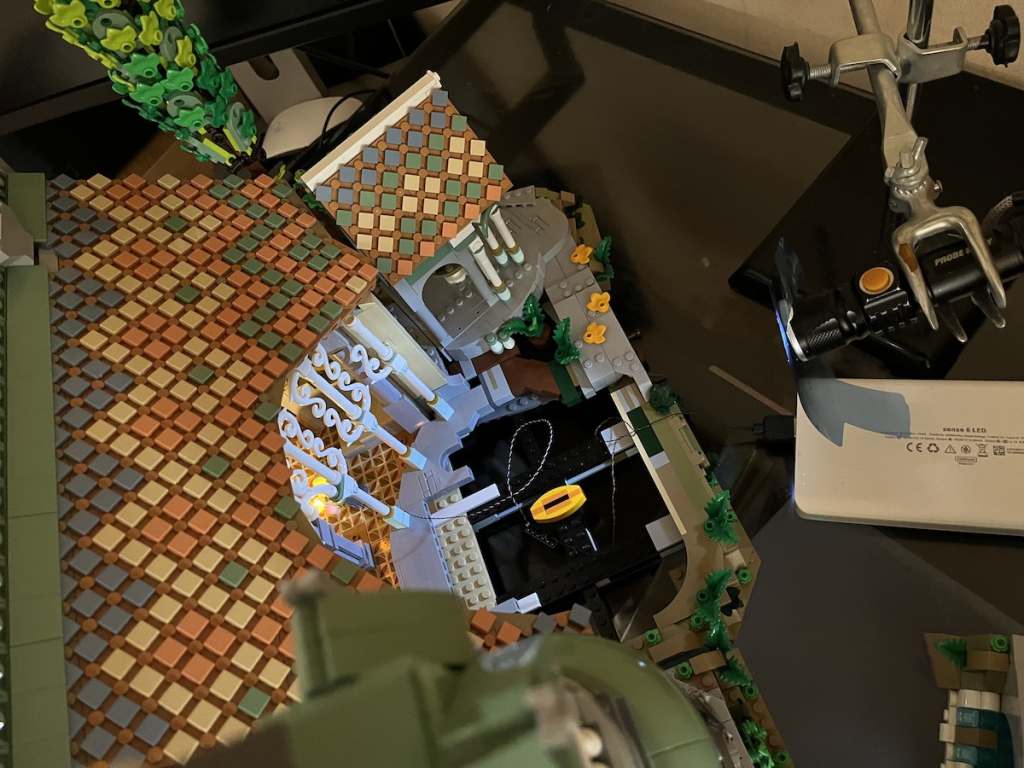
To make it as dark as possible I used the dark material below to keep the light out.
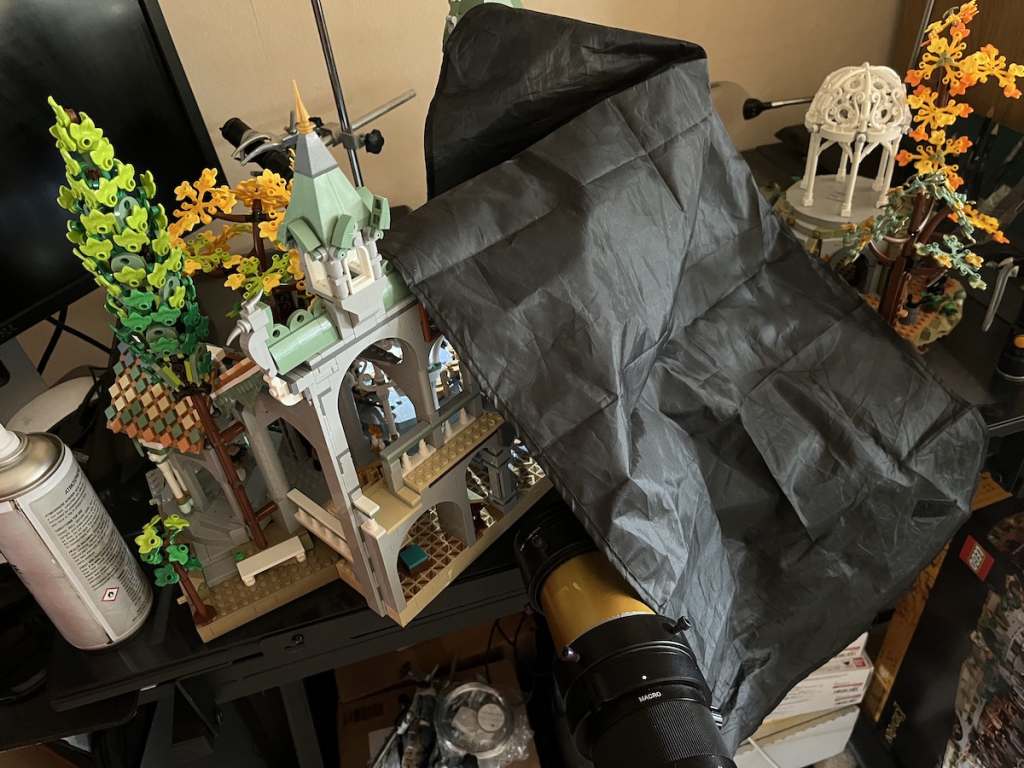
It’s the job that’s never started as takes longest to finish
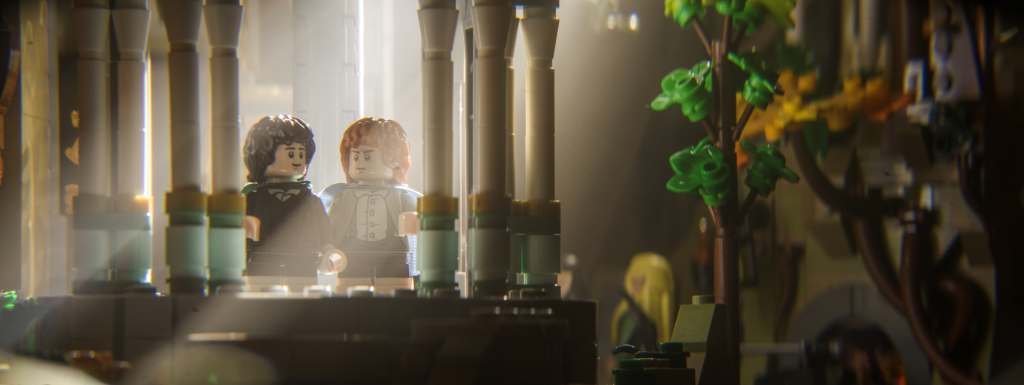
The set up of the two minifigures made it it look like they were mid conversation. A bit of walking and talking for those of you that ever watched The West Wing.
While the minifigures’ setup gives narrative, this photo is about the architecture and the light shining through it. I forgot the two elves in the background, they were just stood on the other section of the set and I completely missed them. I wish I hadn’t with the distracting colour of the blonde hair.
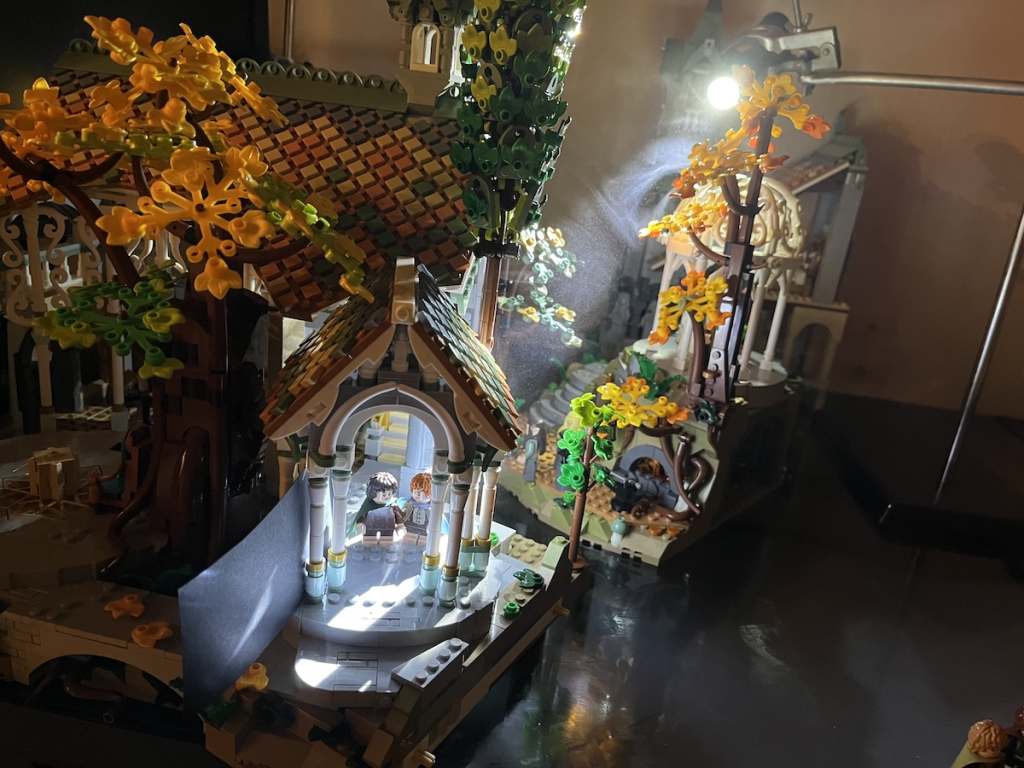
On the edge of the main building, and behind the big tree is a smaller covered area. It has a matching roof design to the larger building. It normally houses a table with lembas bread. I just swapped that out for the Hobbits. The other sections are also lined up behind to create a further backdrop to the scene.
With this photo I actually had to take two shots. One with the bit of black card, and one without. The inclusion of the card was due to the white pillars reflecting the backlight. Sam and Frodo had highlight streaks down their faces, which was removed by the card stopping the reflection. I then stitched the two photos together just to the left of Frodo in post production.
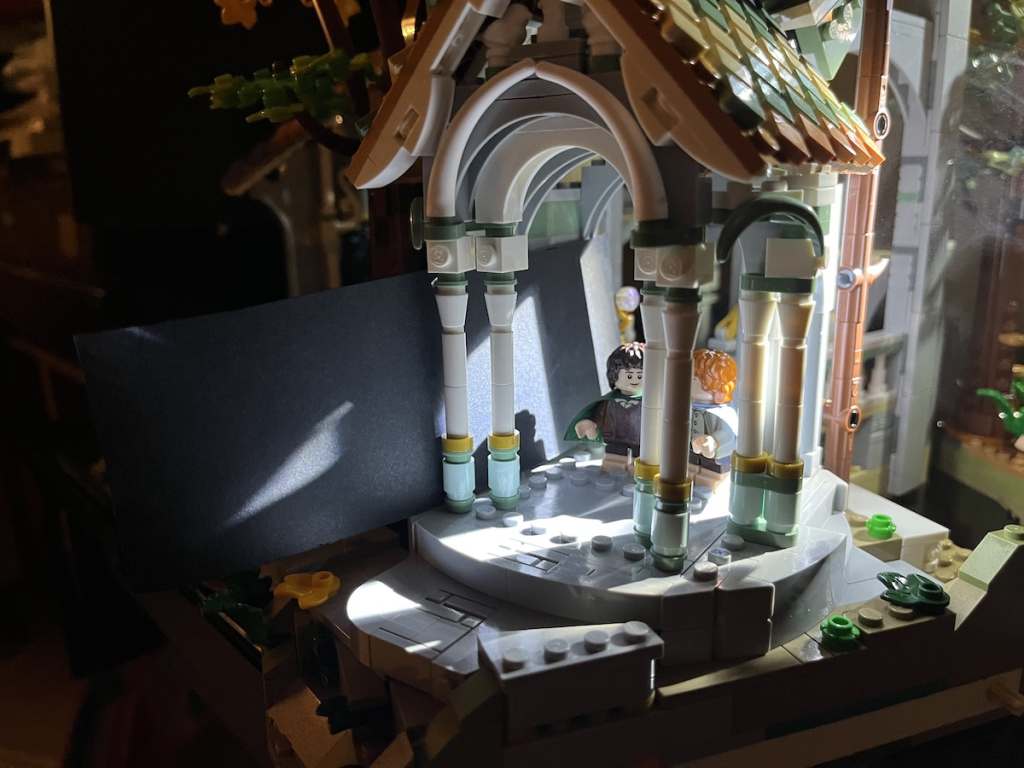
Fear nothing! Have peace until the morning! Heed no nightly noises!
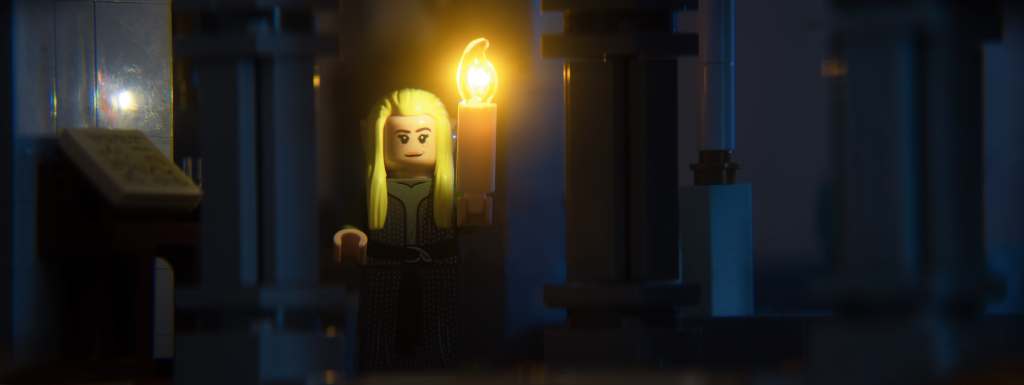
This set comes with a lot, and I mean a lot of candles. It’s like an extras casting session for Beauty and the Beast. You are welcome if the song is now stuck in your head.
We’re back in Elrond’s office. Where he obviously needs lots of candles for all that map and scroll reading. I thought it would be a good idea to get a photo of one of the candles in use. I imagined an elf gliding serenely through the night by candle light. and just needed to simulate candlelight as realistically as possible.
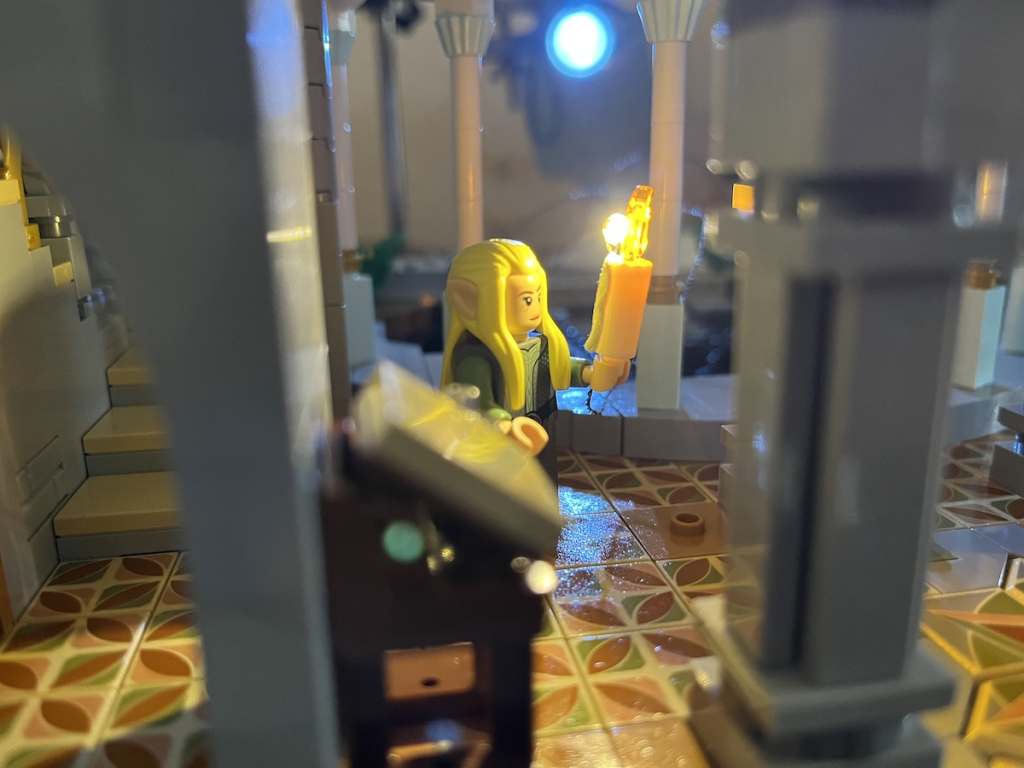
To achieve this, I stuck a LED behind the candle with a tiny strip of tack. The cable then comes out of the opposite side of the building, across the eye of Sauron and into the power pack to provide the glow of the flame.
The other lighting element in this photo is a torch with a blue filter to simulate the moonlight as a background light. Hopefully casting a blue tone across the scene, and creating a contrast to the orange of the candle light. I kept this at a minimum to not take away from the candlelight
I sang of leaves, of leaves of gold, and leaves of gold there grew
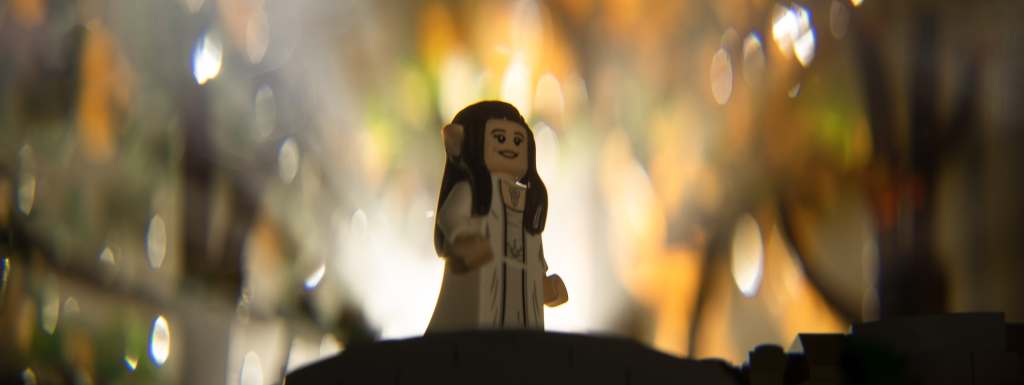
One of the balances I’ve tried to strike while photographing this set has been that between the shadows and light. I tend to take lots of photos with strong shadows and contrast. But with the setting of Rivendell I wanted to make sure a light and airy nature akin to the elves was also present in this series of photos.
With this portrait the combination of the foliage and the god light provide a bright backdrop for Arwen.
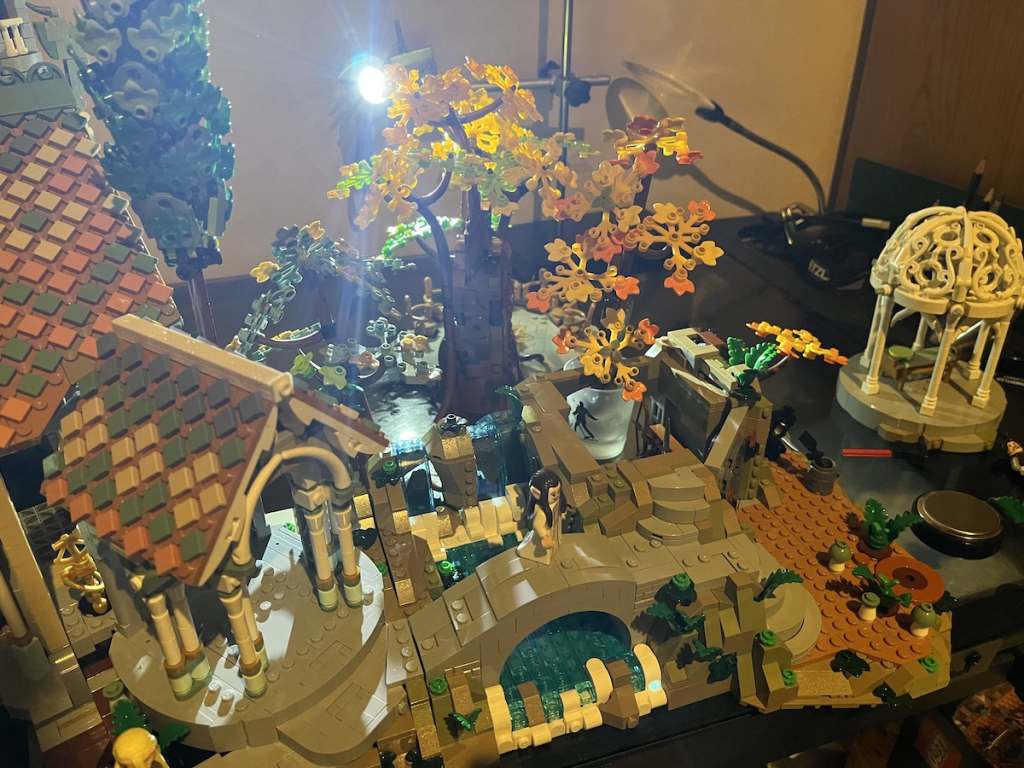
As before, I collected the various trees from across the set to create the backdrop. Lowering the aperture created a bokeh similar to natural tree cover. I’m really happy with result.
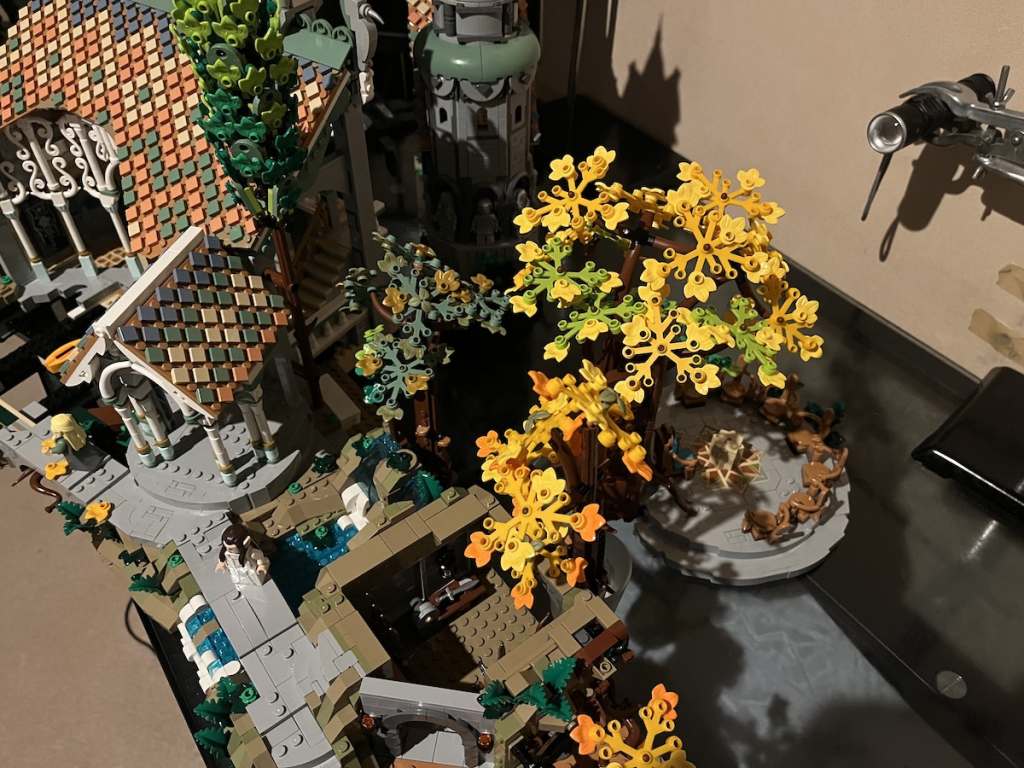
With the size and scale of this set, I quickly realised this was going to be something of a big review. I didn’t realise quite how big it would become. I’ve not been able to stop taking photos of this set and as a review about whether it’s suitable for photography or not, I think that’s a pretty good statement to begin with.




Gorgeous photos and great review Tom! Looking forward to part 2.
Thanks Chellie, much appreciated. Just wrapping up the last bits on part 2 now.
Wow Awesome!! let’s keep it going! how about next set is Kazzadum and the Balrog scene at the bridge
Thanks Quinton, that would be so cool to photograpg. But it might be a bit of repetitive build with all those rocks ?