Snow is used a lot by toy photographers in our work. It is a great way to add atmosphere to the stories we tell. Most photos I’ve seen use fake snow of one kind or another. However I love it when I get the chance to shoot toys in real snow. As I live in the American South, snow days don’t come around that often — about once a year on average. So when they do, I try to make the most of them. A few weekends ago I got my chance, and I jumped at it.
Shooting in the snow has some unique properties that can be surprising if you’re not used to it. Heck, I grew up in Canada and I still had to learn the lessons of snow photography the hard way. So I figure I’d do a two-fer post by showing some images I took, and sharing some lessons I’ve learned.
So let’s jump in.
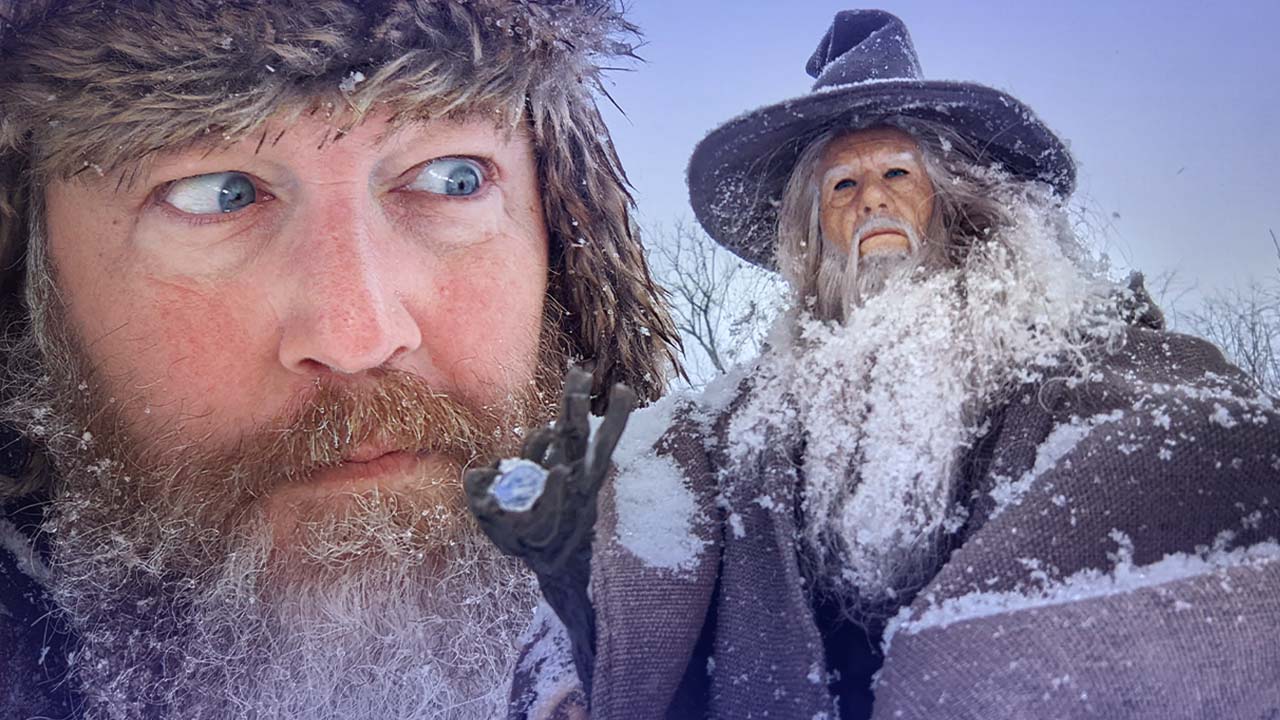
Fetch the Gandalf!
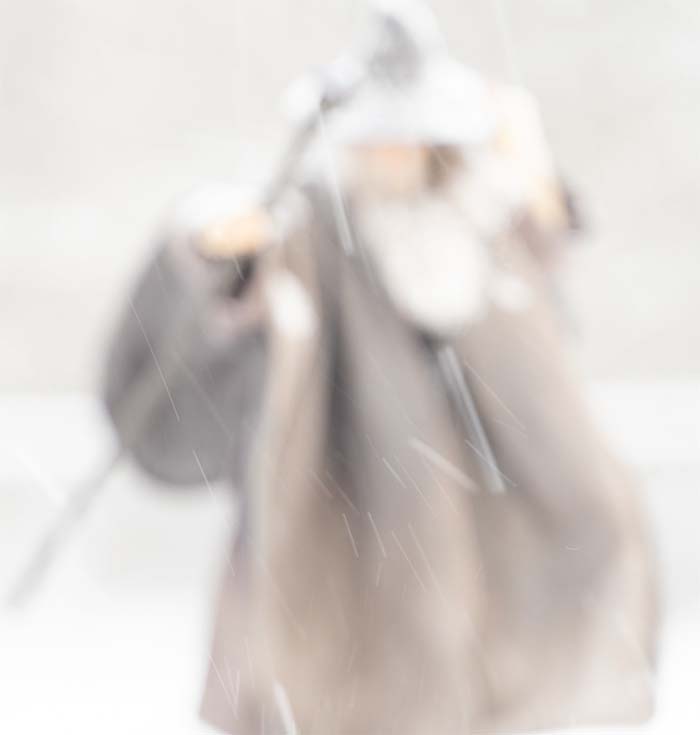
I ended up shooting three different toys that day, but the first one I used was my Asmus Gandalf figure. The shot I had in mind was inspired by the Pass of Caradhras scene in The Lord of the Rings: The Fellowship of the Ring. I envisioned the snow building up on his hat and cloak, and freezing to his beard, as he struggled in a storm. I looked outside and the snow was coming down in nice fluffy flakes, which I knew from experience would build up on the figure over time and give the impression that he’s been out in a storm for a while.
Eager to get stated, I grabbed the figure from his box, put him on my desk, and figured out the right pose. Once I had it perfected, I tossed him outside, under the porch, away from any falling snow. Then I went for breakfast.
The reason for this seemingly unusual order of events is the point of my first lesson.
Lesson #1 – Snow is cold, your toys should be too.
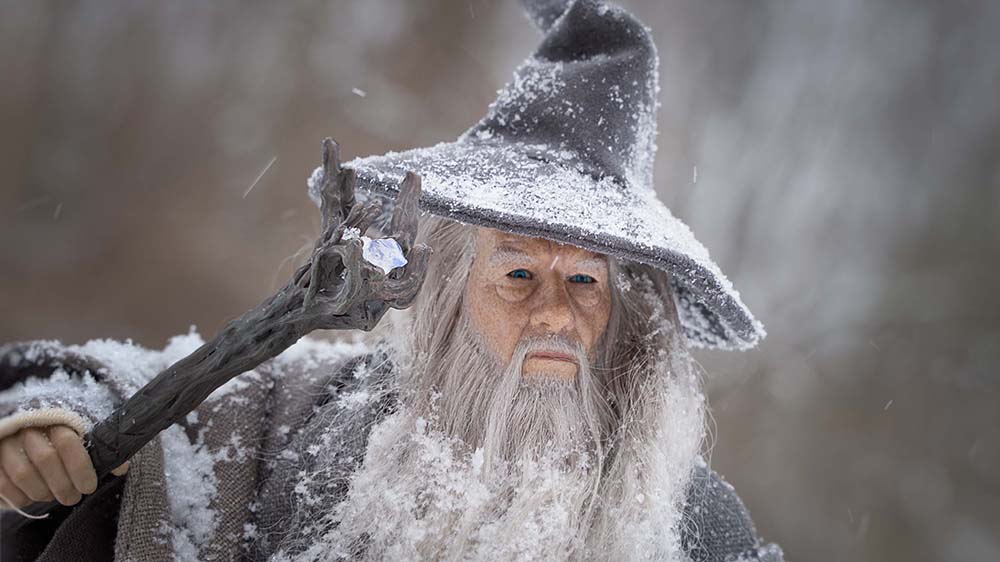
When shooting in the snow, make sure your figures are cooled down to below freezing temps by sticking them outside for 30 minutes before you use them. You can also store them in a freezer if you want. The reason for this is that we normally store figures in our houses, where it is nice and warm. If you take the figures straight from the warm indoors into the cold outdoors, the figures will still be warm, Any snow that they come in contact with will melt, leaving you with a damp or icy figure instead of a nice photo-friendly, snow-covered one.
Indeed my plan worked out, as the 30 minutes it took me to eat my breakfast allowed Gandalf to cool down to the freezing temperatures outside. I then placed him out where the falling snow would build up on him. Because he was already cold, the snow sat on top of him, and didn’t melt. When the time was right, I grabbed my shots.
Another benefit of doing this is that your toys don’t get wet. It doesn’t matter for the all plastic ones, but if they have fabric like Gandalf, it can make a huge difference when it comes time to store them again.
Snow is frozen water, so it is actually dry. This means you can blow it off your figures before bring them inside, keeping them from getting soaked.
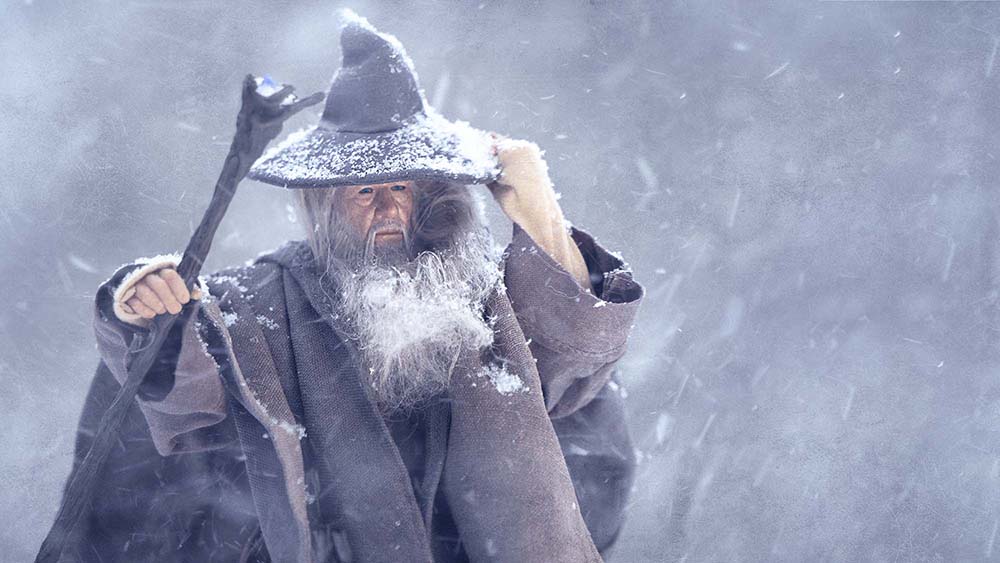
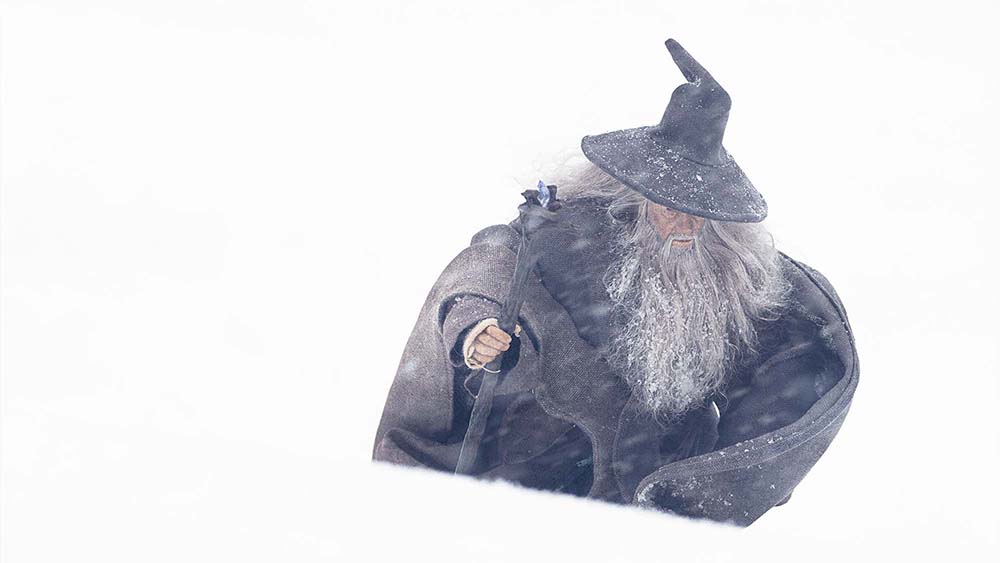
Lesson #2 – Use manual focus with falling snow
Autofocus is a wonderful thing. Modern cameras are almost wizardly with their ability to grab focus. However, when it comes to situations where there is a lot of movement in front of the camera, like falling snow, that autofocus magic can fail, as it sometimes tries to focus on the falling snow in front of the figure, instead of the figure itself.
This has bitten me many times in snow or rainy conditions. Using manual focus in these situations is the way to go.
Fetch the Wall-e!
Sometimes melting snow has its benefits. I had to use my fingers to get this ball of snow that Wall-e is holding to stick together. However because Wall-e was already acclimatized to the cold, the ball didn’t melt any further once placed in his hand.
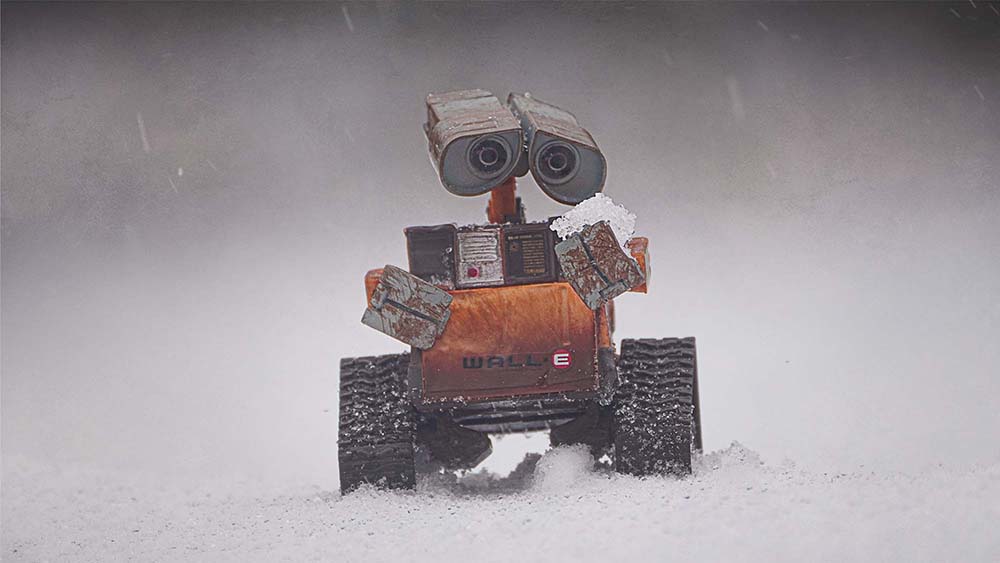
I had switched lenses to a 300mm telephoto lens when I shot Wall-e so I could control the background better. Switching lenses in the cold can cause some issues with fogging, and this leads me to the next lesson.
Lesson #3 – Keep your camera lenses cold too!
This is similar to the keeping toys cold lesson, but for a different reason. If you take a cold lens that’s been outside into a nice, warm house, the lens is going to fog up. Your sensor may also fog up. This is because the lens came from a cold, dry place into a warm and much more humid house, and physics happens (stupid physics!). The moist air condenses on the cold camera bits, and presto! One foggy set of camera gear.
It will eventually dry out, especially if you take them back outside. But I want to shoot now, not “eventually,” so I don’t have time for that! Not to mention the condensed moisture isn’t doing the camera’s electronics any favours.
So, if you need to switch lenses, consider bringing the new lens outside and let it cool down first, instead of bringing the cold lenses inside to do the swap.
Fetch the AT-AT!
The final toy I shot on this fine snow day was a model AT-AT walker from Star Wars. This is actually a Bandai model kit I assembled and weathered. It is pretty small, and incredibly light — perfect for sitting on top of the snow. So I set it out in an untouched part of my yard, then hunkered down with my long lens into a nest of snowy goodness.
I didn’t mean to, but I actually learned another lesson that can be helpful. To explain why, let’s look at the image I took first.
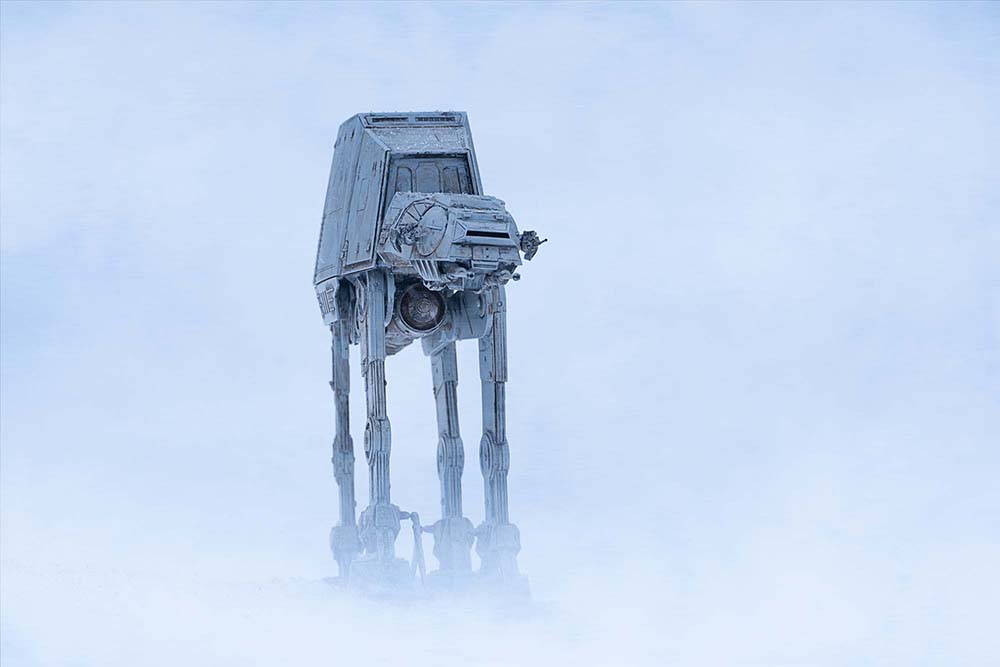
See that fog effect? It’s pretty neat, if I do say so myself. There was not any fog or mist, or even blowing snow, when I took this shot. I also didn’t add it in Photoshop. What happened here is that in effort to get low enough with my camera to get this angle of the AT-AT, I dug a small hole in the snow. As I put the camera into the snow hole, the lens dipped below the snow line, and this effect was the result.
Cool, eh?
Lesson #4 – Snow is translucent!
More importantly, being translucent (or partially see-thru), it can be used for all sorts of practical special effects. Be creative with how you use it. Shooting through light snow or clear ice may lead to some interesting results.
Conclusion
I spent about 6 hours outside shooting toys, that day. I loved every minute of it. However I also enjoyed getting back into a warm house, pouring a mug of hot chocolate, and editing the photos I took. I also made a video of the experience so you can get a better feel for what my day was actually like. You can see that here:
I hope you get a chance to shoot toys in the snow. It is a super fun experience. Hopefully when you do, these tips will give you a leg up. Stay frosty out there!
[dave]


Thanks Dave! I never considered pre-cooling my toys before, but I’ll definitely be using it on the next snow!
Let me know how it goes for you!
I’m going above arctic circle in two weeks, so hopefully it will be a snowy wonderland and I will use your tips! 🙂 It’s not the first time I will be shooting toys in the snow, but letting them get cold sounds like an interesting tip!
That sounds like an interesting trip! Looking forward to any pics that come out of it.