I’m not going to hold you in suspense about this: after seeing what it can do, I’m a big fan of this product. If you’ve purchased a large LEGO set and use it for ongoing toy photography, you owe it to yourself to see if Briksmax has a lighting kit for your set (see links at end of article).
What the kit includes
The kit includes all the parts necessary to add the lighting to the LEGO set: wires, lights, circuit boards, adhesive stickers, additional LEGO bricks, battery pack (batteries not included), USB plug (to connect to USB and/or AC power), and remote control. All these parts are neatly organized in labeled individual bags. I was very impressed with the way they organized and packaged the set!
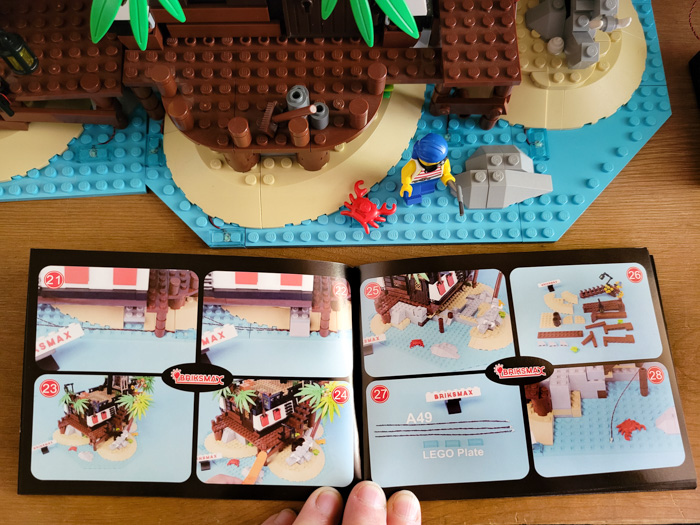
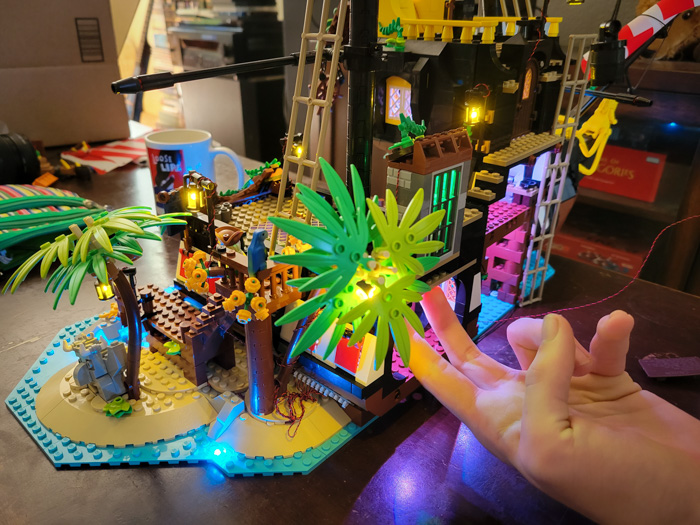
Briksmax’s documentation is very detailed. Every step has pictures, and they also include information in the User Guide about the proper way to handle the components.
READ THE USER GUIDE FIRST! The advice about component handling is just two pages, so it won’t slow you down and it’s very important.
One really important thing was missing from the kit: a brick separator. You really need it for taking the set apart and adding the lights.
Recommended additions to the set
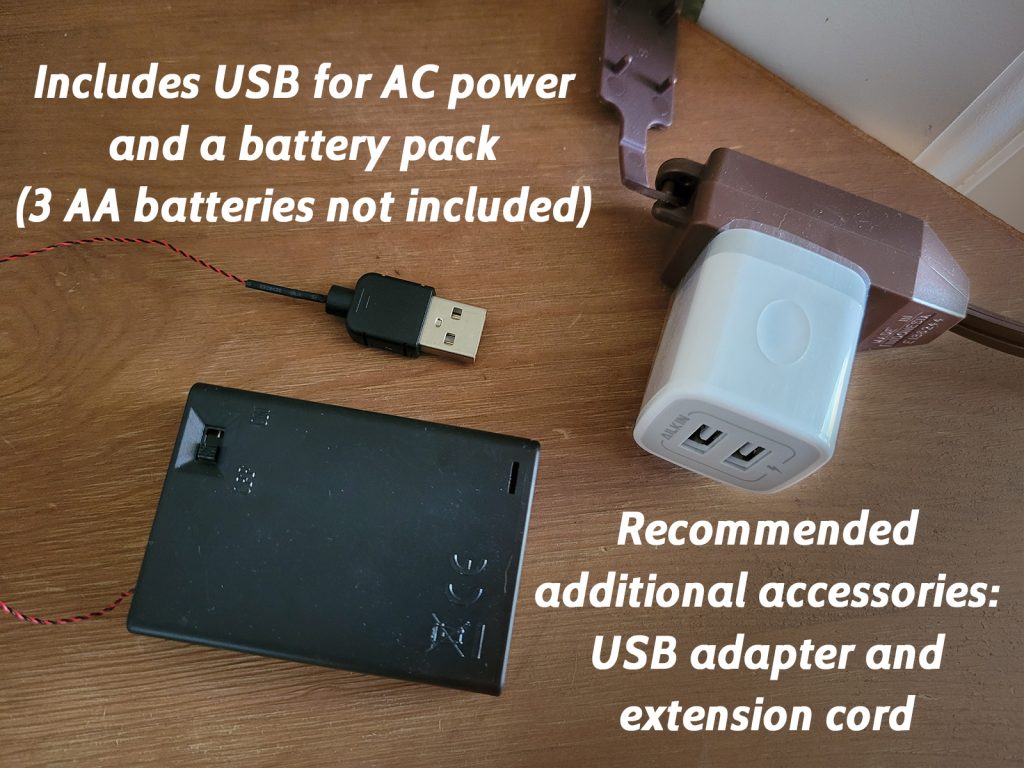
And did I mention–you’re going to need a brick separator, too!
The installation process
If you’re adding lights to a large set like the Pirates of Barracuda Bay, prepare yourself for at least a couple of hours of work. Put on some music, set your cup of tea nearby, and setup in a comfortable location.
Installing the set takes attention to detail and patience. Sometimes you have to thread the wires through many bricks and they don’t cooperate on the first try. But hang in there–it’s worth it!
Only one word of warning: this installation is a significant investment of time and isn’t quick or simple to apply and remove. So plan on keeping your set integrated with the lighting kit for the long haul after you put it together. In the case of the Pirates of Barracuda Bay set, that meant giving up the “whole pirate ship” version and committing to the shipwreck as a toy photo diorama from now on.
Once complete, the set works well as a nightlight and a fun addition to your home decor. To transport it from where you built it to where you want to display or photograph it, simply slide a sturdy, flat baking sheet or board under the set.
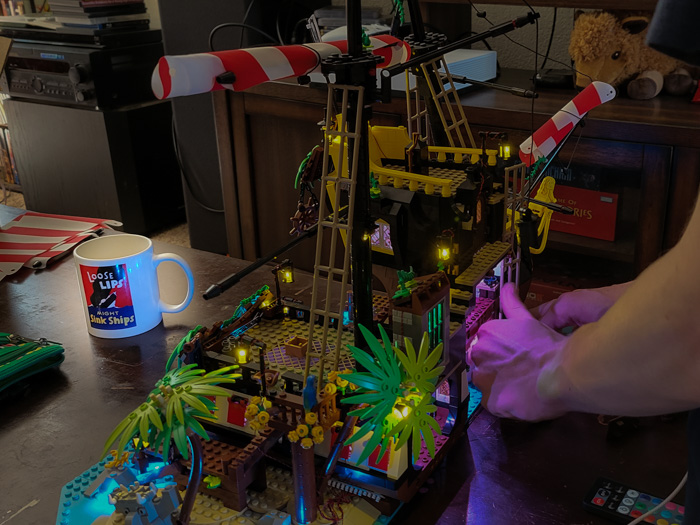
Cool lighting features
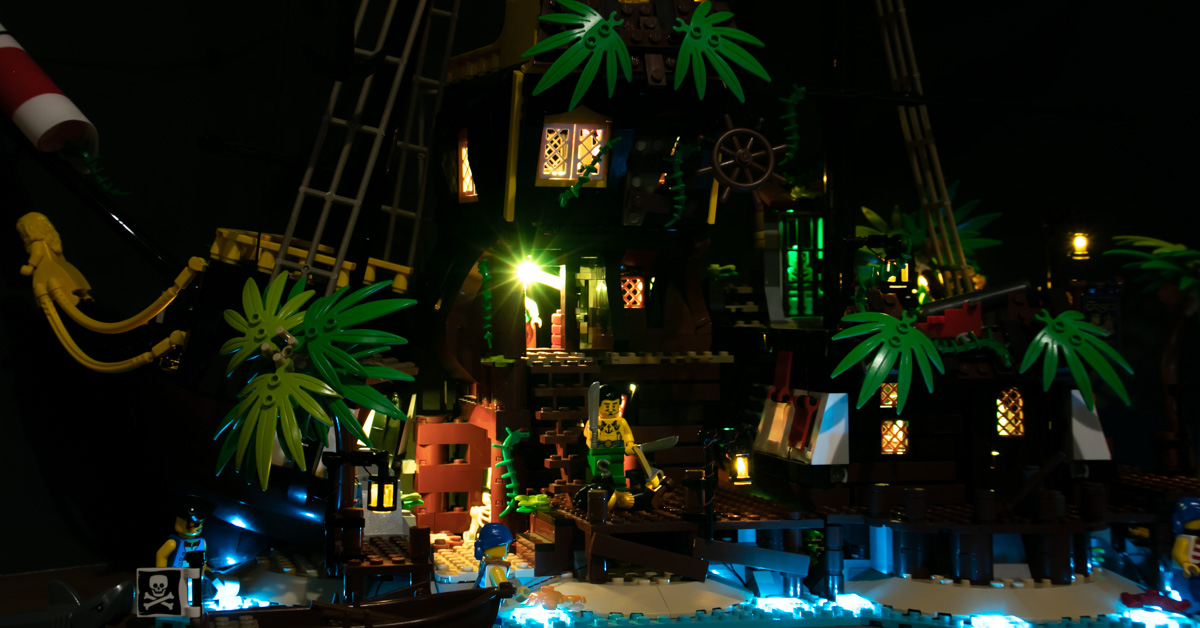
One of the happy surprises with this set was the remote control and the special features built in for controlling the colors of the lights. While certain lights remain one fixed color (the lanterns and water, for example), you can tune many of the other lights throughout the wrecked ship to other cool colors: magenta, orange, yellow, blue, dark blue, green, red, white. (They change together, not individually, but it’s still very useful.)
There are so many interesting color combinations available that I have barely scratched the surface of what’s possible. The colors can change the mood of the photo story significantly. Our blog doesn’t have the option for a swipe gallery, so I’ll just drop individual photos below so you can see a few of the different colors available. This little scene I call, “The Mutiny.”
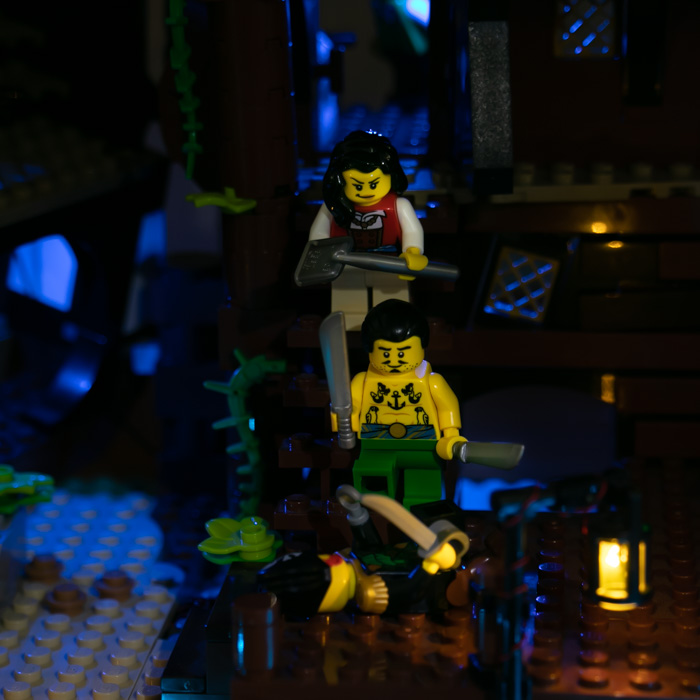
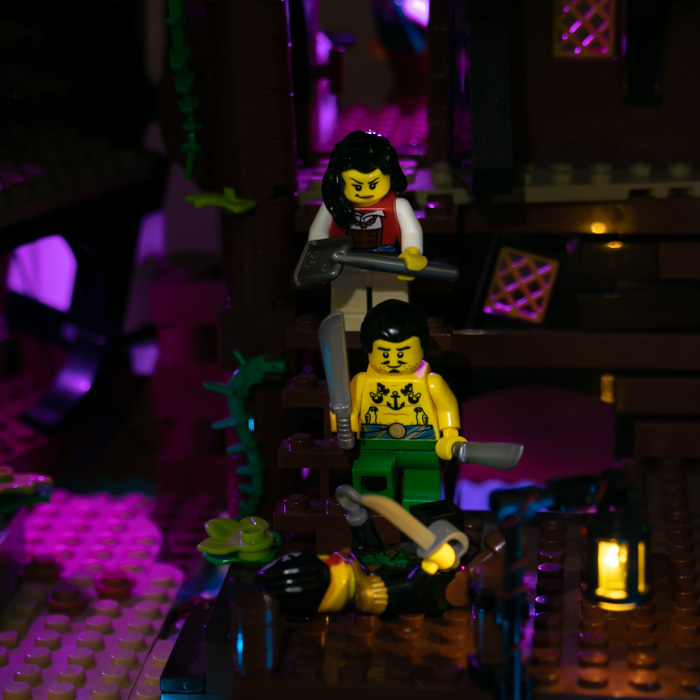
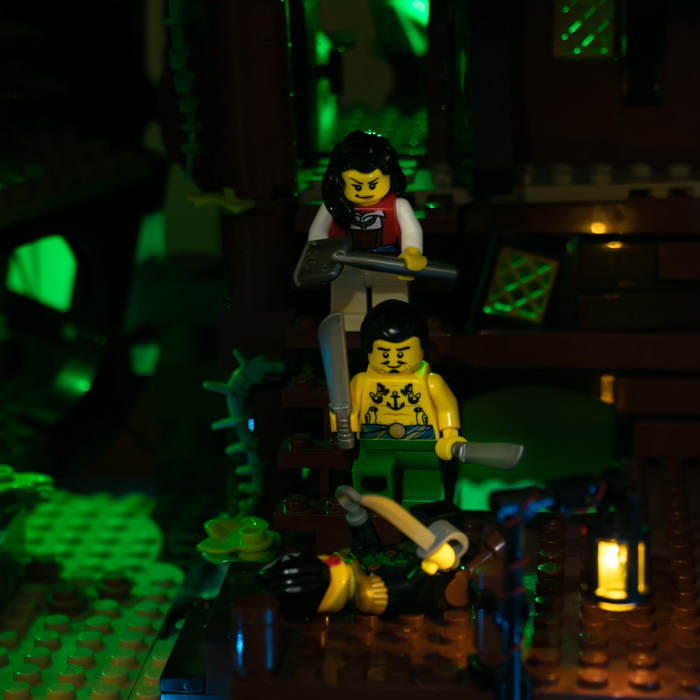
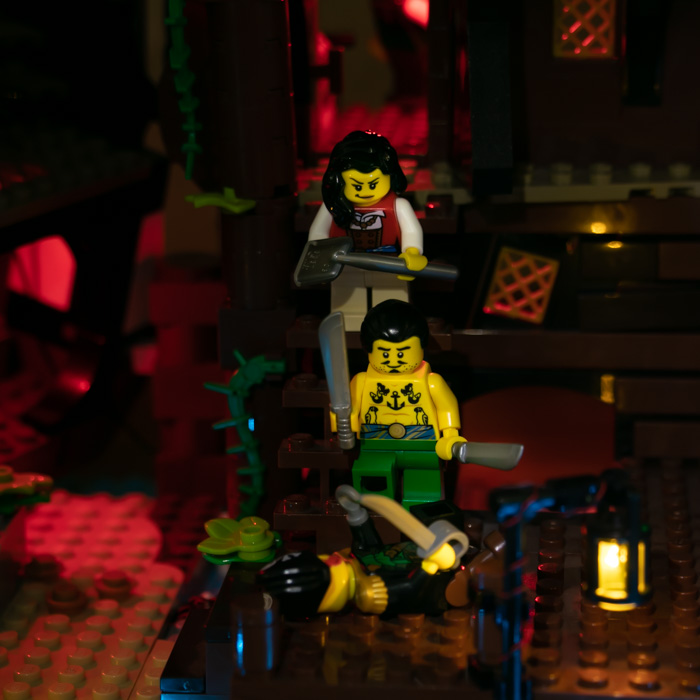
Which color fits the mood of the scene best? Share your vote in the comments!
Toy photography potential
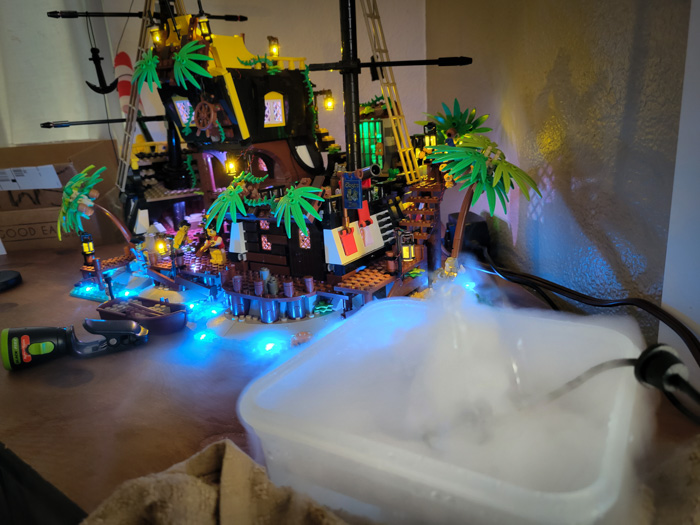
This LED lighting kit provides a fantastic level-up for any compatible LEGO set. Having lanterns that actually light up adds so much realism! Also, if you add in a bit of fog then the lighting can become downright eerie and beautiful.
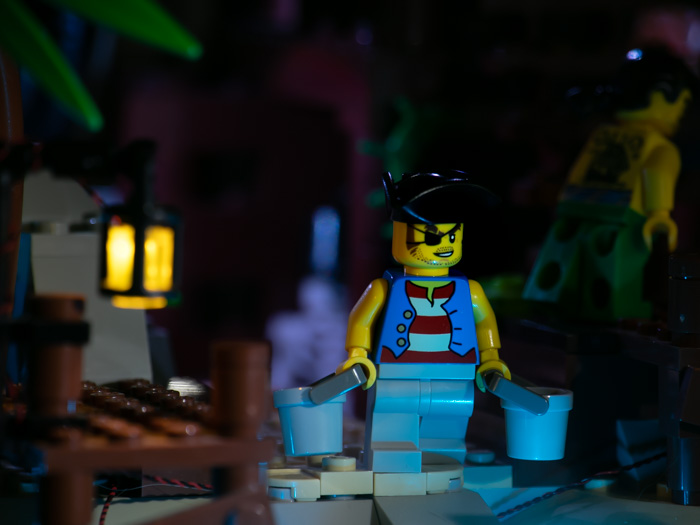
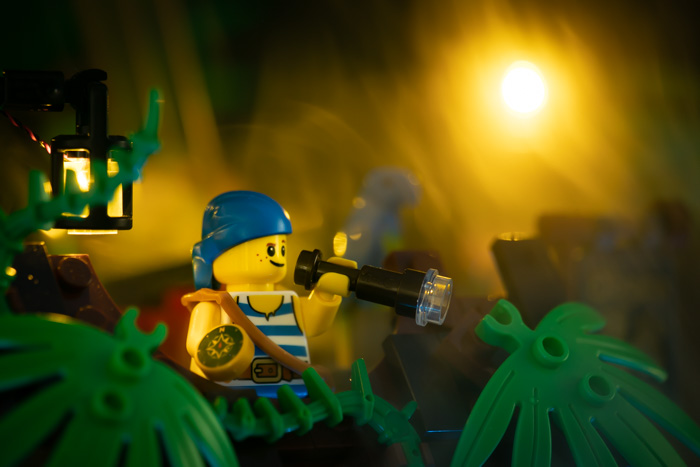
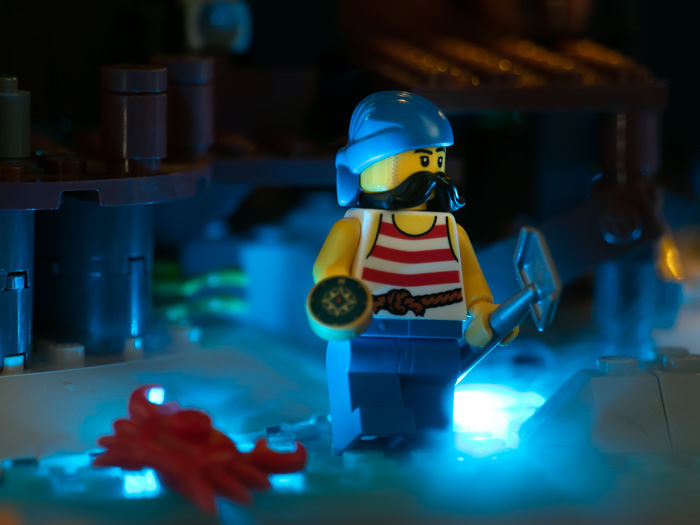
I’m still very much a lighting newbie as a photographer, so I don’t feel like I’ve done full justice to the dramatic photo potential available with this kit. Some browsing through the #briksmax and #lighttailing hashtags on Instagram shows a few great effects others have produced.
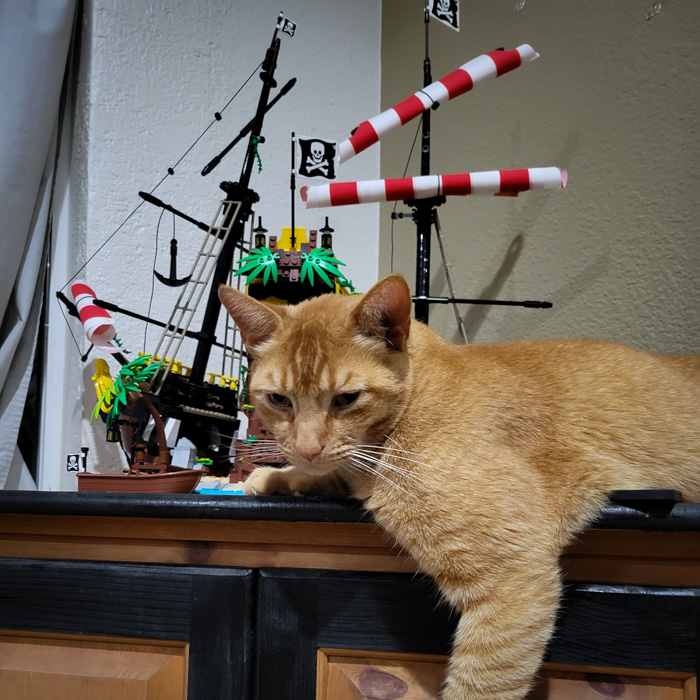
Behind the scenes
Helpful links
The Briksmax team graciously provided this product for review purposes. However, the opinions stated here are 100% my own (Teddi Deppner)!





Leave A Comment