Last week I struggled with focus. This week I’m stacking it. I’m focus stacking!
Focus stacking (or focal plane merging, focus blending, z-stacking etc.) is a digital image processing technique which combines multiple images taken at different focus distances to give a resulting image with a greater depth of field (DoF) than any of the original source images, but retaining the effects a shallow DoF gives.
I’ve always been intrigued by this technique. I love the effects a shallow DoF gives. But sometimes I wish more of my subject was in focus without losing any of those shallow DoF effects.
So, here’s what I learned and what I did…
Shoot
- Place the camera on a sturdy tripod – This is a must!
- Frame the subject and compose the shot.
- Set the camera to manual mode to ensure that the exposure remains constant for each image.
- Aim the focus point on the nearest object you want to be in focus.
- Take the first shot.
- Then, without moving the camera or adjusting any of the settings, move the focus point to a distance slightly farther away from the lens.
- Repeat step 6 as many times as needed to cover every aspect of the subject’s DoF, finishing at the furthest point of focus you want to capture.
[foogallery id=”20665″]
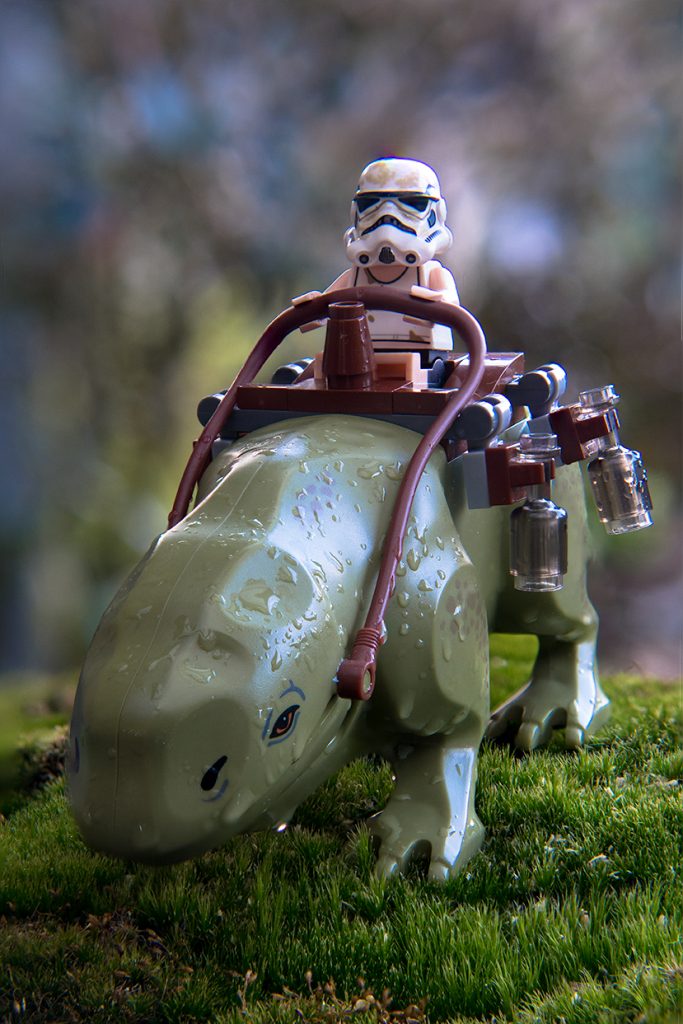
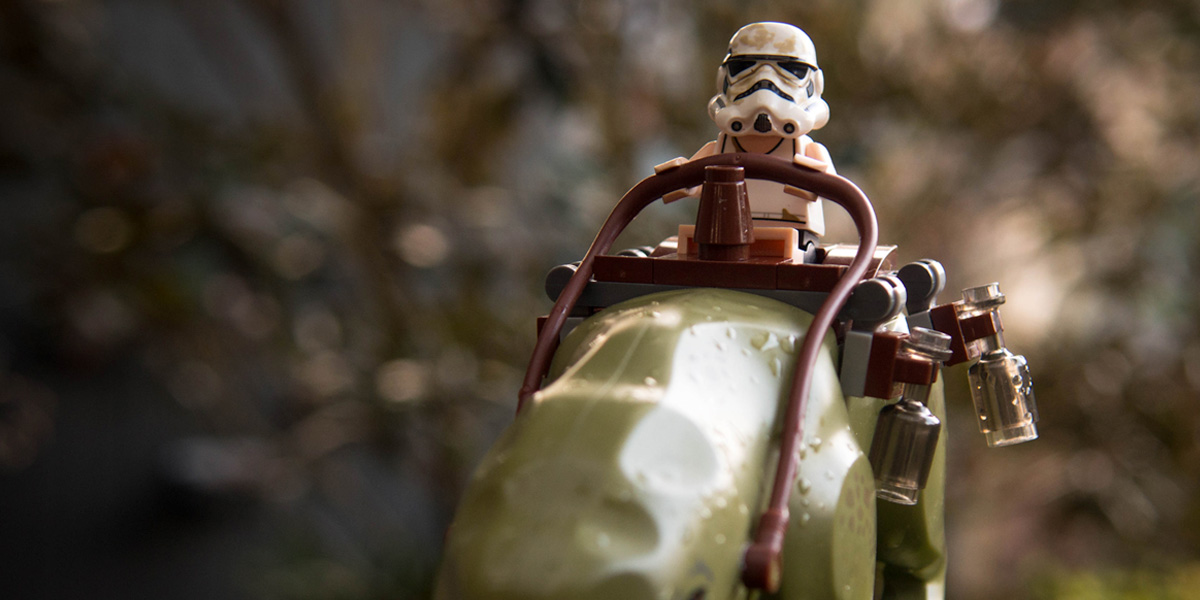
The images above show the first shot, the 7th shot, and the last (14th) shot.
Stack
- Open Photoshop
- Get each image on a separate layer: Under File, choose Scripts and Load files into stack. Click Browse and select all the images. *
- Check the box for Attempts to Automatically Align Source Images.
- Click OK and each of the images will open into a new layer in Photoshop.
- Open the Layer palette and select All Layers.
- Under Edit, select Auto-Blend Layers.
- Check the box for Stack Images and Seamless Tones and Colours. Click OK
- Voila!
* If you’re using Lightroom and Photoshop, after importing your images into Lightroom, instead of steps 2-5, you can add all your images into Photoshop layers by selecting all your images, then Photo/Edit in/Open as Layer in Photoshop. This will open all the selected images as layers. Then you can align your images by selecting all the layers in the layer palette and selecting Edit/Auto Align Layers. Then continue at step 6.

Focus Stack: The complete blended image
Sum Up
I found the trick to this whole process is to take enough focused images, to create a final photo that is in focus from the desired foreground point to the desired background point.
A steady camera is a must! Sure, Photoshop can “Automatically Align Source Images”, but the less adjusting it needs to do, the better the end result. There’s no way I could’ve smoothly adjusted the focus distance without a tripod!
“Hey Brett, why don’t you just open up the DoF?”
Sure, I could, but where’s learning in that? Plus as Shelly mentioned way back in 2016, “If focus is critical, yet you like the effects created with a shallow DoF, try your hand at focus stacking.”
Now that I’ve got my head around focus stacking I’m ready to apply this technique to our latest LEGO photography project. But I’ll tell you all about that in another post!
– Brett
Do you use focus stacking for your toy photography? Or has this post inspired you to give it a go? If it has, or if you already do, we’d love to hear about your experiences.
If you’ve made through all my blathering and ended up here, you should sign up to our weekly email round up where you’ll get a recap of all the babbling from the week.
And while you’re doing things, you should definitely join our G+ Community where we hold monthly contests with prizes and lots of other cool stuff too.


Focus stacking! Something I’ve been meaning to try for awhile now. Also, I read that by closer the aperture to extend the DoF, it can result in diffraction of light hence, preference for focus stacking.
Gotta experiment one day. Great motivating write up Brett!
Very true! I’ve only just getting my head around focus stacking, but I’m impressed with the focus, the clarity and the remaining effects!
Even though there’s a little more work involved, I think it will remain in my toolkit for those special photography projects!
Great informative post Brett! I have never done focus stacking. I love shooting wide open (in fact I hardly ever stop down), but I also like the crisp focus of a lower aperture. I’ll need to try this. One question – does it matter how much you move the focus between each shot? For instance – if you stacked the three images in your example what would be the result?
Like Joe, I mostly use my lens wide open. I’ve been using focus stacking occasionally for over a year when I can’t get two figures on the same plane, or when photographing figures with long heads like dragons and dinos. But I’ve also found that focus stacking isn’t always a solution. It’s usually fine when you have a single “long object” (like the Dewback), but it can be tricky when the DoF is very short and there are two objects overlapping with quite some distance between them. Then there can be some disgracious “blurry out-of-focus halos” appearing. Sometimes, manually blending the photos solve the problems but I’ve encountered cases where it doesn’t, and the only solution is to work without focus stacking.
I’d suggest readers check their camera manuals too, as this can be offered by your camera manufacturer. I have a very effective focus stacking function on my camera (Olympus E-M1 Mk II).
Perfect timing for this article! I just tried shooting for focus stacking this weekend. We’ll see if I can make it work! Very well explained, and great example, Brett! Thank you!