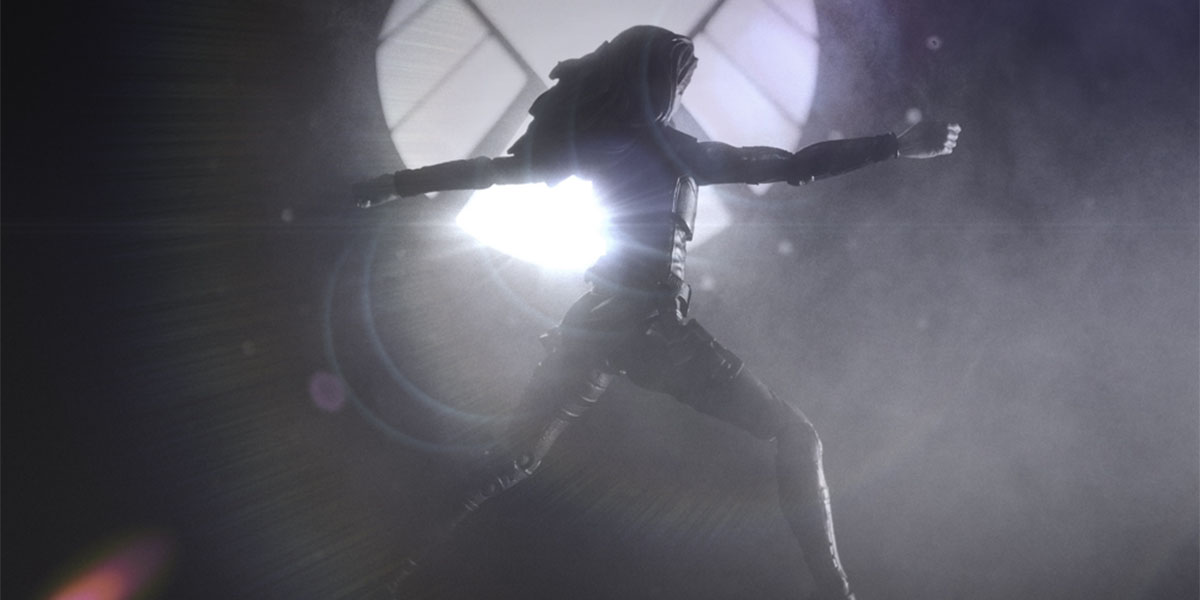
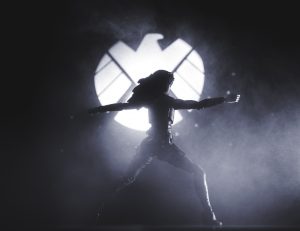
For the love of light is a step by step deconstruction of the image: Backlit Warrior Deconstructed. These are the steps I took to create that image.
Concept
A friend wanted a “cool” shot of Agent May from Agents of S.H.I.E.L.D in warrior pose.
Obstacles
Agent May, what Agent May? Why isn’t there a figure of Agent May? #HasbroPlease! Due to the annoying and predictable scarcity of good female characters, she had to be Frankensteined. The resulting figure was not yoga-friendly so getting her into anything resembling a warrior pose was a challenge and her legs are too skinny & wobbly to keeping her standing.
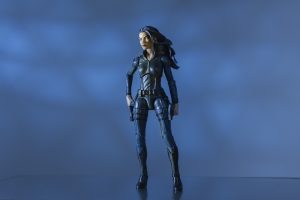
The quick kit-bashed figure with Silk’s head on Maria Hill’s body. (Background by MagMod’s MagBeam & MagGel.)
Solutions
No May? No problem (sort of). A quick head swap from Silk to Maria Hill was good enough for a backlit shot. Backlighting was essential in hiding her flaws. I also hit the scene with a slight dose of Atmosphere Aerosol to keep it dark and moody while simultaneously assisting in concealing her kit-bashed origins.
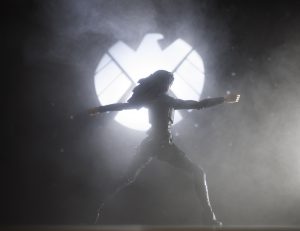
I wanted something for the light to beam in from, so for the background, the S.H.I.E.L.D logo was cut into 12×12 inch black cardstock. The diameter of the logo was slightly smaller than my favorite flash modifier: a MagSphere by MagMod.
The Figure held her pose with the help of Fun-Tak. This blue putty was placed in her joints to lock them in place and on the bottom of her feet to stick her to the substrate.
Hardware
Now that I had a figure that would work, I could focus on the hardware: A DSLR with a 50 mm lens sat on a tripod slightly lower than the figure’s eye level. I wanted to fill in the shadows a bit on the camera side of the Figure so I placed a flash on a tiny tripod camera-right. A third tripod held a flash with a MagGrid + MagSphere centered behind the logo cutout in the background.
If you don’t know MagMod, they make a system of flash modifiers that I just can’t put down. It’s quick and easy to swap parts like adding a gel or grid to change up your lighting. I used the MagSphere to diffuse the light a bit and the MagGrid to control light spilling through the holes I should not have punched in the background.
Extras
Atmosphere Aerosol was sprayed onto the scene just before tripping the shutter. “Smoke” in a can! What could be more fun? I guess real smoke (& fire), but, I’m not allowed to play those as all of California is I giant pile of kindling waiting to go up, so in keeping Smokey Bear happy, Atmosphere Aerosol stepped in for the win.
The Shot
Workflow
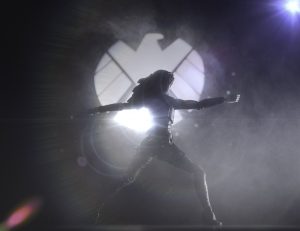
RAW to Lightroom → Export to TIFF → Send to mobile → Mextures → Lens FX
Lightroom – Basic clean up, i.e.: cropping, contrast, shadow and highlight adjustments etc.
Mextures** – Color grading to add a little mood.
The Lens Fx app was used to apply their Epic lens flare effect.
Conclusion
I know I used a lot of gear for this, but really, just about any camera or light sources can we swapped in with similar results. I just happen to have some gear handy. The key elements in this image are a diffuser on the main light source and Atmosphere Aerosol.
A list for hardware geeks:
- Canon: 5D | 50mm macro f/2.5 | EX Flash (2) | intervalometer | Canon flash trigger/controller.
- Manfrotto 3021 + 808RC4 3-way head (camera)
- Manfrotto 190X PROB + 488 ball head ( Main flash with MagMod)
- MagMod| MagGrip | MagGrid | MagSphere
- Joby mini tripod (flash camera-right)
- Atmosphere Aerosol
- Fun-Tak (LocTite’s blue Putty)
- Leatherman SuperTool
- Friend’s kitchen table
What’s your favorite light source or modifier?
Jess (You can follow ActionFiguredWorkout on Instagram or on G+)
**Color grading with Mextures is normally my last step as it integrates or unifies all the elements of the image. However, I wanted the flare to stand out so I used Mextures in this step.
Do you have a behind the scenes story you would like to share with the community? Contact us and we can discuss your idea.




What a great behind the scenes post Jess! I love seeing the process, and I really do think I need to find some atmosphere aerosol to have a play with! It looks like fun!
Lizzi, glad you liked the BTS. I love playing with Atmosphere Aerosol and I would love to see your take on it.
Thanks for sharing! Always nice to be able to take a look in someone else’s kitchen.
How do you like this atmosphere aerosol? I once tried another sort of smoke in an aerosol thing, however, it left some kind of residue on my Lego so I never tried again.
I really like atmosphere aerosol. I use it a little in some shots and lots in others. If you spray directly on a figure, it will leave a residue, however, it is not necessary to spray the figure to get good results. I recommend playing with the lighting and spraying near the figures.
Really cool to see how to put together a scene like this!
Thanks Teddi, I love seeing how others work so I thought it was only fair if I share.
Very cool, thanks for sharing Jess! I love seeing your workflow. Cindy ordered some of that smoke in a can, so you may start seeing some cool moody shit from us soon. You’ve also inspired me to “effect” my photos a bit more… My usual method has been to keep it authentic.
Hey Leila! I can’t wait to see what you and Cindy come up with. I’m always up for “cool moody…”