I don’t just write posts. I also read them. And then I write about reading them. Today I put some of Shelly’s tips into practice. And wrote about it!
Beating Baader-Meinhof to the punch!
I’ve written about Baader-Meinhof before, the term coined to describe a concept or a thing you just found out about, suddenly popping up everywhere. When I did, it was about a photo I took that I noticed a lot of Shelly’s “the basics” contained in it when I was editing.
Shelly has recently shared her tips about photographing toys in water, and written about turning any lens into a macro with close-up filters.
So, before I weirded myself out by discovering Shelly’s tips jumping out at me from my photos again, I decided to take some of her recent tips and purposely go out and put them into practice. Take that Baader-Meinhof!
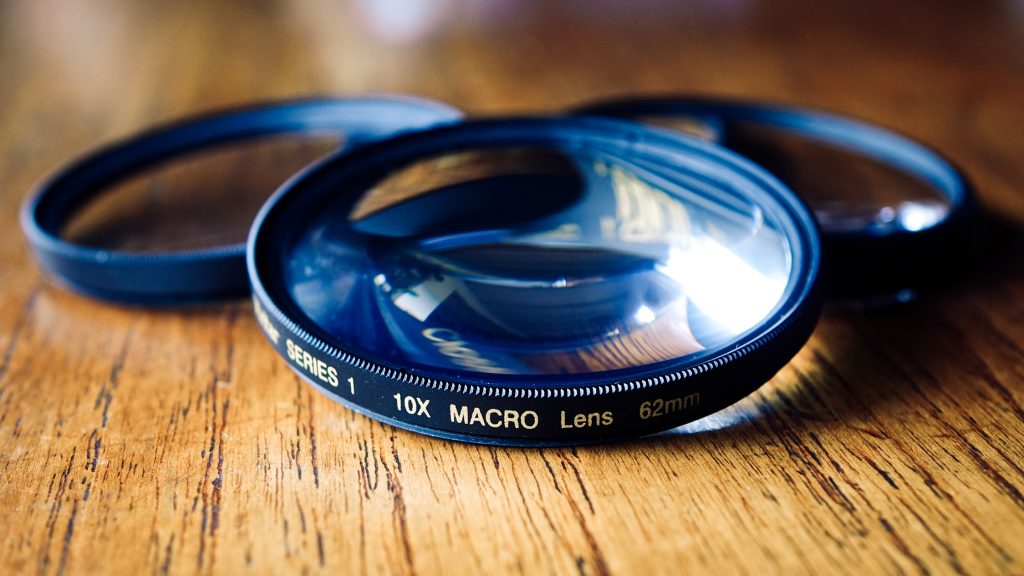
Close-up filters
Often I’ll be heard muttering, “Stop making me want new toys” when I see a post of someone’s latest addition to their collection. Yes, I’m looking at you @suppaduppa666 and your Revoltech Stormtrooper enticing ways! But when Shelly wrote about the close-up filters, I knew I had to give them a go. Especially when I discovered they wouldn’t leave a big dent in my wallet!
Close-up filters
These four filters (+1, +2, +4, and +10) are a great addition to my camera bag. Each of the filters can be used to vary the degree of how much the minimum focusing distance of the lens is reduced, and they can also be combined for even greater magnification. Toy photography AND maths!
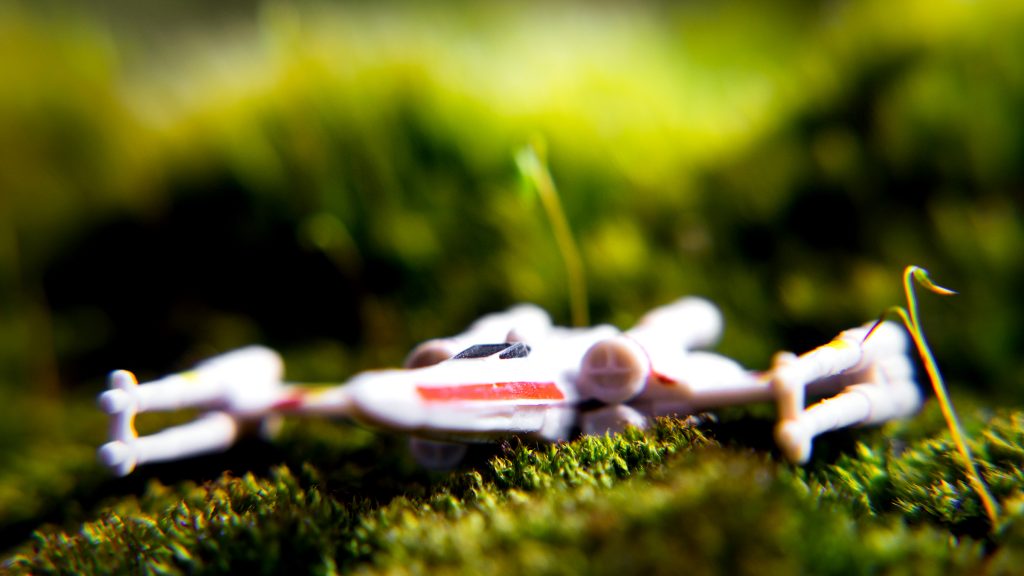
a macro of a micro X-Wing (The Hasbro Micro Machines X-Wing is 4.58 cm in length)
If you were intrigued by Shelly’s post about close-up filters, I encourage you to track some down. For under $25AU (including postage) they’ve added so much variation, potential and fun to my camera bag!
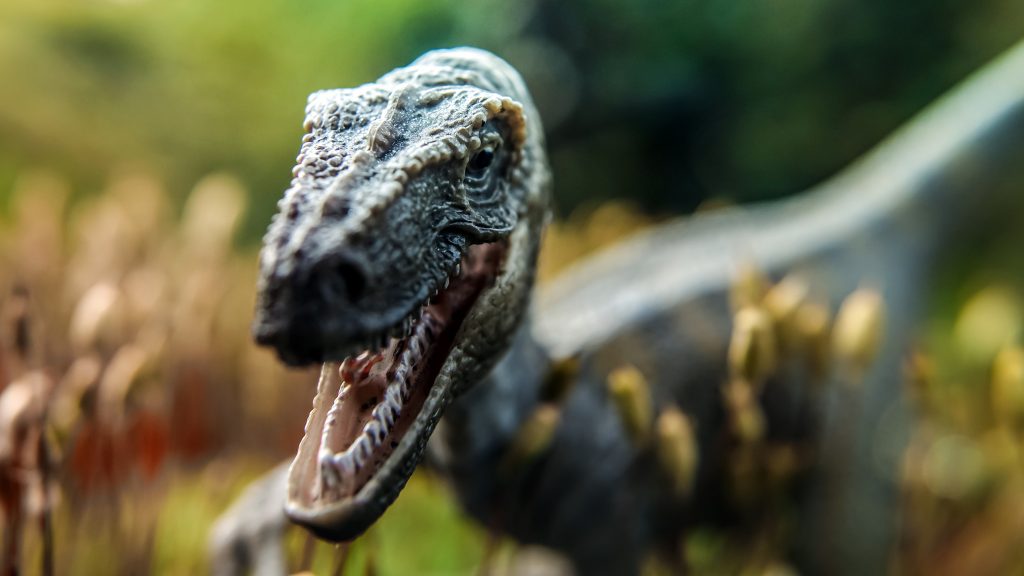
Macro Rapto
Tackling some of Shelly’s water photography tips
With Shelly’s tips about water photography fresh in my mind, I ventured out our front door to the birdbath. Yep, a grand total of 14 steps from our front door and I was ready to put her tips into practice.
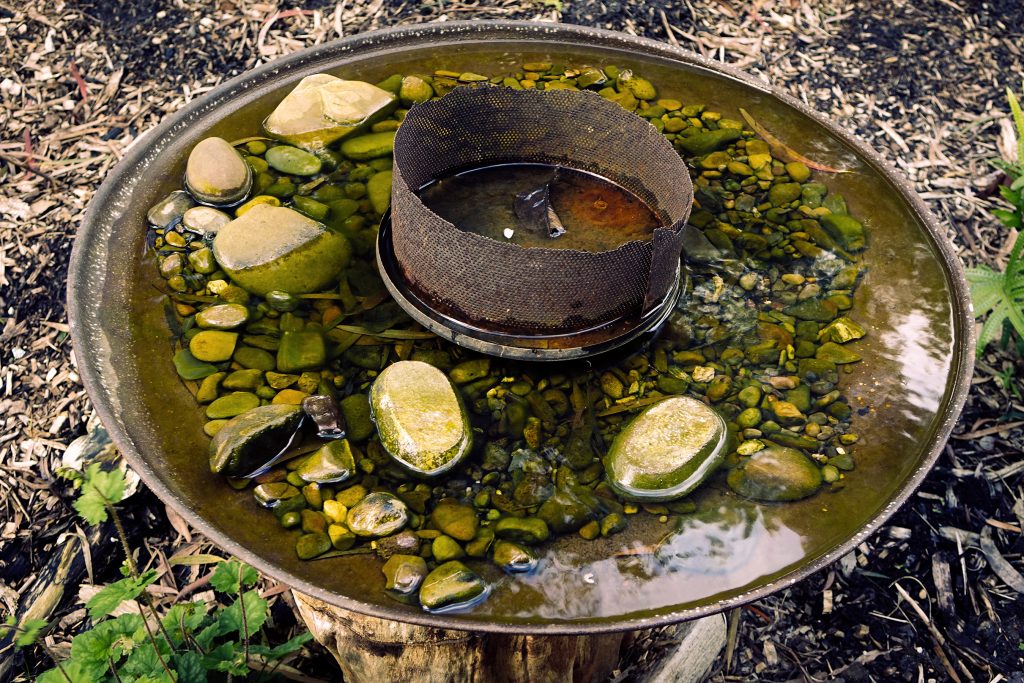
The birdbath out the front of our home
1) Lego doesn’t float
This is something I’ve battled with in the past. I’ve tried attaching LEGO to the rim a drinking glass with Blu-Tack, in the hopes that the submerged glass would “disappear” into the water. It did, but the Blu-Tack didn’t hold for long once wet. For these shots, I simply made a LEGO stand and submerged it into the water and concealed it under the peddles on the base of the birdbath. I was pleased to discover the Collecta hippopotamus didn’t need this kind of assistance!
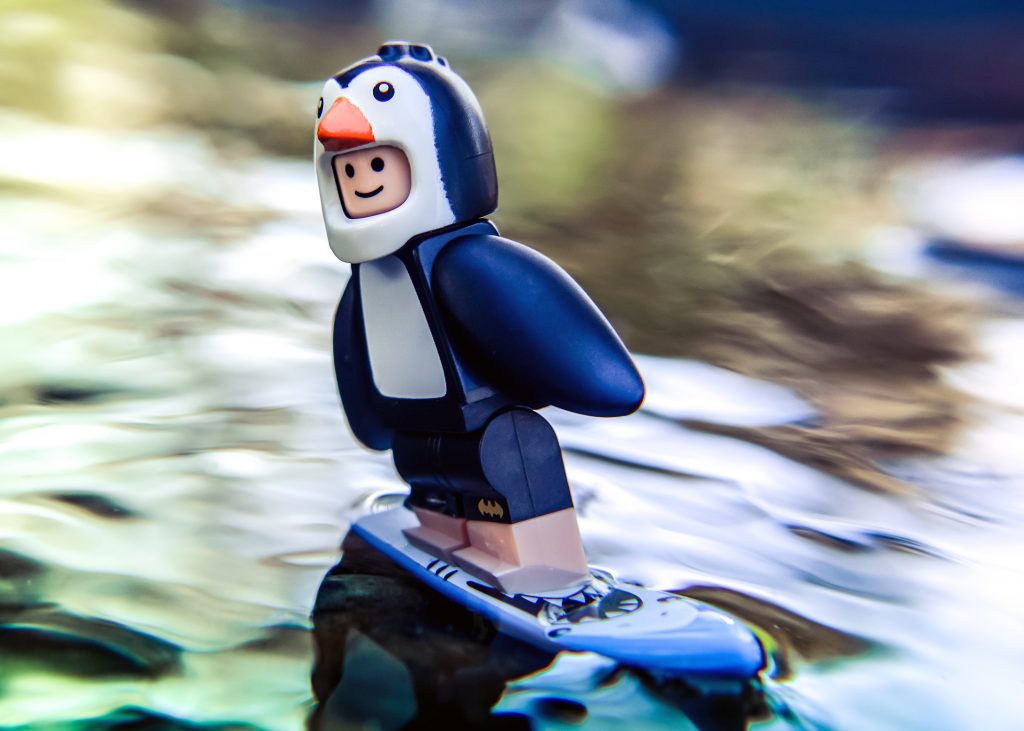
A-well-a bird, bird, b-bird’s the word…
2) For great reflections you will want to get low to the ground, and 8) It’s not always convenient to travel
Birdbath to the rescue! The birdbath in our garden is actually the top of an old gas patio heater, upturned, screwed to a old tree stump, sealed, and filled with peddles. As it sits atop a tree stump, I was able to achieve low angles without having to lie on the ground, or travel more than 14 16 steps from the front door fridge!
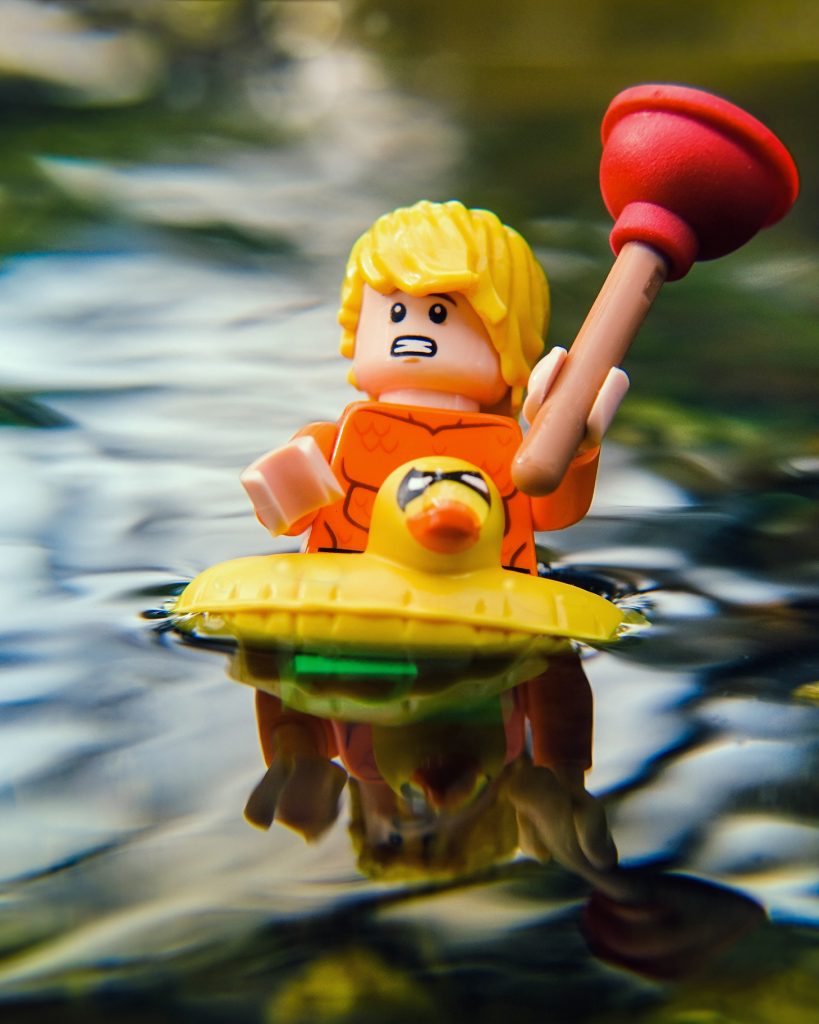
Aquaman in Training
4) You will need a reflector
Another benefit of having a birdbath to shoot with is I could attach a simple reflector comprising of a piece of white cardboard and two bulldog clips to the edge. With the birdbath being circular, I could also set up on any side. This way the lighting, the reflections in the water and the background could be framed just as I wanted.
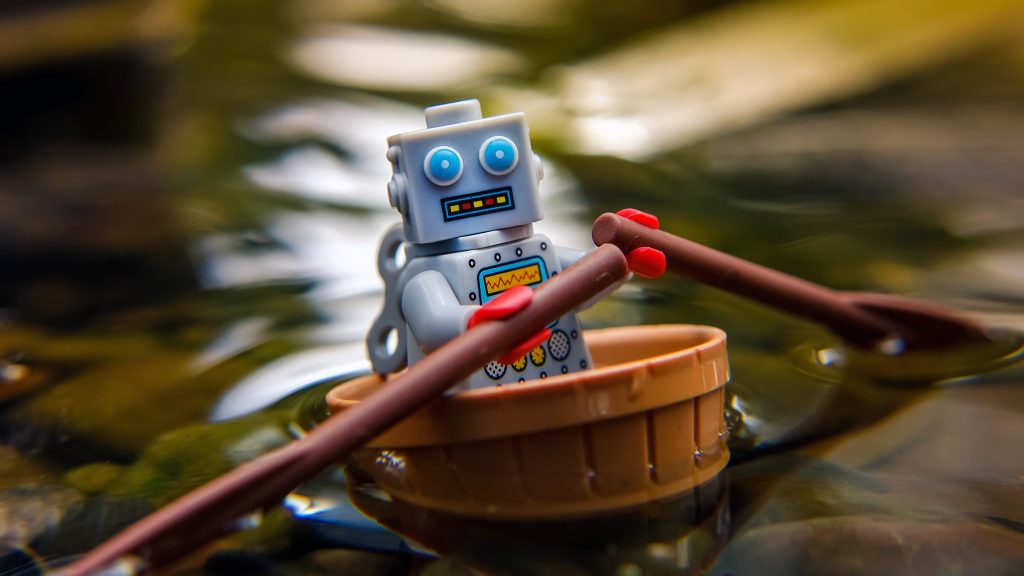
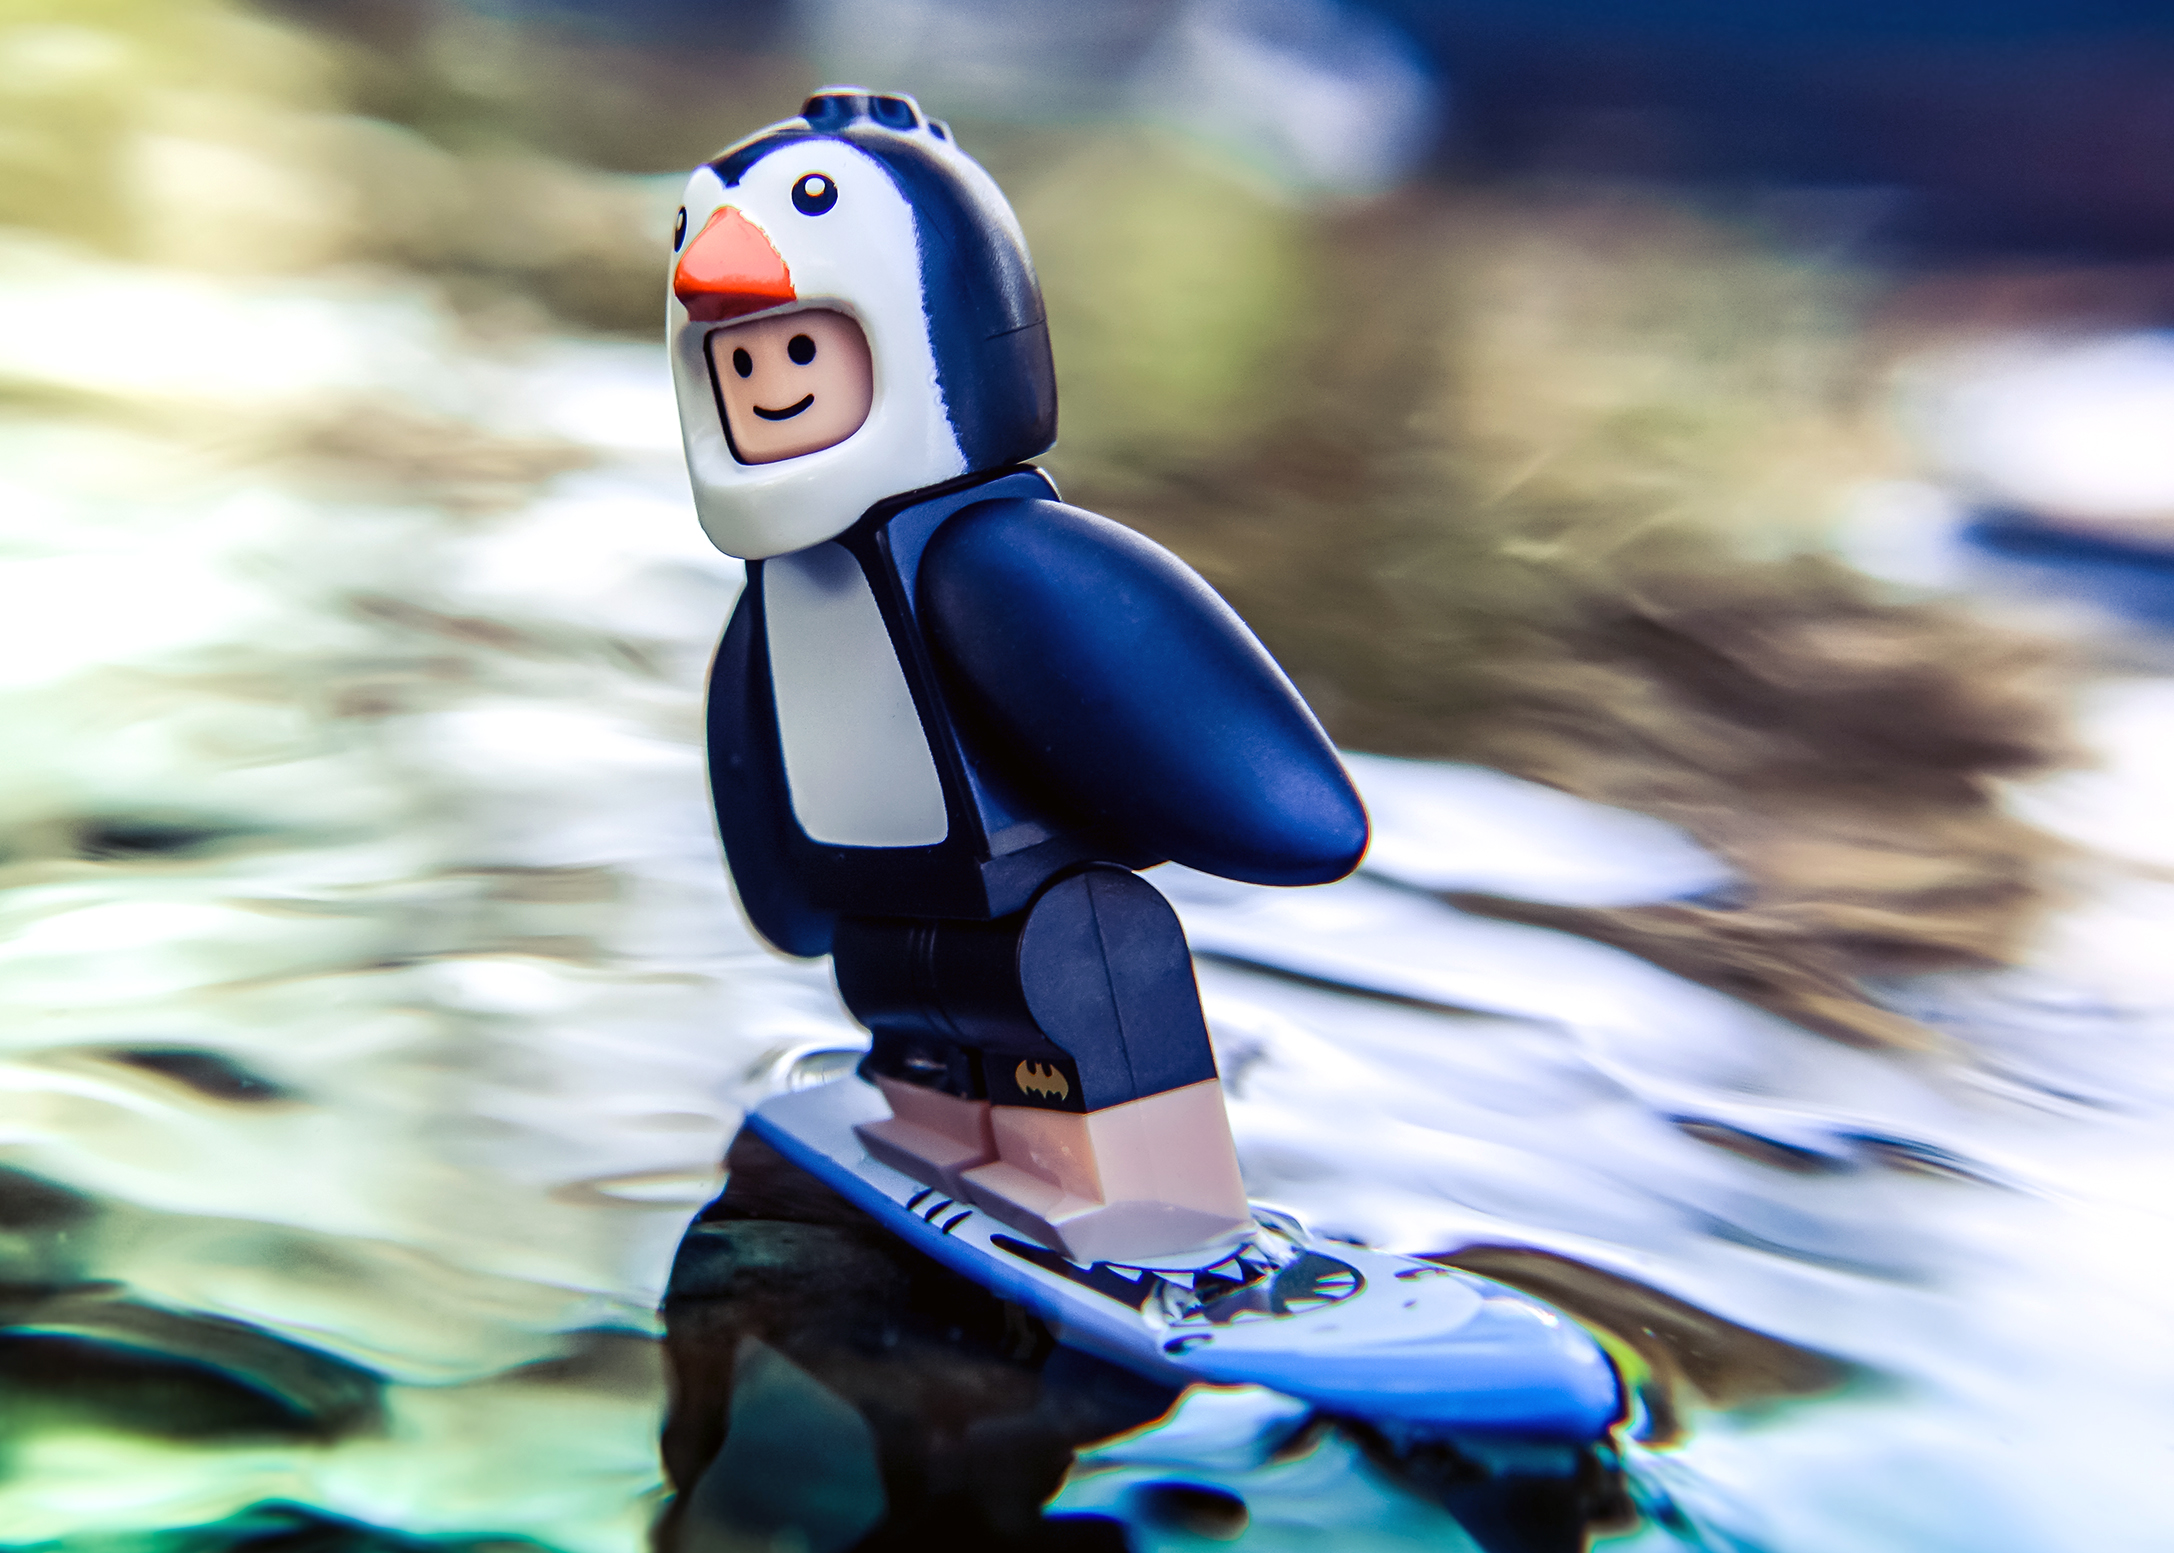
Row, row, row your bot…
Plus, the added bonus of having a LEGO-sized pond out the front of our home, is I can take advantage of the different lights the day delivers. All the photos in this post were taking on the same day, with minimal editing to the colours. It’s incredible how different times of the day change the the mood of the water so much.
6) Not all water is moving
Adding movement was as simple as flicking my finger in the water just out of shot.
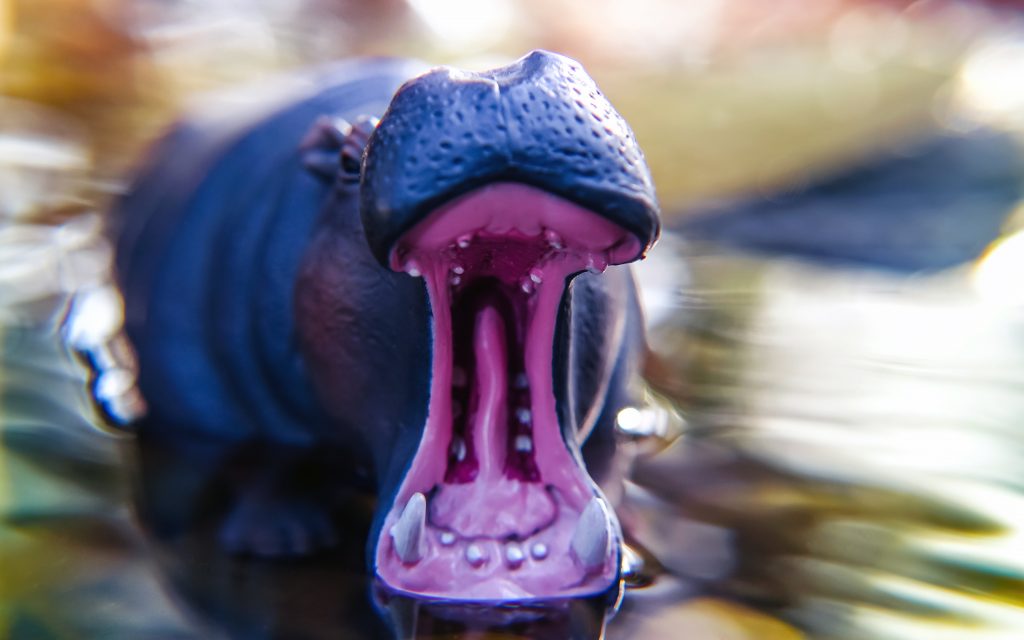
Q. What’s the sweariest animal in the world?
A. The hippo-potty-mouth
5) Wear the right clothing
This is one tip I didn’t adhere to, as my sodden sleeves can confirm.
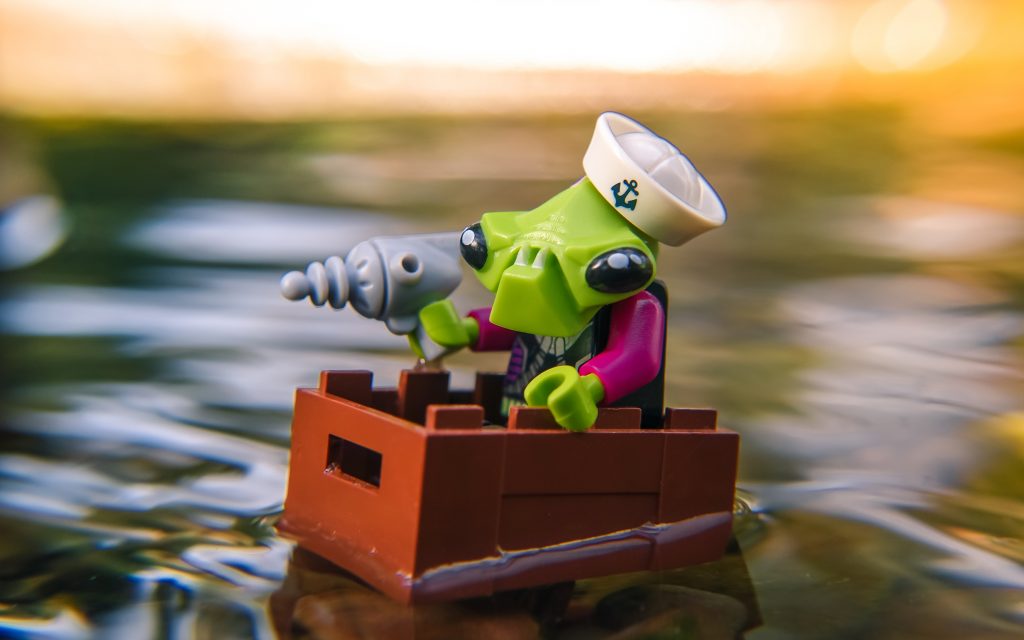
Unidentified Floating Object
Next time I’m splashing around in our birdbath I’ll be wearing short sleeves!
And there will be a next time, thanks to Shelly’s tips.
I’ve encouraged you to build little worlds with moss and sticks before. Now, I encourage you to create you own little aquatic playgrounds. And check out close-up filters!
– Brett
Have you experimented with any of the tips, tricks or advice from the blog? What tips have helped your toy photography?
If you’ve made through all my blathering and ended up here, you should sign up to our weekly email round up where you’ll get a recap of all the babbling from the week.
And while you’re doing things, you should definitely join our G+ Community where we hold monthly contests with prizes and lots of other cool stuff too.



Brett, I love this post! It looks like you had a lot of fun experimenting. And when it comes down to it, its all about having fun…isn’t it? 😀