“What studio lights should I buy?” is a common question I get when I lead my workshops. If you look through the blog archives you will find the occasional mention lighting equipment. Why is that? Probably because it’s the second hardest technical question to answer, right after “What camera should I buy”. The answer is almost always: It depends….
Questions to ask yourself before you buy
I find it’s useful to ask a few questions before heading to a camera store or the internet to purchase any portable lights. Which combination of lights you settle on will depend on how the following questions are answered:
- How much money do I want to invest?
- Where do I plan on using my lights? Indoors, outdoors or both?
- How big is the space I’m willing or able to devote to my setup?
- What size are the toys that I photograph the most?
Notice I mentioned combination of lights? Because for most setups a combination of lights, diffusers and reflectors are employed to create a particular look or feel. Which is why I want to talk about the various lighting options that are available for toy photographers. I’ve made a lot of lighting purchases over the years. Some have worked, and some, not so much. My lights have changed and morphed as my needs and skills have changed.
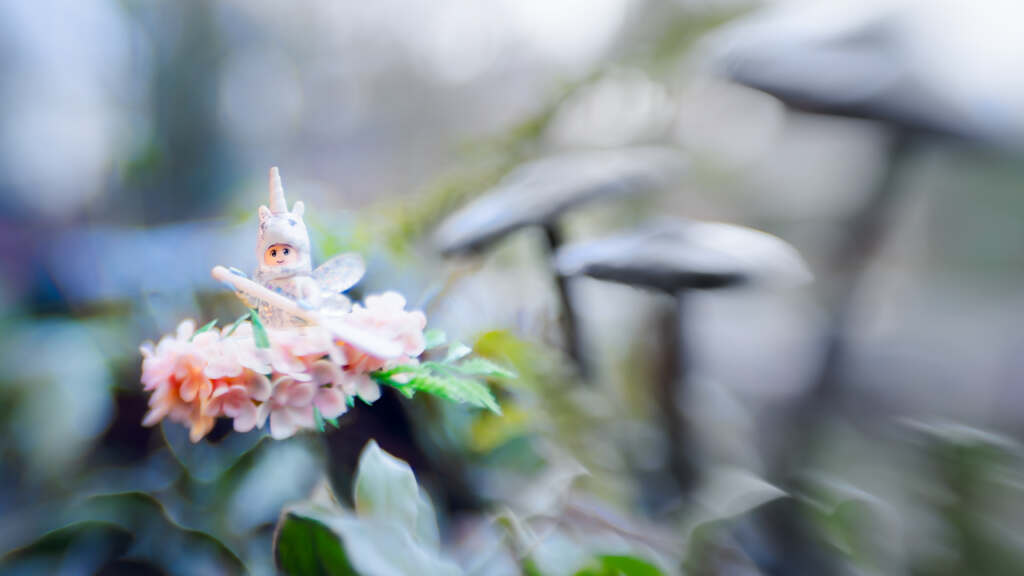
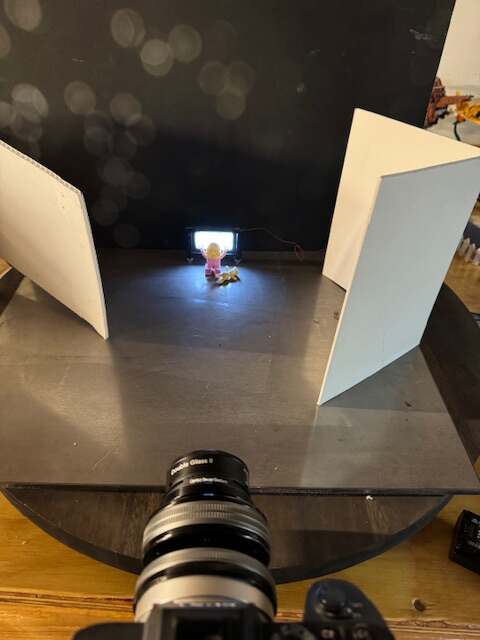
The examples I will show are based on my primary subject the LEGO minifigures. The images I use for examples bare based on my setups. You may need to adjust your approach depending on the size of your subjects. In general, I want my additional light sources to be larger than my figures. If you have larger subjects, you may want to scale up your lighting setup accordingly.
Key light
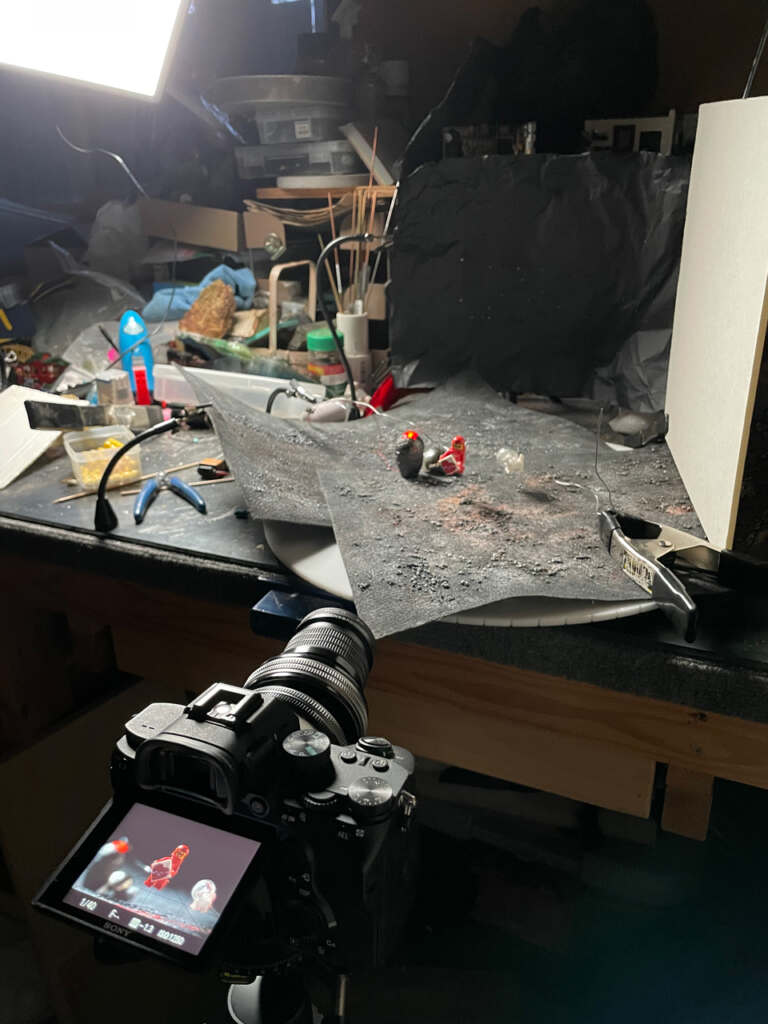
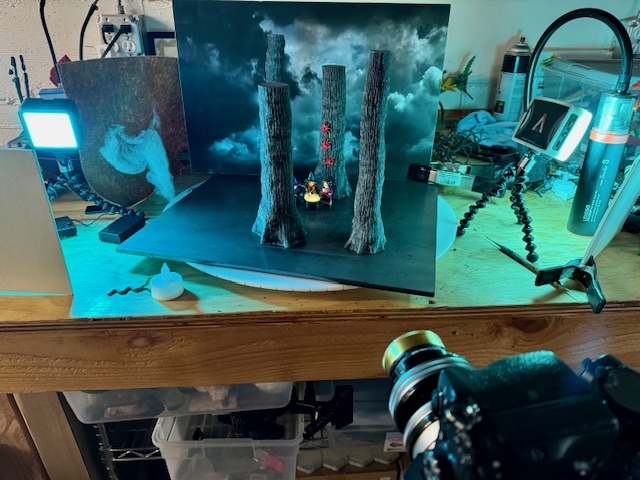
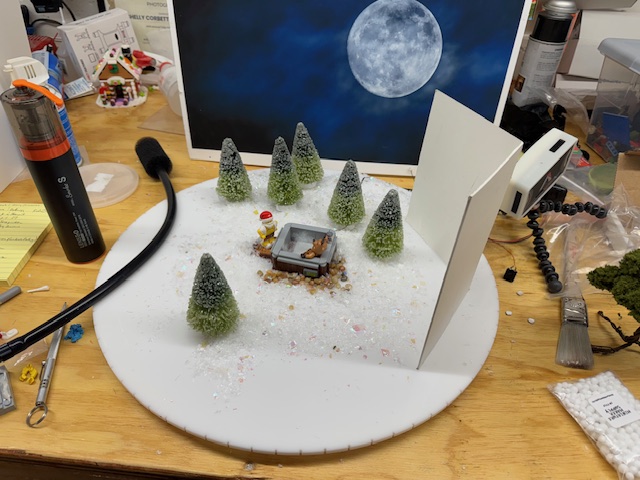
The key light is your most important light. It’s the light that will set the look, tone and atmosphere of your scene. Where you place this main light, including angle and color, will determine what other lighting you add. For my key light I use a Nanlife LumiPad25. This soft LED bi-color (warm to cool), adjustable panel light is my studio workhorse. I have it set up on a tripod with a boom extension. This enables me to move the light pretty much anywhere around the scene.
The key light is the cornerstone of the three light setup. Once I know where the key light will be placed, then I can add to the scene either a fill or backlight (also known as a rim light). Using a three light setup will give your studio images more depth and a sense of three dimensionality
Additional lights
I addition to my Nanlife light panel I have an array of small LED rechargeable video lights. These include RGB lights made by Aperture and Ulanzie. Other brands to consider are Godex and Lumecube. When choosing lighting always look to see what accessories are available. If lights come with barndoors, snoots, or diffusers you can save yourself some DIY work down the road.
[editor’s note: Lumecube is a popular choice in the toy community I found that the first generation of lights I had where simply too small and too bright for my small subject. You may want to consider how reflective the plastic your toys are made of, when choosing lights.]
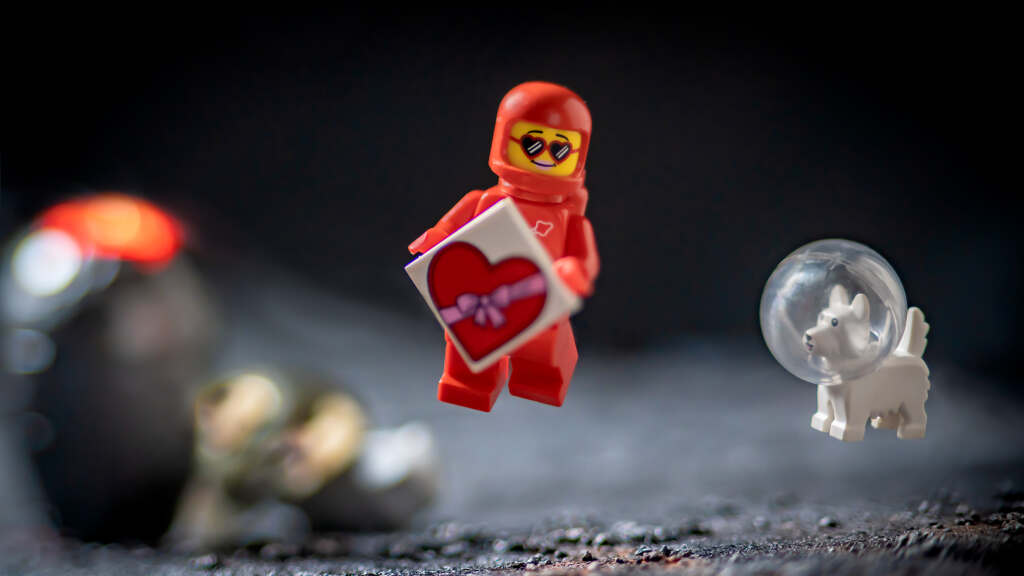
Lighting options have exploded in the last ten years. Full RGB lights are relatively inexpensive and a great choice for most toys and both indoor or outdoor set-ups. Being able to quickly warm up a light or turn it to red or blue is a game changer. For many toys, a simple white light won’t sell a story about danger, anticipation or dread as well as a dramatic red light. These inexpensive RGB lights come in square, rectangle and tube options. Consider adding to your collection different sizes and styles of these lights.
Don’t forget to purchase tripods for all your small lights! Being able to adjust the direction and height of the light is critical. You can choose from table top, small camera tripods or if you have the space, opt for full size lighting stands.
Miniature lighting
The three point light setup is only the beginning to creating magically scenes. You can also add additional lights using small LED lighting systems like ones available from Brickstuff. or Light My Bricks. I like Brickstuff because Rob has lots of fun pre lit accessories like light sabers and hand lamps. I love adding an additional level of realism that comes from light reflecting off a minifigure. While I know that this is also possible with Photoshop (hat tip to Chellie Hyre) my skills don’t extend in that direction.
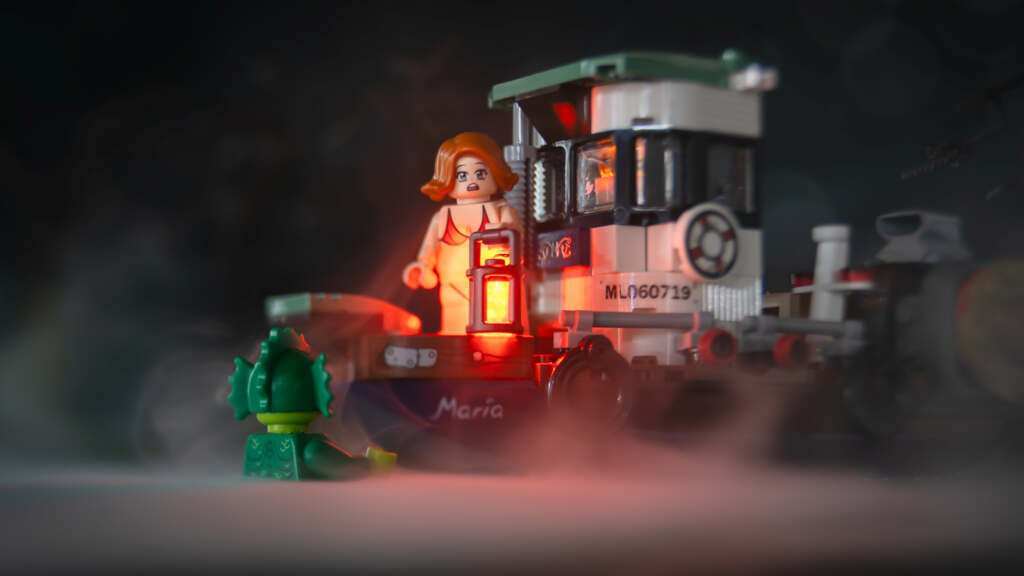
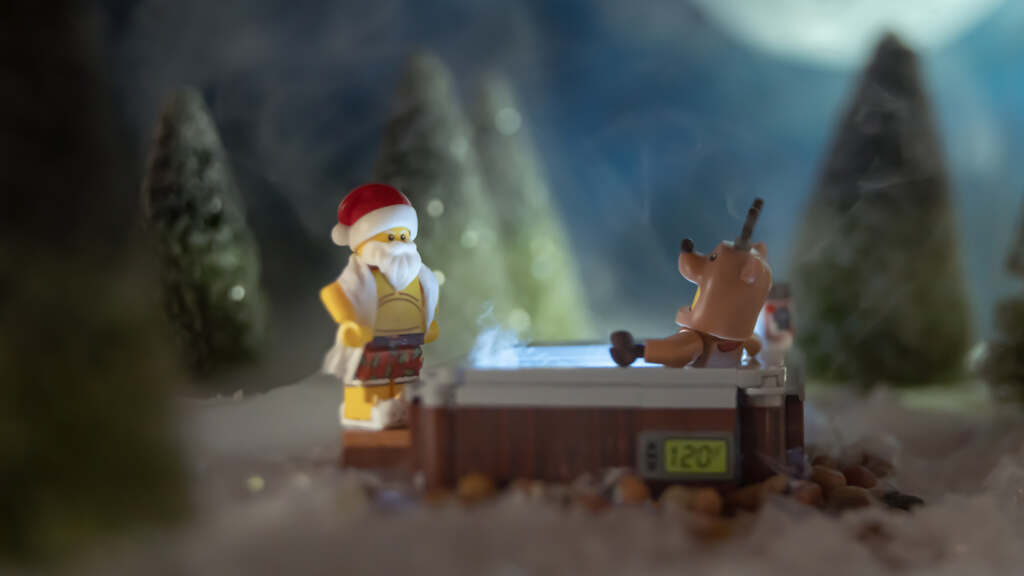
Other lights to consider are miniature fairy lights, battery powered candles, balloon lights, small rgb party lights etc. Many of these lights can be added to a scene to add a spot of color or to illuminate a fire from within. I used a miniature flat panel light that Brickstuff designed to go behind a LEGO window to light a hot tub. I wonder what you will create if you have an array of miniature lights to add to your scene?
Reflectors, diffusers and flags
In addition to my three point lighting set up and my collection of specialty lights, I also have a variety of reflectors, diffusers and flagging materials on hand. Reflectors are pretty self explanatory. They reflect the light into a scene to illuminate the shadows in a softer manner than direct lighting. Diffusers are any material that light passes through that reduces and softens the light that falls on the scene. Used in combination these tools help control hotspots and create a softer, rounder and more cinematic light.
Flags are basically any opaque material that blocks or directs your light. I use flags to help my keep light out of areas I don’t want to be lit. Barn doors and snoots (cones that narrow the light into a beam) are two types of flags. But I also use cinefoil, cardboard or any solid object that is close at hand to block unnecessary light.
At the scale that most toy photographers work, DIY reflectors, diffusers and flags are easy to make. Which ends up being easier than trying to repurpose tools scaled for humans. By making these tools yourself, you can customize their size, shape and materials. I would recommend creating a variety of reflectors using white matboard, aluminum foil, gold foil and even black felt to modify your light differently. Playing around with these tools has helped me understand that sometimes I want a crisp light (aluminum foil) rather than a warm light (gold foil). And my felt backed cardboard reflectors work to both stop and flag light.
In conclusion
There are many lighting options for the toy photographer to choose from. As your skills grow, the lights you have on hand will morph and change to meet your needs. I truly believe that there is no perfect lighting set-up. But starting with a three lights of your choosing with a few extra pieces such as reflectors and flags, will give you enough options to play with.
The secret to good lighting is to play. Move your lights around, experiment, play with your tools and think about light as an element of your image. One that is as important as the subject and your composition.
Have fun exploring!
If you have any tips to add to this post, feel free to add them in the comments. I’m writing from my 12 years of toy photography experience. But like all great problems, there is always more than one solution.


A very informative post, Shelly. Thank you for that. I learned some things I never really thought about, and some things I have been doing in my photography without really being aware.
Like you, I love inserting lamps into my pictures, and I was just thinking how this approach might be applied to Lego: In case you can’t or wouldn’t buy ready-made miniature lamps, there are those miniature LEDs, about 1-2 mm in diameter … if I were doing Lego photography, I’t try to insert one of those into any transparent brick I’d want to use as a lamp. Just thought I’d bring it up as an idea here… I’m sure it has been tried. Did you?
Tobias I;m glad you were able to get something out of my ramblings. You know how much I admire your own work with lighting. Yes to the small lights! Brickstuff makes them and has a whole system for powering them etc. They come in a cool and warm version. Ive used them in fireplaces, lamps, to illuminate a dark corner, hot tubs cauldrons etc. My biggest limitation with them is dimming them. They can be very bright in small spaces. So ive developed some ways to soften the bare bulb. Im sure with more experience I will be able to use them more effectively.
Thank you for recommending Brickstuff. I ordered a few lights from them.
Yeah! I love Rob and his fabulous products at Brickstuff. I look forward to seeing what you create!
Good article – Learning more about lighting is one of my coals for this year so this helps a lot.
Excellent Mary! I’m glad you found this helpful. Understanding lighting is a journey – never a destination! 😀