There are many reasons why photographers love shooting at sunrise and sunset. During those times the world is cast in amazing yellow light (hence the term “golden hour”), and the sky is often painted in majestic colours only seen around the time the sun crosses the horizon.
I like it because the sun adds a lot of drama to a scene. Having that burst of light really adds some impact. There are some tricks I’ve picked up over the years, which the rest of this post will cover.
Let’s look at this image to demonstrate:

Expose for the sun
The tricky part of shooting directly in to the sun is that cameras do not have the dynamic range to properly expose both the direct sun and anything in front of it. Without doing any extra work, this leaves two options: Expose for the sun, which makes anything in front of the sun a silhouette with no detail. Or expose for the subjects in front of the sun, and completely blow out the sky behind them.
If you are looking for a silhouette, then life becomes easy: Expose for the sun, and the rest takes care of itself.
However, if you want to show light and detail in the subjects in front of the sun, like I have with the example shot, you need to do a little more work. The secret is to simply add more light! It is much easier to add light to a foreground subject than to a sky, so the first step is identical:
Expose for the sun.
Adding more light
Adding more light onto the subject balances the brightness levels between the sun itself and the subject. The sun is so powerfully bright, it actually takes a lot of light to achieve this balance.
One can use artificial lights to try to make this happen, but it will require a very bright light. I have found that even the super-bright Lume Cubes do not have enough lumens to overcome the sun if the sun is still above the horizon. A speedlight (flash) can do it on the higher power settings, but I rarely use speedlights for toy photography.
One of the best ways light your subject is to use a reflector. Since a reflector simply reflects light that shines on it, it will reflect sunlight back almost as bright as the sun itself. In short, it uses the sun against itself.
An added benefit is that the light will be balanced with the background. Artificial lights are often a pure white light. This is handy in studio, but the sun, especially at golden hour, is a nice, soft, golden yellow. If you use artificial lights, some of the light will be white and some will be yellow, which is a mismatch, and makes it obvious that artificial lights were used. To overcome this you can use gels to yellow up the light, but that adds even more gear to carry around.
Reflected light will be the same colour temperature as the sunlight, because it is sunlight, making the scene look natural. Reflectors are simple kit with no batteries, so carrying one around is quite easy.
How to use a reflector
Reflectors come in all shapes and sizes. However the typical ones you buy are 5-in-1 reflectors. They are called 5-in-1 because they have five different surfaces: white, black, silver, gold and a see-through scrim. Each option has a useful purpose, but the ones that are useful in this case are either the white or silver sides. Both reflect light without changing its colour temperature, but the silver side reflects more light than the white side.
The setup is as follows: I put the figure on a curb. The camera was placed on a mini-tripod called a Platypod. I then held a reflector up behind the figure so sunlight would bounce off the reflector, and back onto the dark side of the action figure.

If you have a friend, get them to hold the reflector while you operate the camera. I was by myself so I used a remote trigger.
This is the result straight from camera:
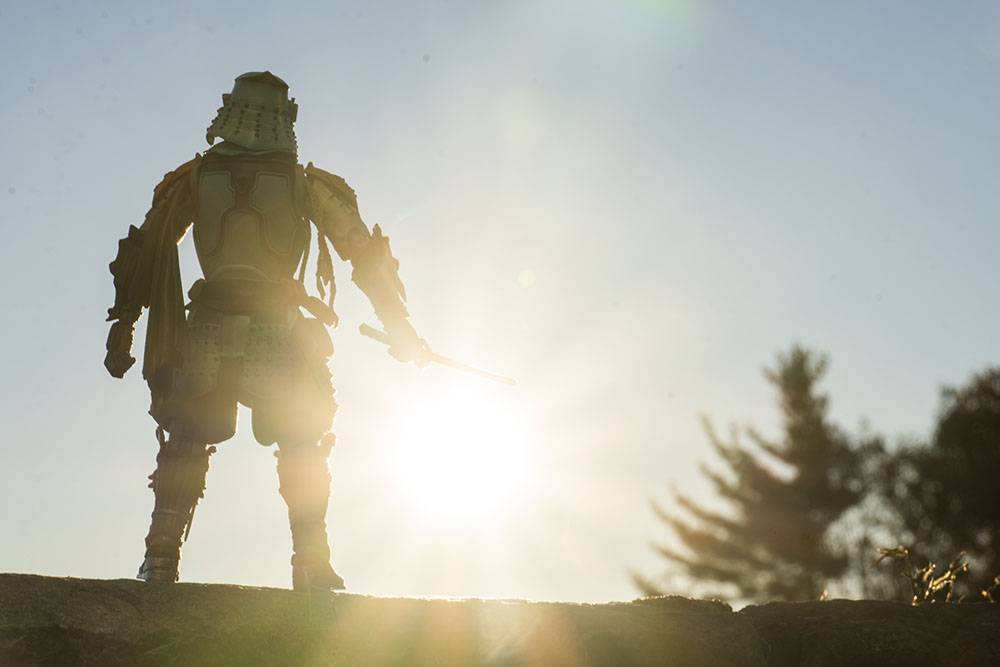
In post, I mainly did some cropping and added the yellow colour cast to the scene.
HDR mode
Another way to get a balanced exposure is to shoot an HDR image. HDR, or High Dynamic Range is a method of taking multiple images of the exact same scene at multiple exposures, and then blending them together in software.
This is an advanced technique, so I won’t cover it here, but a quick internet search will bring up a whole host of tutorials on how to do HDR. (If there is interest, I may do a post on this here—let me know in the comments!)
Starburst
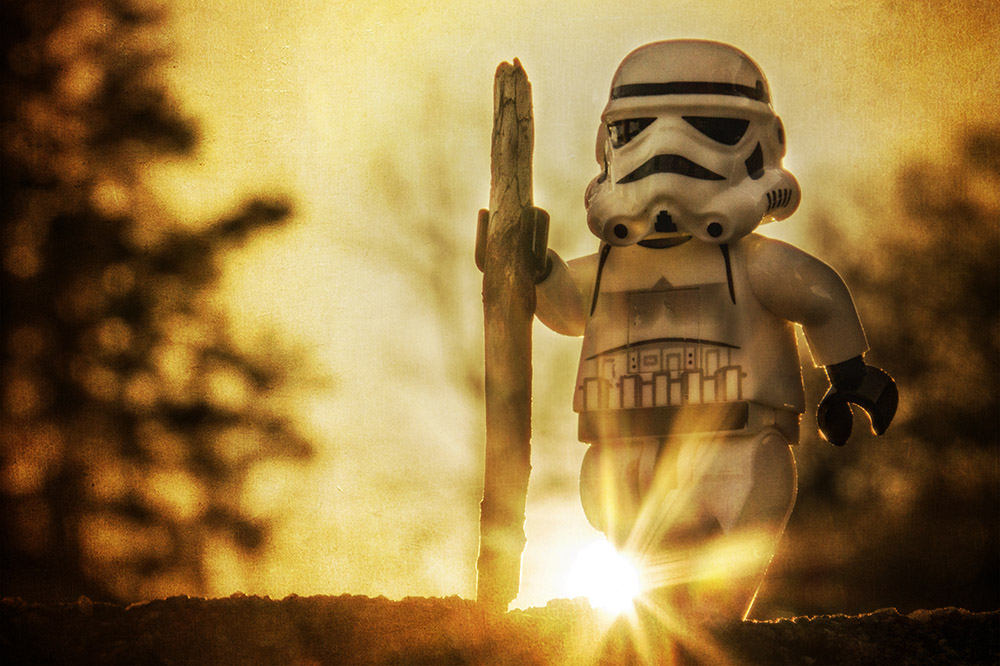
One benefit of shooting into the sun is getting that awesome starburst shape. The trick to capturing that is super easy: Put your aperture to f/22. It’s that simple. Use f/22 and you get all the starbursts you can handle.
Dealing with sun spots
As you can see, getting good results shooting into the sun is relatively straightforward: Expose for the sun, then add back in any light you need for the foreground with a reflector.
The one downside with pointing your camera at the sun is that it will show off every single bit of dust on your lens and camera sensor. This is doubly true if you are going to shoot at f/22. So before attempting to do this sort of photography, make sure your equipment is super clean.
But even if all your gear is spotless, you may still get flares and streaks in your images. This is because the light will refract around any imperfection. Putting the sun at the center of the frame does help eliminate this (which is why I shot my image wide, though I wanted it taller—the sun is more in the center of the frame).
I am also not sure how much damage constant exposure to the sun will do to a camera sensor over time, so I recommend only pointing your camera directly at the sun for as short of a time as possible. During the above shoot I had the sensor exposed to the sun for 10-15 minutes at a time, but during downtime I covered up the lens to keep the light out. Your mileage may vary.
So now that you know how to shoot directly into the sun, get out there and take some dramatically lit shots! If you do, let me know about them in the comments below.
[dave]
Want more toy photography goodness? Subscribe to our weekly email round up so that you never miss a post. You can also listen to episodes of the podcast!


Enjoyed the post Dave, makes me want the Star Wars Samurai figures…
Thanks mate. That Samurai Boba Fett figure isn’t the most articulate figure out there, but it looks incredible.
Another great post Dave, and now I know why I need to take my small reflector with me.
Yep, a reflector is your best buddy.
Great article, as someone relatively new to toy photography and photography in general this was very informative.
Thanks Brian! Glad you enjoyed the article.