In the heat of shooting miniature pictures I usually forget to take some behind the scenes photos – and maybe I kind of like it that way, too. Because things get really messy in the process: After a while there inevitably is so much stuff on my desk that you would be hard put to see what’s what. Unused miniature figures, magnifying glasses, stage parts and bits and pieces, lighting devices all mingle on less than a square meter. A lot of what happens once I started shooting is trial and error. I have a plan, but does the plan lead to a serviceable picture? – So for this “behind the scenes” story I decided on a different approach. I did not shoot the shooting. I dedicated a second shooting to my central stage set instead to show how it works.
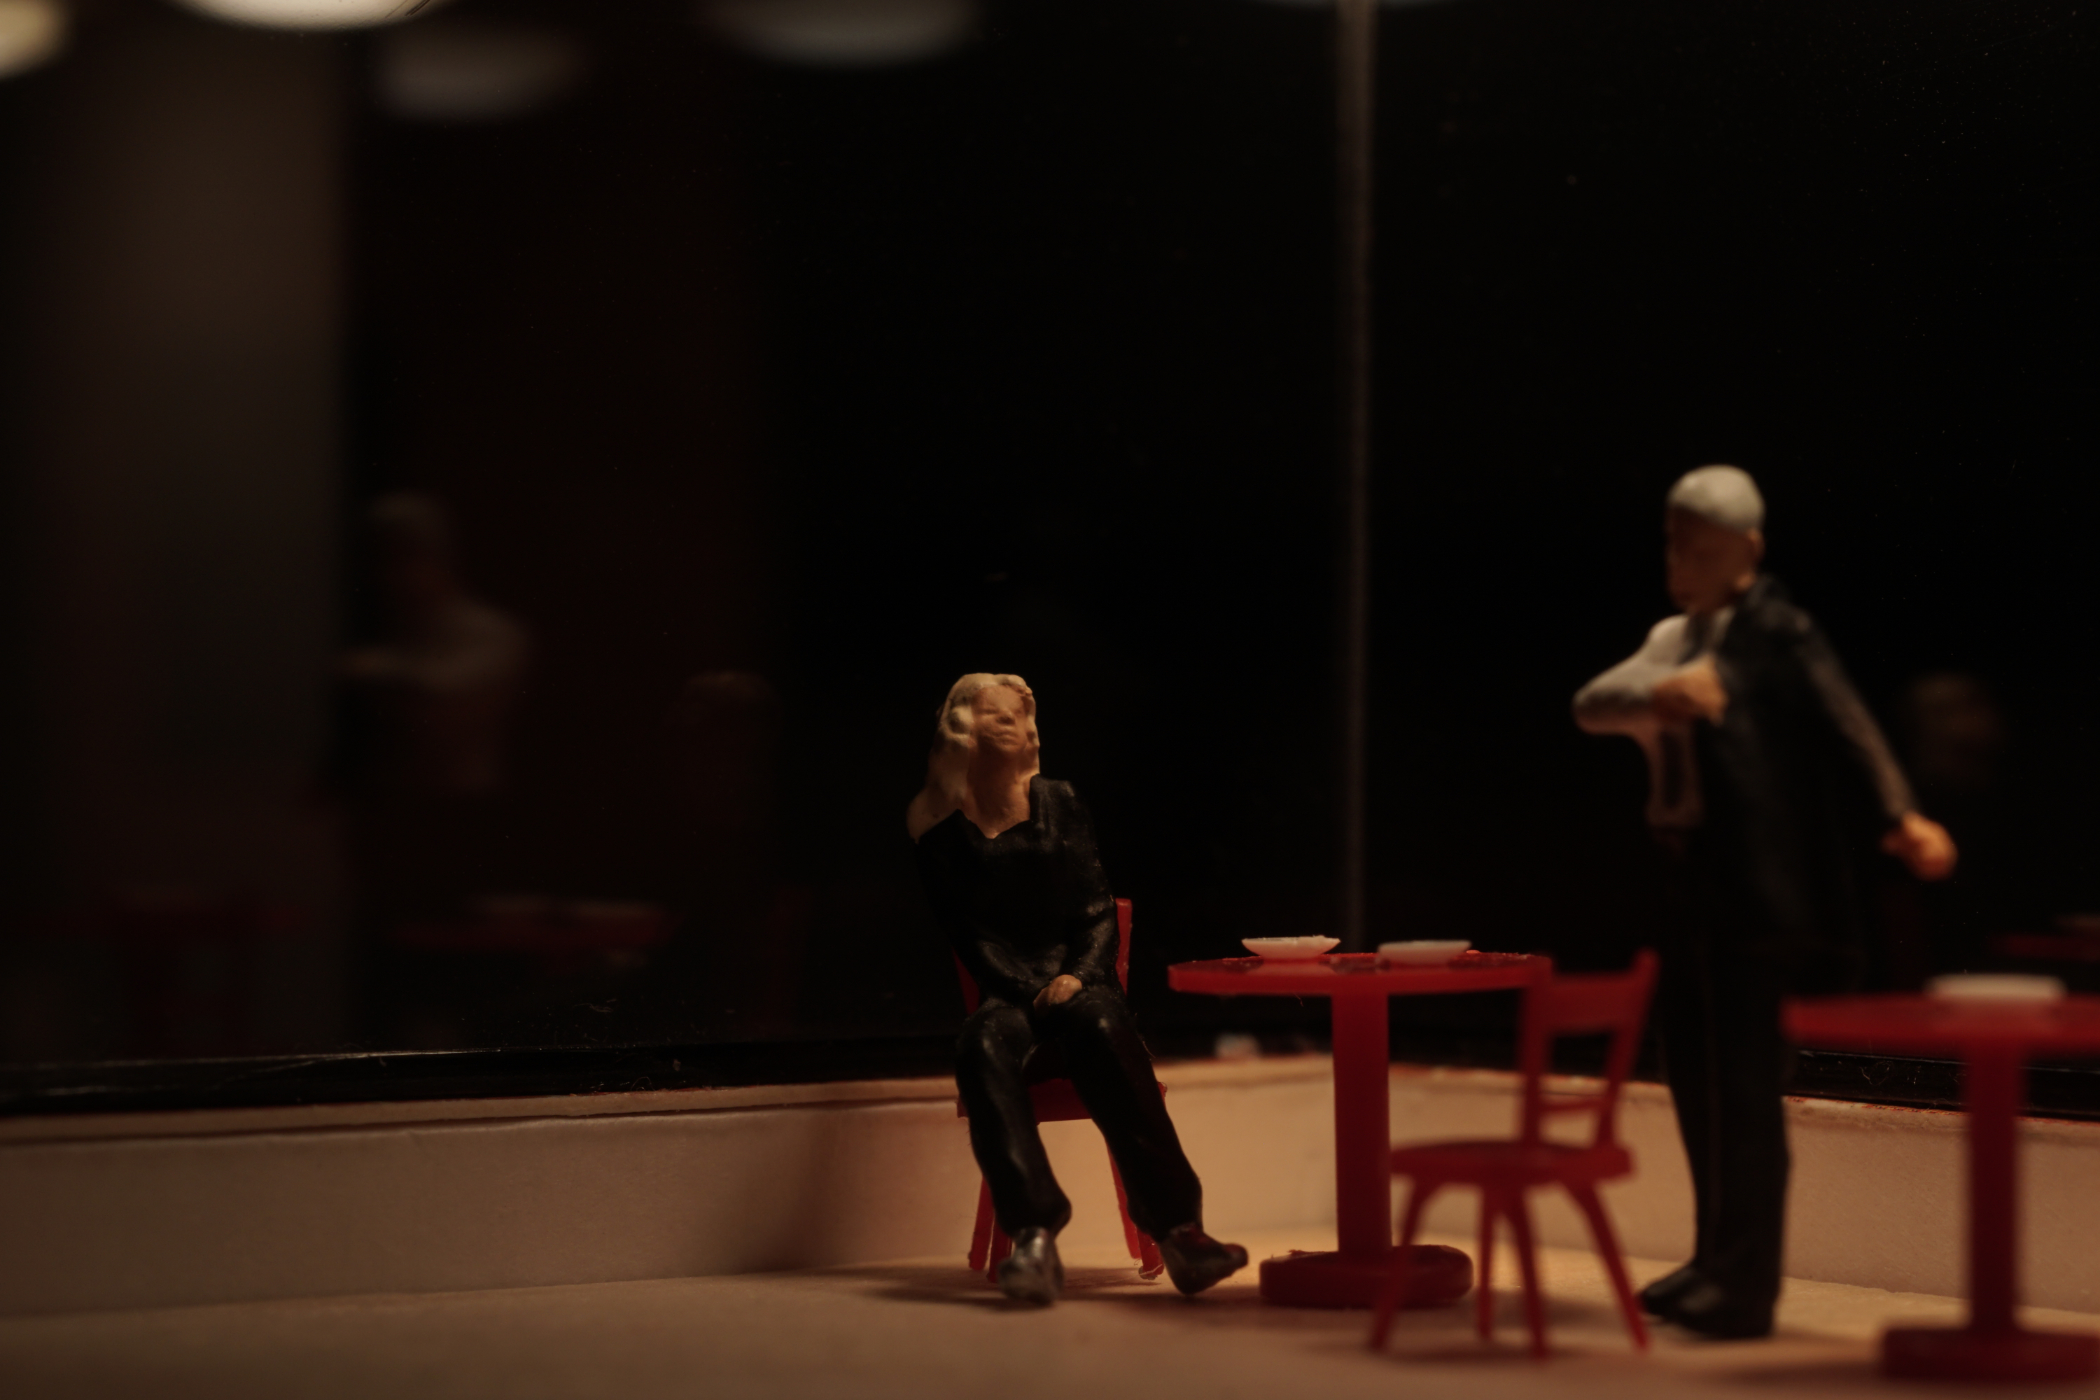
Building le bar minuscule started with improving a set I had built and used before, so I saved myself the work of framing this large shop window again. But I still needed the bar itself because the picture I had in the back of my mind was Edward Hopper’s Nighthawks – as a general model rather than something I wanted to copy meticulously.

The first thing I had to add was the actual bar. I had been considering this for quite a while but I was a bit wary regarding the small scale. Also, I started building it from plastic strips but did not really like the look. So I switched back to my favourite materials, cardboard and wood.

I had not really bothered with the back wall of the place (I had left it open because I had shot some pictures ‘from inside’, that is, through the opening left by the missing back). Now I made this wall out of cardboard and just stuck it to the set – I did not use any glue to keep the wall removable for better access; after all, I had to set up some more furniture and some miniature figures.

Also removable is the roof/ceiling. Since I liked the ceiling lights I had used before but did not think they were well positioned, I built a new ceiling. This also gave me a chance to improve the part right above the window frame. I wanted it to look like another piece of brick wall. From this angle, you can only see the holes I punched into the cardboard; later we’ll take another look inside.

Next were the actual lights. I unearthed some childhood Fischertechnik for this purpose, finding that the size of the bulbs often suits my needs, and that I can very easily assemble, modify and disassemble the supporting structures for the lights using these construction kits.

Knowing I wanted to photograph the place from the front, I also had to make sure the foreground was not floodlit by the lamps that were to illuminate the bar. I used a strip of aluminum for the inside and added some black cardboard on the outside.

And then, for the first test run: “lights!”

In the final picture the ceiling lights account for much of the atmosphere. In order to make the guys inside the bar more pronounced, I shone some light through the gap in the right wall of the building. There is also a dash of geen light on the facade on the opposite side of the street, and a little light from the left so that we can see the blue Fiat 500.

If you have made it this far and liked what you read, you might also enjoy Tony Tulloch letting us know a lot about his LEGO moc (in three parts actually: one / two / three). And Dave


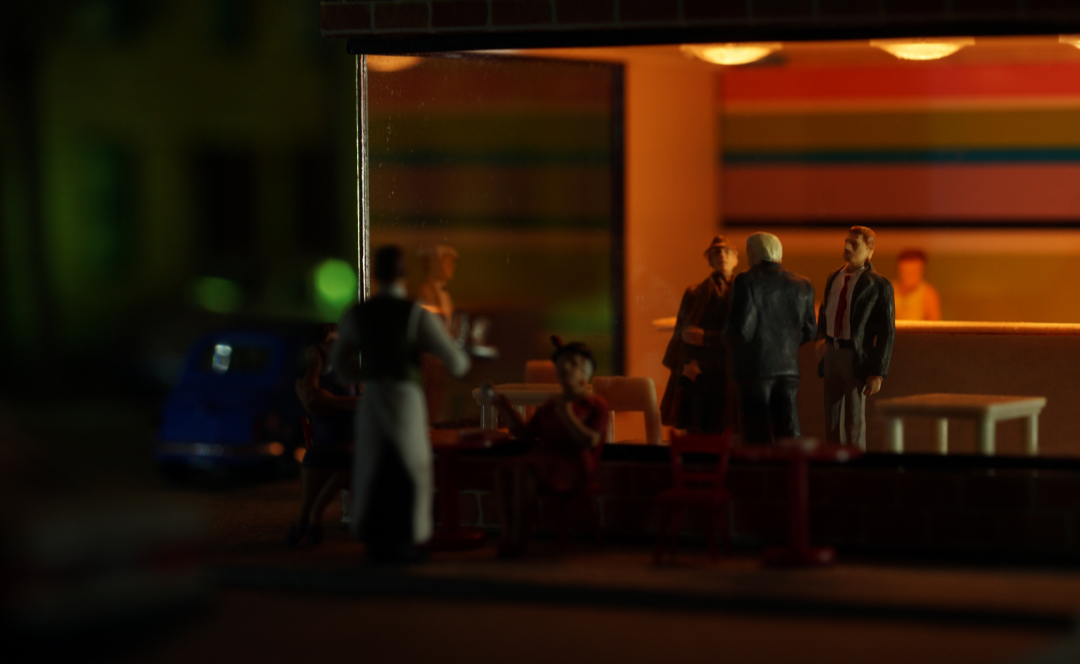
This is absolutely fabulous rendition of Nighthawks. I admire your model building skills and creativity, Tobias! Chapeau bas!
Thanks for your kind words, Tomasz! Right now I think this is my favourite picture from my “Crime Series” series – it is actually the beginning of part five.
Thanks for sharing! Enjoy seeing how the parts came together. The Final result was great!
Thank you so much. This was a fun piece to do … I should keep that in mind. I am really absolutely glad you guys like the result!
Wow – the detail in the set design is amazing. Really awe inspiring stuff!
Thanks, Dave. I am really into detail! However, sometimes there seems to be a risk of overdoing it, distracting the viewer from the picture’s key message, I think. (Plus I sometimes get the feeling my pictures are difficult to read even without distracting details.)
That is super cool! it makes me want to build some photography sets even though I don’t have the space right now. XD
Thank you! Talking about the space needed, here’s one of the advantages of shooting small scale toys (1/87 aka H0) – although there are a couple of disadvantages, too, which I readily admit.
Amazing and inspiring Tobias.
Yes, your post helped me get my post together, but it’s also inspired me to create more than just ‘living, growing dioramas’ and little piles of wood. You’ve inspired me to try my hand and creating little urban scenes too.
Thank you Brett! I am looking forward to your urban scenes!
And in case I can help you with anything, just let me know!
Very inspiring Tobias, and i really love Nighthawks too! Thanks for sharing your thoughts behind the images!