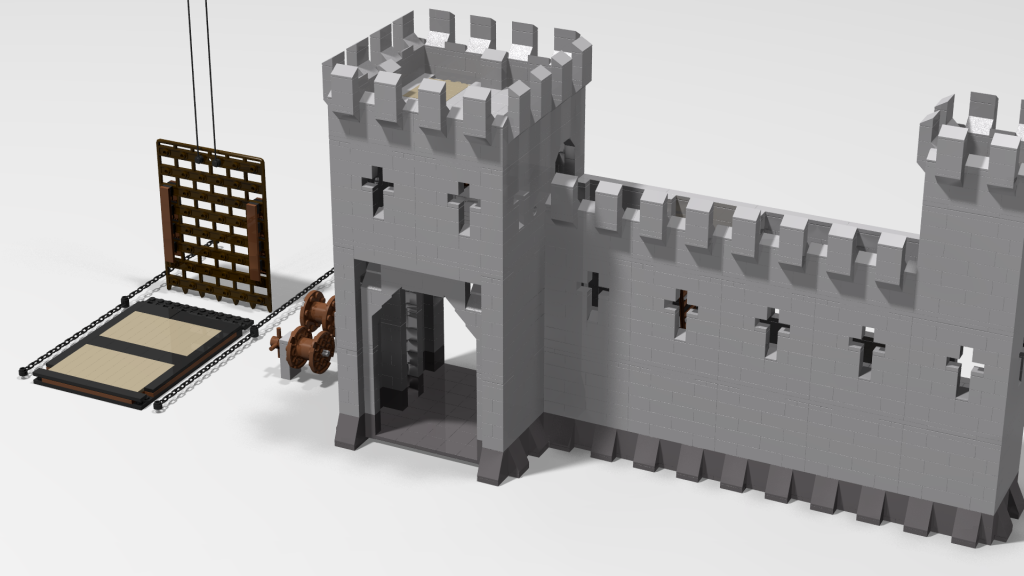
In part 1, I shared the ideas behind making your own creation (is that a YOC?) The idea was to make it photogenic, but to also make it practical to shoot Lego Minifigures with a complementary background. In part 2, I would like to share with you my thoughts on using Computer Aided Design (CAD) software to help you design your MOC. I used Bricklink’s Stud.io, but I have used Lego Digital Designer in the past, and the basic concept is the same. You can also research LDraw, or the other half dozen alternatives out there. To my knowledge, they are all free.
Why Not Lego Digital Designer?
Why not? Go for it! Lego Digital Designer (LDD) is an excellent free program that will allow you to build 3D Lego models and export parts lists and step by step instructions. These instructions look just like their paper counterparts that you find in the official sets. As excellent as LDD is, I feel it is only going to fall behind the competition. In 2016 Lego pulled the funding from LDD and closed down its model ordering service. It is interesting that three new minor releases have been published since the funding cut, so it is definitely not defunct, and the instruction function is pretty sweet. So why did I change? Read on and I will explain why I have converted to Stud.io in favour of LDD.
The Aladdin’s Cave that is Bricklink
But first, a bit about my experience in buying Lego parts. I have ordered from the Pick a Brick section of the Lego store and have found it a reasonable way to buy new Lego parts. I have also trawled through parts bins in stores and scavenged from various kits and bulk buys. It’s all fun and quite addictive; just waiting for that next piece you really didn’t know you wanted until just then. It fills the bins of chaos at home for a ready supply of stuff (sixty containers of various sizes, and counting). In 2017 I found Bricklink. Founded by the eminently talented Daniel Jezek as BrickBay in 2000, Bricklink has gone from strength to strength. It is a huge marketplace of new and used Lego that seems to have the magical ability of lightening my wallet. The real bonus of a huge marketplace such as Bricklink is the ability to source specific parts reliably, quickly, and in large quantities. None of my other outlets gave me this flexibility.
Stud.io by Bricklink
To help lift the heavy burden of the wallet in my backpocket, Bricklink introduced Stud.io as an alternative to LDD in 2016. Stud.io has the ability to be able to upload designs to Bricklink and easily create Wanted Lists and Orders through the Stores online. You can also load files designed in LDD and LDraw. At this point you need to be aware of the Bricklink Terms of Service (ToS). The ToS grant the owners free and unlicensed access to your designs if you upload them to the public areas of the Catalog, Build Gallery, and Forums functions of Bricklink. Currently it states that designs in private areas are still under the ownership of the user, however ToS can change. Read the disclaimers carefully before you accept the account and software conditions, and you should know what you are in for.
Stud.io in Action
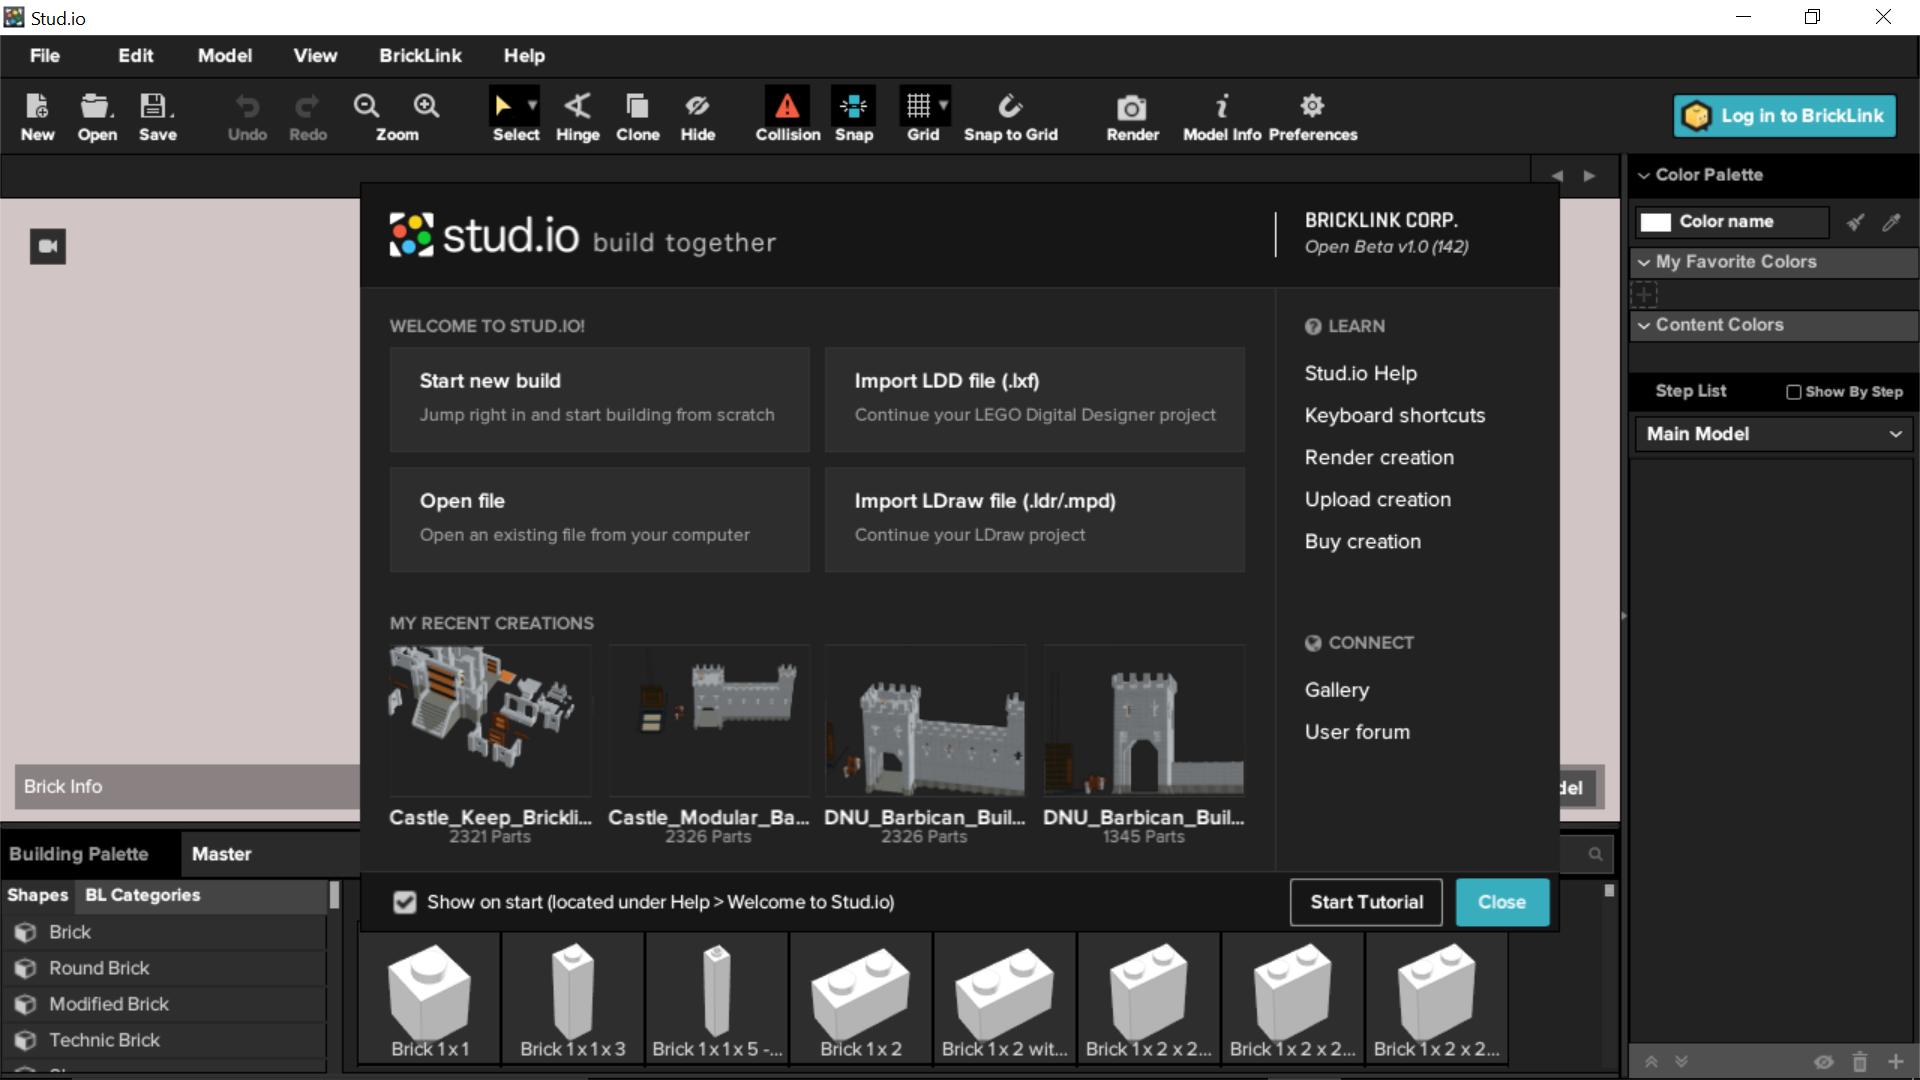
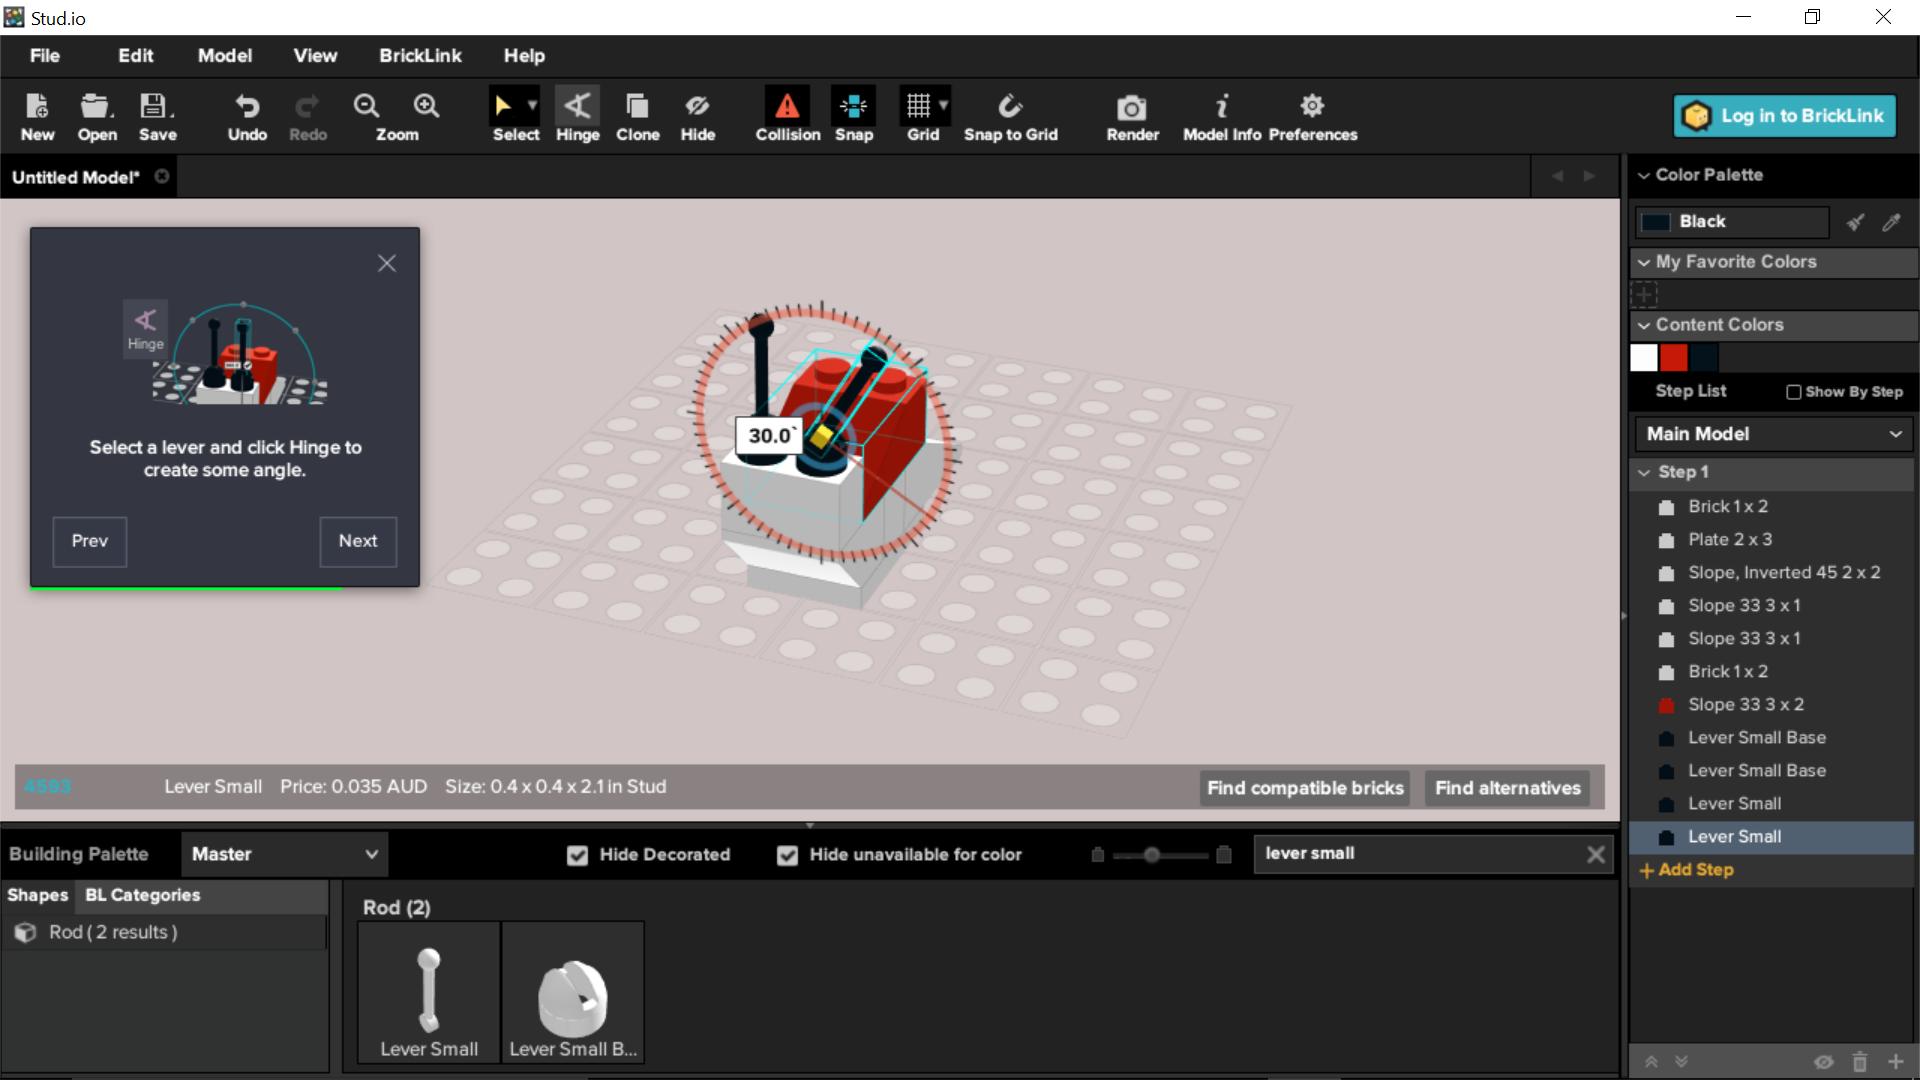
Having painfully taught myself how to use 3D CAD software with LDD, I found it an easy conversion to Stud.io. Within 5 minutes I had blasted through the software’s neat little tutorial build and was ready to go. Please note: this post is not a comprehensive Stud.io ‘how-to’. I will leave that up to the help files, forums, and smattering of YouTube videos out there in the ether. As a consolation, I believe this post will give you an idea of whether it is any use to you as a design tool. There are also a few tips along the way.
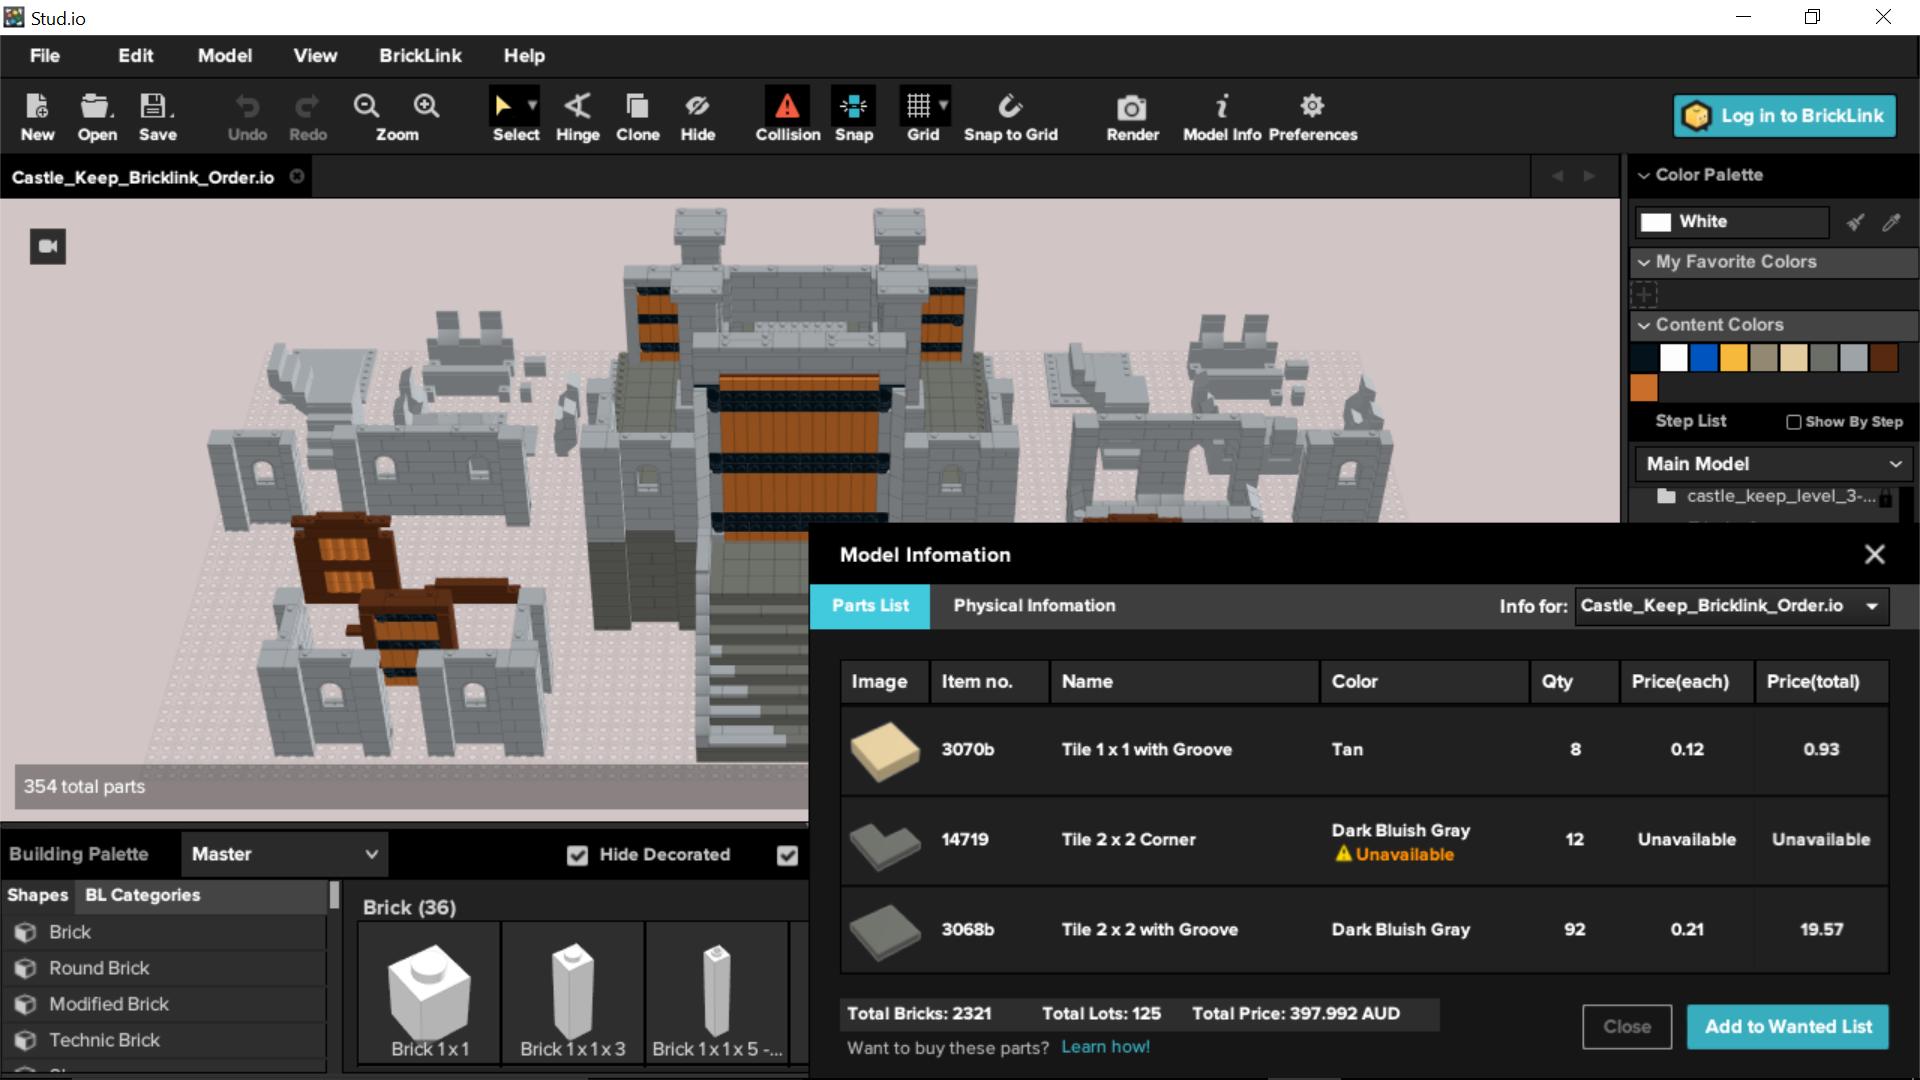
The Stud.io interface is well laid out and easy to use, even on a smaller screen like a laptop. PC and Mac users are catered for, but there is no Linux version. The baseplate starts out as a 12×12 and expands as your build gets bigger. Parts and colours are easily found at the bottom and right of the screen respectively. If you change the colour, the parts in the palette section change to suit. This is difficult to see with dark colours. The easiest way to get around this is to build in a light colour and do a bulk colour change later.
Simple cursor and mouse actions allow for the movement of parts and the view of the models. Rotate and flip options become second nature quickly. More complex, or precise movements can be obtained through icons that pop up with each part or submodel. Some more complex sub-designs, like ladders at 75 degrees, and a portcullis with ropes to raise it, became problematic. I found I had to use the icons and turn on/off Collision and Snap functions to get them to work. I generally resorted to building with Lego to work these sub-designs out.
The Master palette ties all parts into Bricklink and uses the LDraw Parts Library. I have found it pretty well current with what is available on the market. There are brilliant options available that allow you to turn on/off decorated parts and parts that are not available in a certain colour. This makes it a lot easier to navigate the palettes. Palettes can be customised to individual models to allow for faster building. I’d also suggest you start to get to know the various part names (or parts thereof) as this can also speed things up with a Search Parts function that is available. Terms like ‘1×2’, ‘without groove’, ‘studs on X sides’, ‘connector’, ‘hinge’, ‘corner’, etc are also very handy.
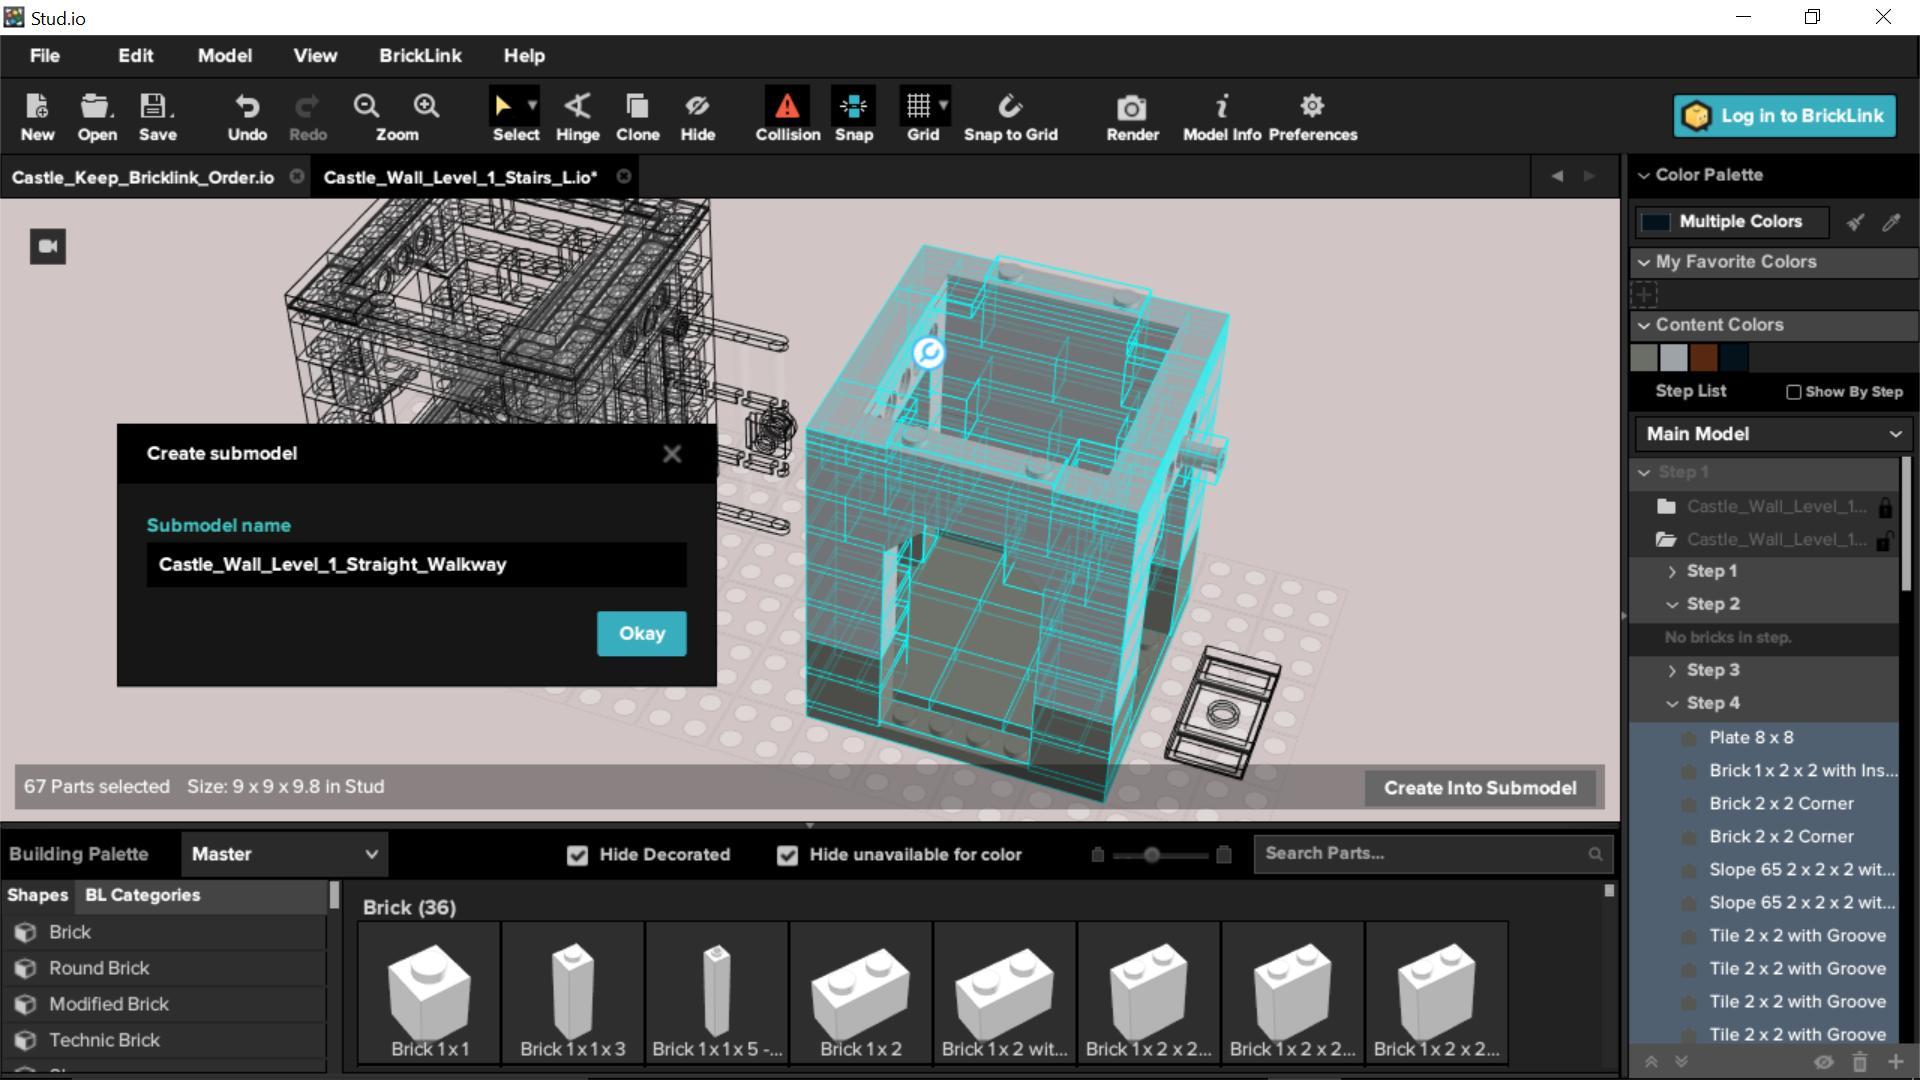
Submodels are quirky beasts that, I feel are yet to reach their full potential. They are easy to Create, Edit, and Release (to make into slightly different designs). Where I feel they could improve, is being able to find, sort, and reuse them in different models. If that functionality is currently in Stud.io then I am yet to find it. My best suggestion is to make smaller modules as models, then import them into another model file. It takes a bit to get used to, but it is quite effective; especially for ordering. Be aware: if you Edit a submodel, it changes all instances of this type. If you wish to keep previous versions as they are, then use the Release function instead of Edit and rename the new version.
I believe the real strength of this software over LDD is it’s interface direct to Bricklink. If you have no intention of using Bricklink as a service, then other software may suit you better. Stud.io has a Model Info option and each part brings up an information box with the name of the part and the average price on Bricklink. Model Info puts these individual parts into a list, quantifies them, and gives the user a rough idea of what that model will cost. I have noticed that the software errs on the side of expense, and I have generally found the actual cost to be about 80% of that stated.
I used the Import Model feature to bring all of my modules into the one place to get an idea of the total cost of my MOC through the Model Info function. It was a very scary total, but the idea of my MOC concept is to reuse the parts for different modules and scenes. The largest part of my MOC was the Keep (the main building) which, in its entirety, would consist of over 5,000 pieces. Its cost would be approximately US$500 to build from new parts. The fact that many modules and parts are interchangeable with those from the wall modules drops that price considerably. Of course, the bins of chaos (your current Lego collection) can reduce the cost further. I only built the front of the Keep, which reduced the cost to about US$240. If I had reused the wall modules and parts it would have dropped the cost to about half that.
Exporting to Bricklink is straightforward and lists of parts are easily edited. You can multiply the lists, which is handy if you want more than one of a particular module. You can also reduce the parts list by subtracting what you already have from your current supplies. It is a little tedious, but I’ll share a couple of time savers in part 3. The ordering functionality is stress free and reasonably easily customised.
Overall I was very happy with the way Stud.io worked and generally found work-arounds for its few quirks.
One thing I found that 3D software couldn’t really help me with, was putting my overall design ideas together. For that, I sketched out my ideas as blocks (stairs under walkway, parapet on top, three corner modules needed here, etc). It can be done in software, but I found it a lot quicker to scribble it on scrap paper. I also found that I needed to build the modules to test them out, and I will expand on this in part 3.




Oh wow! Look at this! A whole post about 3D software! And about something I didn’t know anything about… 😀 😉
I use LDD a lot, but I’ve never used Stud.io, mostly because of the ToS you mentioned.
You probably had to deal, just like me, with some of LDD limitations, like the fact that you cannot use all the connections you can physically use with the real bricks, or that if you remove an important brick the program doesn’t warn you that other pieces have no support anymore… I don’t know how Stud.io behaves in these situations.
Anyway, great to know something more about Stud.io. I should give it a try. I think it has a better graphic.
Normally, my schedule is: LDD, then Bluerender (is a little free software, a rendering engine for LDD, it helps to understand the real aspect of the model, especially with the colors) and then BrickUtils that creates the list of pieces (.xml) starting from the LDD model and you can upload that list to BrickLInk.
And, since you’ve discovered BrickLink… I’m really sorry for you! There’s no turning back, you’ll go deeper and deeper, believe me! 😀
Luigi: I have found Stud.io to be more user friendly than LDD, but it still has its quirks. Given that I suffer from Bricklinkitis (a terrible malady that is incurable, but can be soothed with a constant supply of plastic) I find Stud.io very handy. It’s worth a try to see if you can speed up your MOC workflow. I have found the Stud.io rendering to be very good.
I cannot recommend Stud.io enough! It’s great!
Zee: I like it a lot, but I still have a long way to go to get a real handle on it. Feel free to add any tips and tricks in the comments here, or in the Toy Photographers community on Google+.