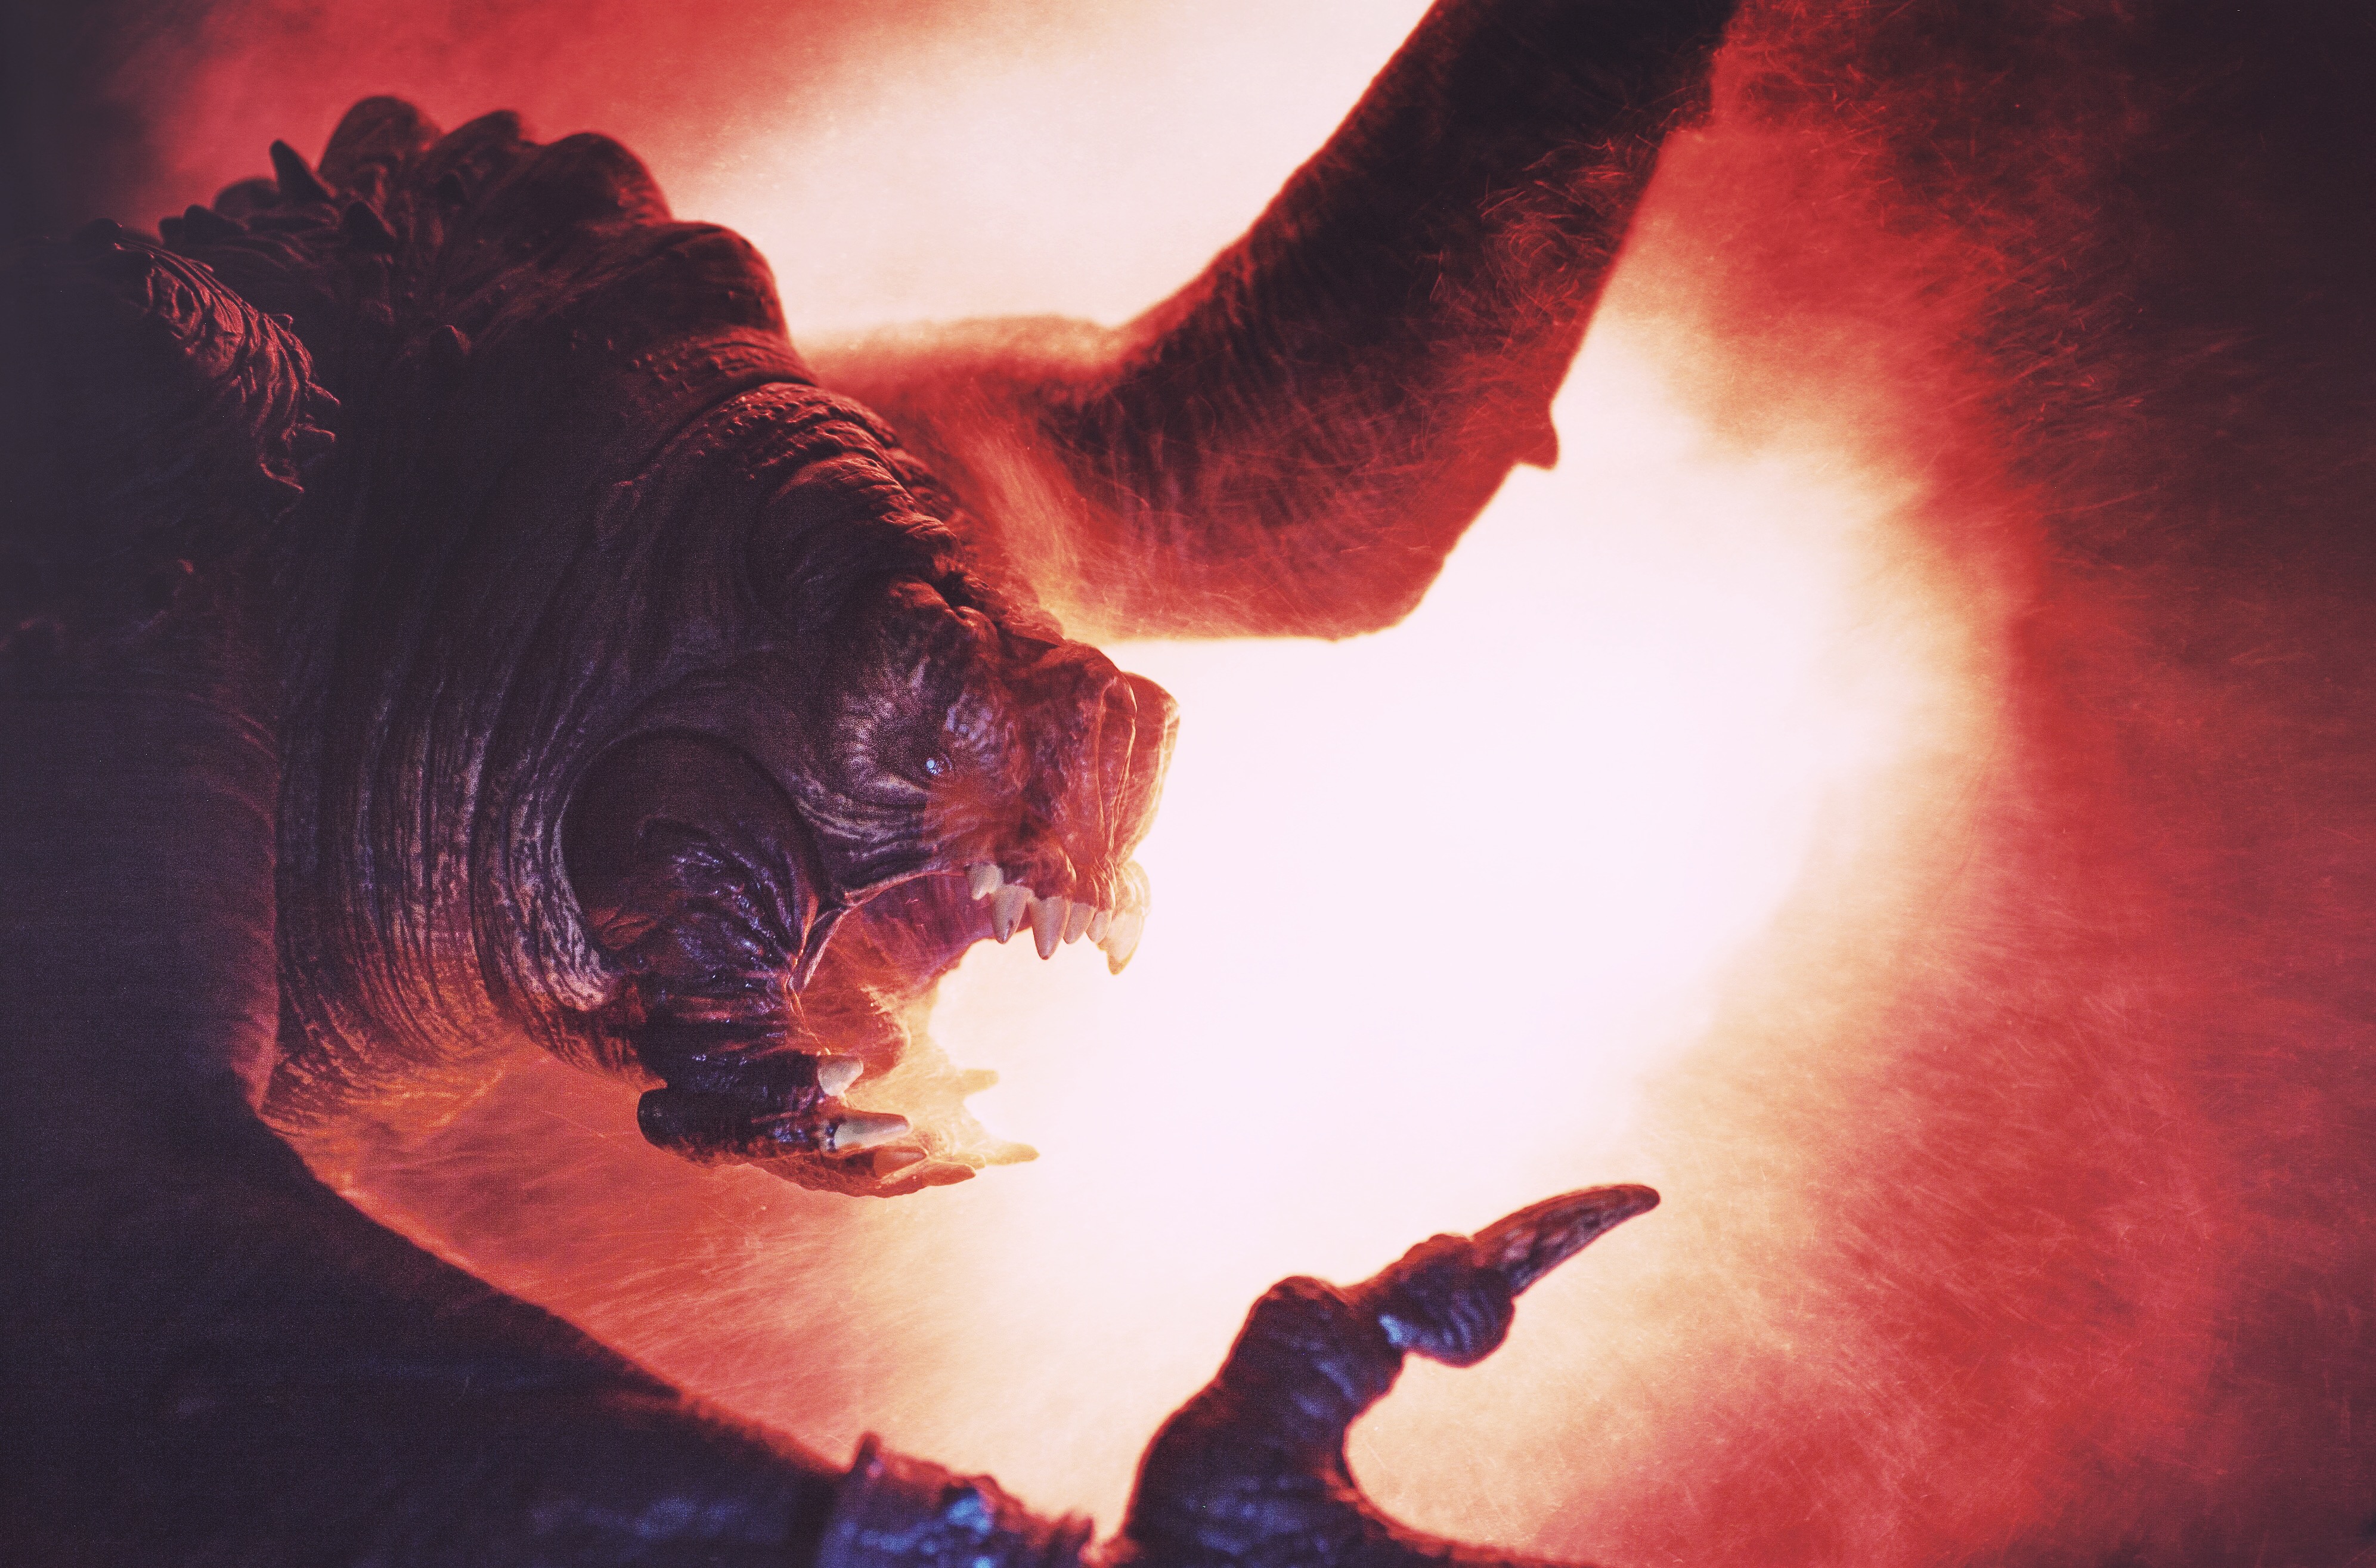
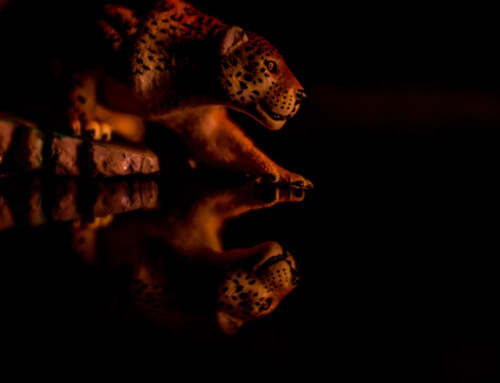
When I present or post an image like this I get a lot of questions on how I made it. So I’ve made an effort to take a few behind the scenes photos as I shoot or prep a shot. Here’s my first attempt at deconstructing an image and the process that led to the final result. Hopefully, this will help answer a few questions regarding my editing process.
ELEMENTS
- Rancor
- Flashlight
- Light Painting Brushes Universal Connector
- Light Painting Brushes 9 inch White Fiber Optic Tool
- Red gel (dollar store gift wrap)
- Canon 5D
- Canon 50mm Macro f/2.5
- Manfrotto 190X Pro B
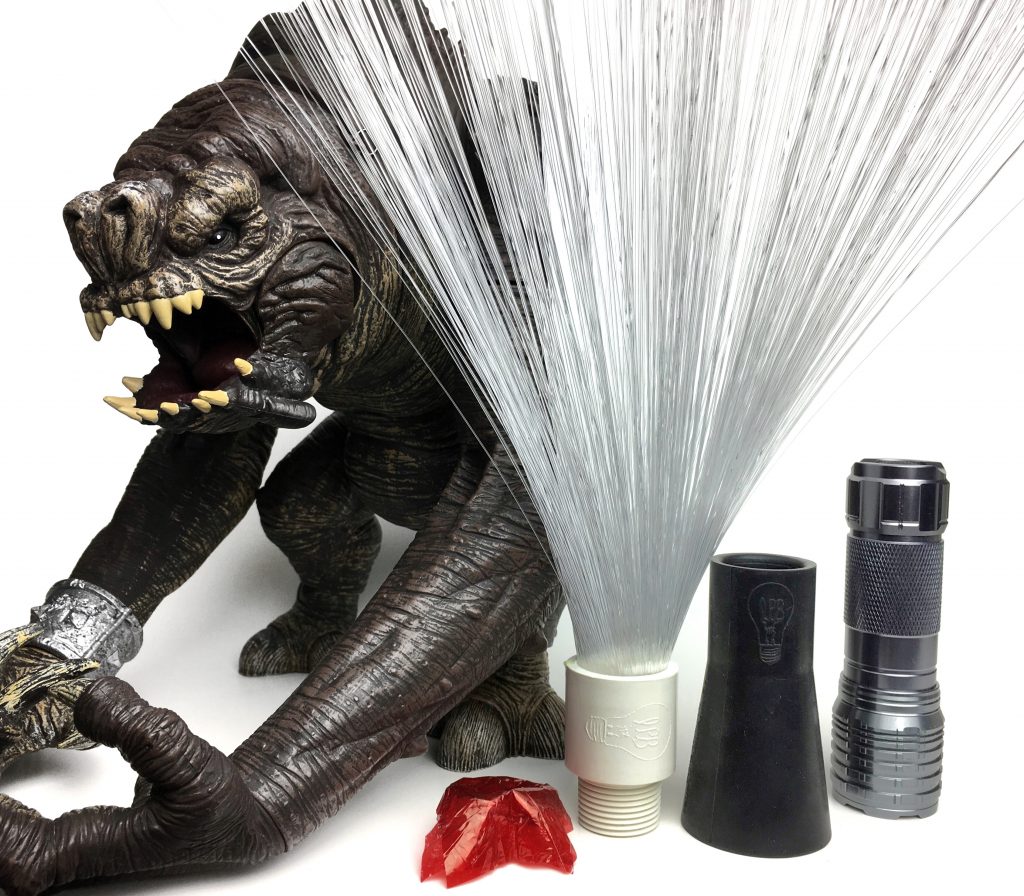
Tools for the shoot.
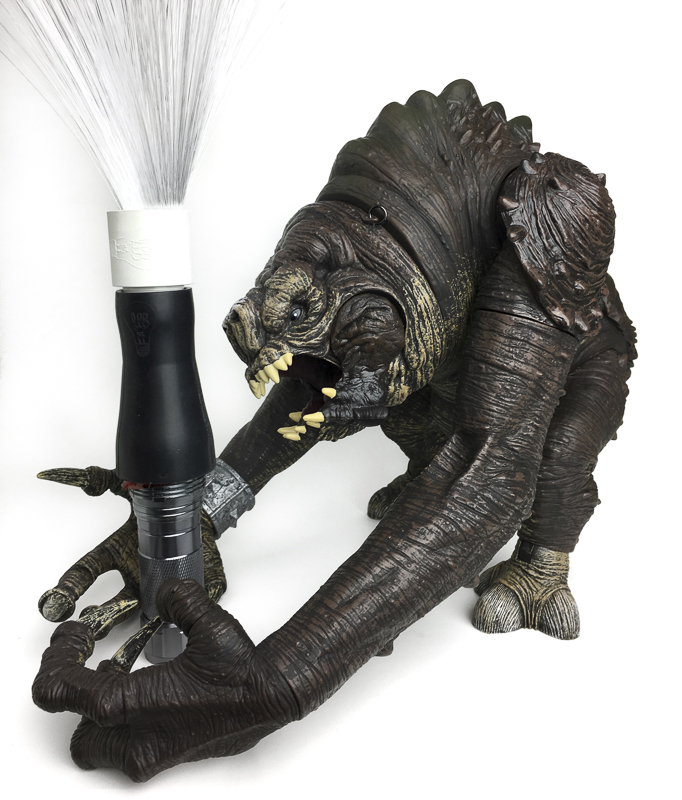
Assembled Light Painting Brush + Universal Connector +gel and flashlight
PROCESS
- Set up the scene.
- Place camera on tripod.
- Attach fiber optic brush to the Universal Connector.
- Place gel over flashlight and attach the Universal Connector and brush to flashlight.
- Prefocus and set to manual focus -don’t bump the camera or lens!
- Turn room lights off.
- Trip the shutter and paint in scene:
- The tip of the brush was pointed towards subject and camera for ~20 seconds.
- The fiber optic brush was removed for the last 10 seconds leaving the gel and Universal Connector on the flashlight to paint in detail on the Rancor.
EXPOSURE
ISO 100 | f/4 | 30 Seconds
The Edits
Editing was quick and limited. A Virtual Copy of the Digital Negative (DNG) was created in Adobe Lightroom. A simple and basic clean up was applied by adjusting the shadows and highlights, adding a slight crop and sharpening. After exporting as a full resolution TIFF, color grading was applied in the Mextures app with my CETISLW Formula.
RAW file imported into Lightroom as Digital Negative.
After Lightroom edits.
Final Image exported from Mextures.
The Rejects
This was my first shooting session with the Light Painting Brushes White Fiber Optic Tool and it quickly became my favorite. However, like most first runs with light painting, it took a little practice to achieve results I was happy with. All these images had issues I wasn’t pleased with, but they were quite useful in figuring out what I did like. So don’t be afraid to experiment and just try something.

Reject #1. The Rancor’s is too dark. I was still figuring out how long to light him and the background. While I could play with the shadows in Lightroom, I find the right side of the frame distracting and the image as a whole doesn’t interest me very much.

Reject #2. I am happy with the exposure on the Rancor, bit the top right of the frame is distracting.
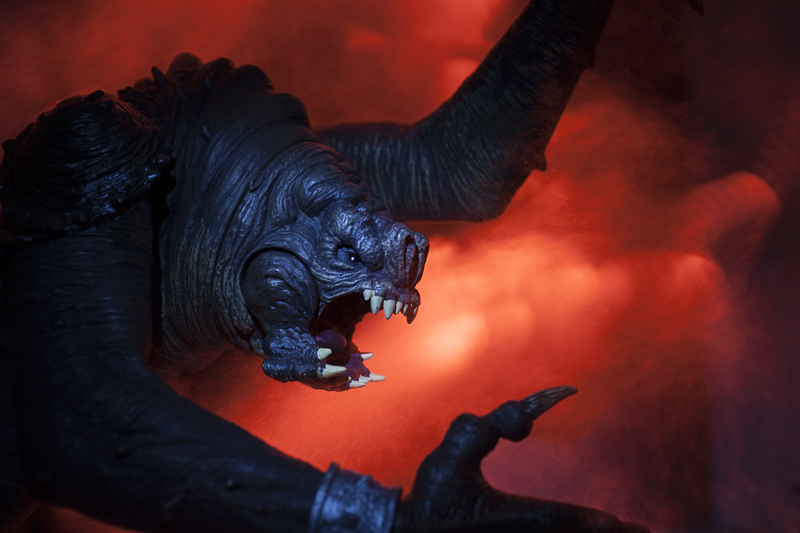
Reject #3 I tried a second light source to light the front of the Rancor. I left this light on for too long and the color just didn’t work for me. However, it led to deciding to light the rancor for 10 seconds with just the red gel, universal connector on the flashlight to paint in his camera side a little more.
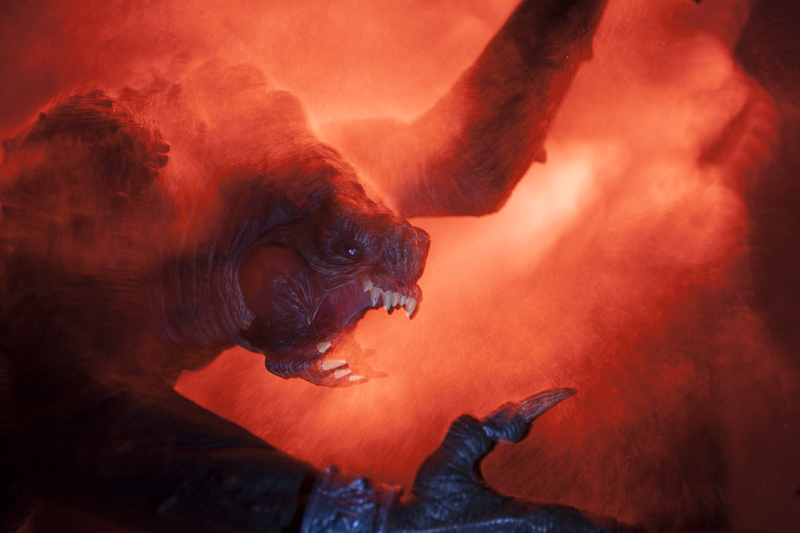
Reject #4. This was just overkill. I used the fiber optic tool for too long on the Rancor. His back and shoulder are just too much.
WARNING
Attempt this at your own risk! Light Painting is easy, fun and addictive. You will need an extra bag just for the collection of tools and brushes. For example, I only used the white fiber optic tool and I now I realize I need the black version.
So, go grab some light sources (or don’t, you were warned) and get to playing. Tag me on G+ or Instagram and show me what you come up with.


That Rancor looks amazing! I didn’t know such light painting tools existed… I may have to invest in some.
Thanks Dave! When I found about about LPB, I just had to have them but I’m a light addict 🙂
Such a beautiful image Jess! Thanks for sharing the process to create it.
I’m always fascinated to see how much work goes into artists’ photos, and this little glimpse into your world was no exception. And I’ve now discovered Mextures. There goes an afternoon experimenting with past photos!
Thanks again.
Thanks Brett!
I always enjoy a peak into how others create their work so I am trying to get in the habit of sharing my process (or lack of).
Mextures is awesome. I actually can’t wait to try the desktop version so I hear ya on the afternoon of experimenting.
JS
OMGoodness, an amazing photo, wonderfully deconstructed. Massive thanks for sharing the process you used to make a gorgeous piece of art. Inspiring!
Thank James. Glad you enjoyed it. It was kinda fun writing it up.
Thank you for sharing Jess!!! I’ve never tried the fiber optic for light painting but if this is the result, i must make up for lost time!
Hi Marco, I love fiber optics and I can’t believe it took me so long to use them for light painting. Have fun with it, can’t wait to see what you do.
Whoa. This is awesome. Thanks for the breakdown. This and your other images of Kate really appear like they were taken through some underwater environment with clouds of color dispersing throughout. I never would have guessed they were fiber optic light painting. Amazing job.
Jennifer, I’m so glad you liked it and so far no-one has complained about my writing style so yay!
I’m not sure what you mean by “other images of Kate” but Im happy you liked it/them. The Gamora and Drax photos on my IG are with a lightsaber kinda light painting brush. Its all in how you move the light source to make it look like weird clouds.
This is great… I missed this article the first time around, a wonderful read and very informative.
I have been looking at that website but not pulled the trigger on anything. I have been playing with some long exposure light painting (just did some last night actually) but just with simple little lights, I already have, with mixed results. Still, as you said, its lots of fun!
Keep up the good work!