This wonderful toy photography hobby of ours can get expensive. Between the toys and the photo equipment, its easy to blow a budget. But there are ways to get around the expense without losing creativity or quality. Over the years I’ve found that its possible to create jaw dropping toy photography for very little money. Which is why I want to share how I used five of my favorite cheap, household hacks to create this image of Dumbledore.
Printed backgrounds
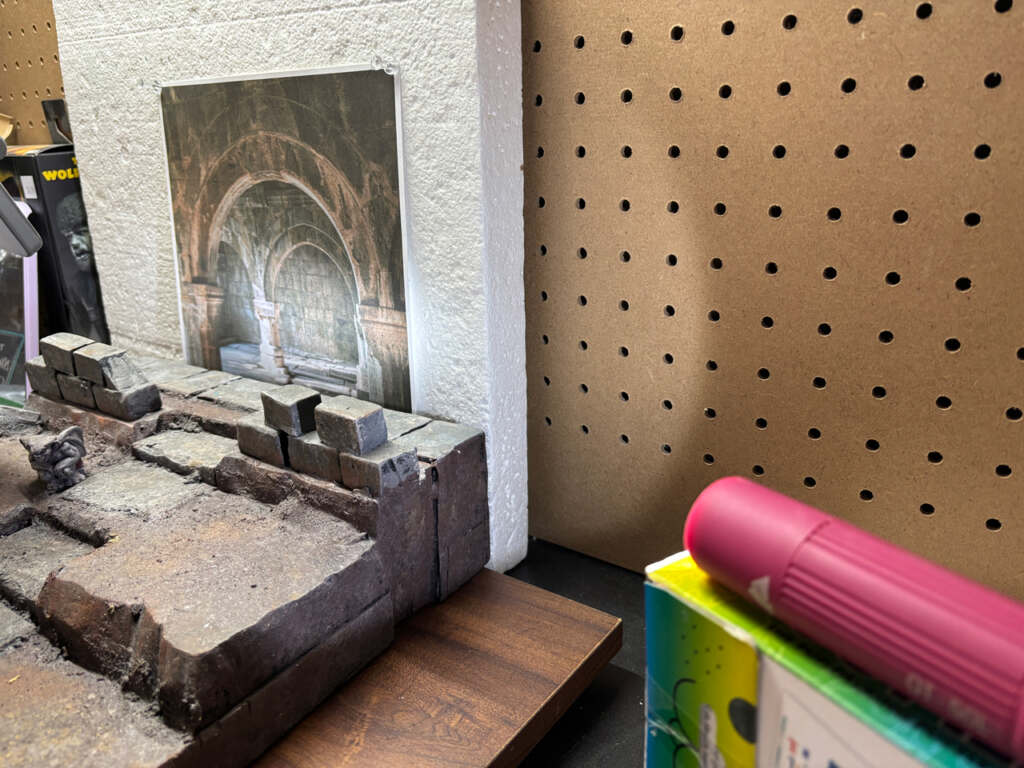
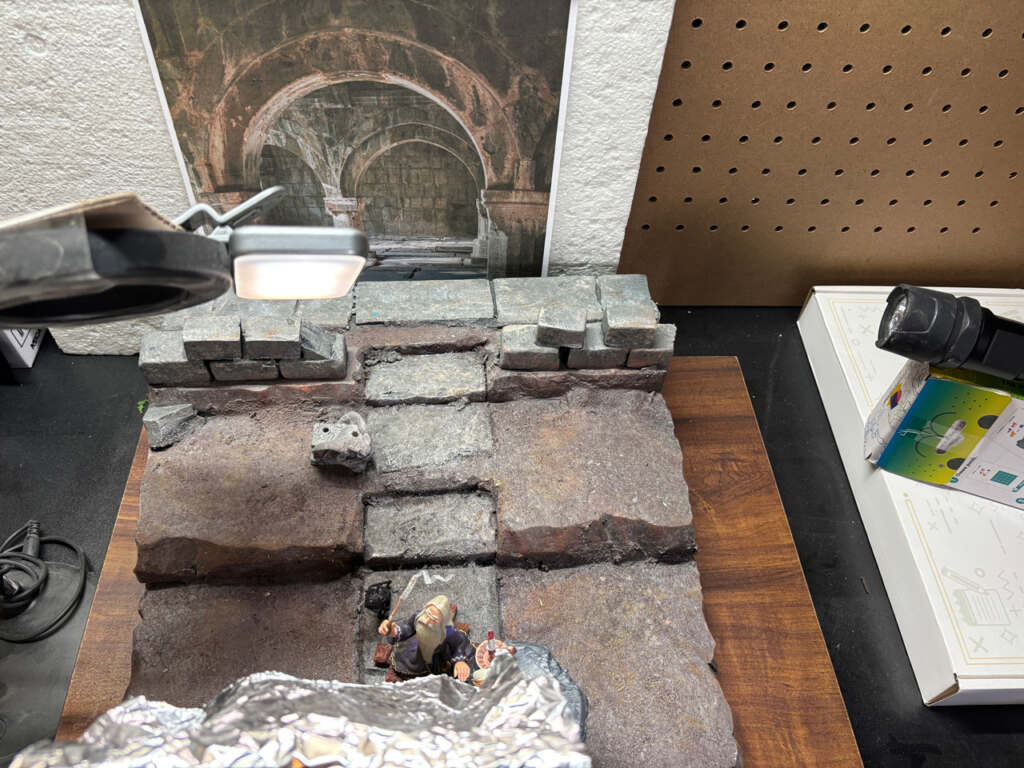
When I photography my toys indoors I use paper backgrounds. Rather than pay for backdrops at Shutterstock I begin my search for free downloads at sites like Unsplash and Pexels. With a little digging I can the kind of backgrounds I want for my shot. I
Once I have the right image, I print it out on card stock. Because it’s flimsy I will need to tack it to a piece of styrofoam to give it stability and also make it easy to move. After I’m done with a particular image I will add my latest find to my ever-growing collection of backgrounds to be used for a later shot.
Other great sources for backgrounds Iv’e discovered are paintings and framed photos. Often found at thrift stores and flea markets for cheap. Second hand or discarded library art books – especially large coffee table sized books – are another great source for interesting backgrounds. I find them at library book sales, thrift stores and flea markets for very cheap. If I dont want to cut them up. I make copies of the pages I want to use.
Flashlights
Flashlights are a great alternative for expensive lighting. I look for flashlights at rummage sales, flea markets, and thrift stores. Some give a nice warm light, some are cooler light; some even have the ability to create a variable light intensity.
Because flashlights are so inexpensive I have a collection of ones with different sizes and features. They get used for rim lighting, spot lights, and to give depth to my paper background. When I shine a light on printout with a window, it will give the illusion of light coming through.
If my light is too bright for what I have in my mind, I will wrap a tissue over the light which diffuse it. This diffuses it nicely and creates a good soft light source. I also have a small very bright flashlight that I keep in my camera bag in case I need to spotlight . Sometimes I need to spotlight a figure, add a little extra light to a face, or add a rim light, when shooting outside. (Hint: keep the batteries fresh or charged! My flashlight in the shots for this article dimmed without me noticing while I was shooting, so my background wasn’t as illuminated as I wanted)
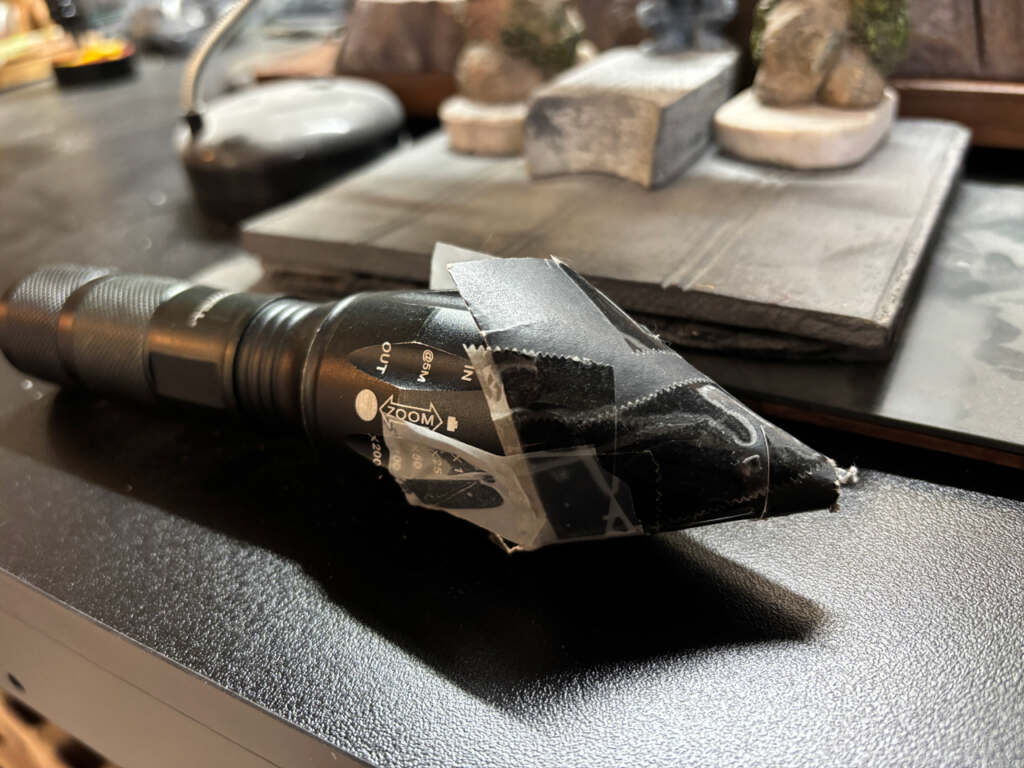
Homemade snoot
Snoots are a great way to create a narrow beam of light. I made mine from a small piece of black poster board that I cut from a larger piece. I formed it into a cone and used tape to keep it stable. The I used tape to attach it to one of my handy-dandy flashlights and viola! I have a nice spotlight to highlight eyes or one side of a face, etc. If the light is too harsh I place a piece of tissue under the cone to soften it.
Aluminum foil reflectors
Aluminum foil works great as a flexible and versatile reflector. Heavy duty foil keeps a good shape, whether you need it to stand up on its own or wrap around a curved object. Foil can be folded up or cut small to hide behind scene elements. Even when tucked into a scene it will reflect enough light to bring a figure’s features that need to be brighter.
Sometimes I hold foil over a scene and reflect light from above to simulate sunlight. White poster board will do all the same things although its not as flexible and gives a softer reflection. Different colors of foil and poster board give different reflected colors which allows me to change the mood of the shot. I even keep a piece of foil and a small piece of poster board in my camera bag for outdoor shooting.
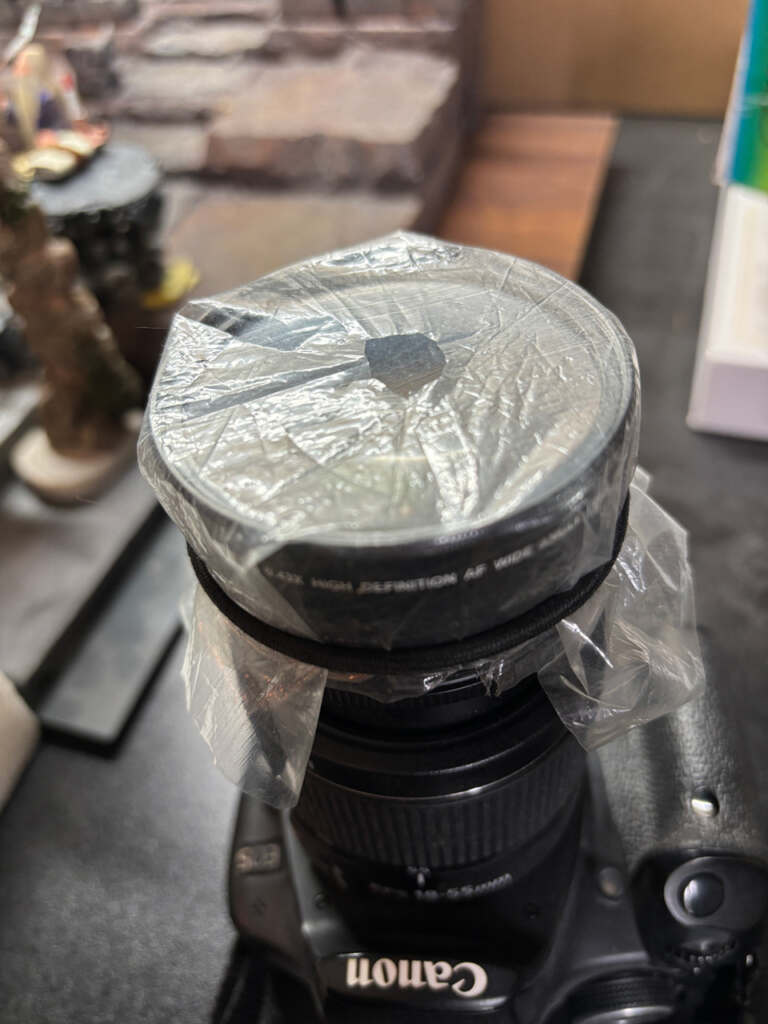
Plastic wrap
I discovered using plastic wrap many years ago when I was playing around with portraiture in high school and college. Its an easy hack that involves cutting out a square of plastic then cutting a hole in the center. Over the years, and trial and error, I now have several pieces of plastic with different sized holes. Once I have my plastic ‘filter’ I use a pony tailer or rubberband to hold it over my lens. Because the plastic is flexible I can move it until I get the hole where I want it. It helps to put the hole over the area that I want to be in focus – the rest will be blurry and dreamlike.
This is a fun and cheap hack to experiment with. I can create different moods and even use it to simulate motion. As the plastic ages the effect changes due to extra folds, wrinkles or even dust. These changes keep the effect interesting to play around with. My camera bag is packed with a small bag containing the plastic and a ponytailer that I can use when I’m out and about shooting in the great outdoors.
Bringing it all together
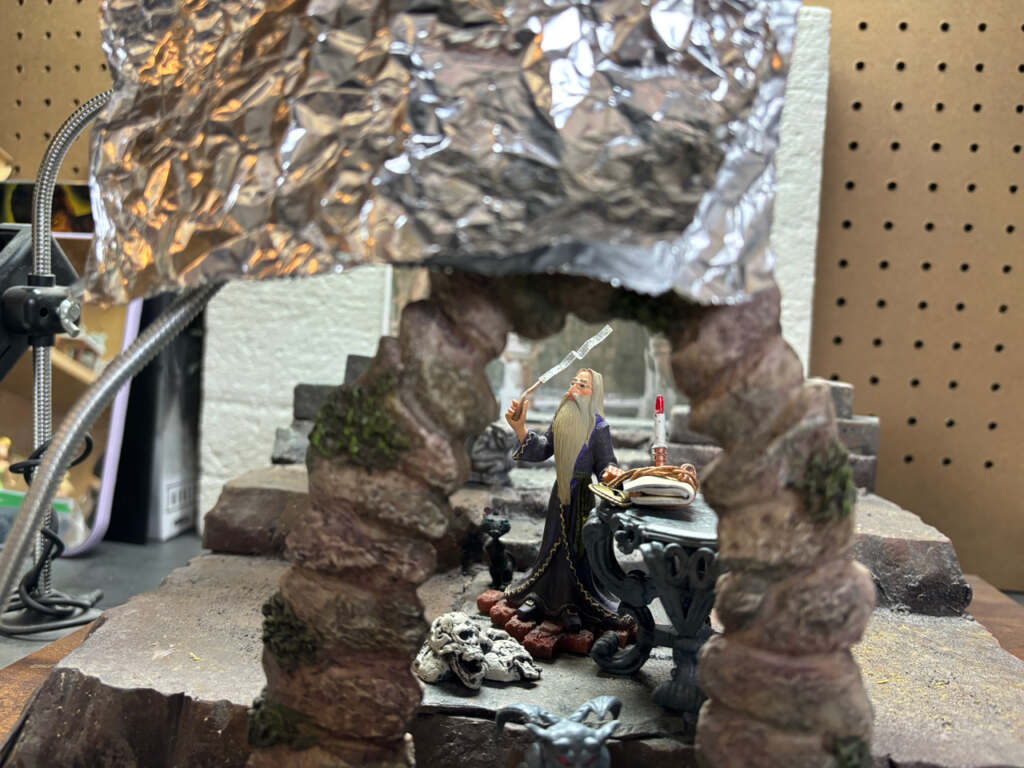
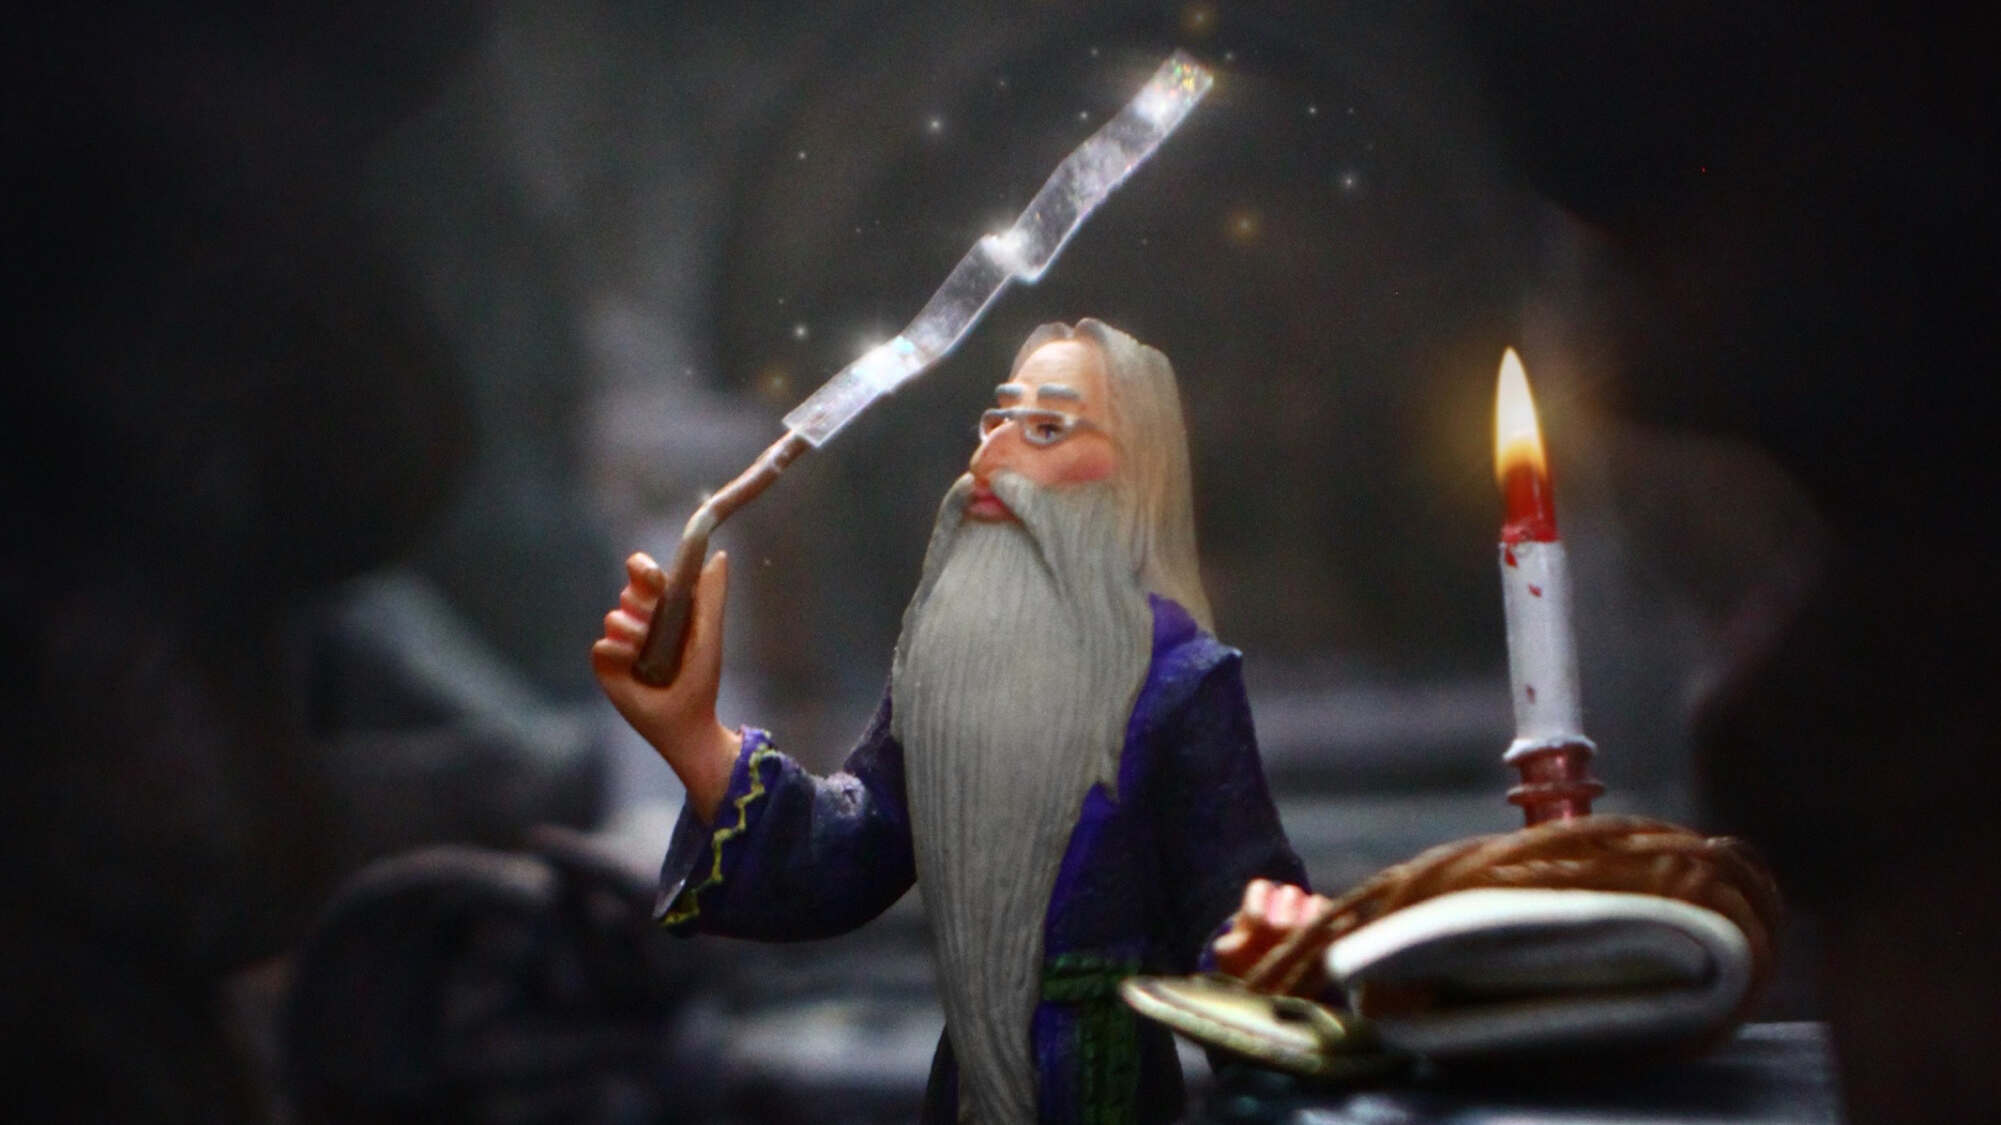
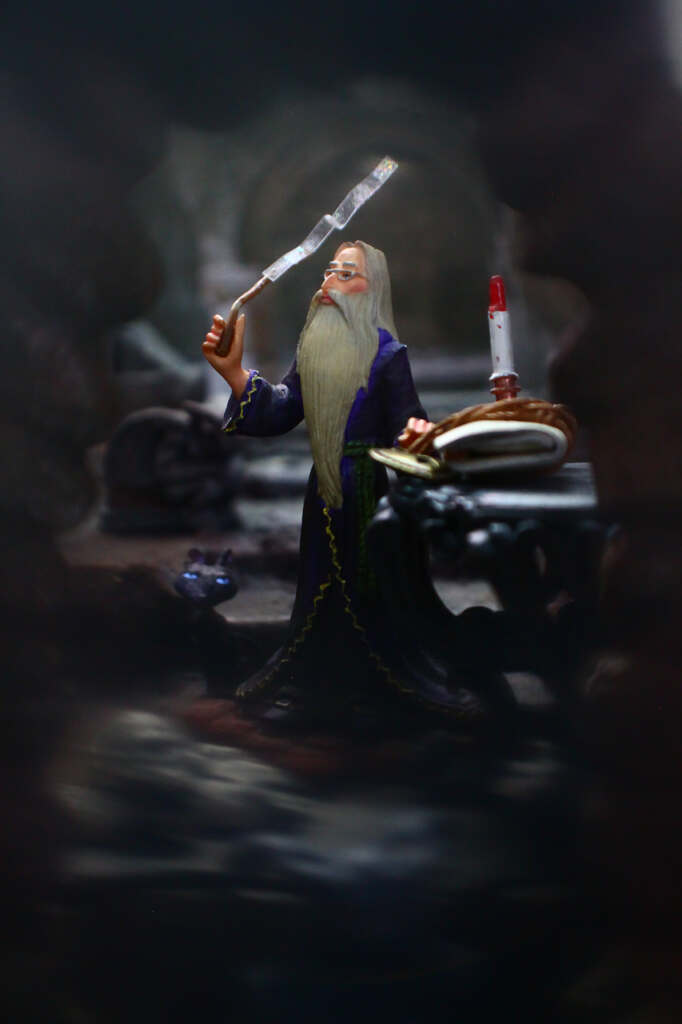
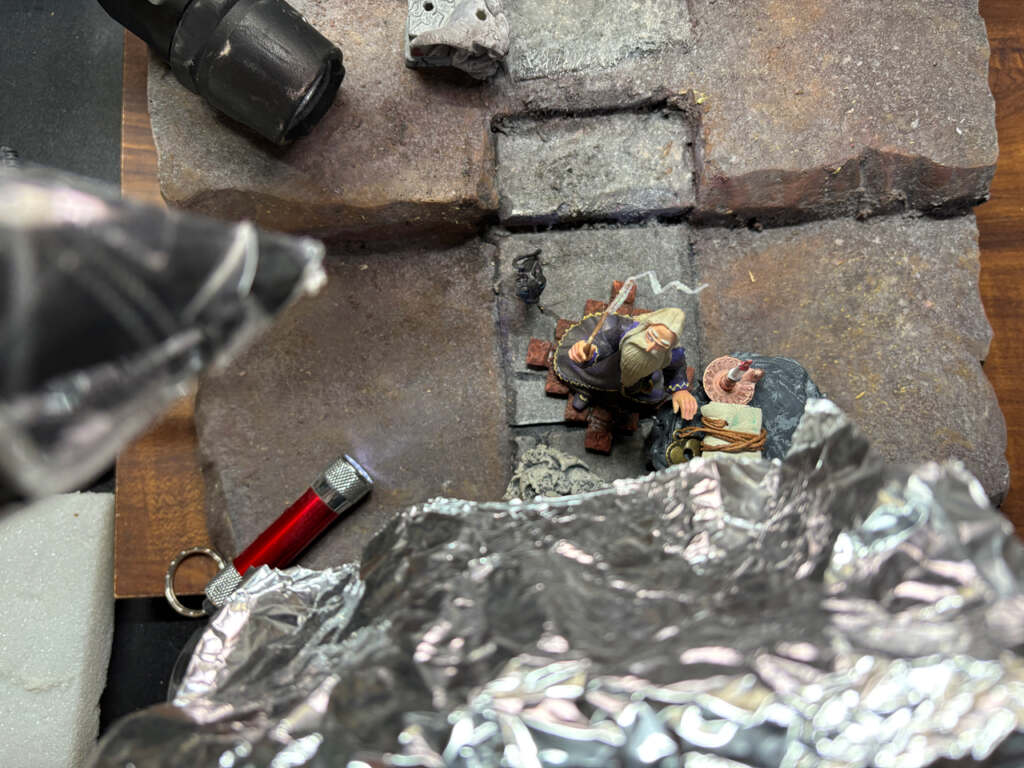
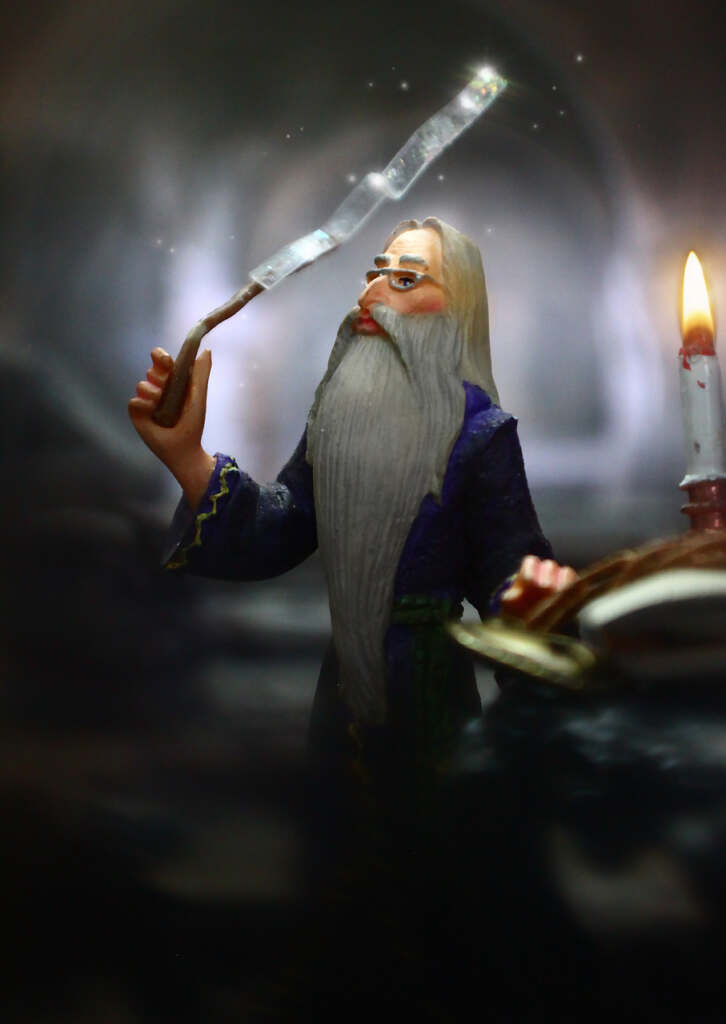
For these shots of Dumbledore (I found this gorgeous little figure at an antique mall), I used all my favorite hacks:
- I found and printed the background from Unsplash a couple years ago. Now I can use it to place Dumbledore in a secret catacombs scene.
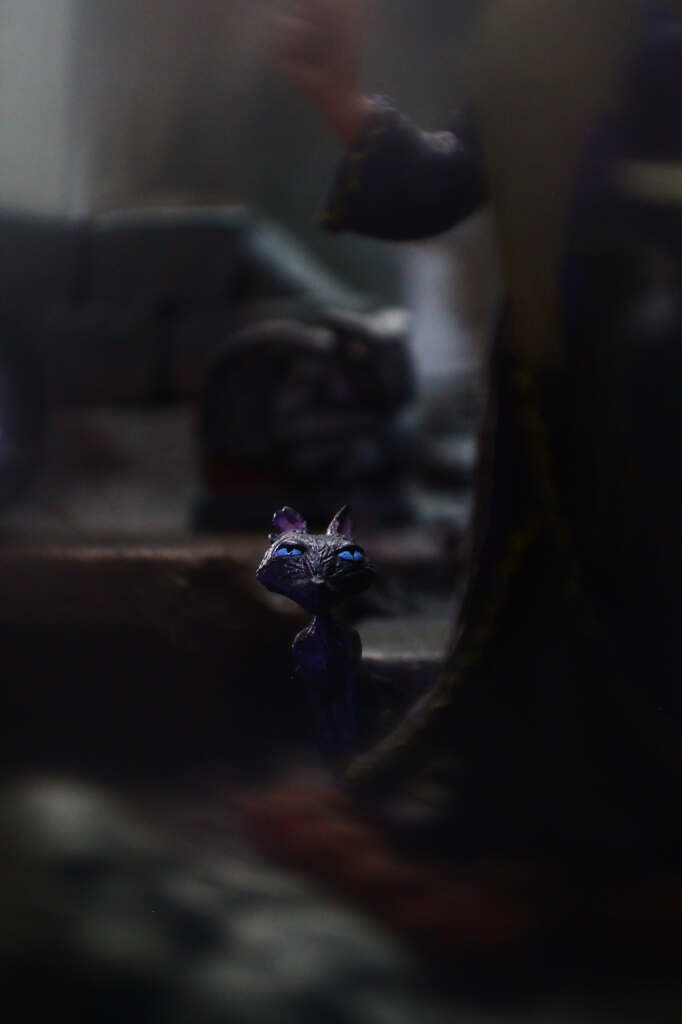
- I used flashlights to illuminate the background to give the scene depth; also as a rim light for Coraline’s cat, and also as a spotlight to brighten his eyes.
- Foil was placed over the archway to reflect light on Dumbledore’s face.
- During post processing I added some magical spell sparkles (does Dumbledore sparkle?) to give a dash of Hogwarts secret catacombs / mystical incantation spice.
- The plastic-wrapped-lens hack gives the image a dreamy / magical feel. An added benefit of using selective blur is minimizing the figure’s base which doesn’t match the floor.
In conclusion
Toy photography doesn’t have to break the bank. If I can create beautiful toy photography on the cheap, you can too. I hope that you will give my hacks a try. And while you’re at it, make sure you have fun experimenting! I’m always on the lookout for more hacks, so I would love to hear all about your favorite hacks and DIY discoveries.
Amy aka @cattie.combs


Great article – I need all the help I can get to create backgrounds on the cheap! I love your ideas and will be trying some of them soon.
I have always found @cattie.combs toy photography absolutely amazing and love her creativity ideas! What a wonderful piece to read!